Welcome to our Blog.
Here, I share project builds along with completed projects. I also try to video each build. Thanks for visiting.
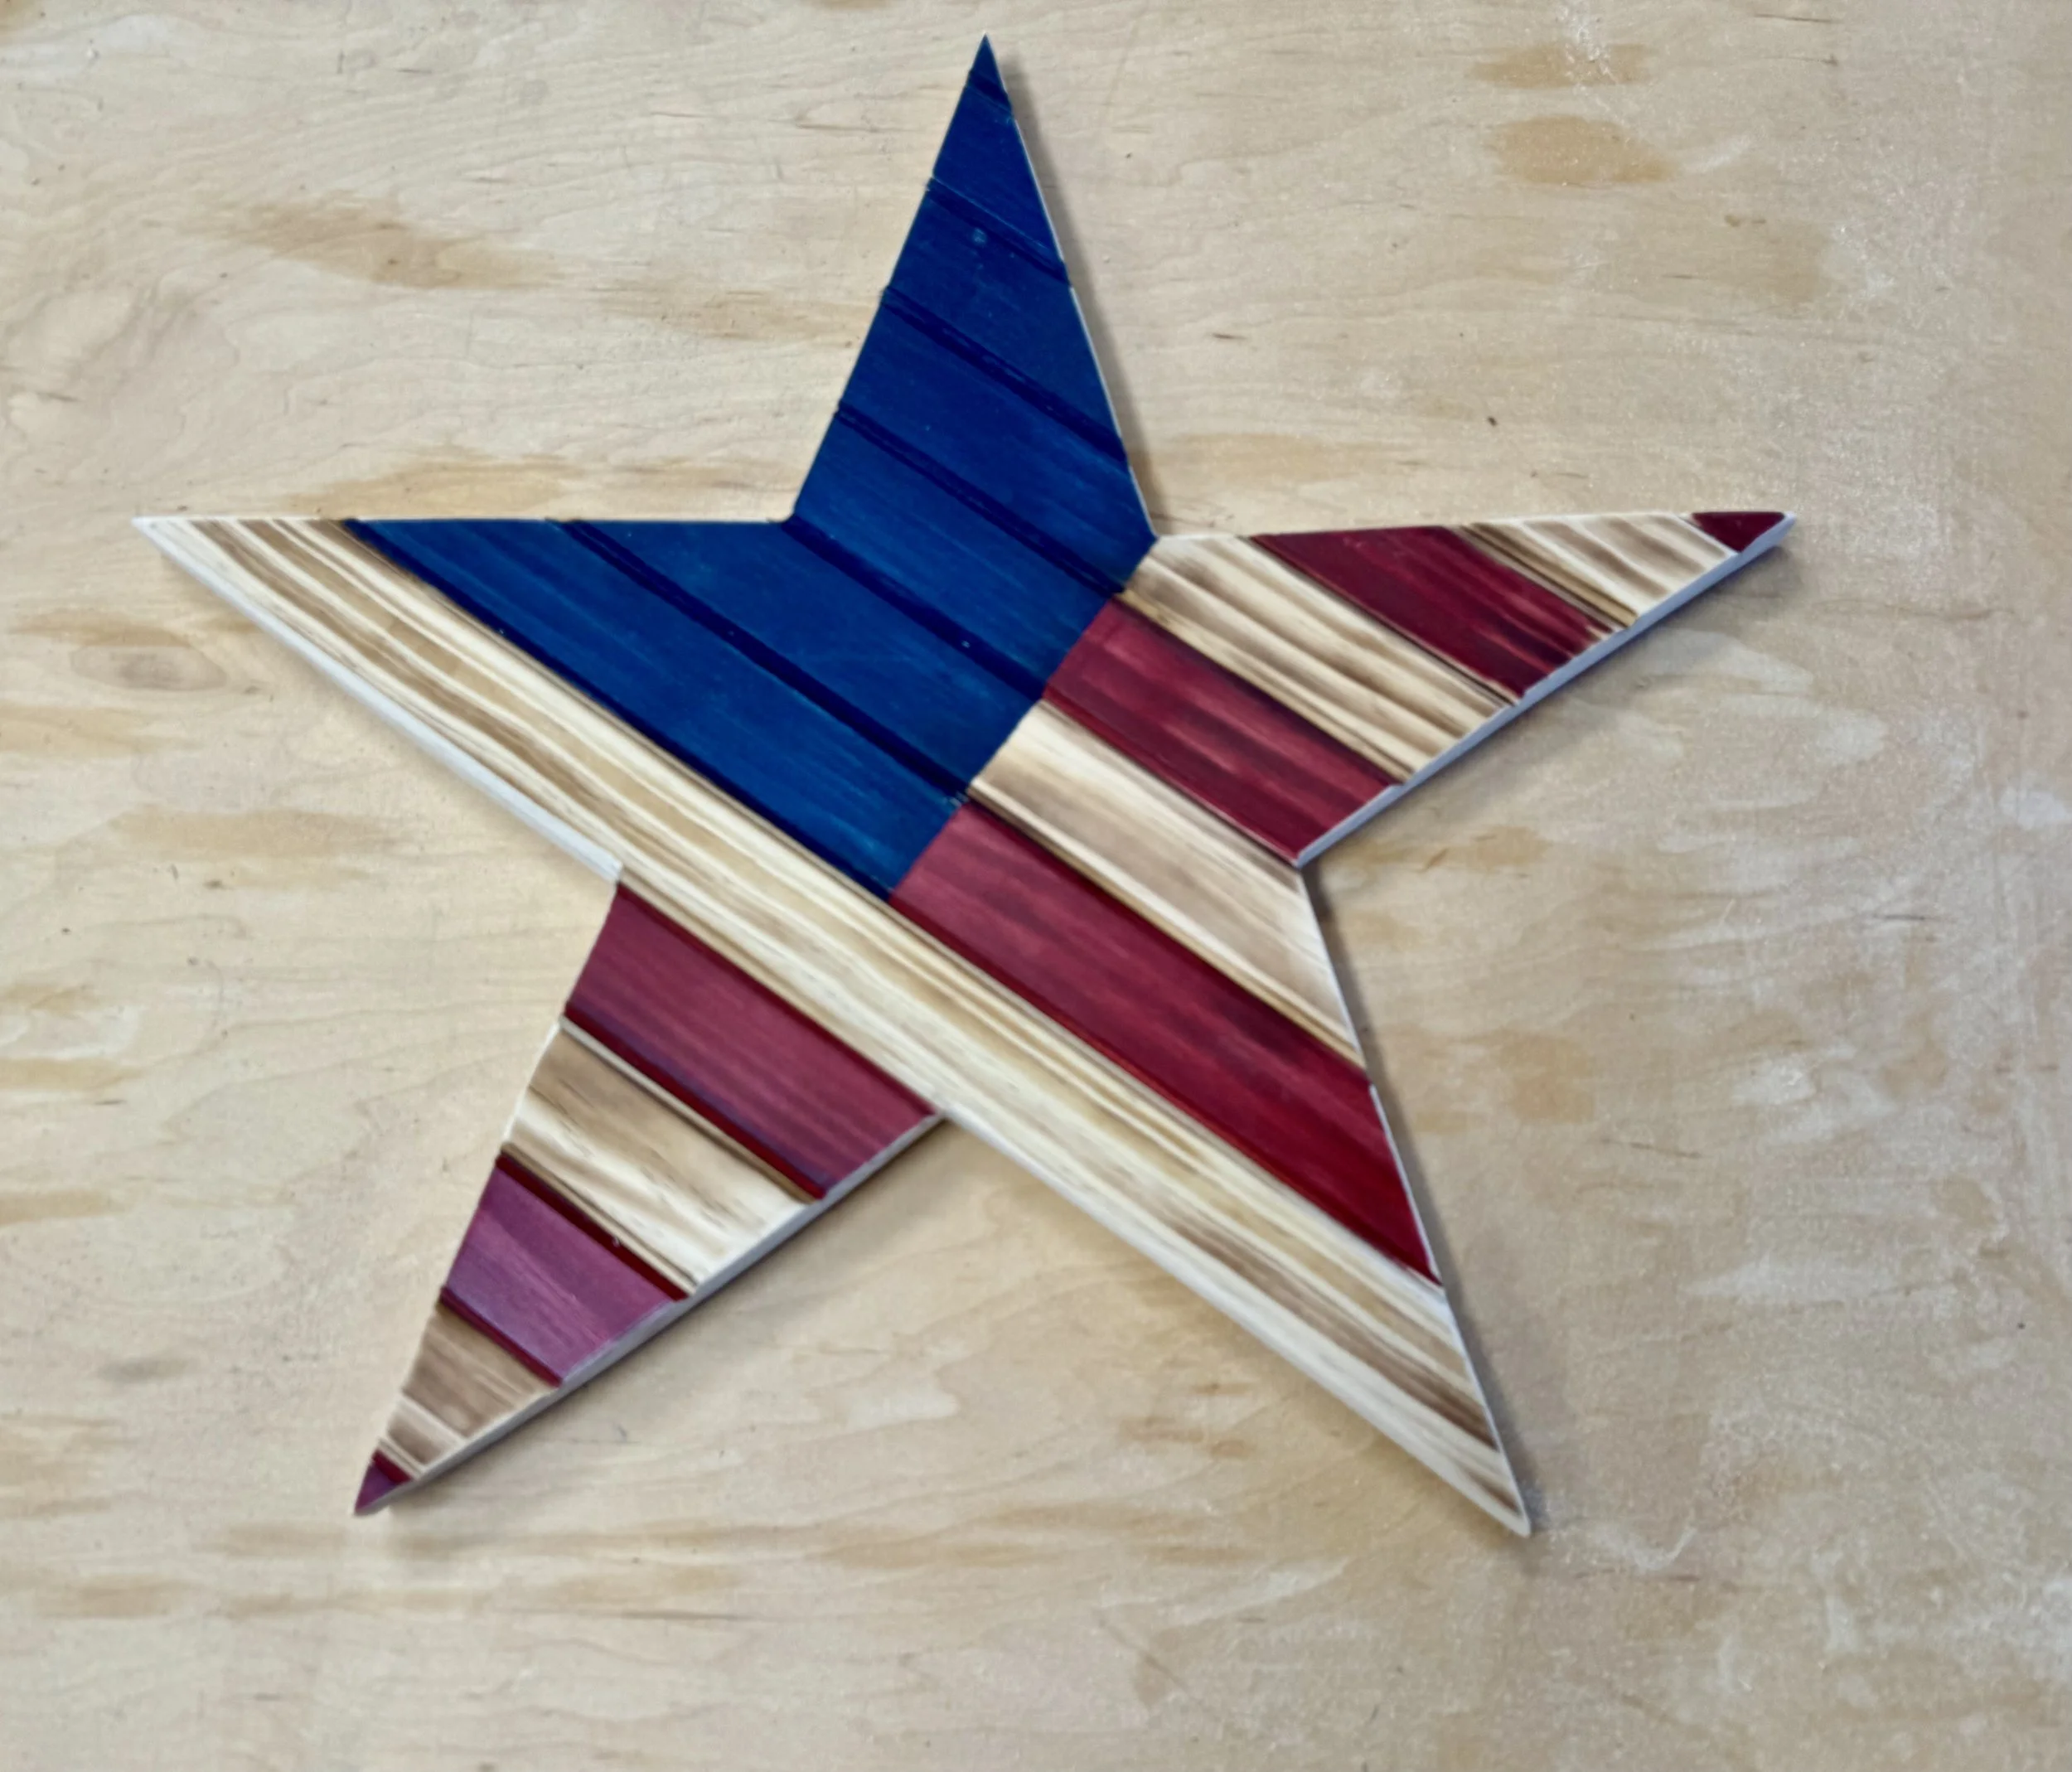
Tattered, Weathered, Distorted Mini Flag
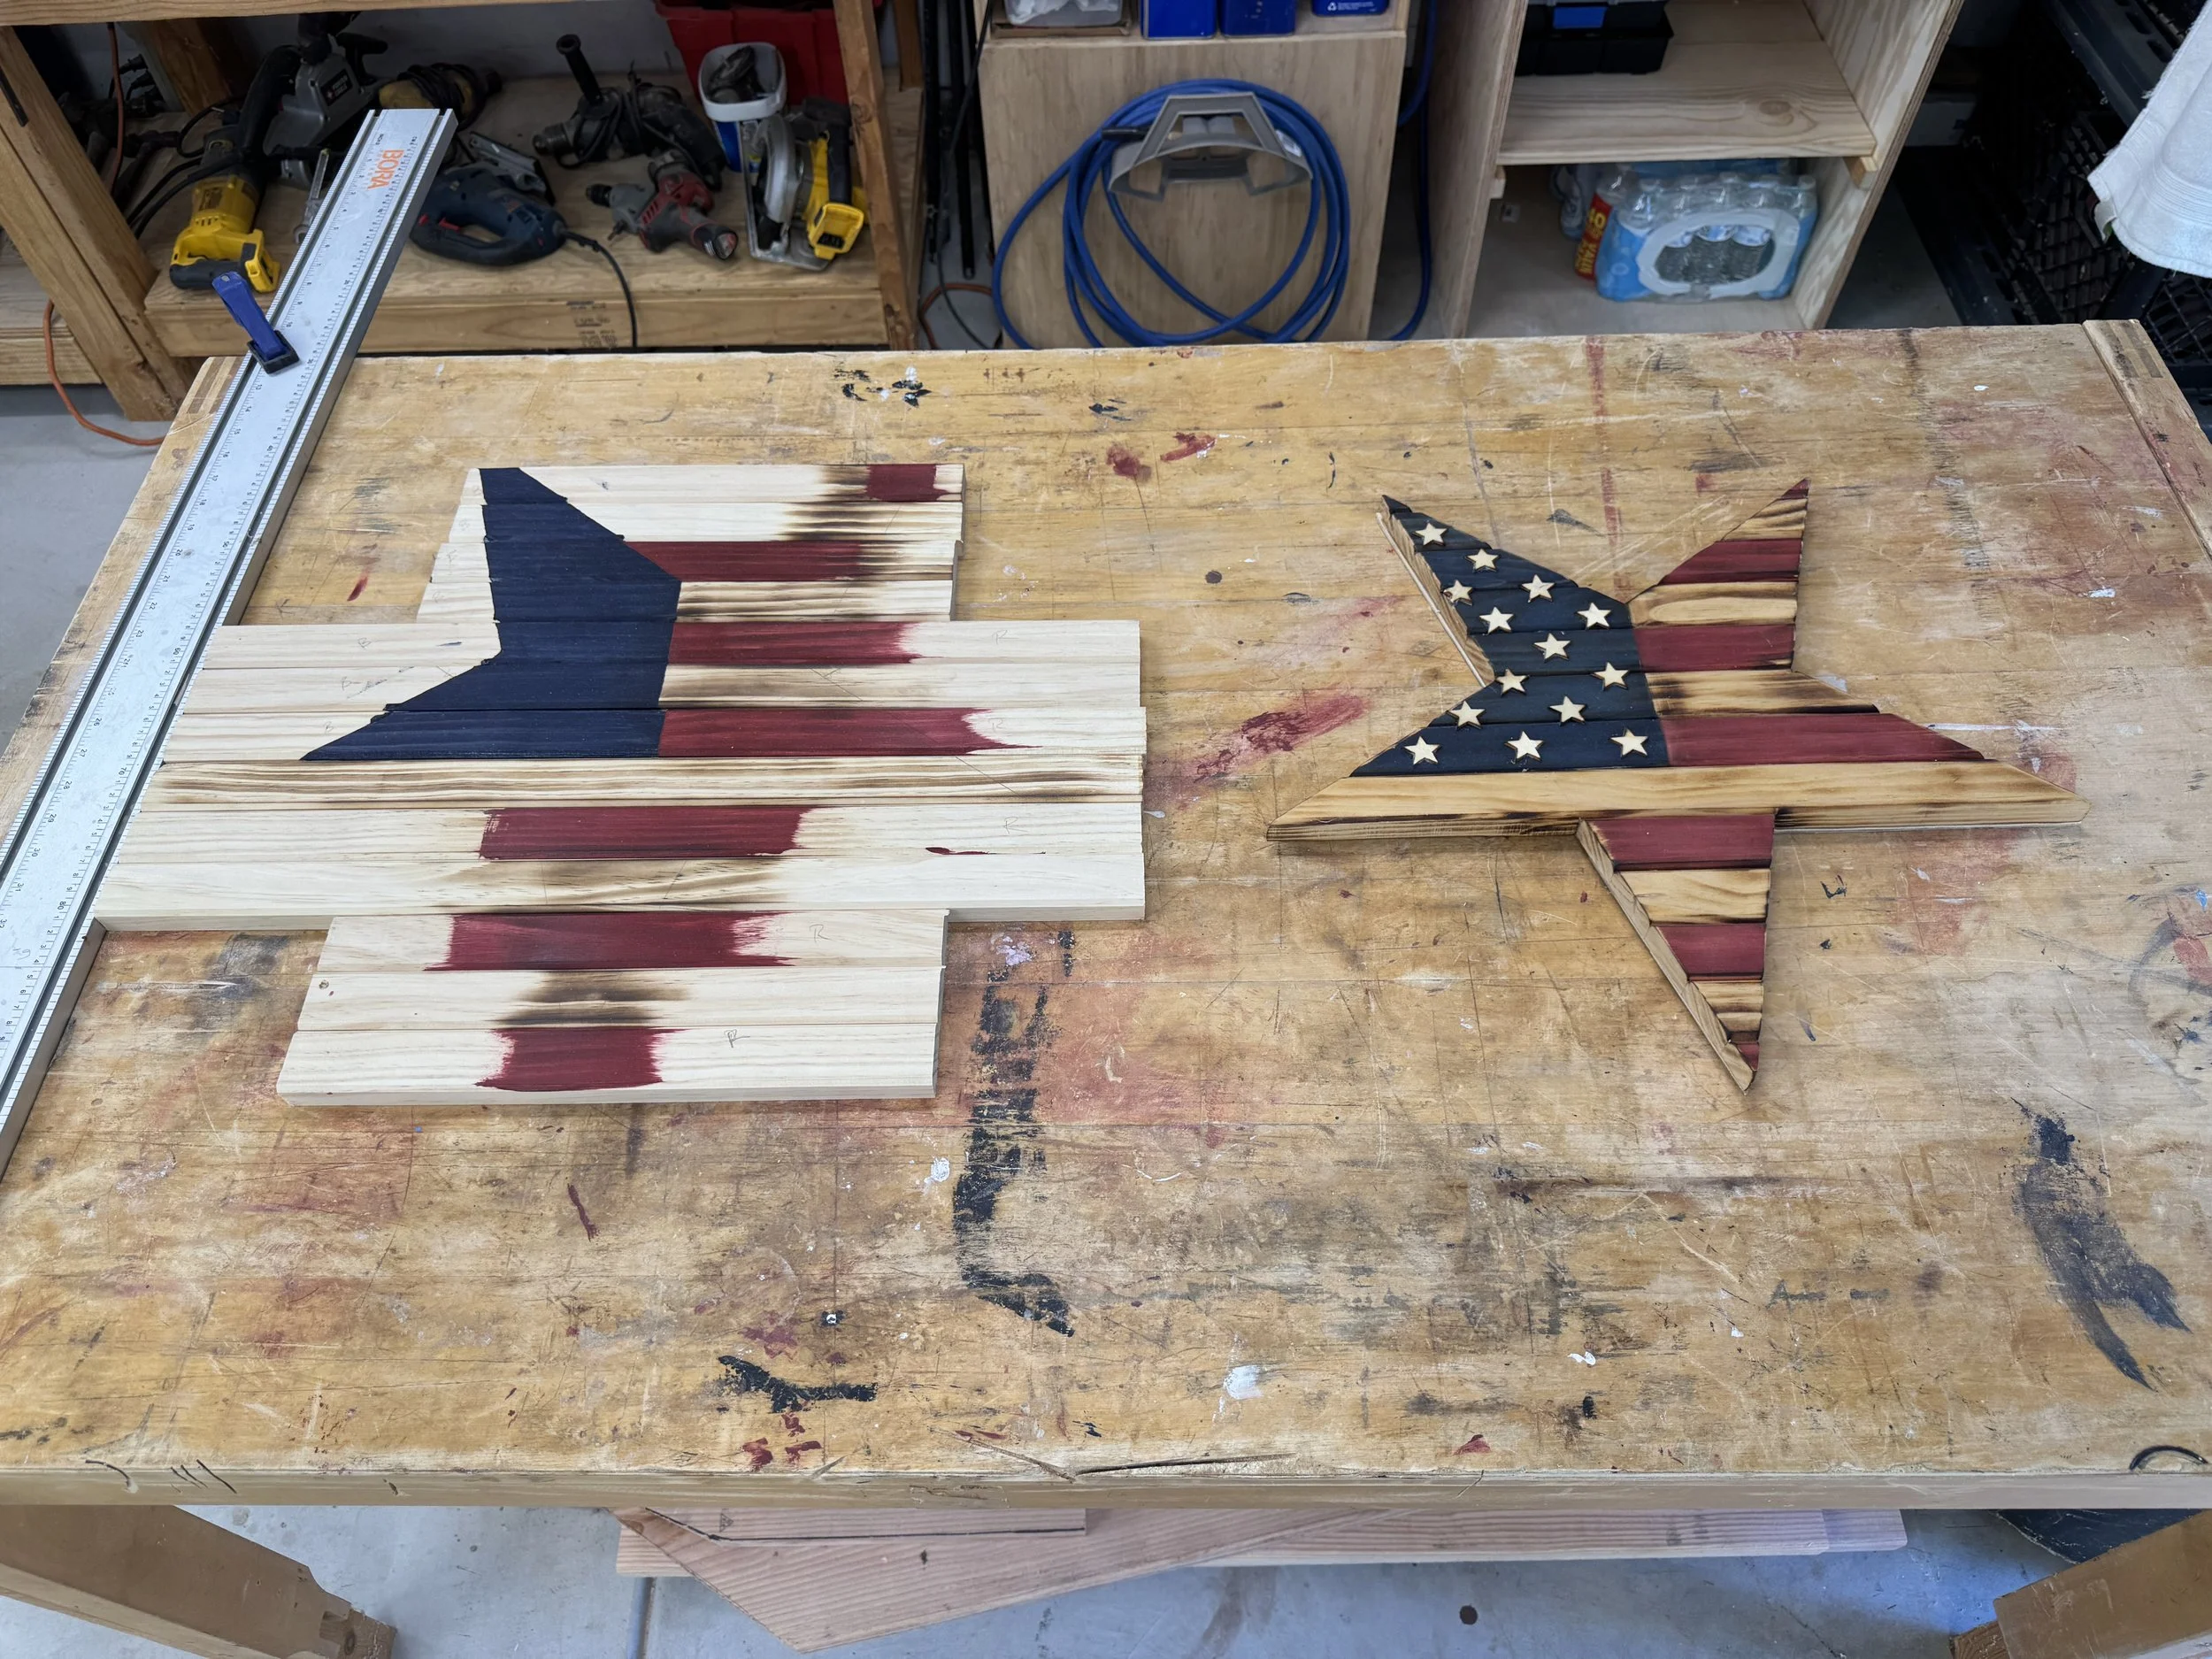
This beautiful miniature American flag is carefully designed to give it a tattered, weathered, and torn appearance. We use a unique technique to create a wavy effect, giving the flag a distinctive look and added character. Wooden stars add depth and dimension,


I’ve learned so much from these first three flag builds. Each one has taught me something new, and I’ll continue working to improve the design with every flag I make. I’m excited to see how much better I can make the next one!
Rustic Wood cross built from a single 4x4


This handcrafted wooden cross is made from a single 4×4 timber, showcasing the beauty and simplicity of the wood. To add historical authenticity, I used antique-style 3-inch 10d cut flooring reproduction nails, inspired by the type of hand-forged iron nails that may have been used during the Roman era. These reproduction nails are included to represent the crucifixion of Jesus Christ and serve as a powerful reminder of His sacrifice. The cross is designed as a meaningful symbol of faith, hope, and redemption, making it a beautiful addition to any home, church, or place of prayer.
Wavy Flag Without All the Grinding
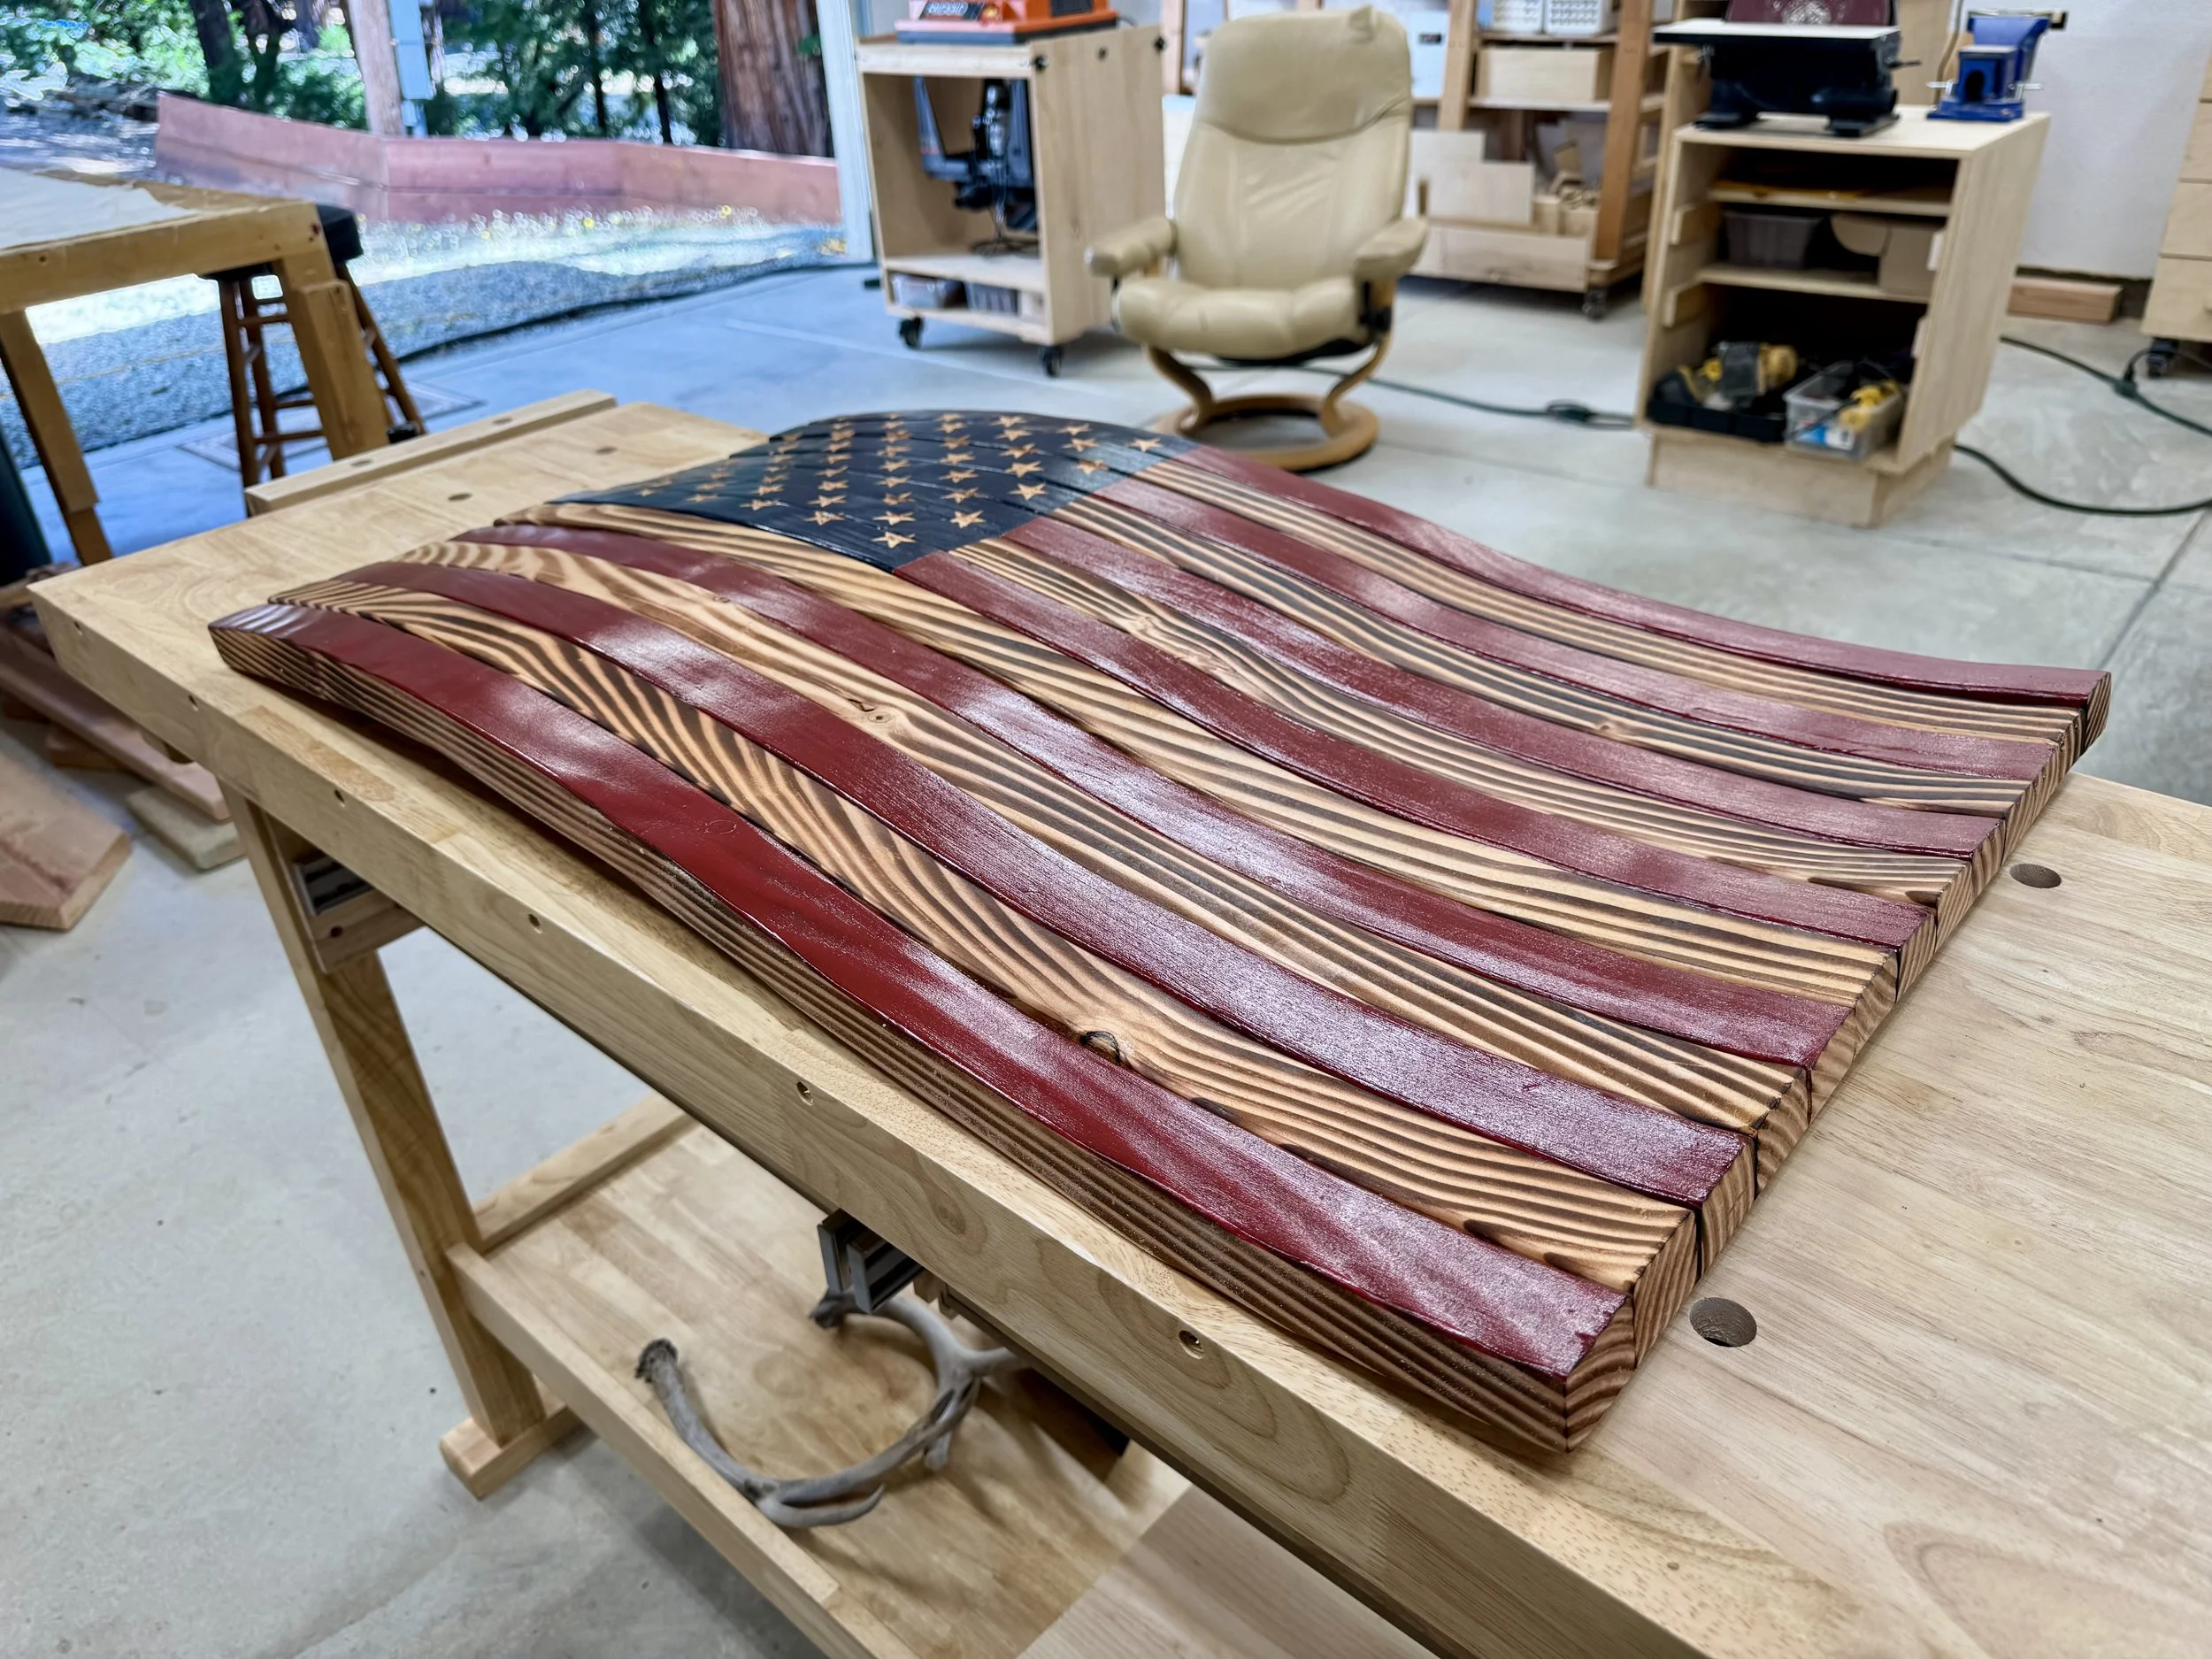
Wavy Flag Without All the Grinding
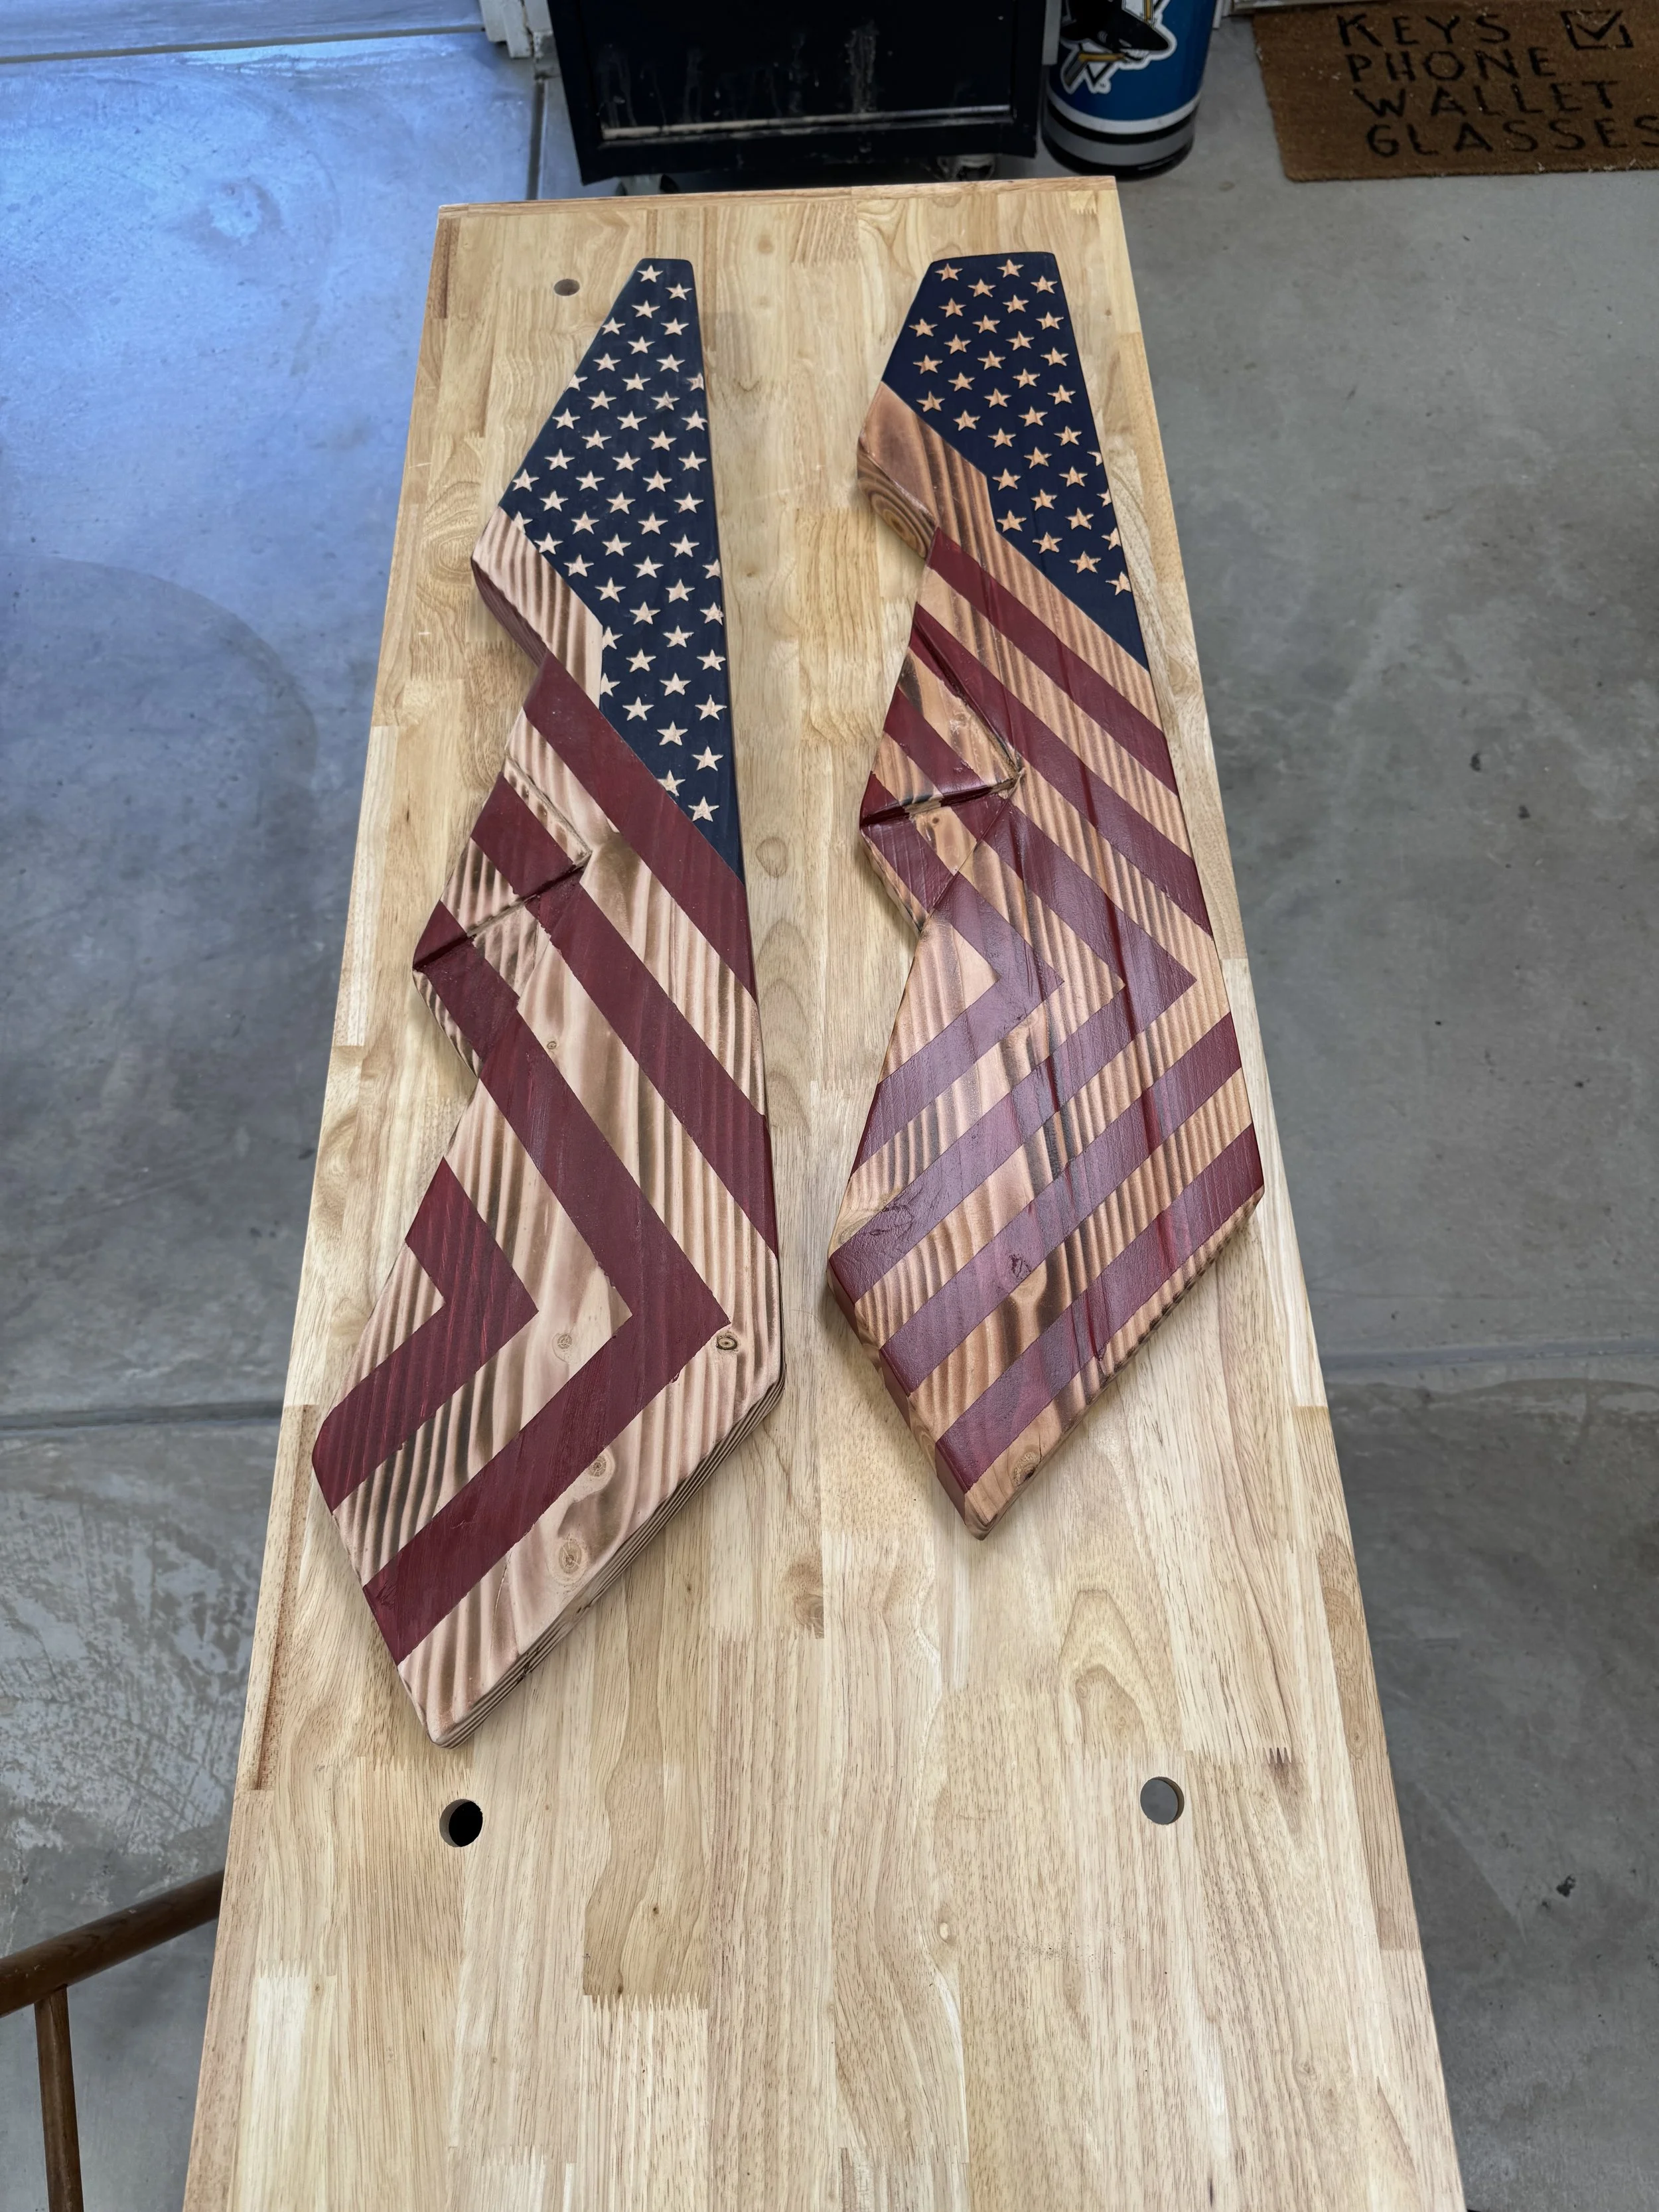
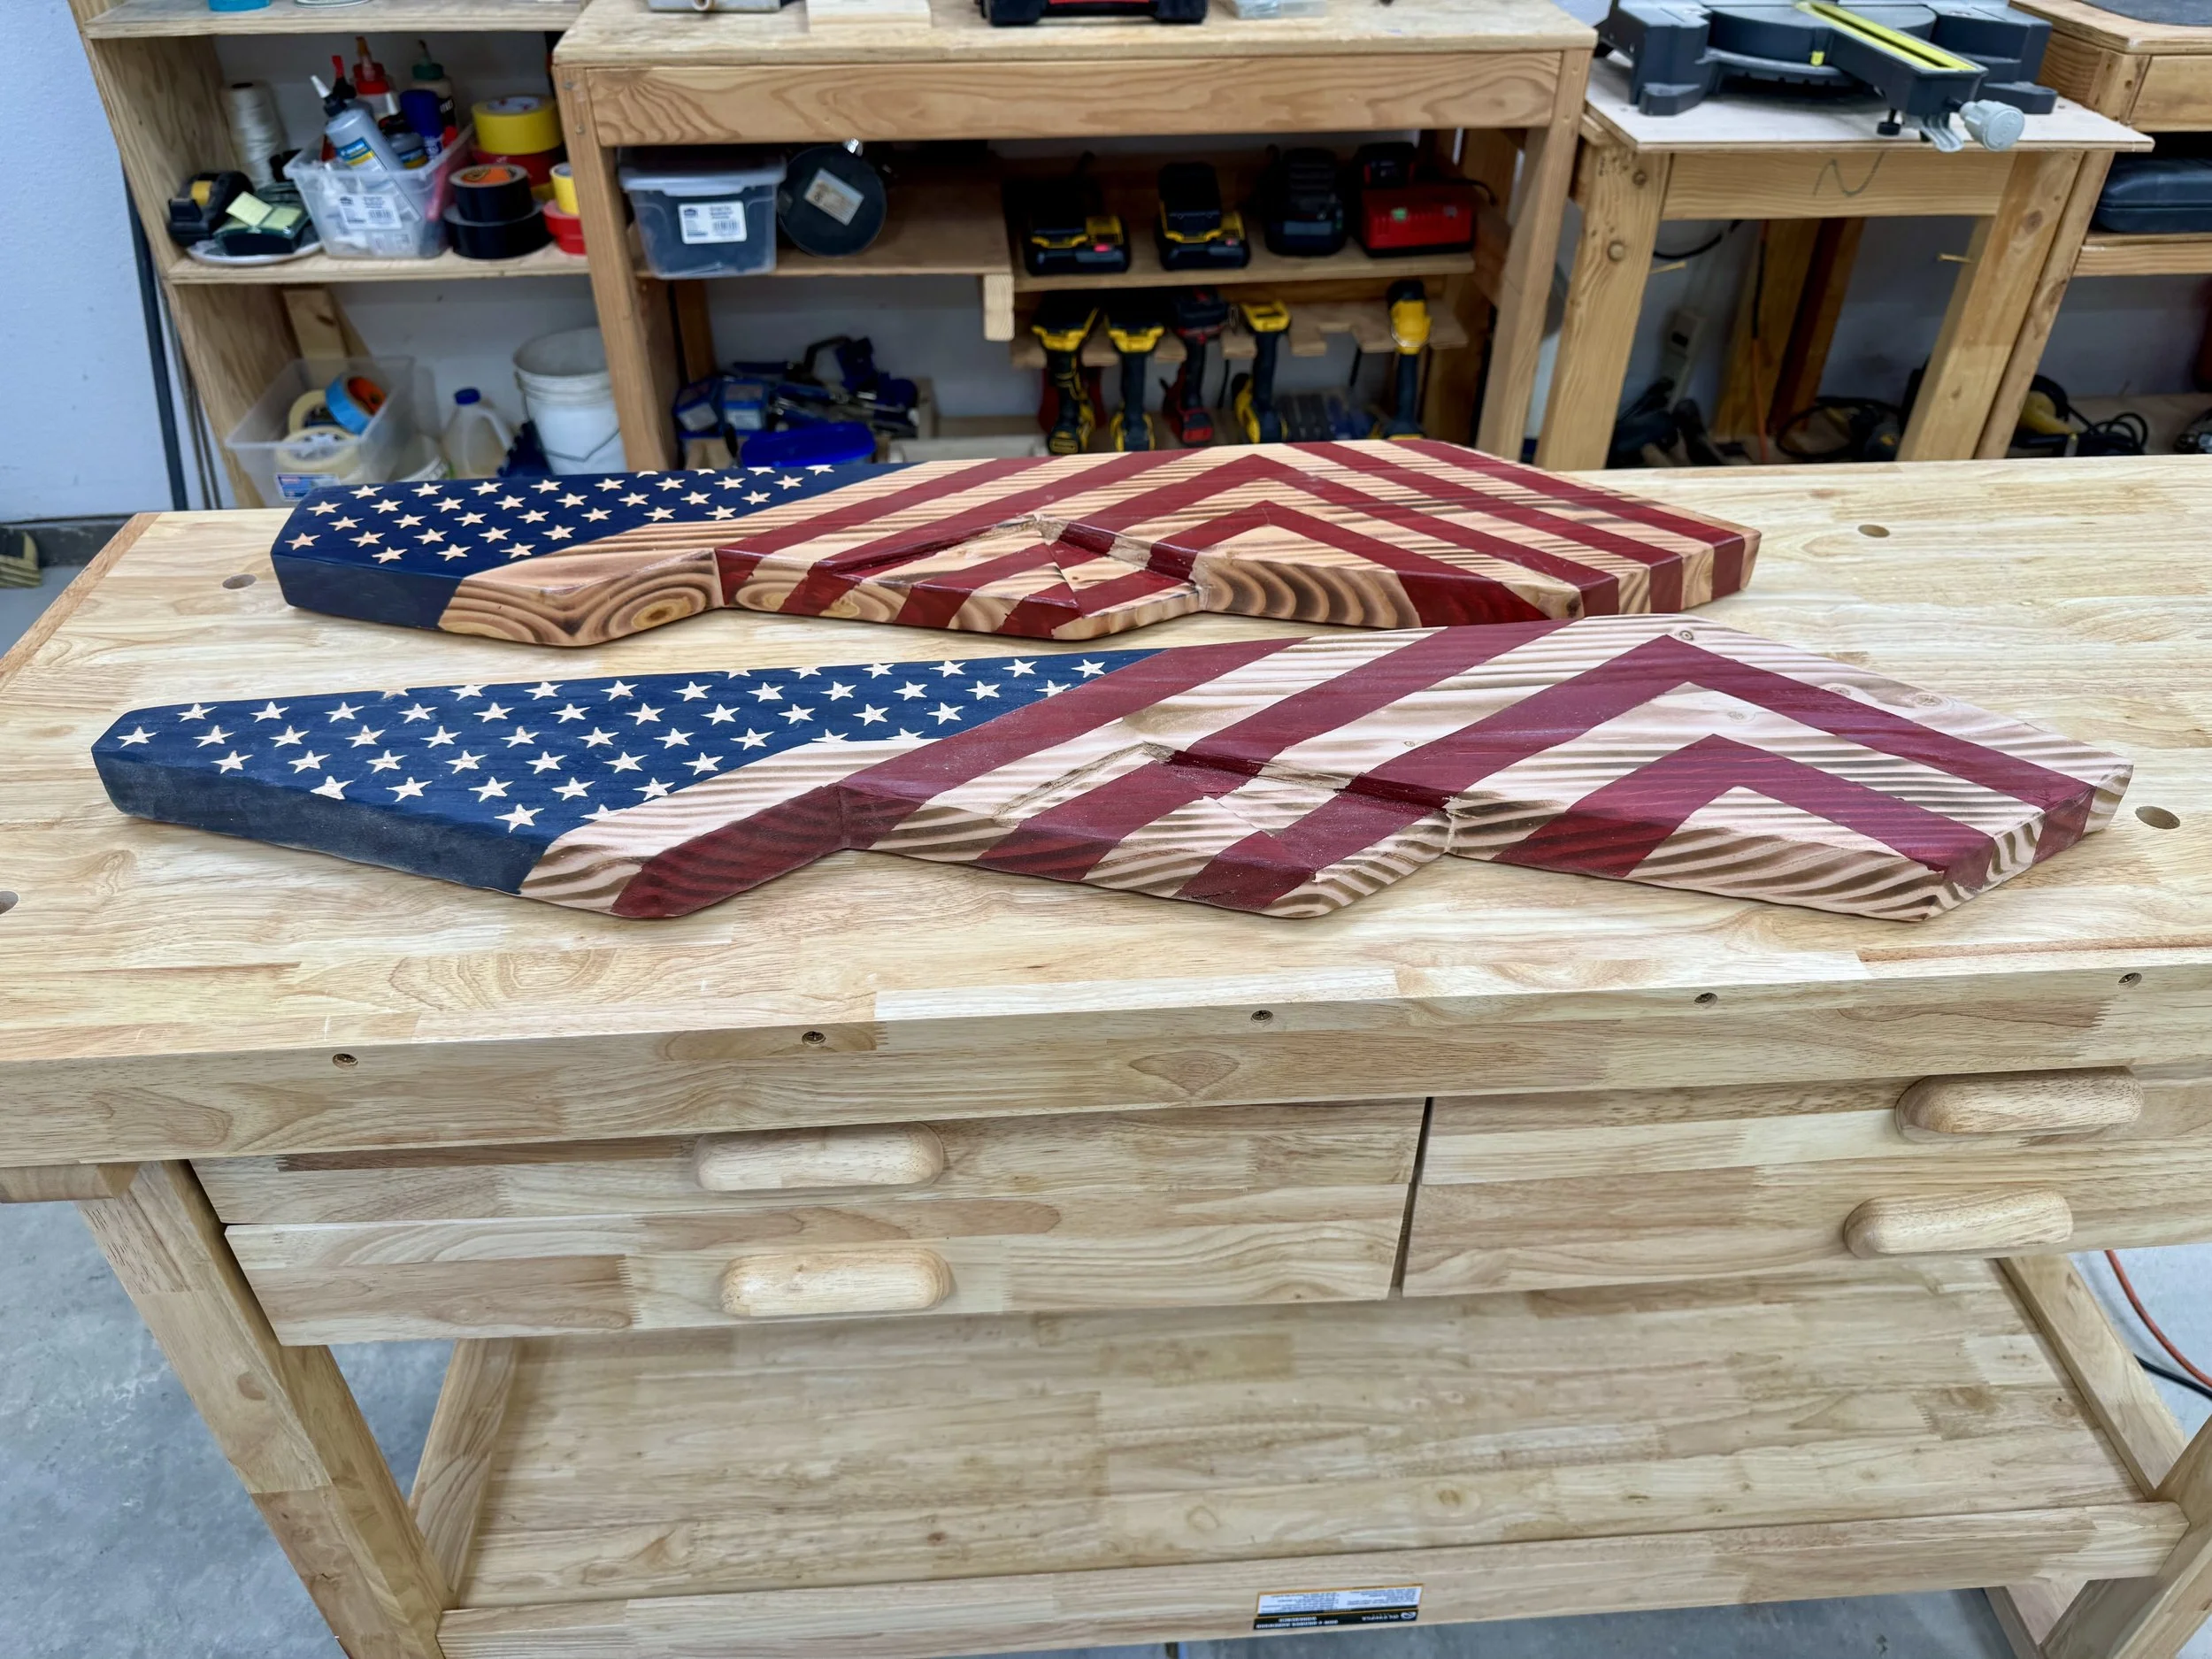
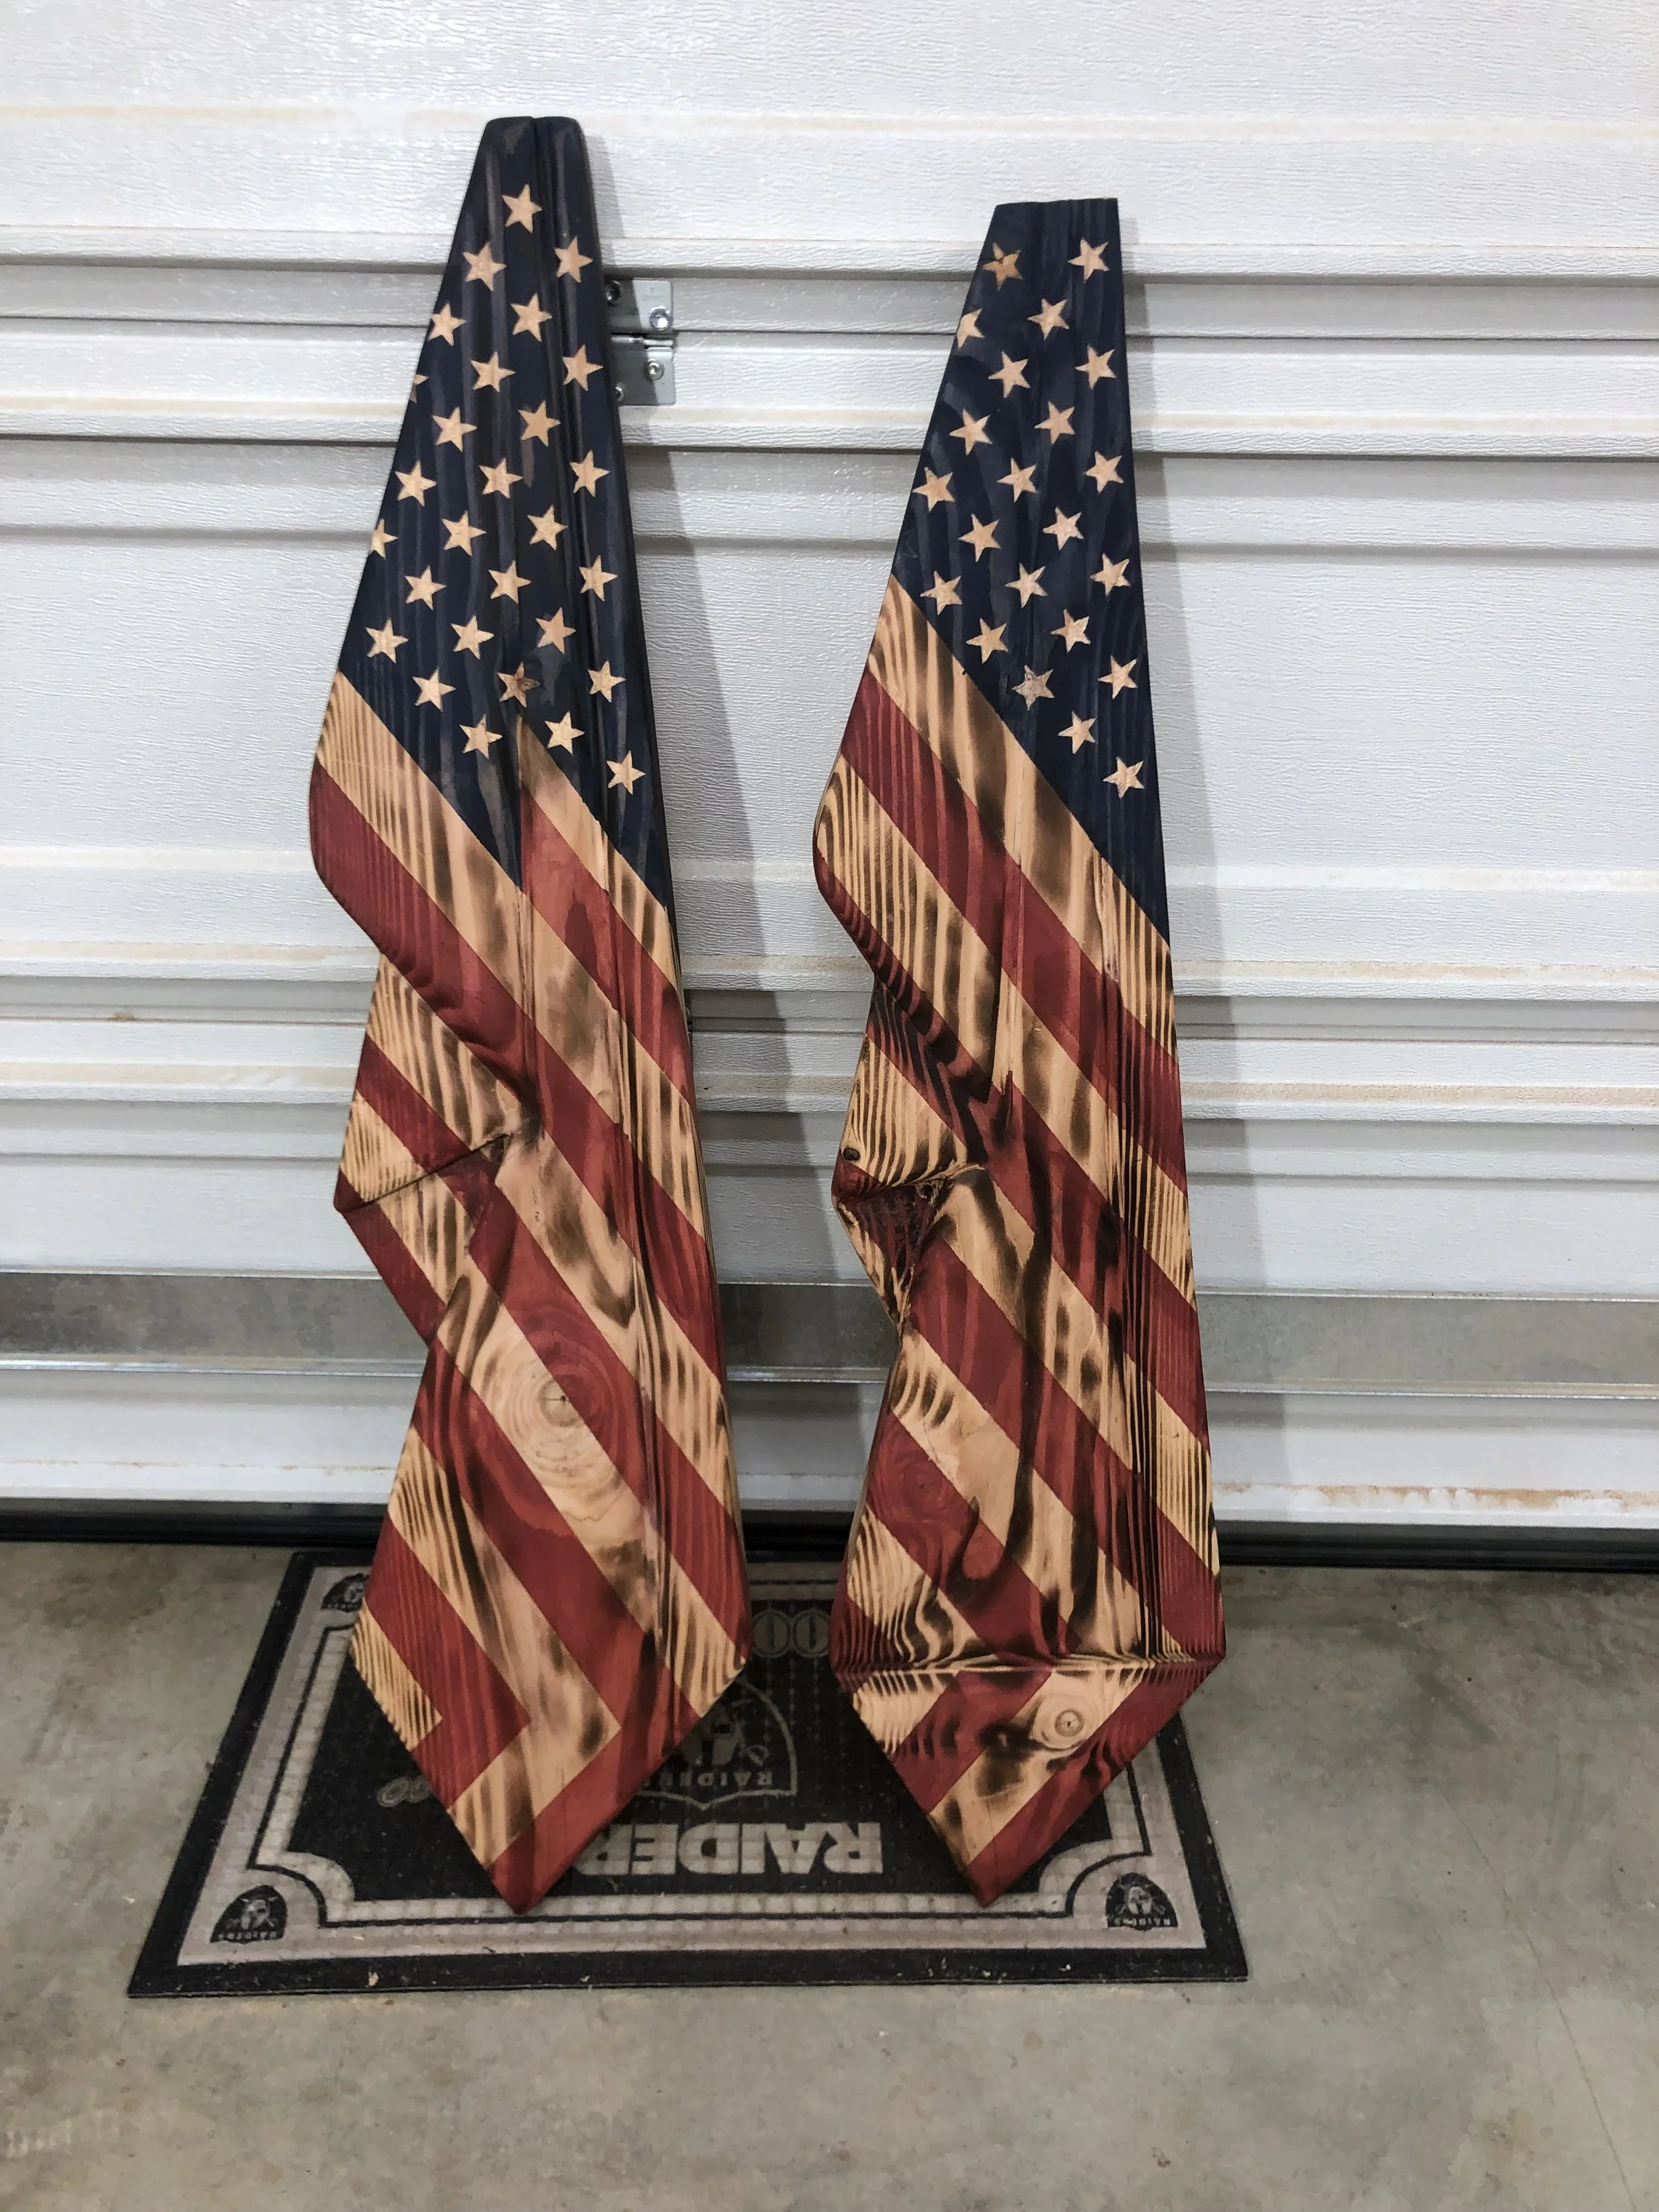
I've been experimenting with a new way to make my wavy American flags using the bandsaw. Instead of gluing together 2×4 boards and spending hours grinding the waves into the wood, I cut the entire flag from a solid 2×12 board.
After watching several YouTube videos, I noticed that nearly everyone uses the traditional glue-and-grind method. While those flags look great, the process creates a tremendous amount of dust, takes a lot of time, and can get pretty messy.
Using the bandsaw eliminates the need for hours of grinding while still creating beautiful flowing waves. The finished flag has a slightly different look than a traditionally ground wavy flag, but I think it has its own unique character and craftsmanship. Each flag is cut from a single solid board, giving it a clean, seamless appearance that's difficult to achieve with laminated pieces.
I'm really pleased with how these turned out and look forward to making more using this technique. Sometimes trying a different approach leads to something special, and I think this is one of those times.
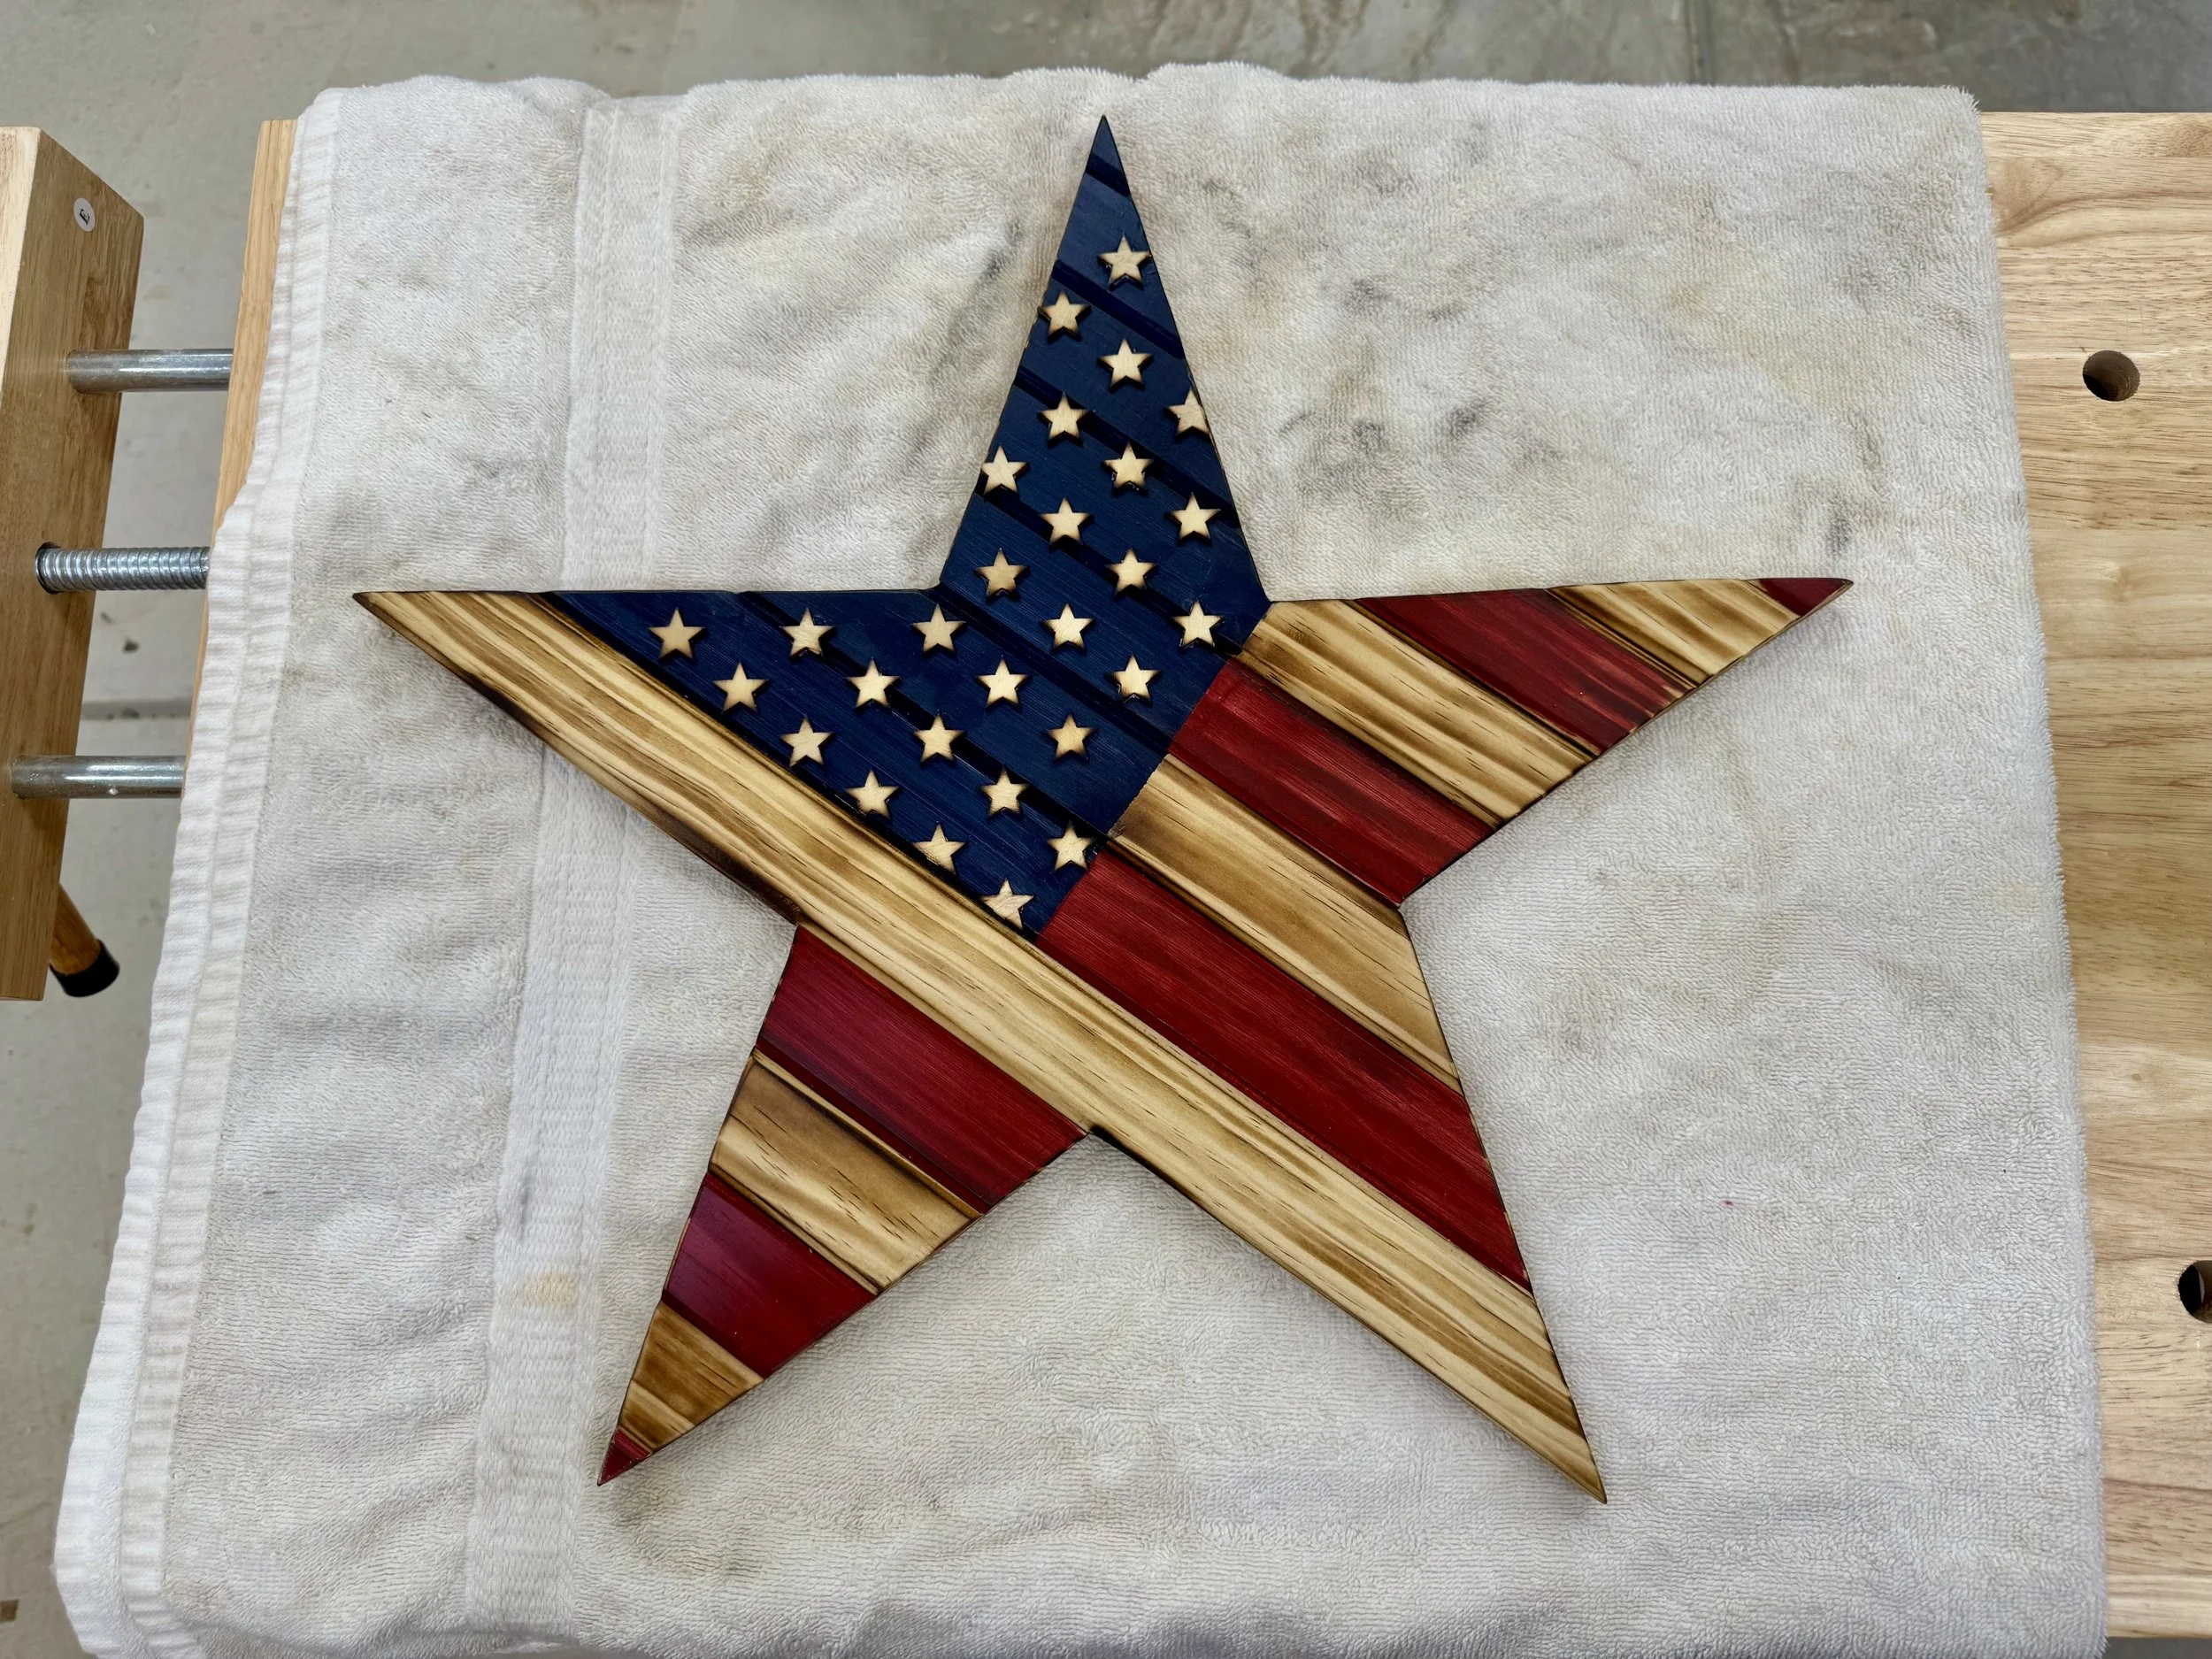
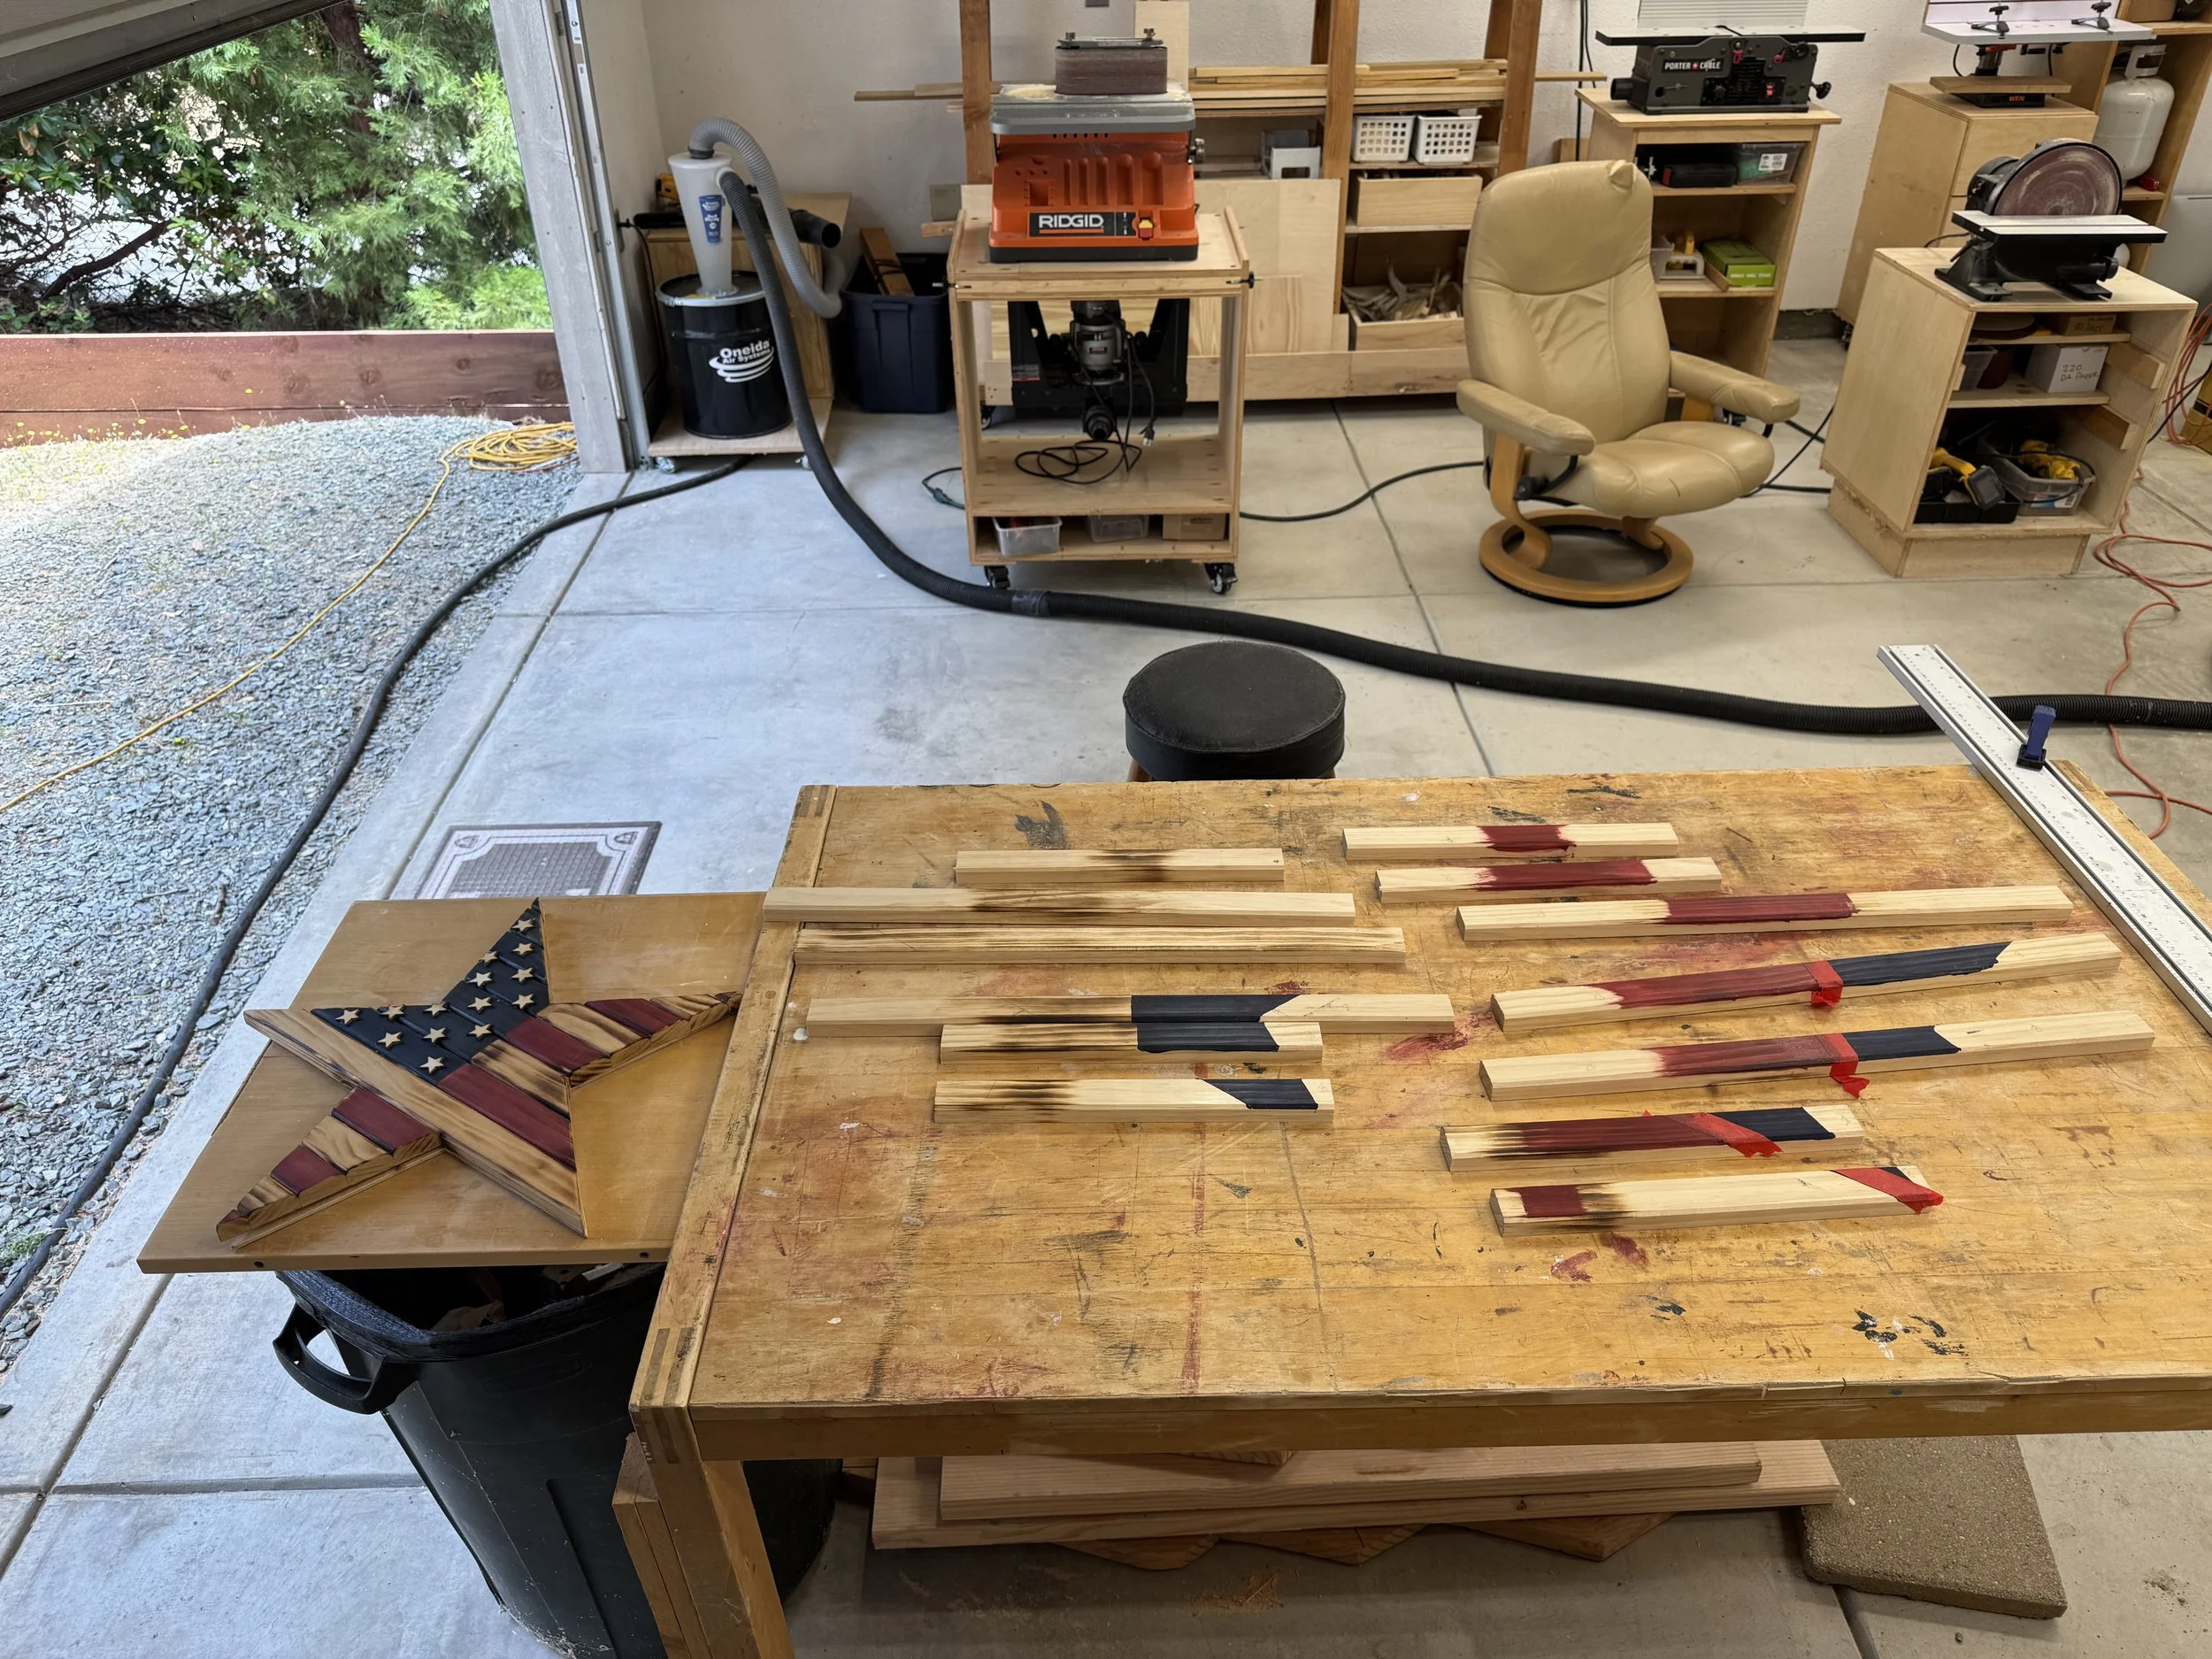
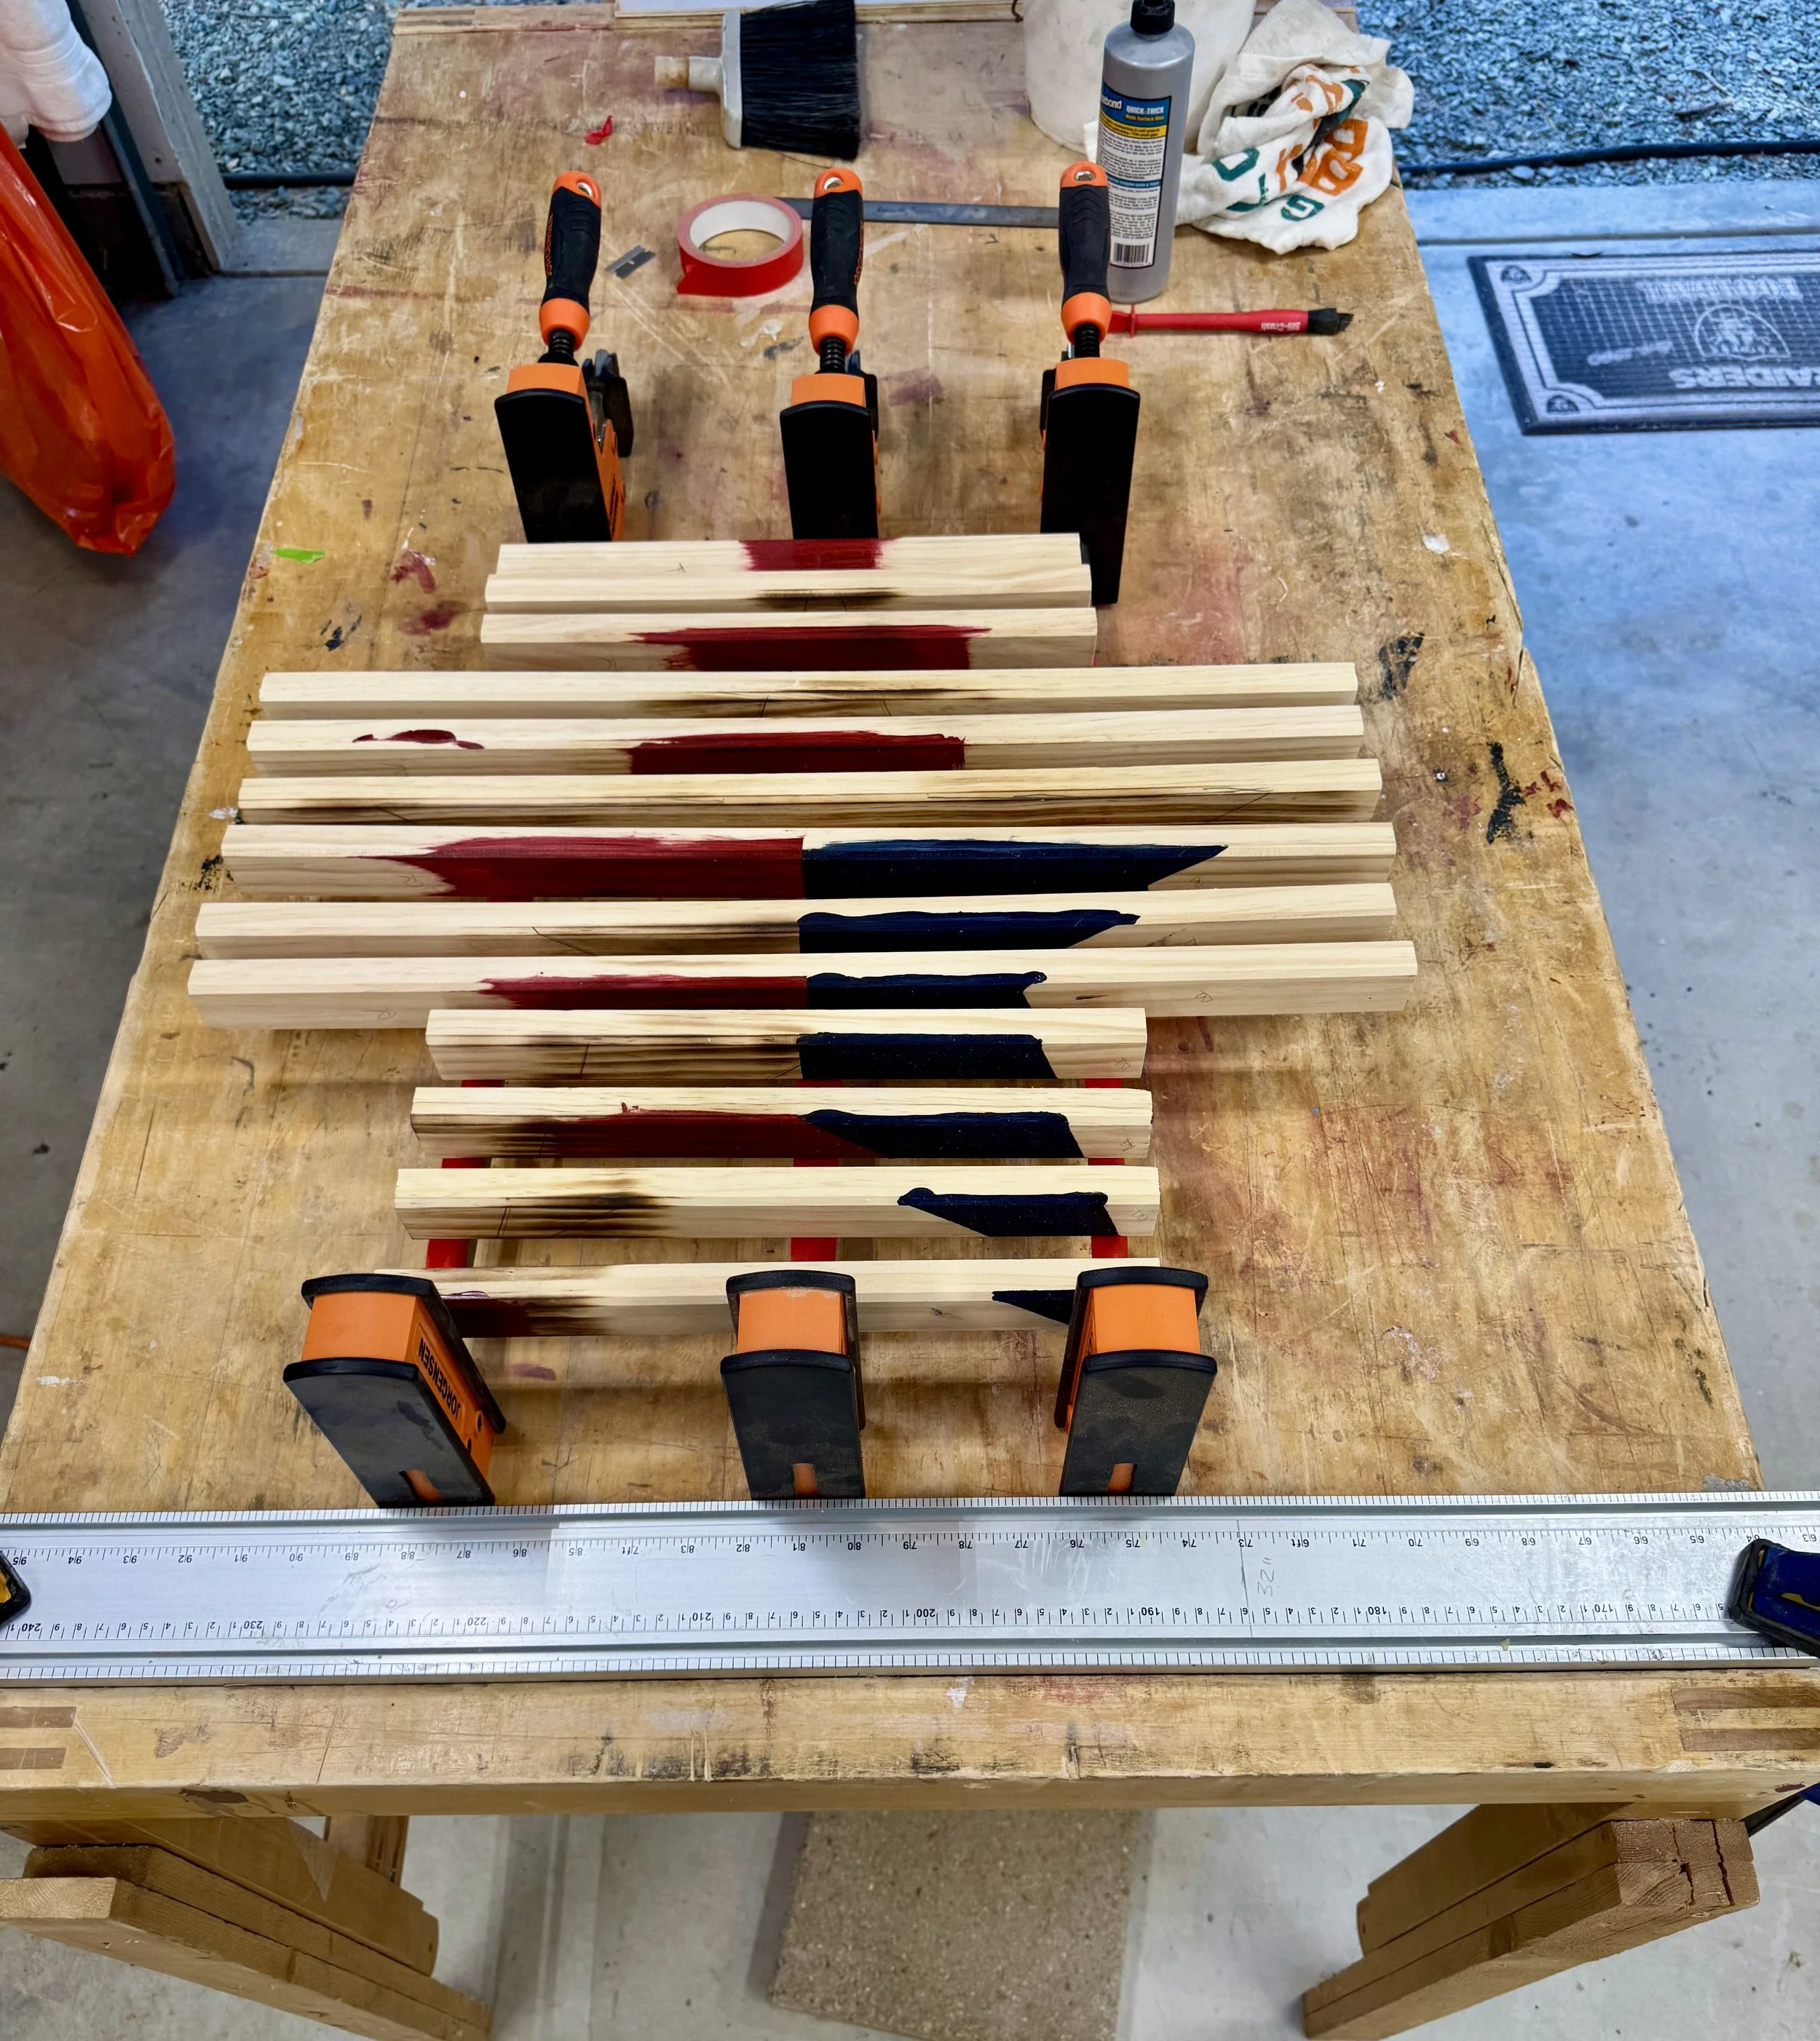
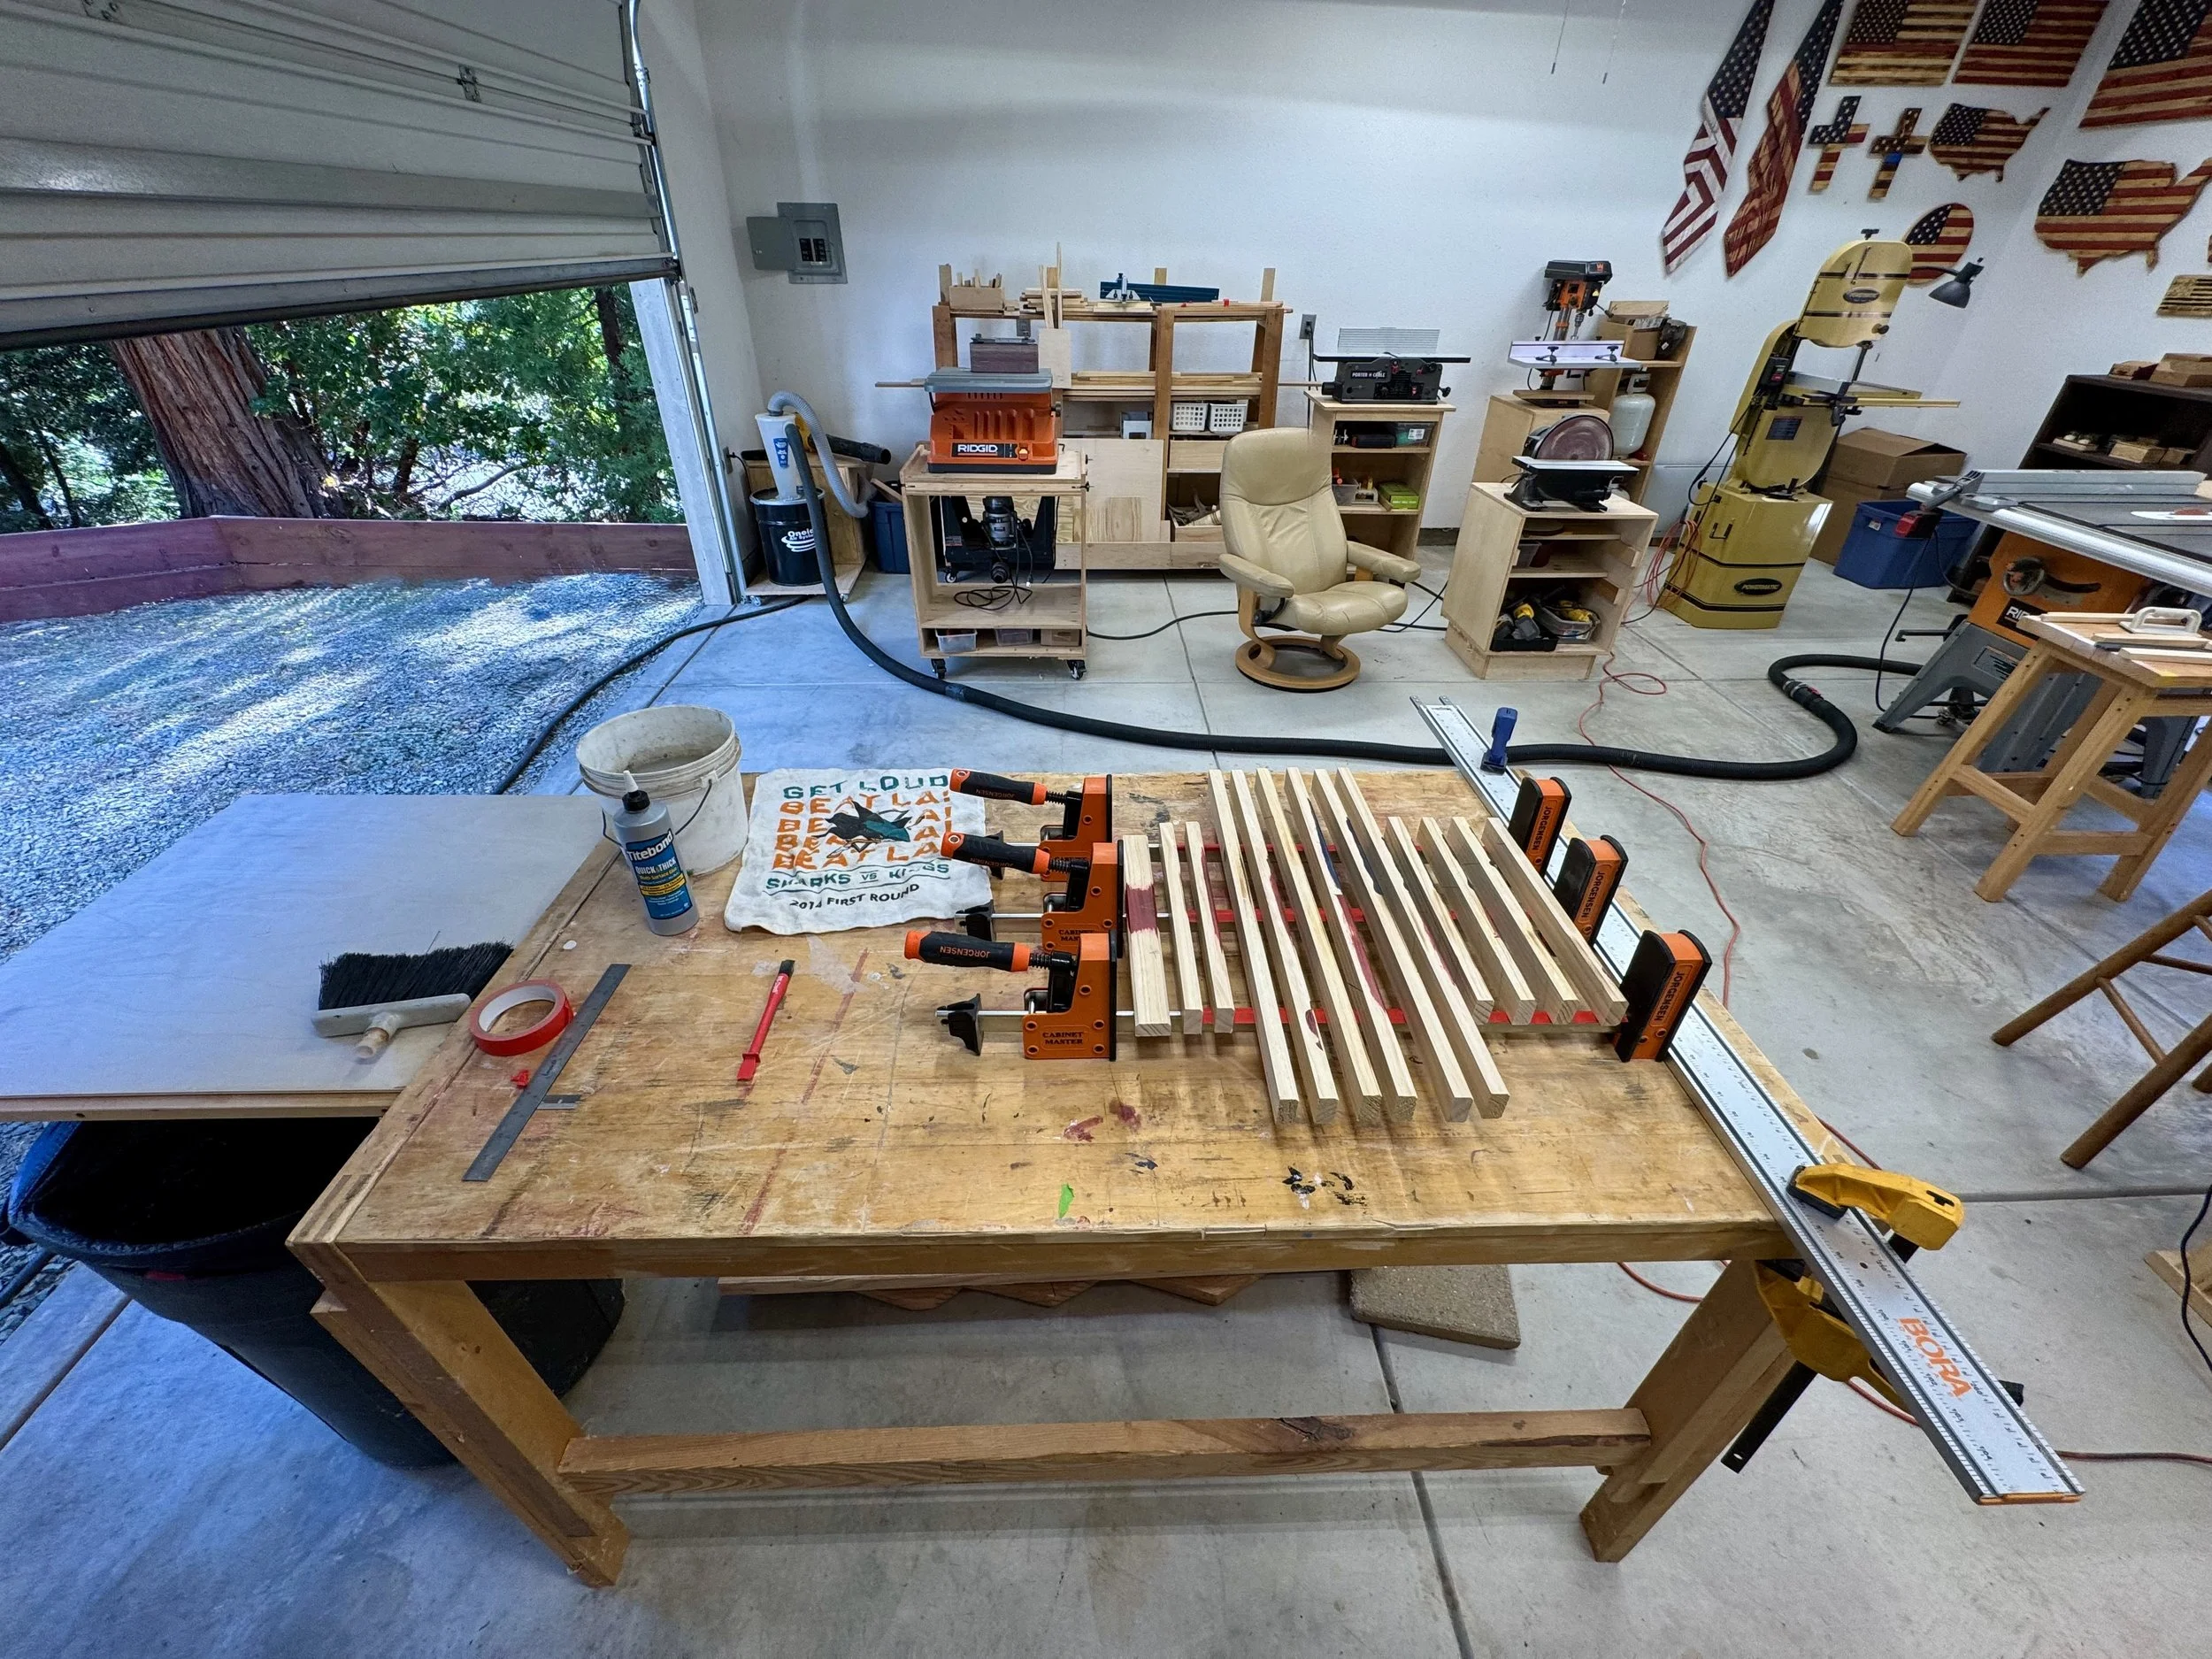
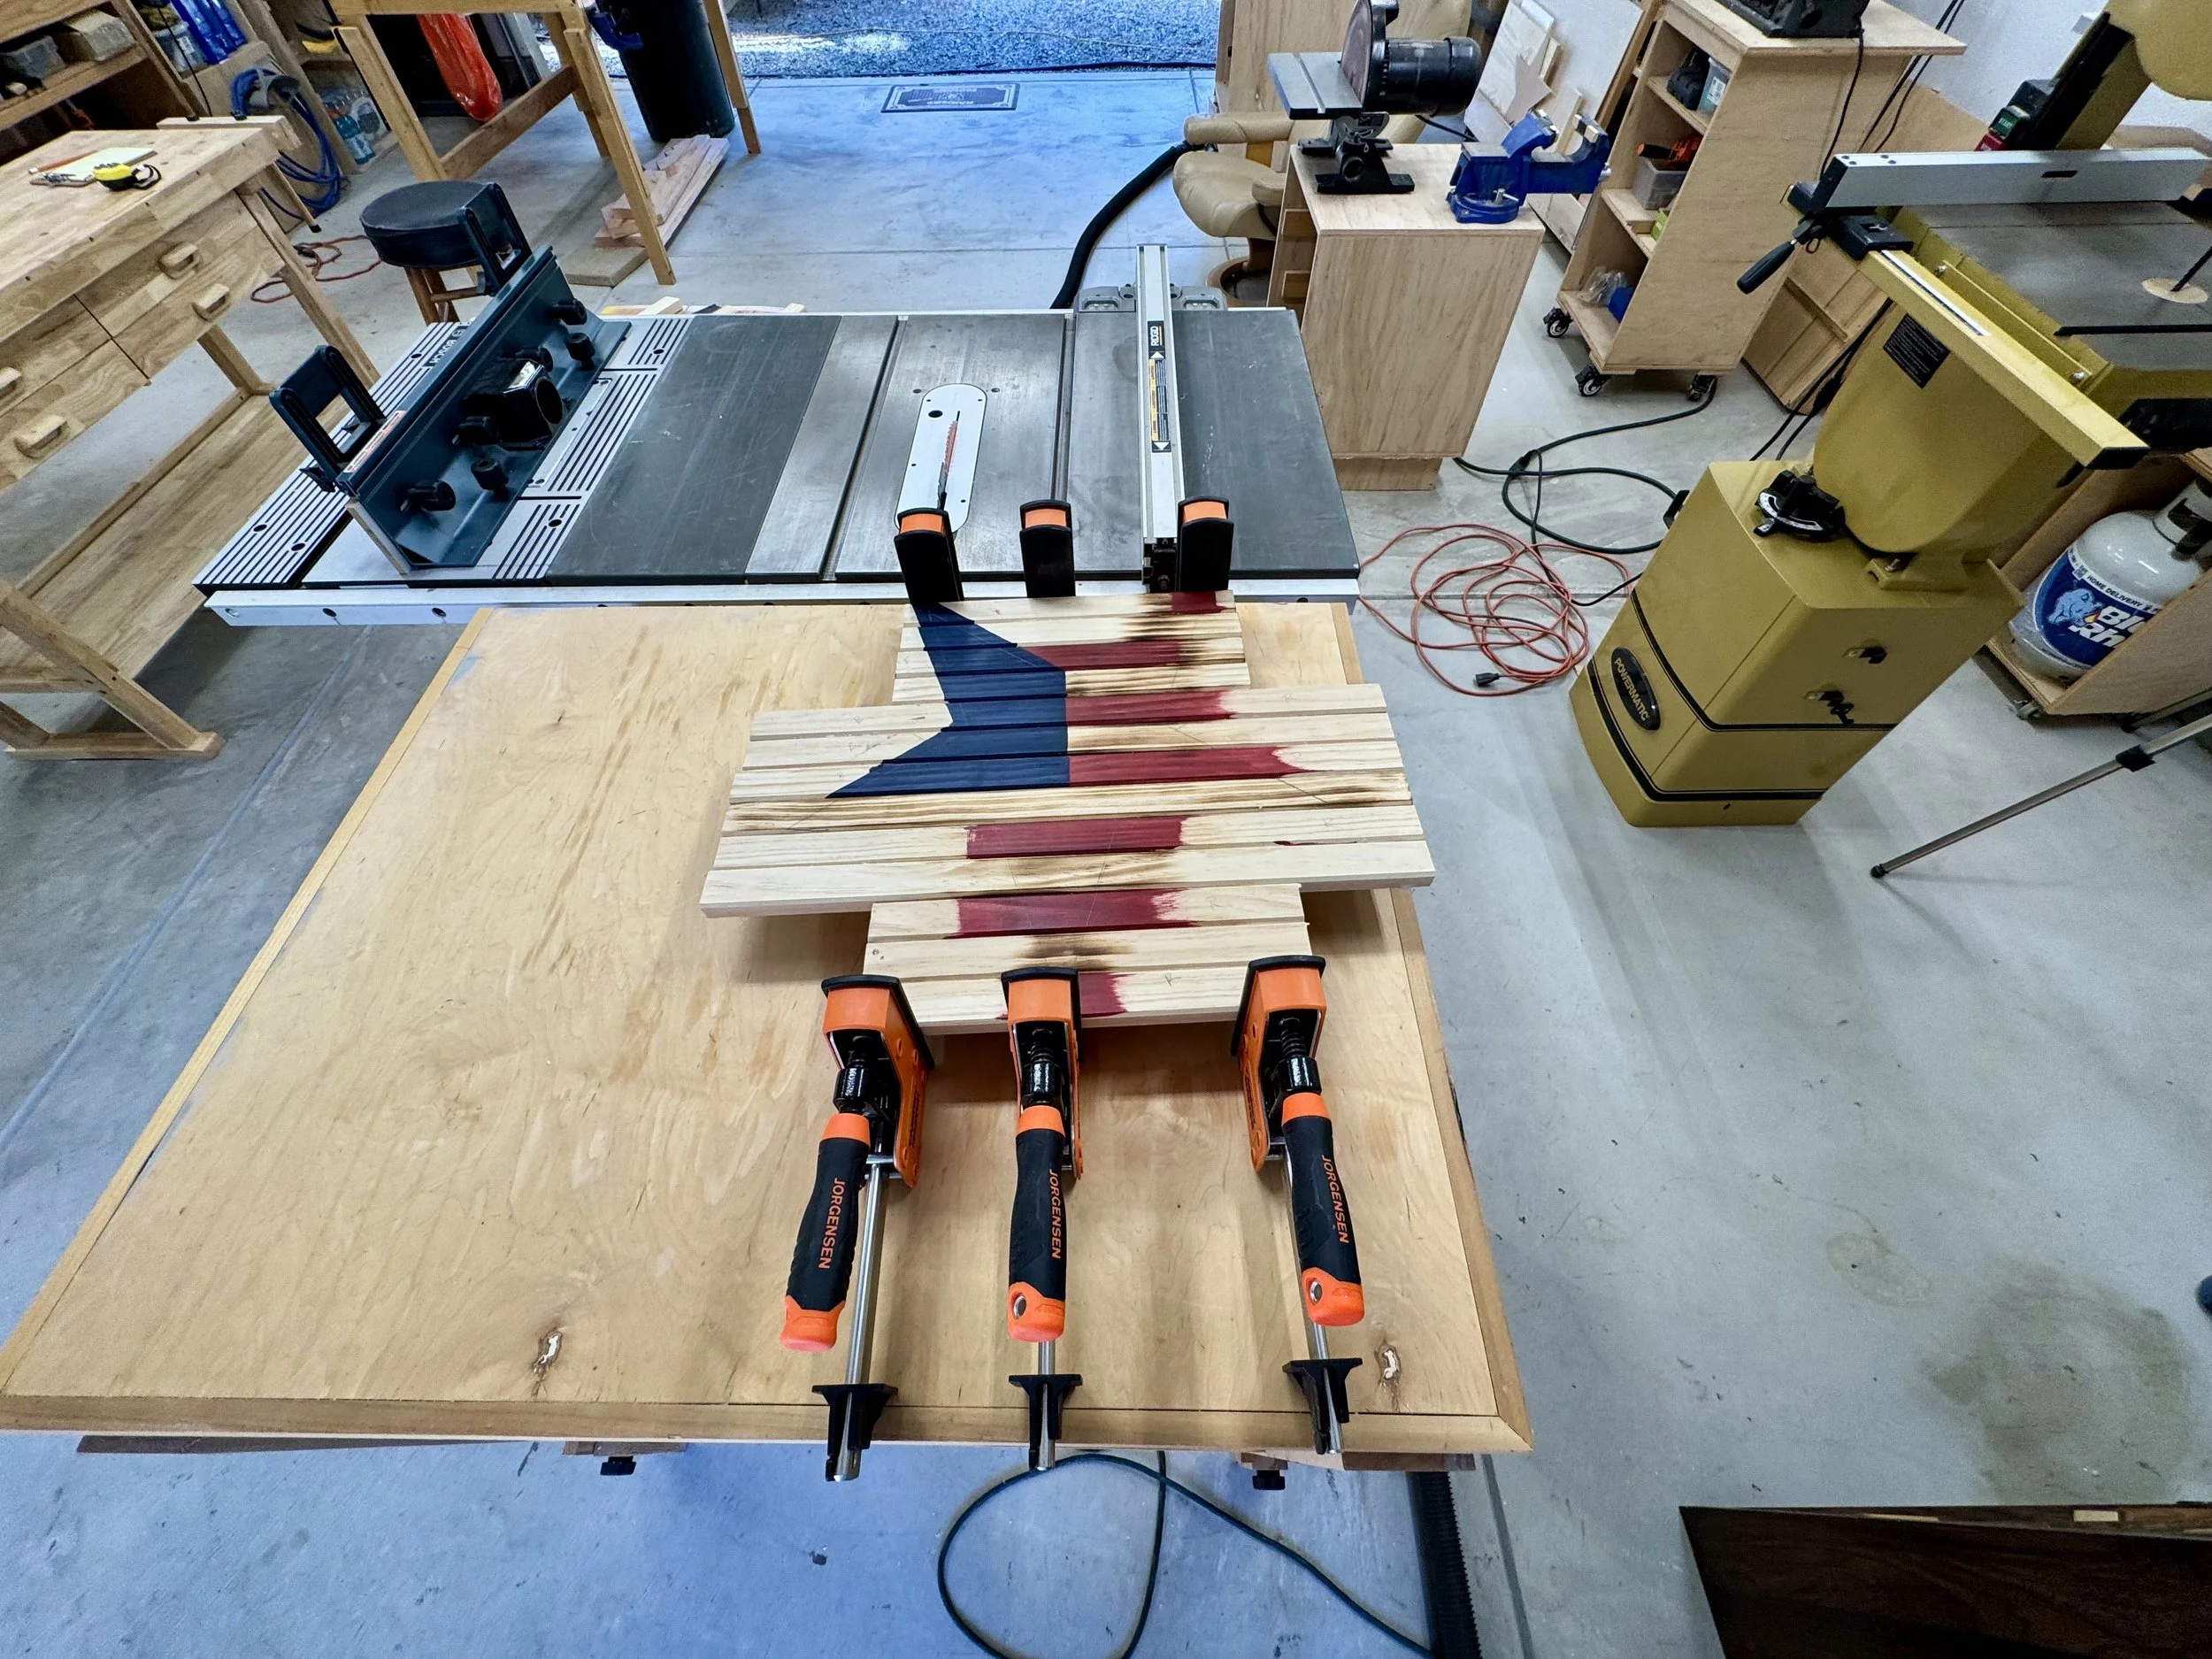
Tips for making a draped wooden flag
What I have learn after making over 20 draped wooden flags
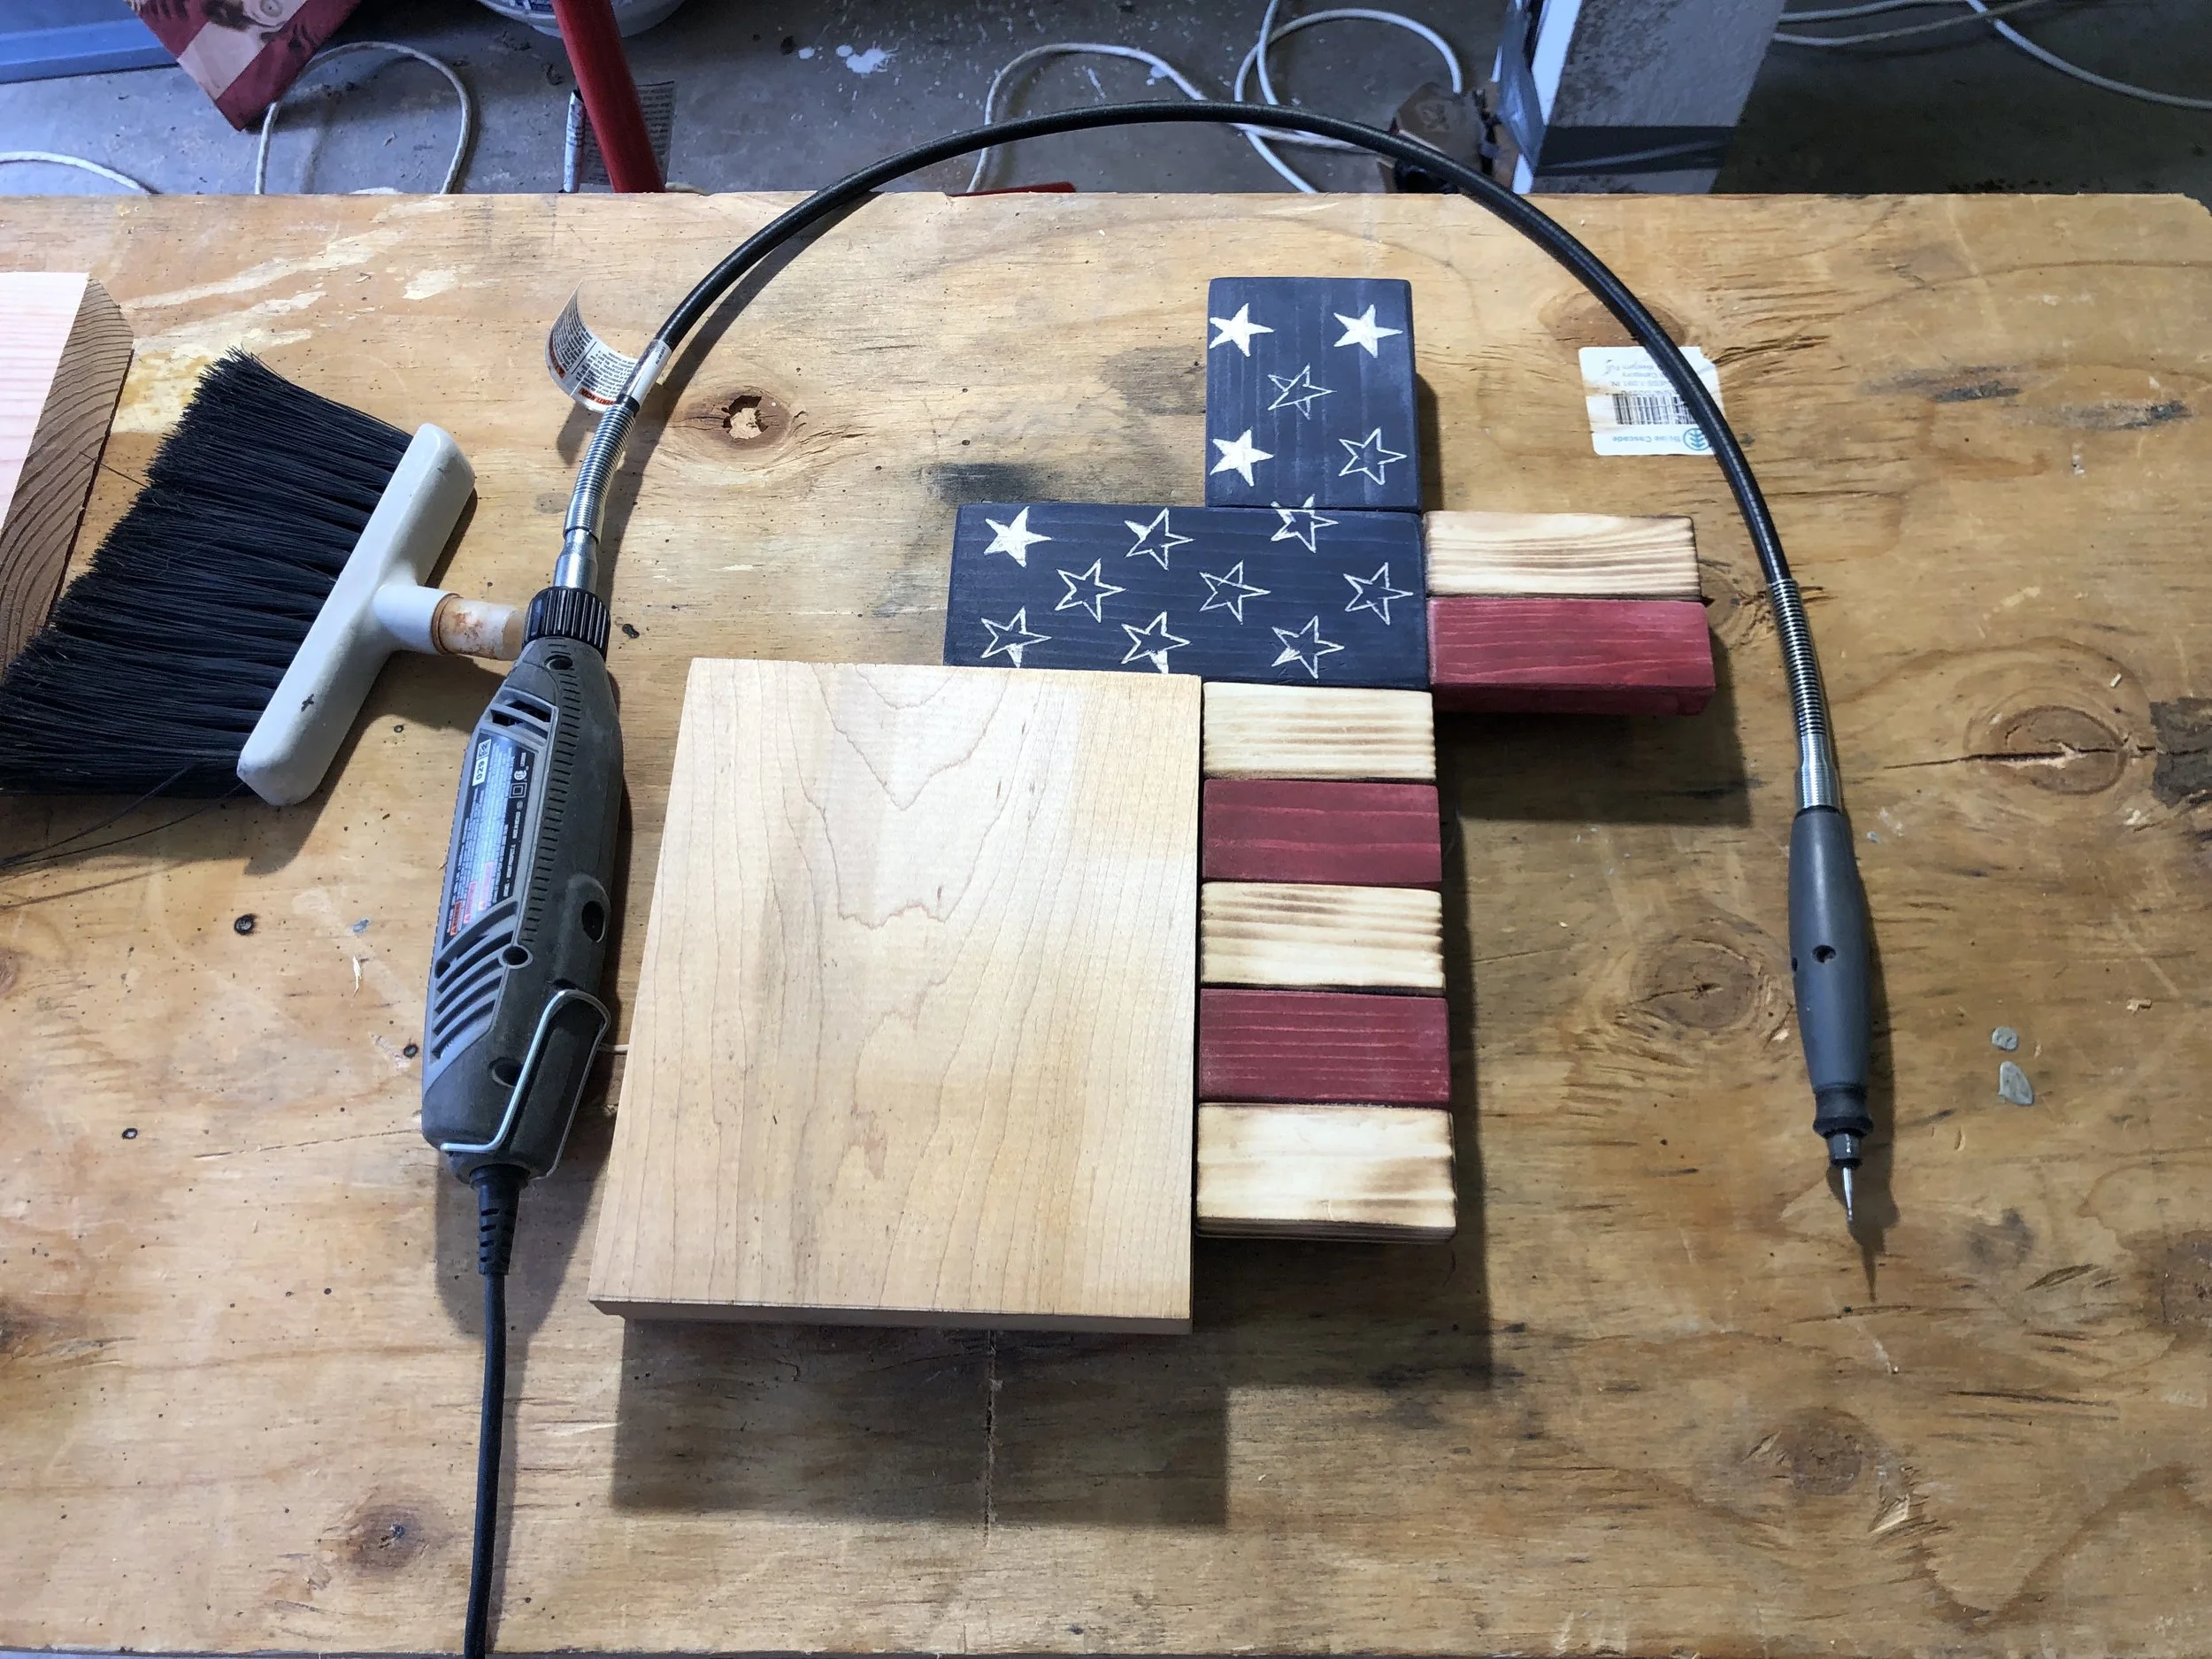
Tips for carving stars with the Dremel create clean, uniform stars.
When you carry the full depth of the "draped" waves straight through the blue union, you force yourself to carve the stars on a constantly shifting slope. It distorts the geometry of the stars, makes depth control with a Dremel incredibly frustrating, and makes it way too easy for a Dremel bit to skip.
Keeping the union flat or keeping the grooves significantly shallower is a total game-changer for a few reasons:
Consistent Depth: If you are using a Dremel, a flat surface allows your routing attachment or freehand bit to cut at a uniform depth, giving you crisp, sharp points on every single star.
Flawless Stenciling: Your stencils can lay completely flush against the wood rather than bridging over air gaps, which completely eliminates paint or stain bleed.
Glue on wood stars: Keeping that section flat makes it incredibly easy to use raised, glue-on wooden stars. The contrast between the perfectly uniform, crisp 3D stars makes the Draped flag look incredibly clean and nice
Also, apply a very light coat of blue stain. This allows for less time using the Dremel tool to carve the stars.
Use the smallest Dremel bit. It will take a bit longer, however it provides for a cleaner carve star.
Use a slower speed setting on your Dremel. This combined with the small bit will make the stars very easy to carve.
When carving the lines that make that draped flag look. Try to make your grooves in the blue stained union less deep then the lower part of the flag. This will make carving the stars much easier.
Consider making the blue stained section of the draped flag flat. This will allow very easy to dremel the star or even use the glue on wooded stars
Anyone who has tried to carve or Dremel 50 uniform stars across deep, wavy ripples knows exactly why this is a lifesaver.
When you carry the full depth of the "draped" waves straight through the blue union, you force yourself to cut stars on a constantly shifting slope. It distorts the geometry of the stars, makes depth control with a rotary tool incredibly frustrating, and makes it way too easy for a bit to skip.
Keeping the union flat or keeping the grooves significantly shallower is a total game-changer for a few reasons:
Consistent Depth: If you are using a Dremel, a flat surface allows your routing attachment or freehand bit to cut at a uniform depth, giving you crisp, sharp points on every single star.
Flawless Stenciling: Your stencils can lay completely flush against the wood rather than bridging over air gaps, which completely eliminates paint or stain bleed.
Glue on wood stars: Keeping that section flat makes it incredibly easy to use raised, glue-on wooden stars. The contrast between the perfectly uniform, crisp 3D stars and the fluid, organic waves of the stripes looks incredibly high-end.
It's a classic "work smarter, not harder" design choice that saves hours of frustration and actually results in a cleaner, more professional finish.
Busy in the Shop
For those of you who follow my blog, I've been trying a few new things over the past month.
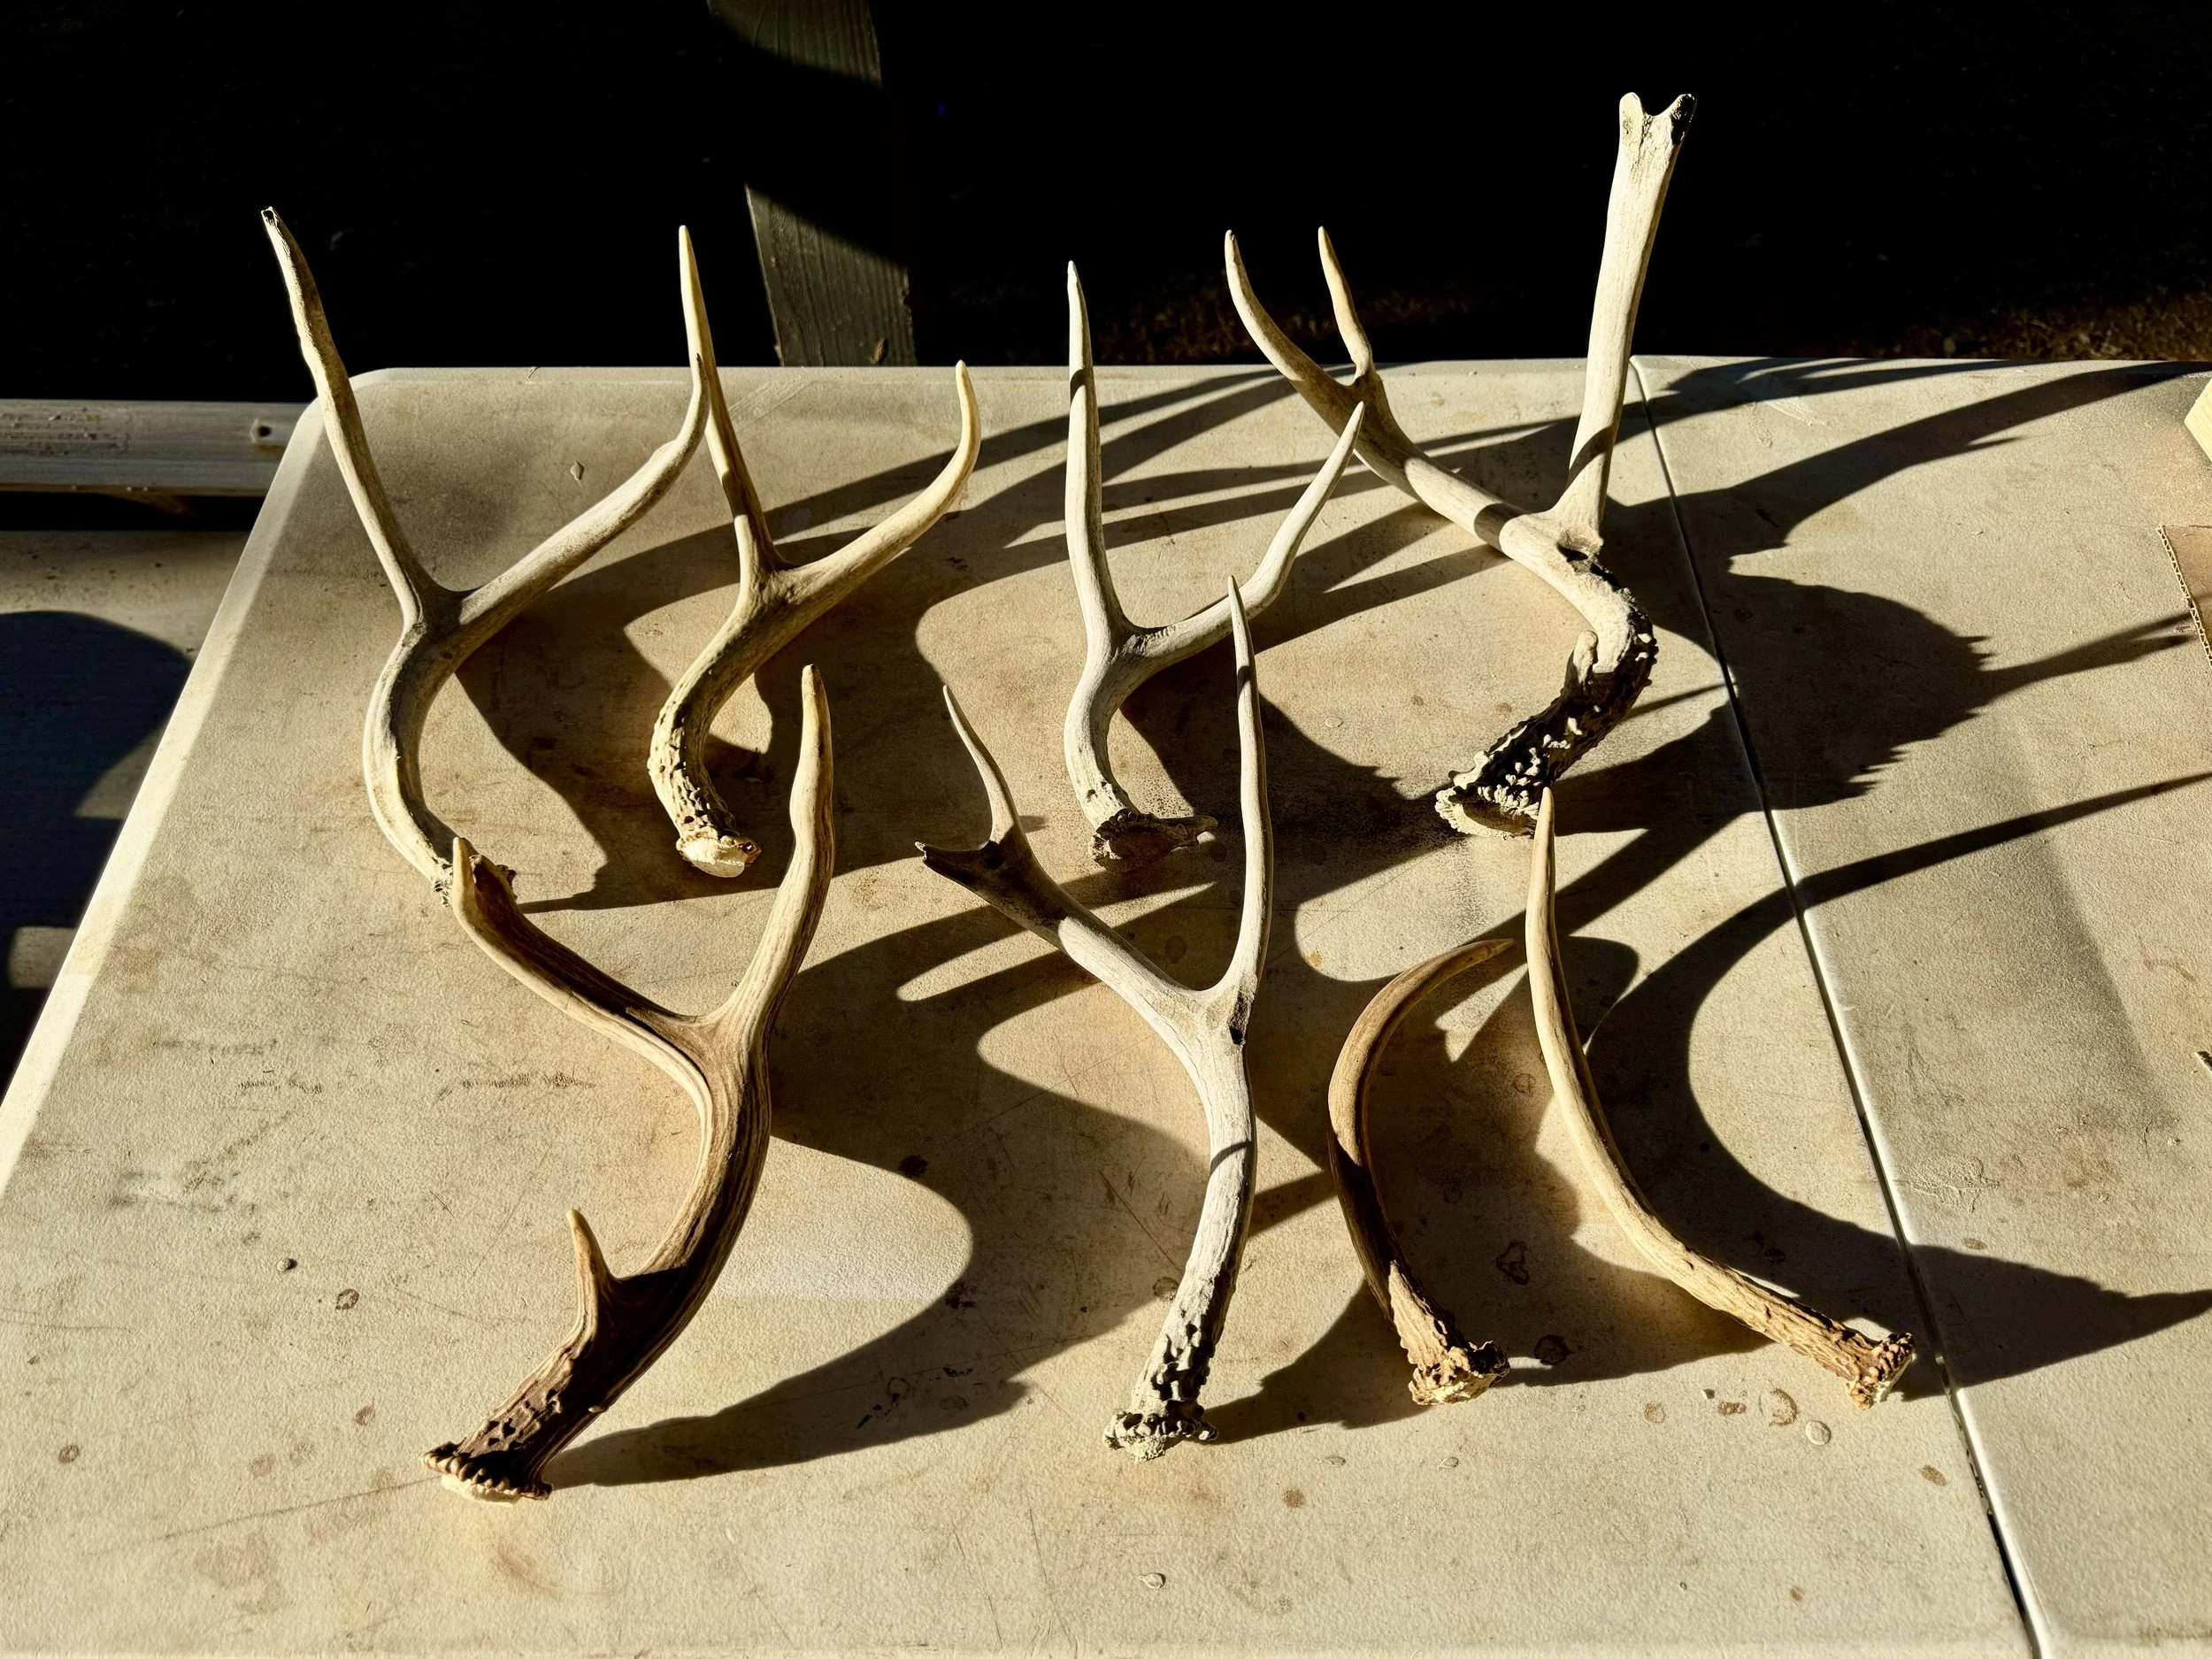
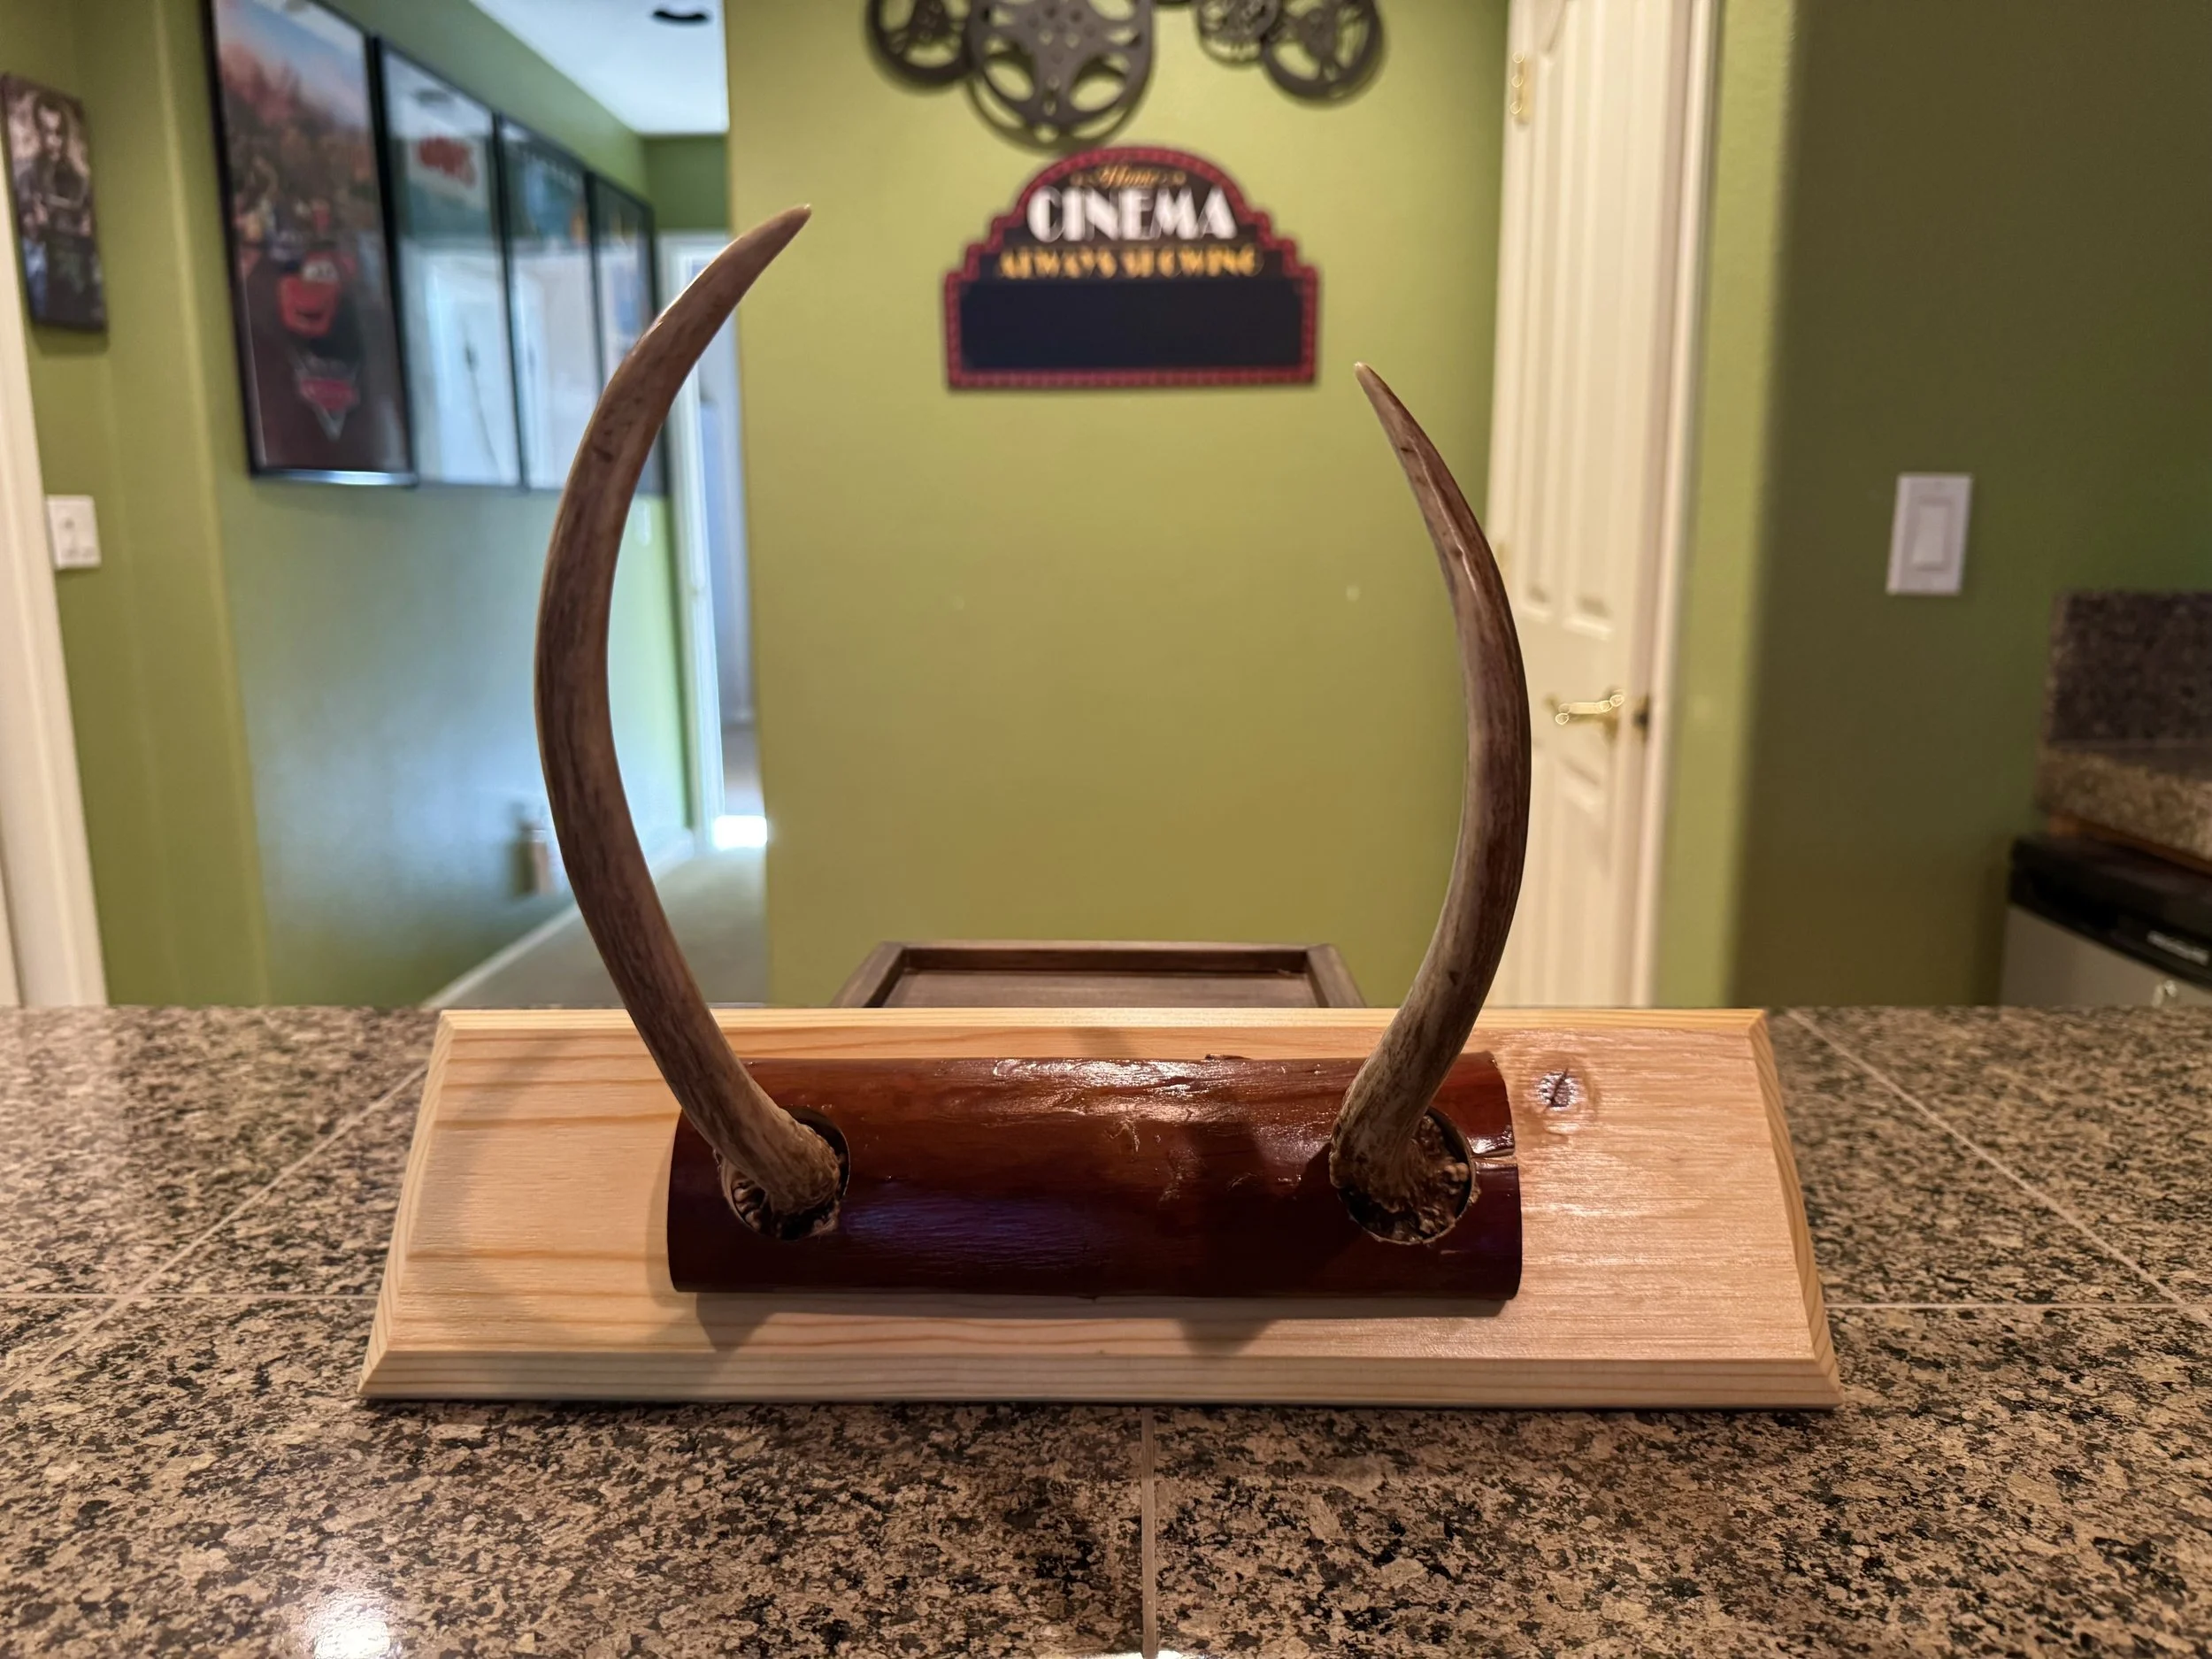
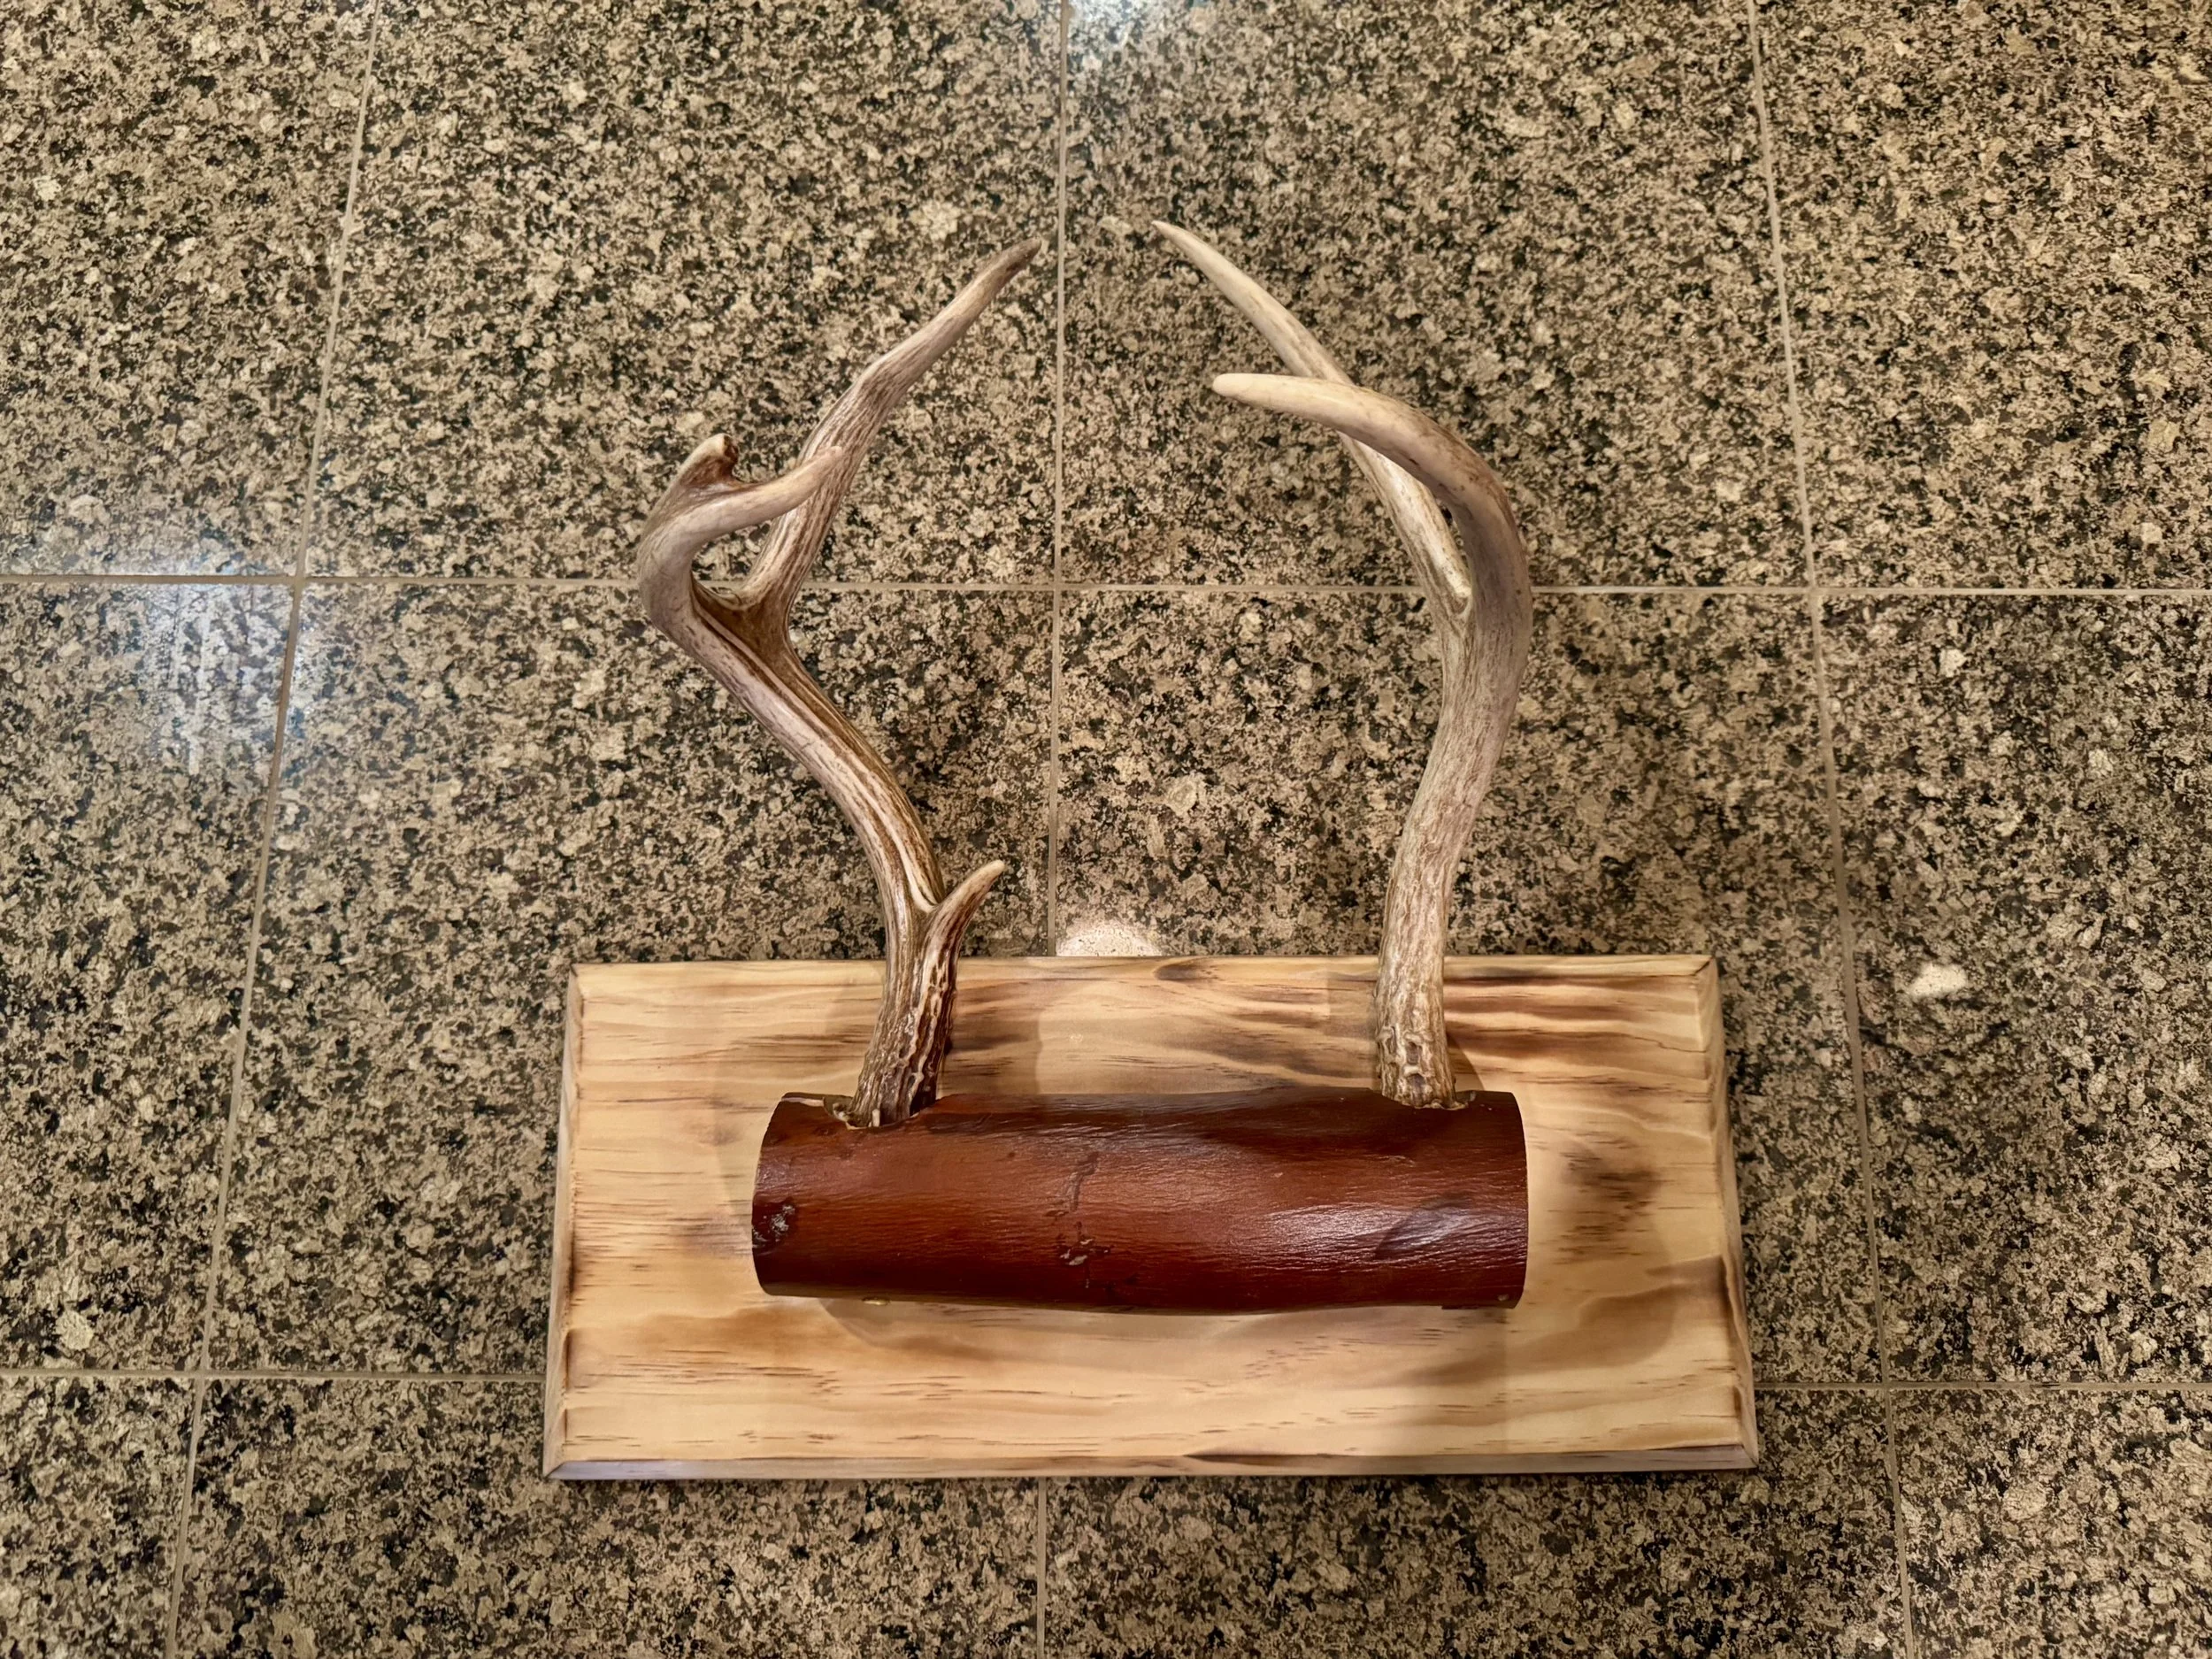
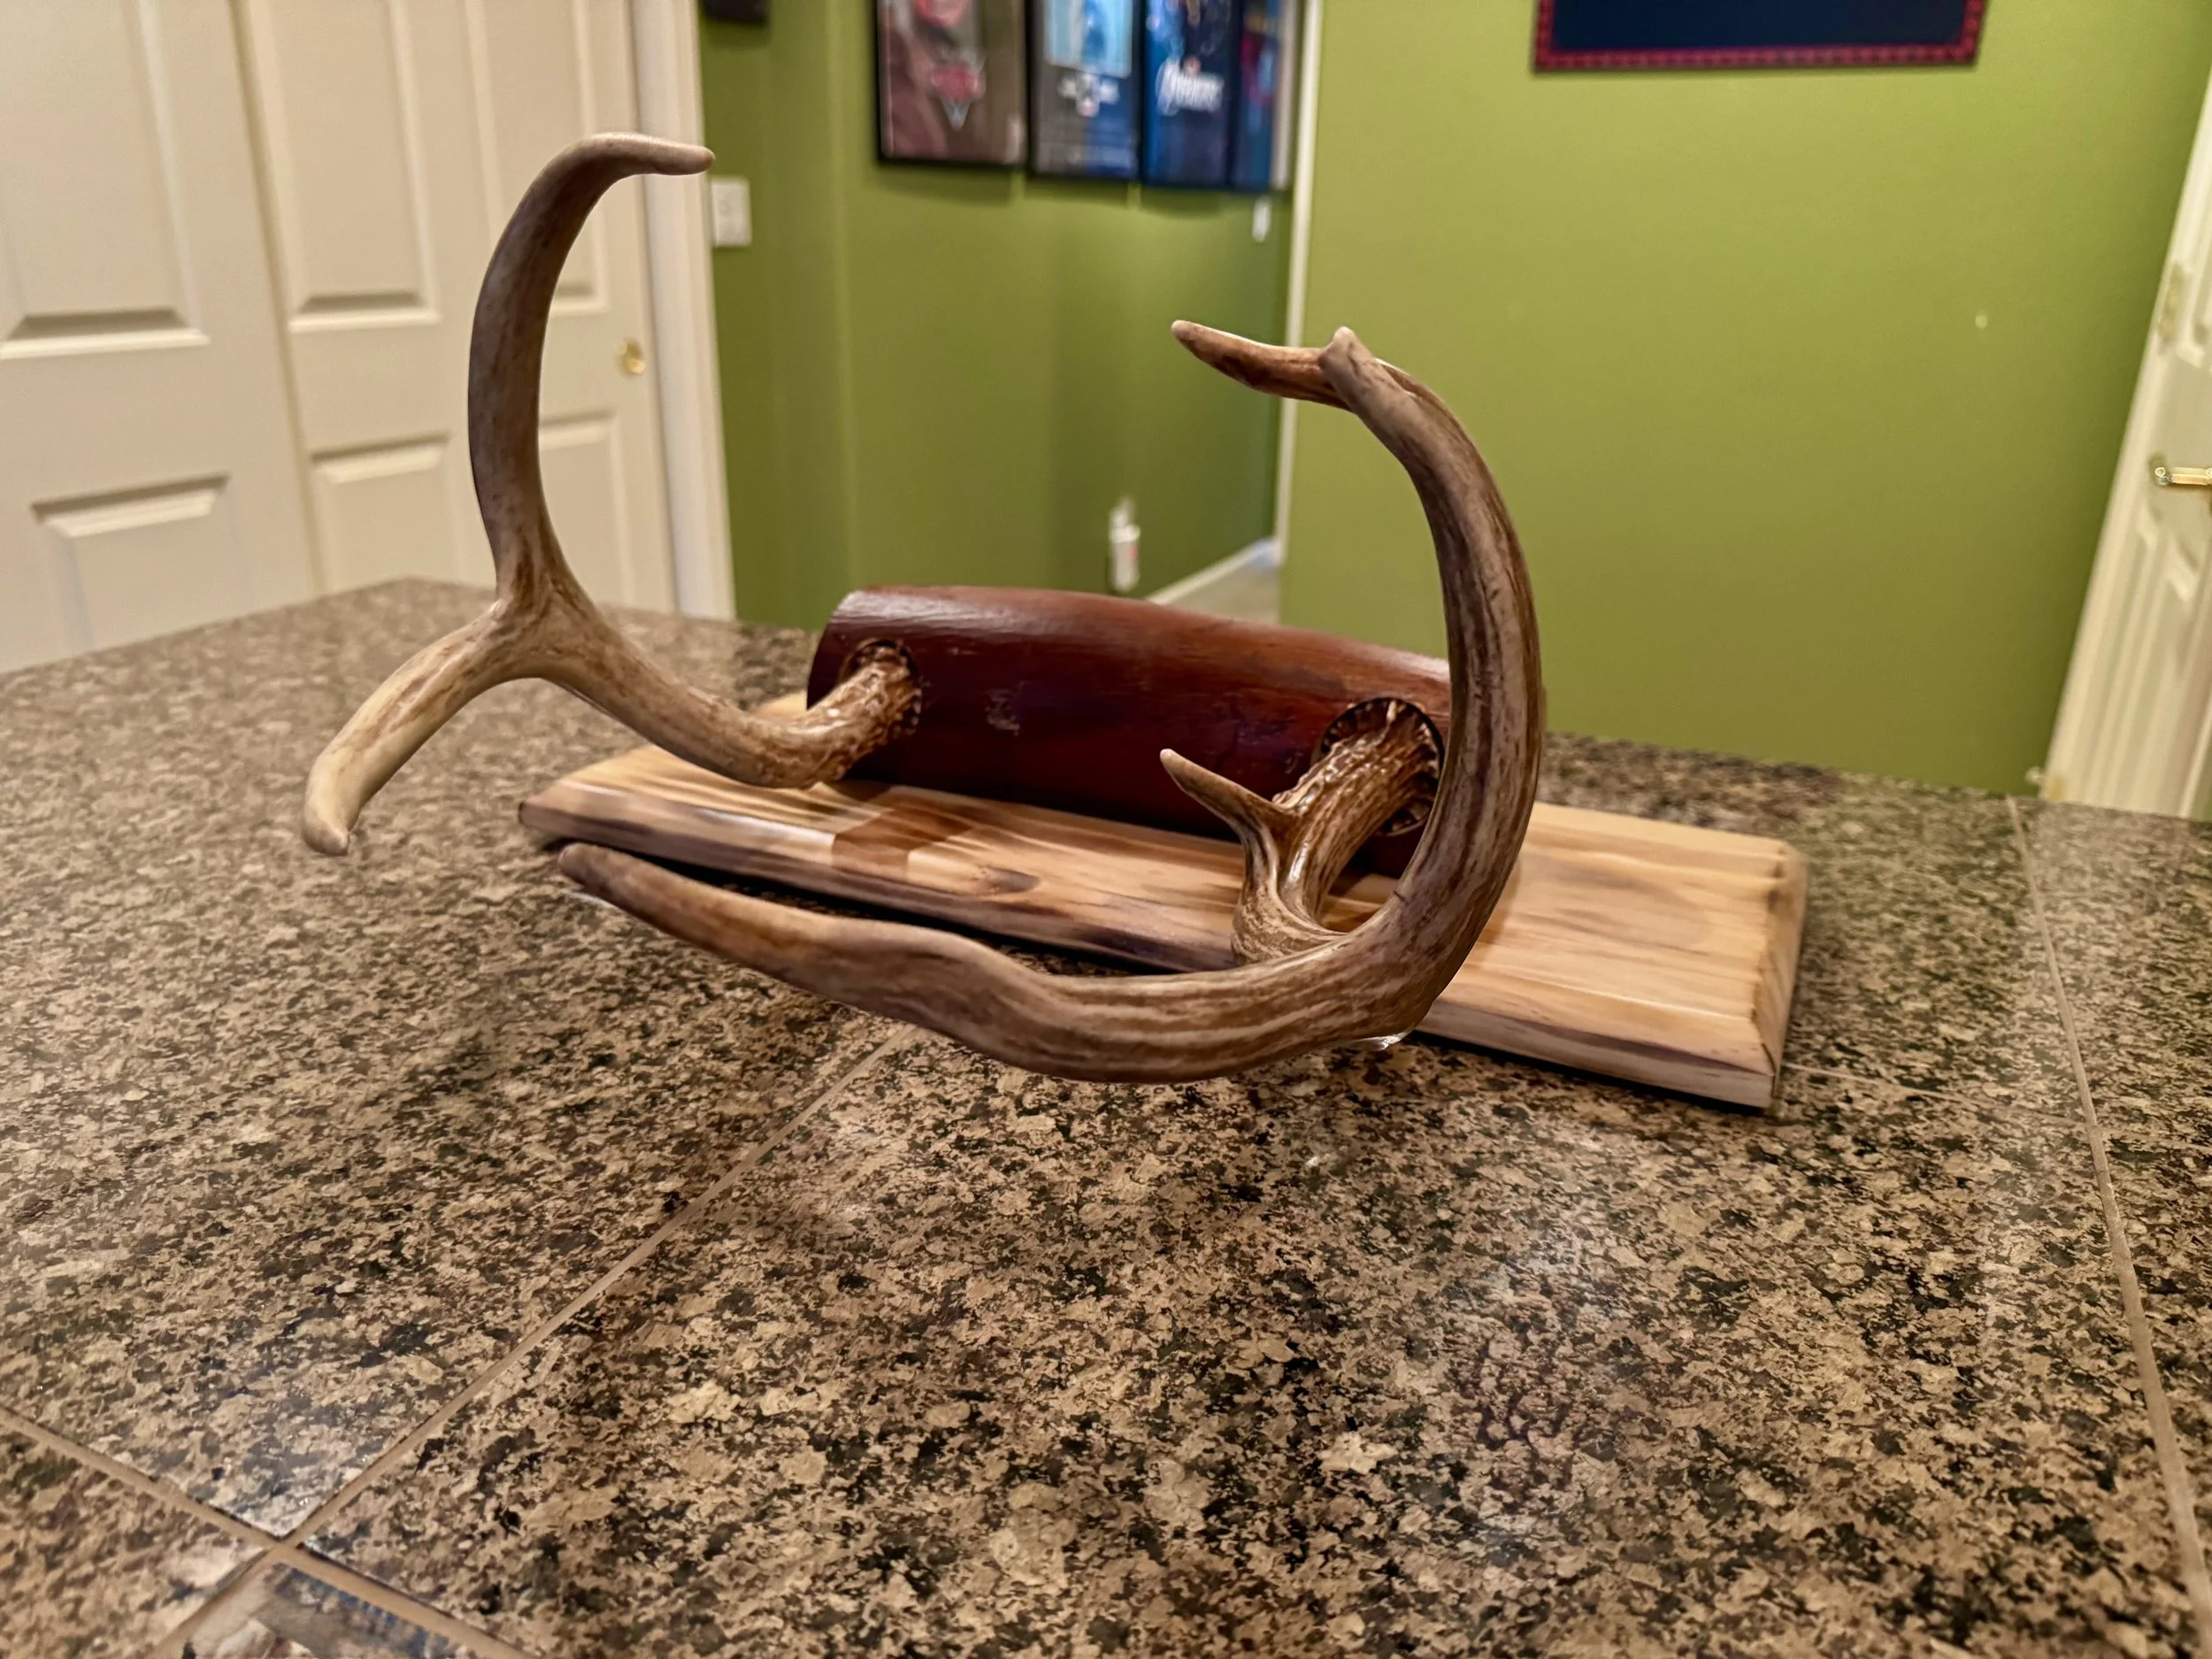
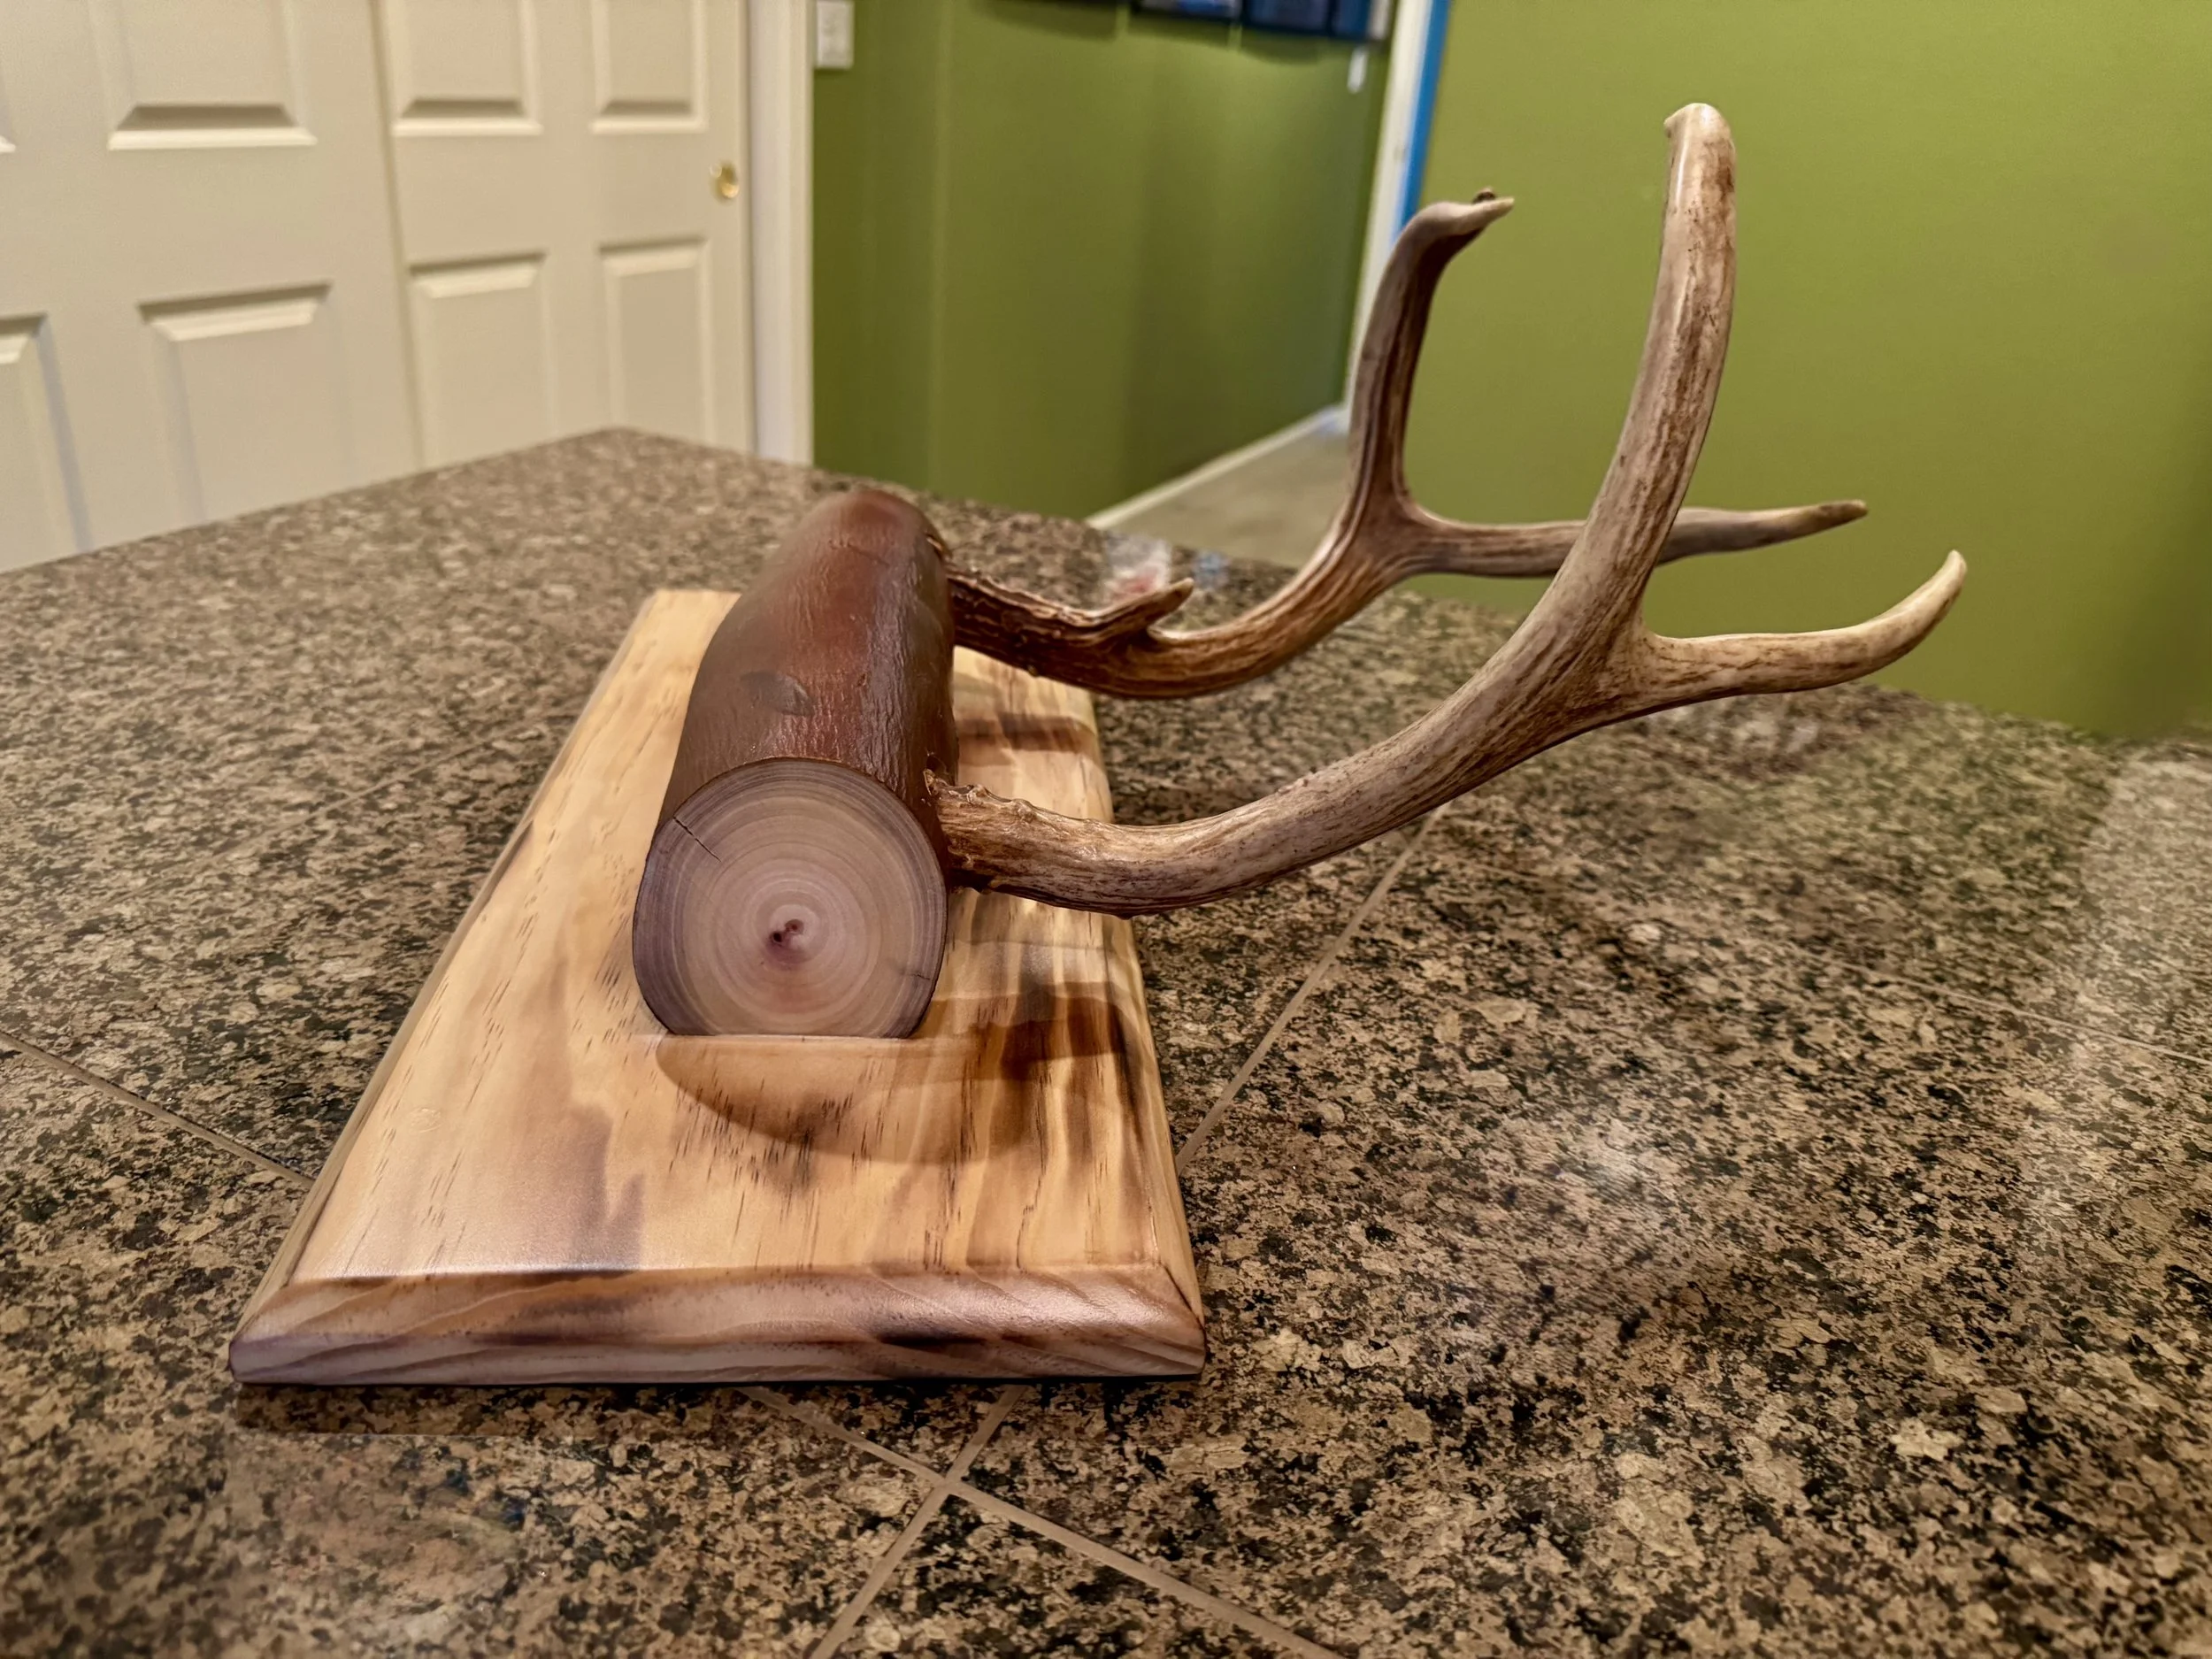
Back in March, we had a terrible snowstorm that brought down several trees on our property. Rather than let the wood go to waste, I've been turning the Birch and Madrone into handcrafted boxes. I've also been using the Madrone to create deer antler wall art using antlers we find around our property.
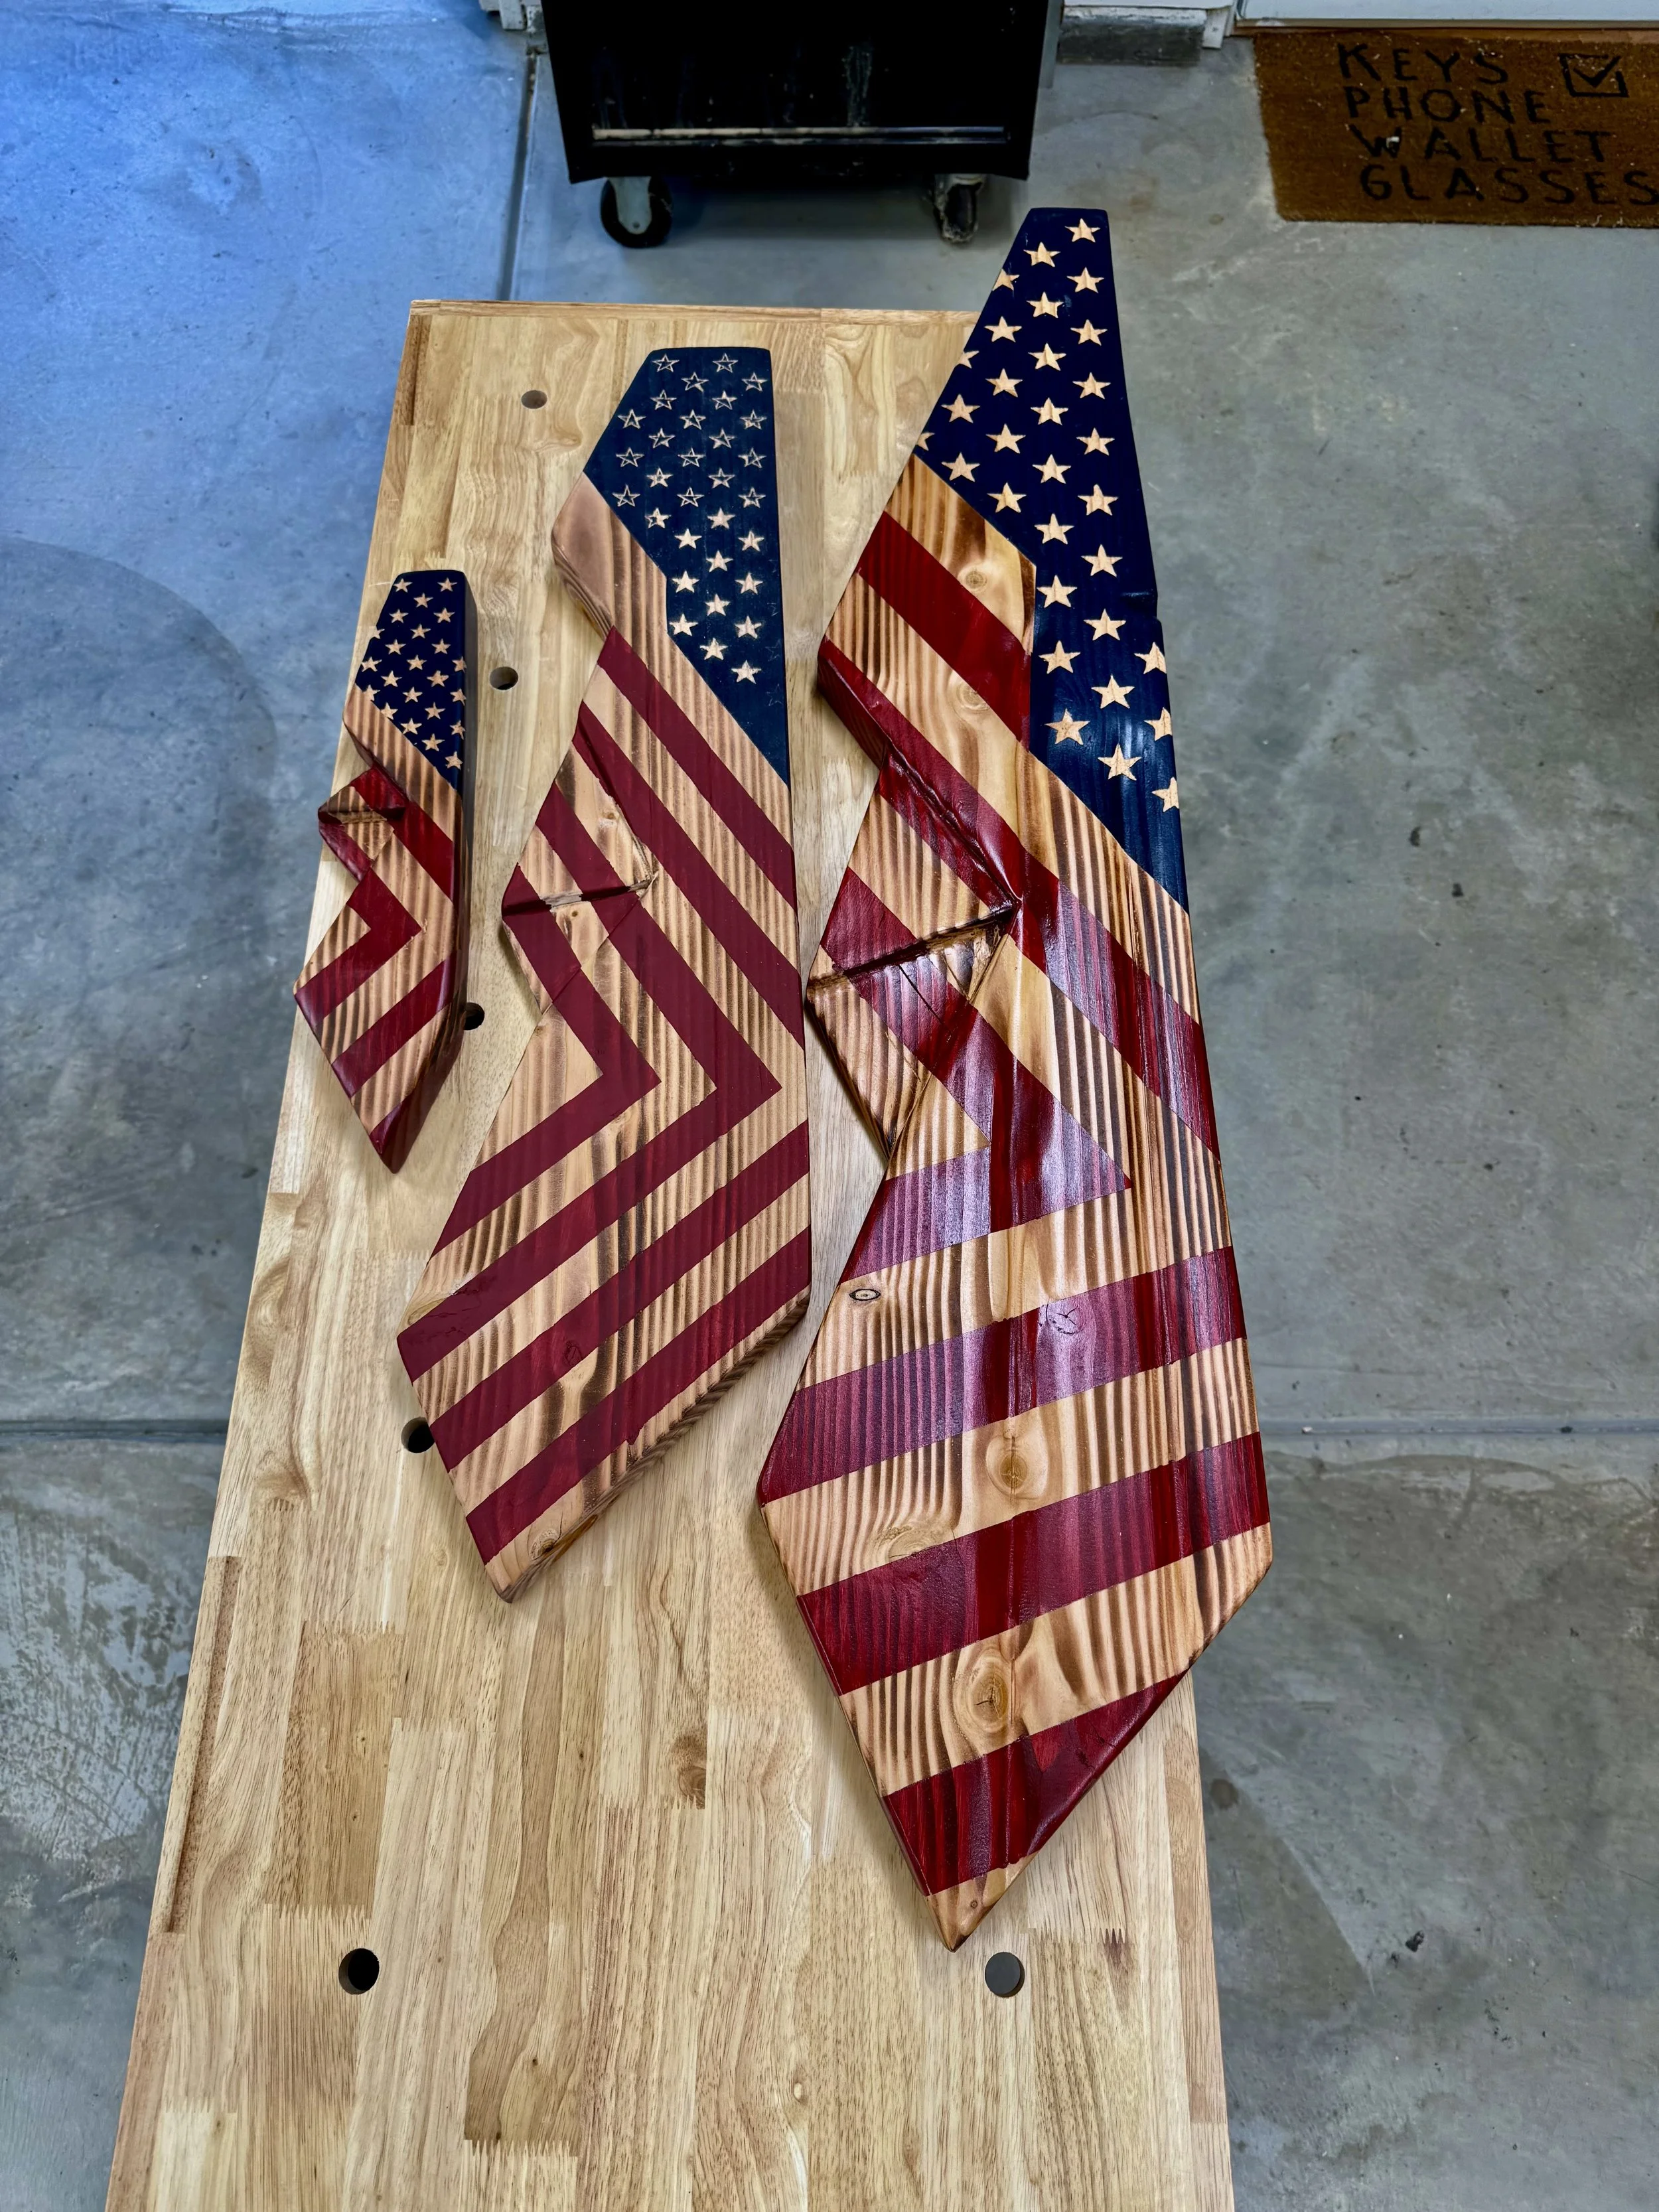
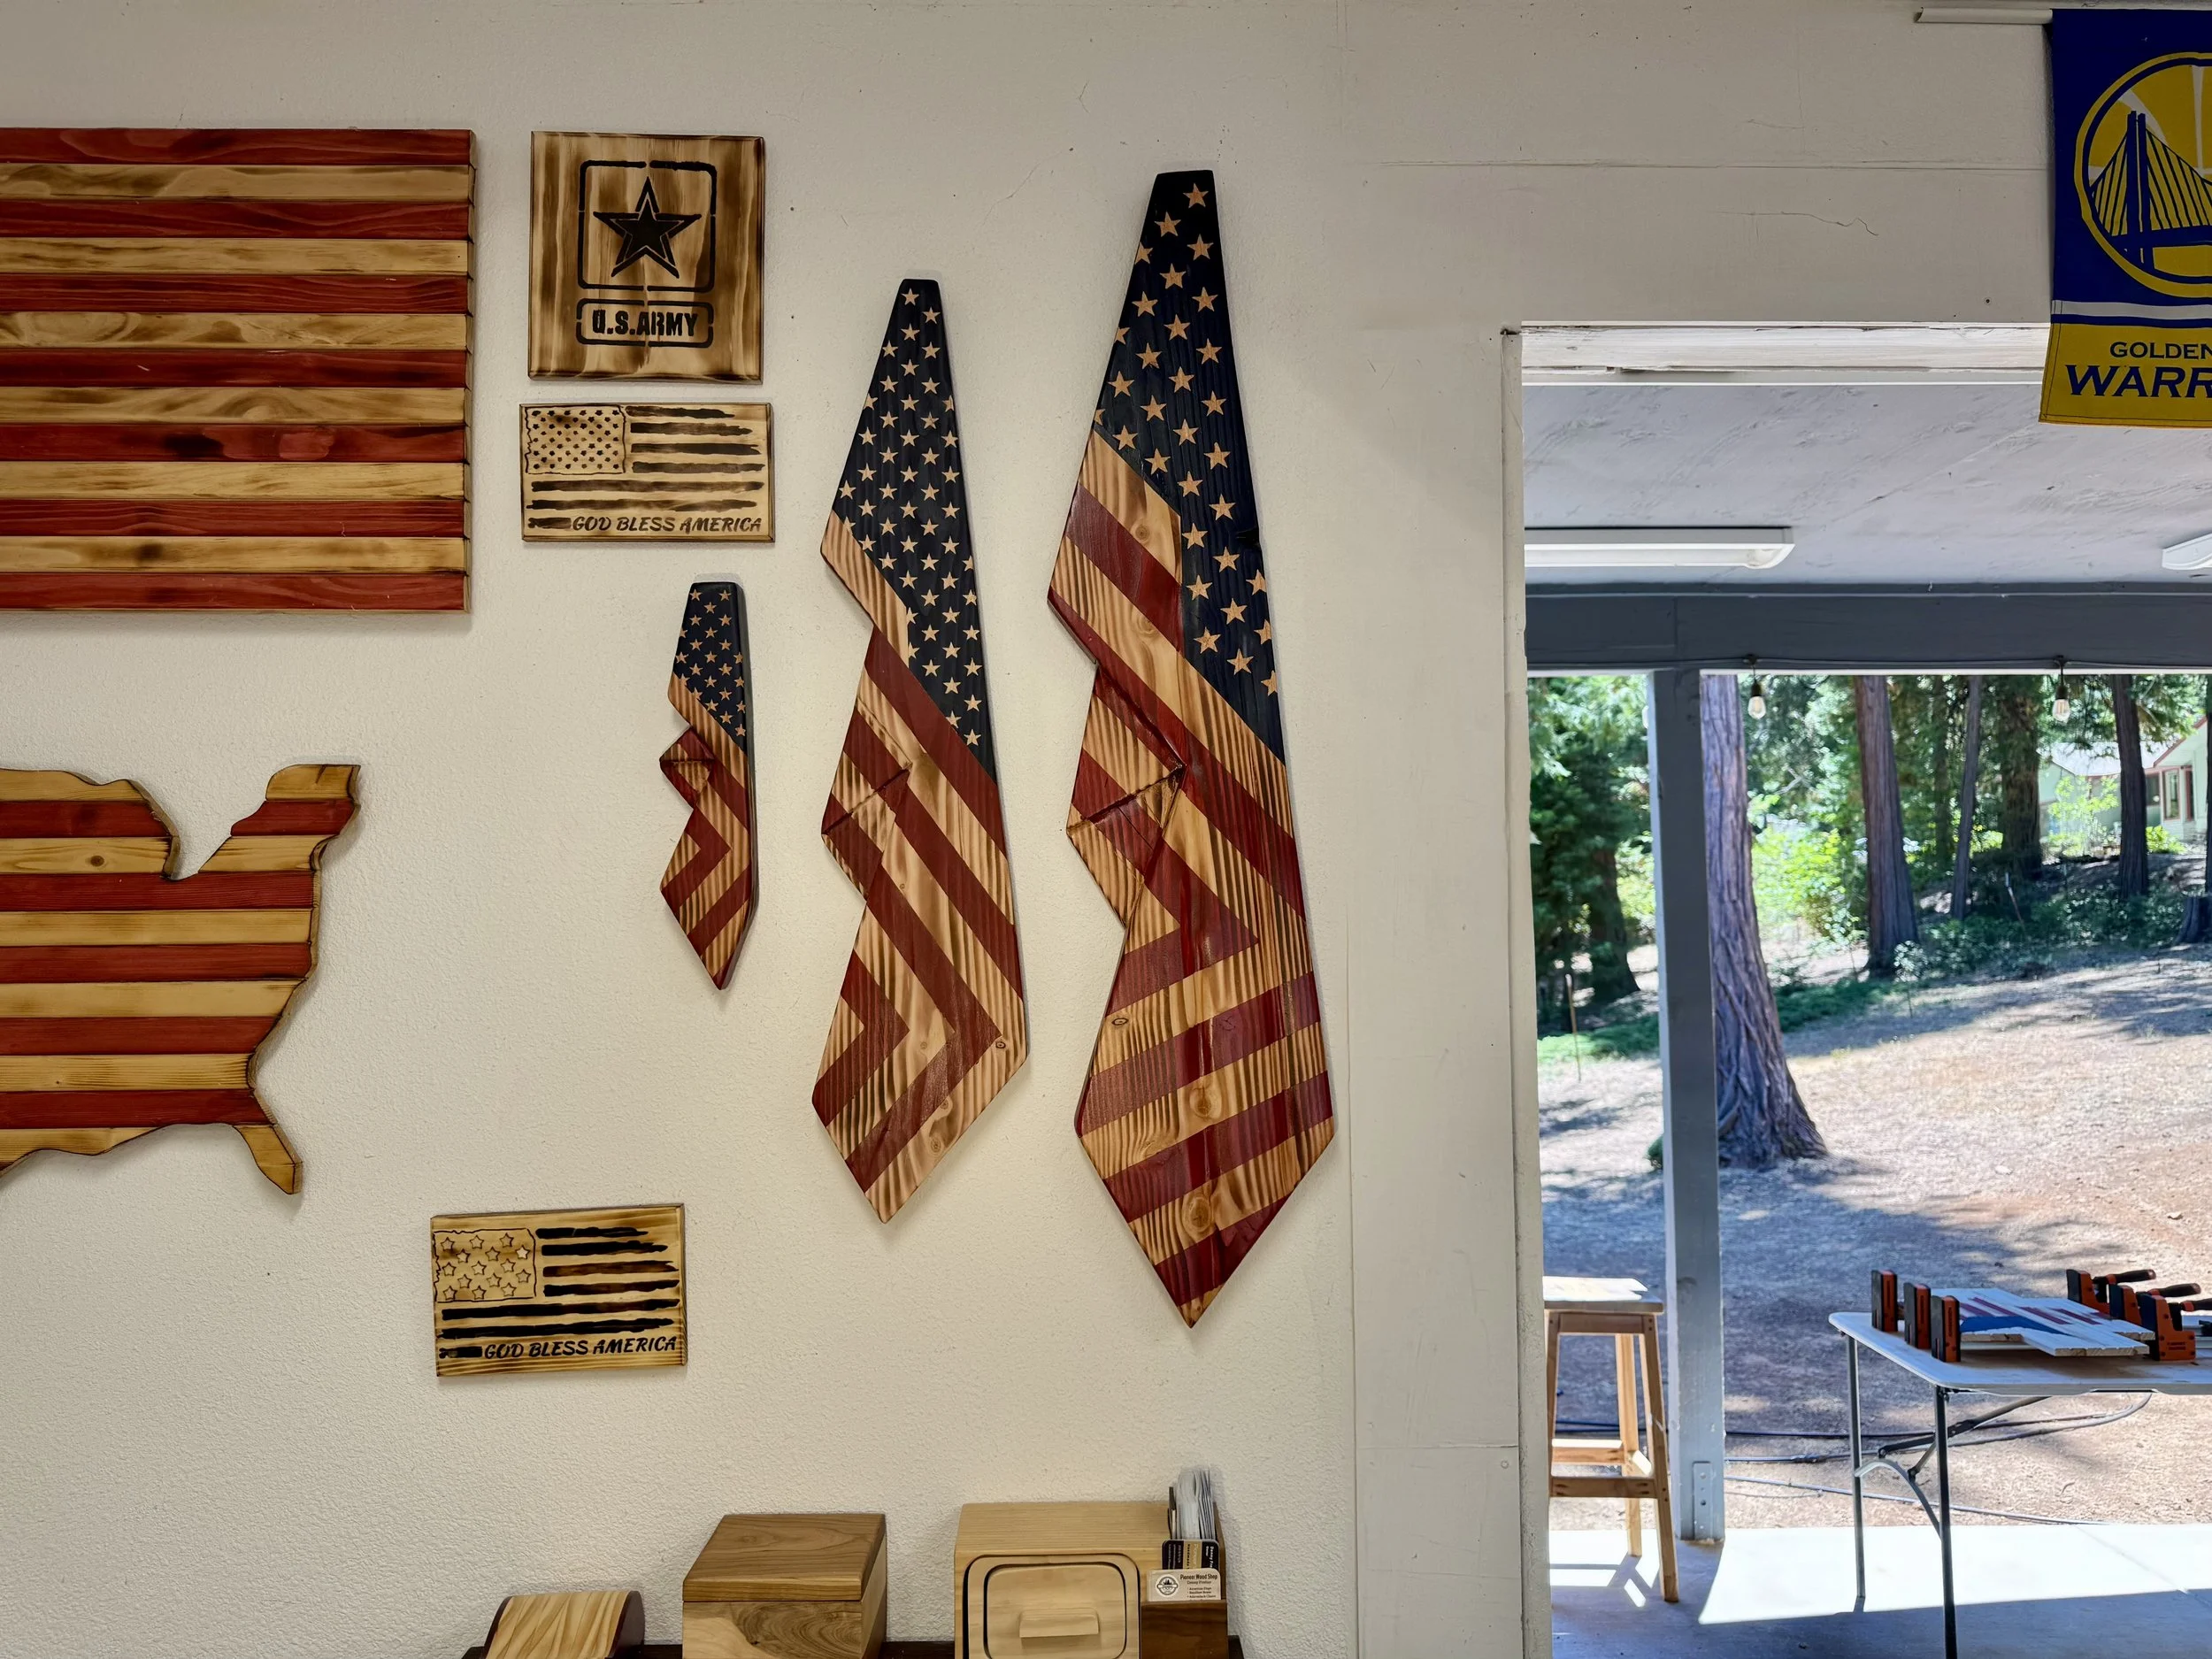
I've been making draped American flags for about a year now, and recently I decided to challenge myself by creating a smaller version. My first attempt didn't turn out the way I had hoped, but the second one came out beautifully. I also designed a medium-sized draped flag, which has quickly become my favorite.
Be sure to check out the photos and videos to see what I've been working on.
Thanks for stopping by!
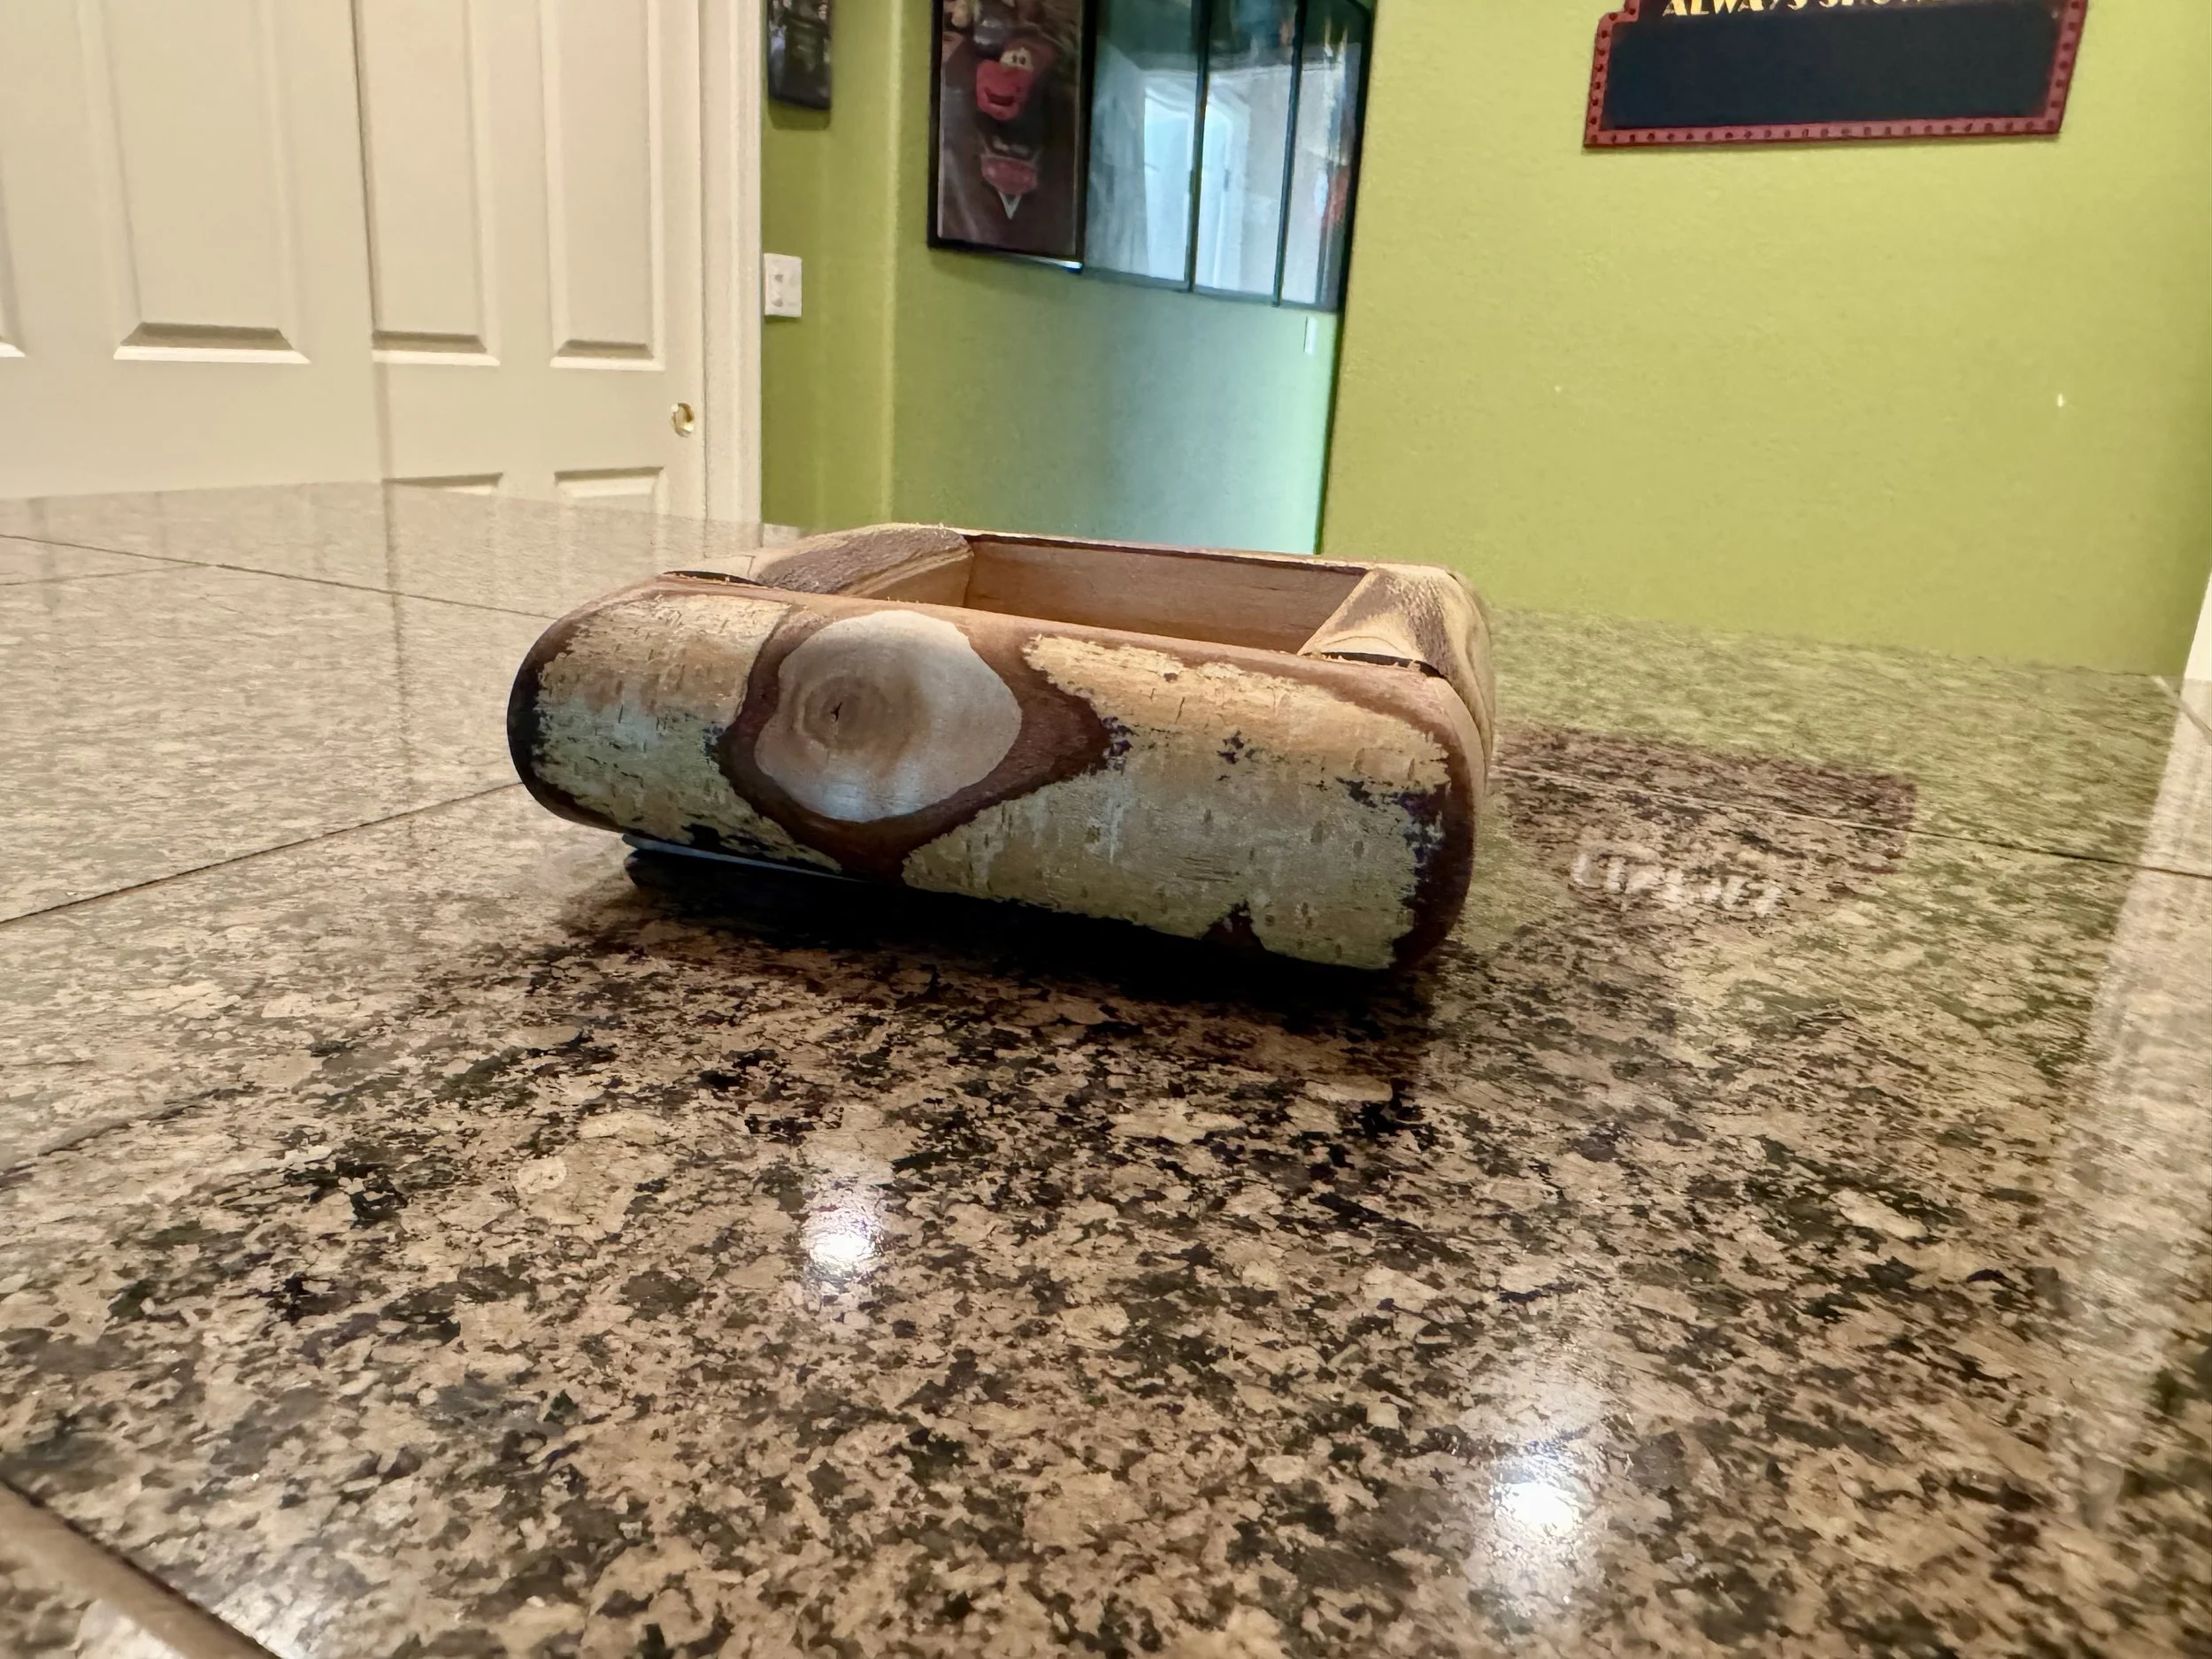
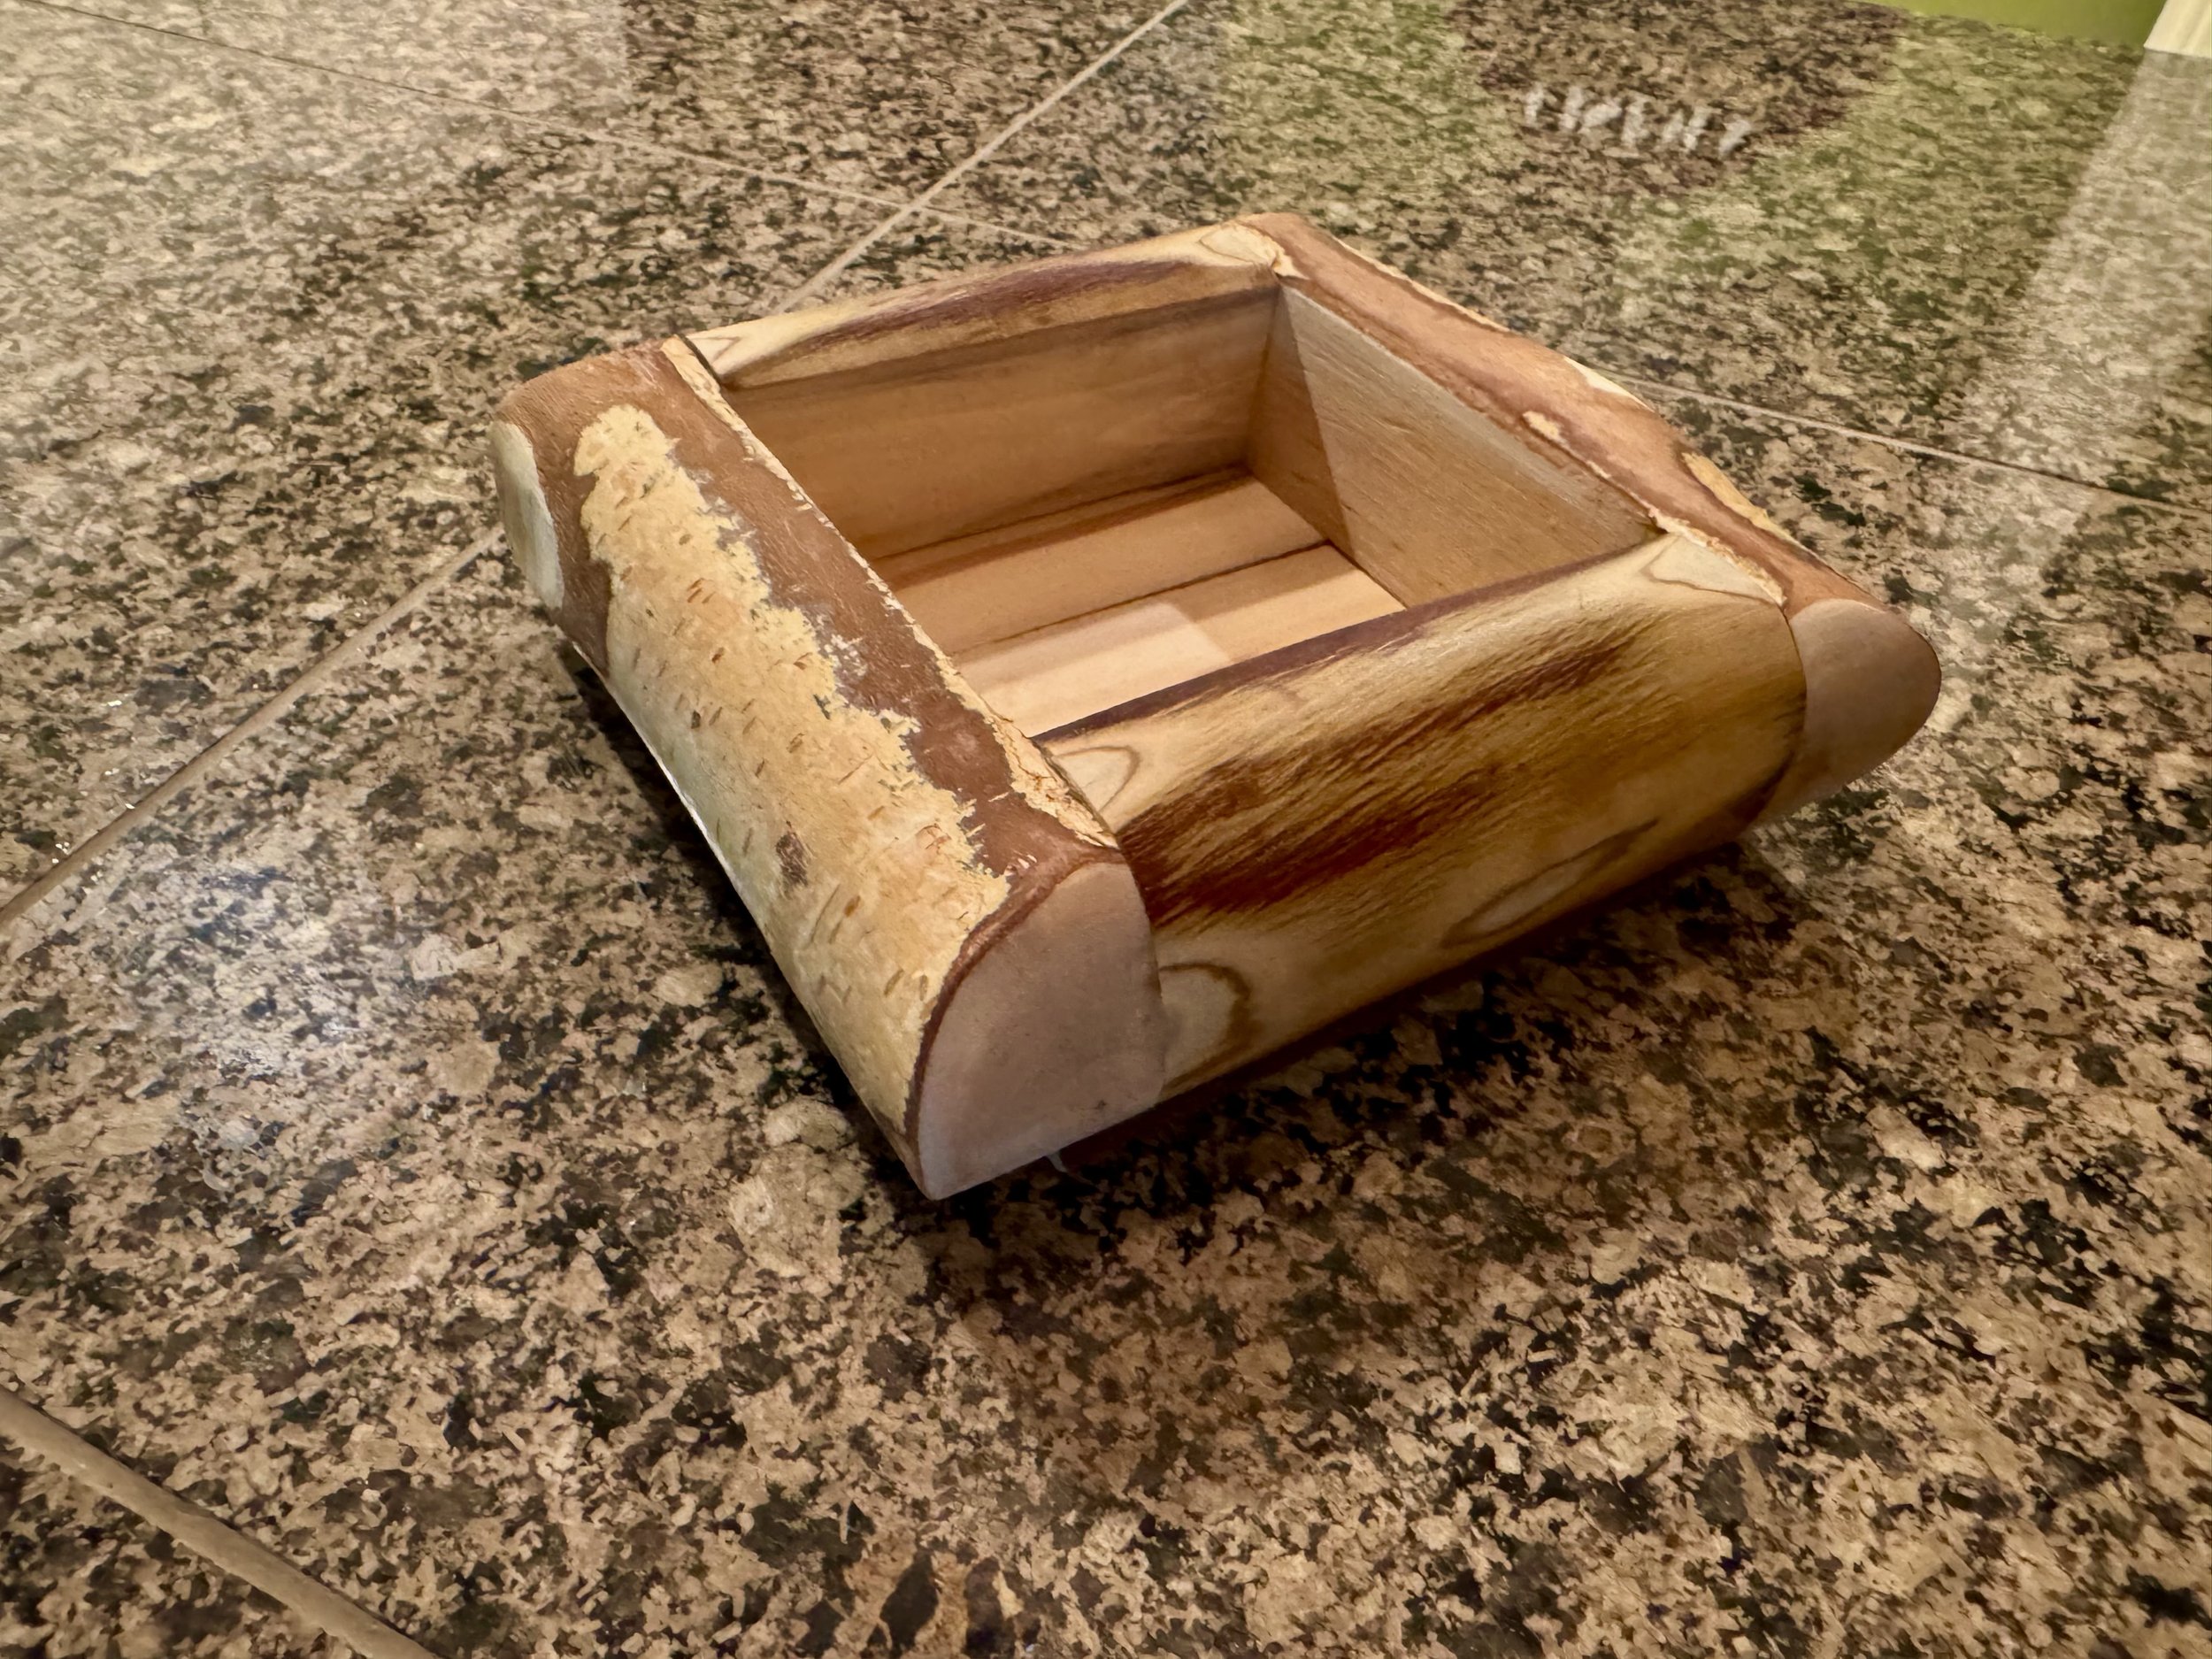
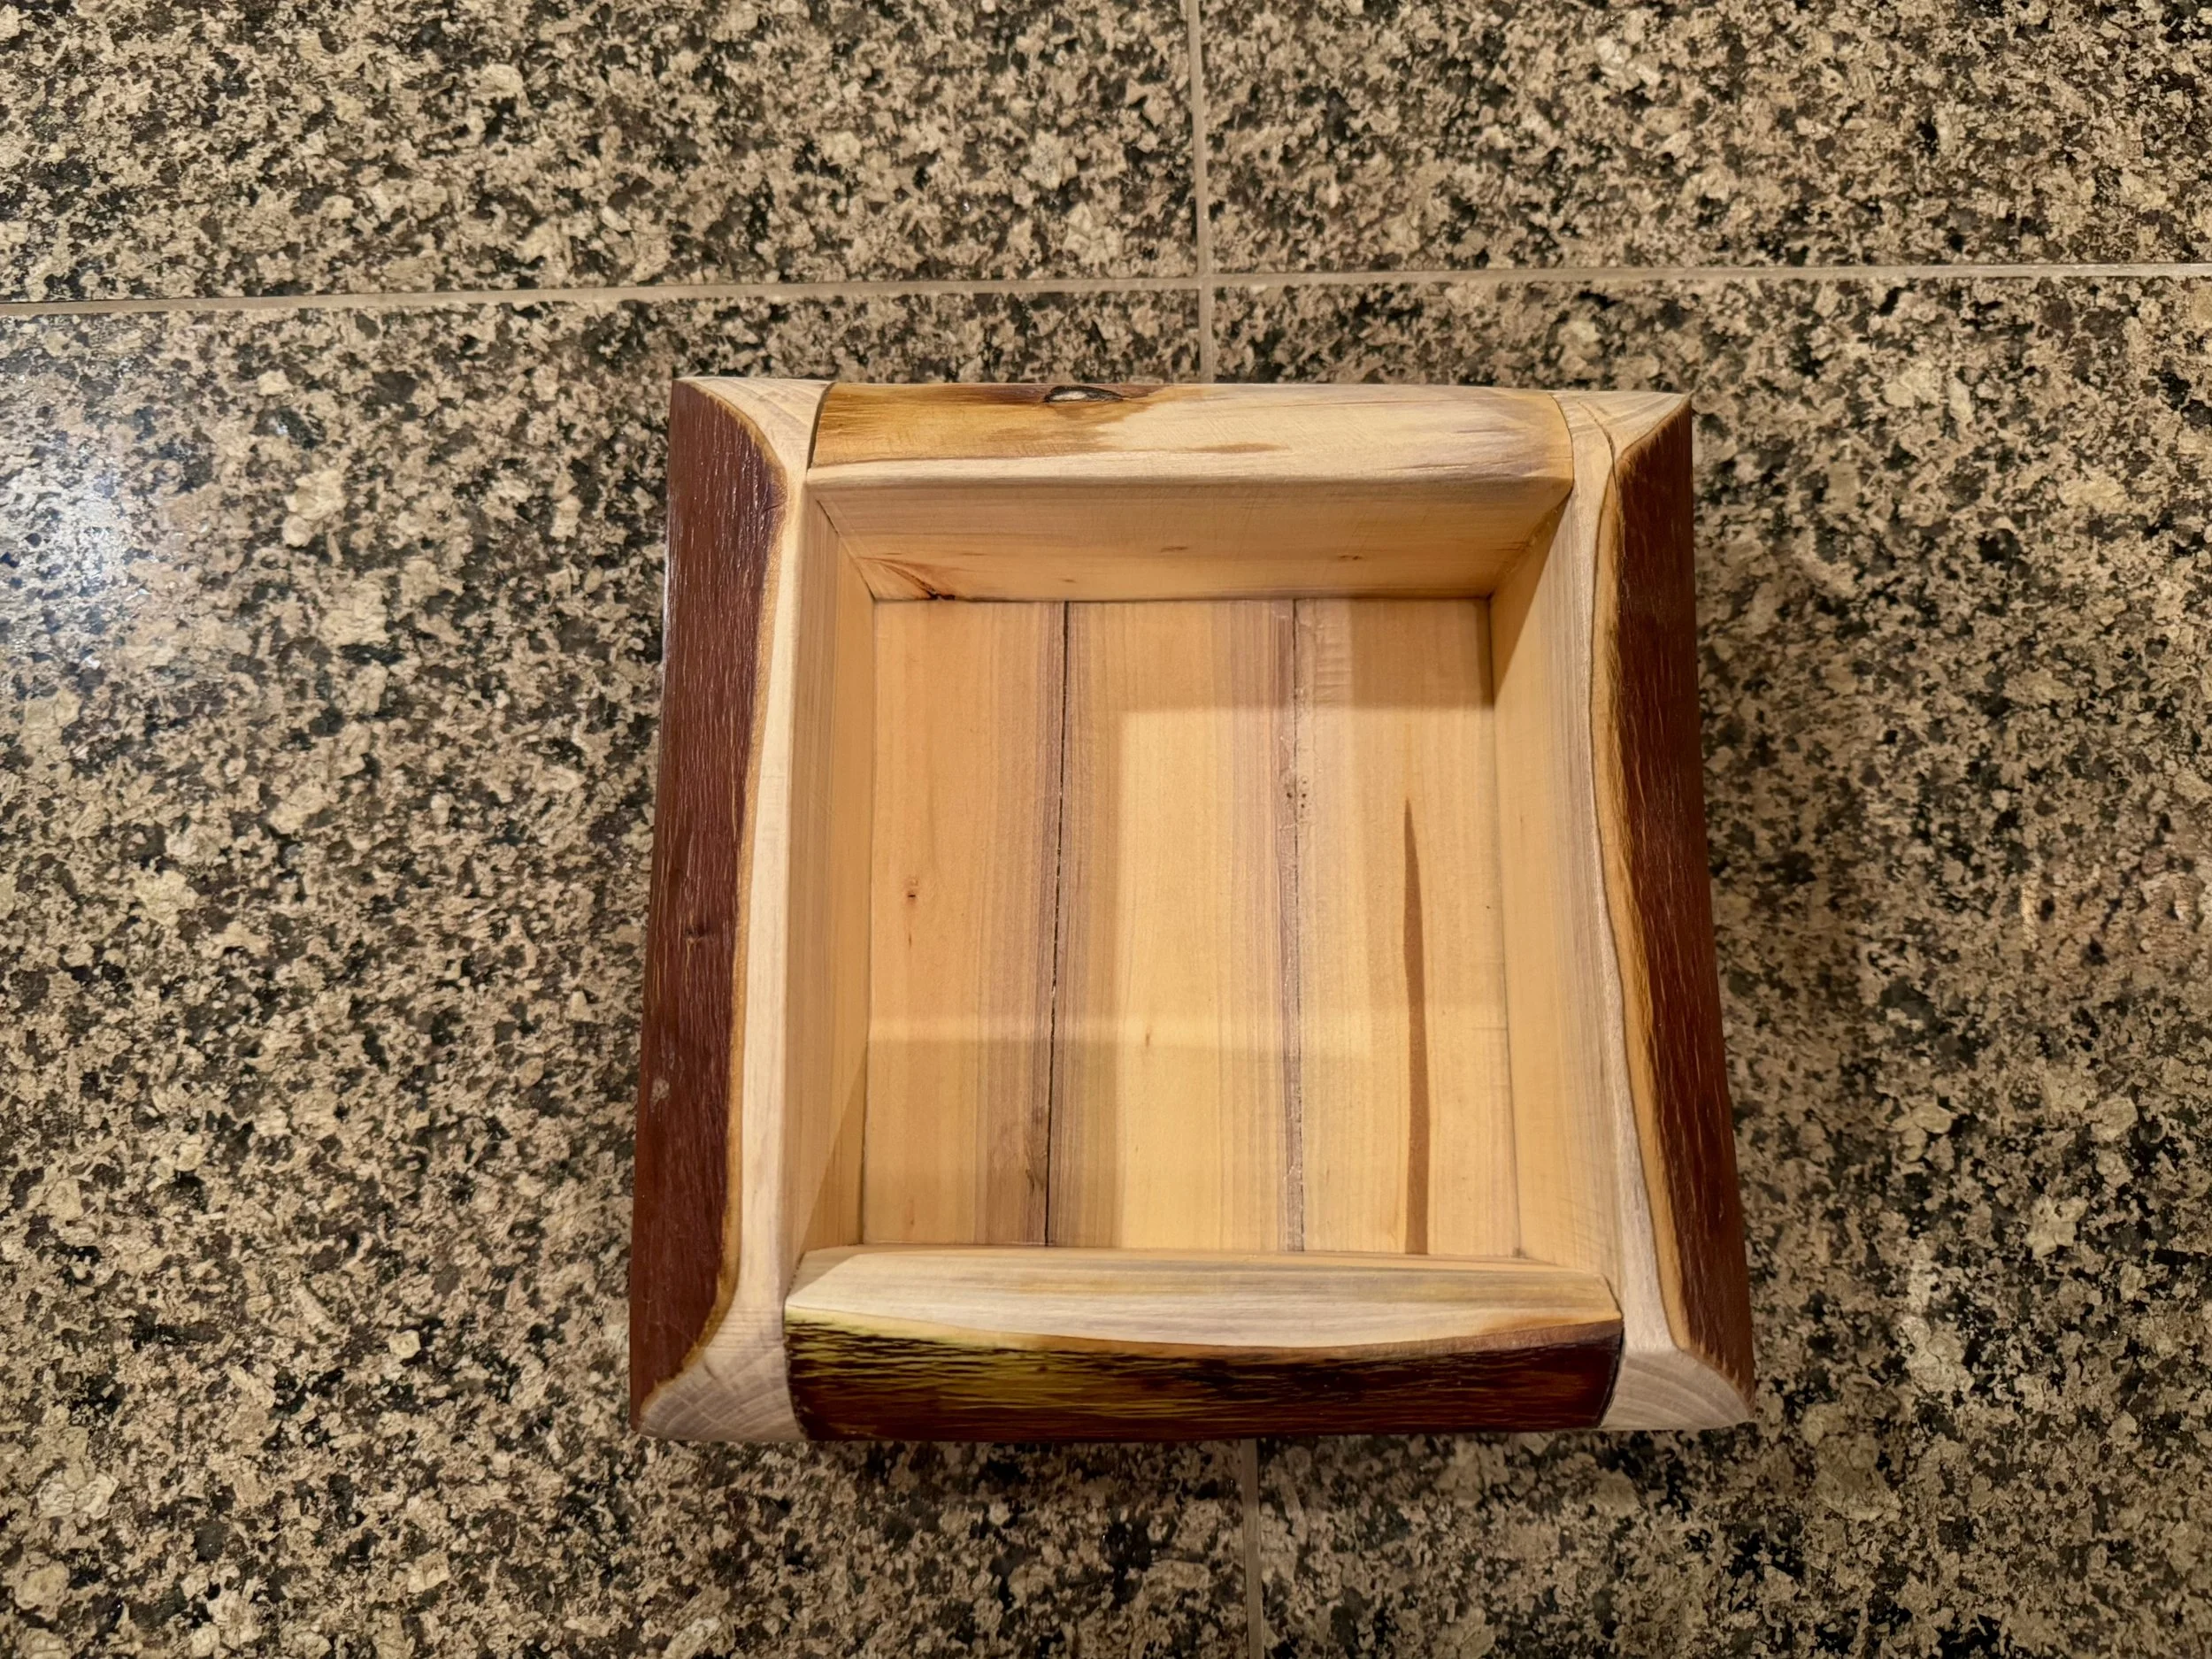
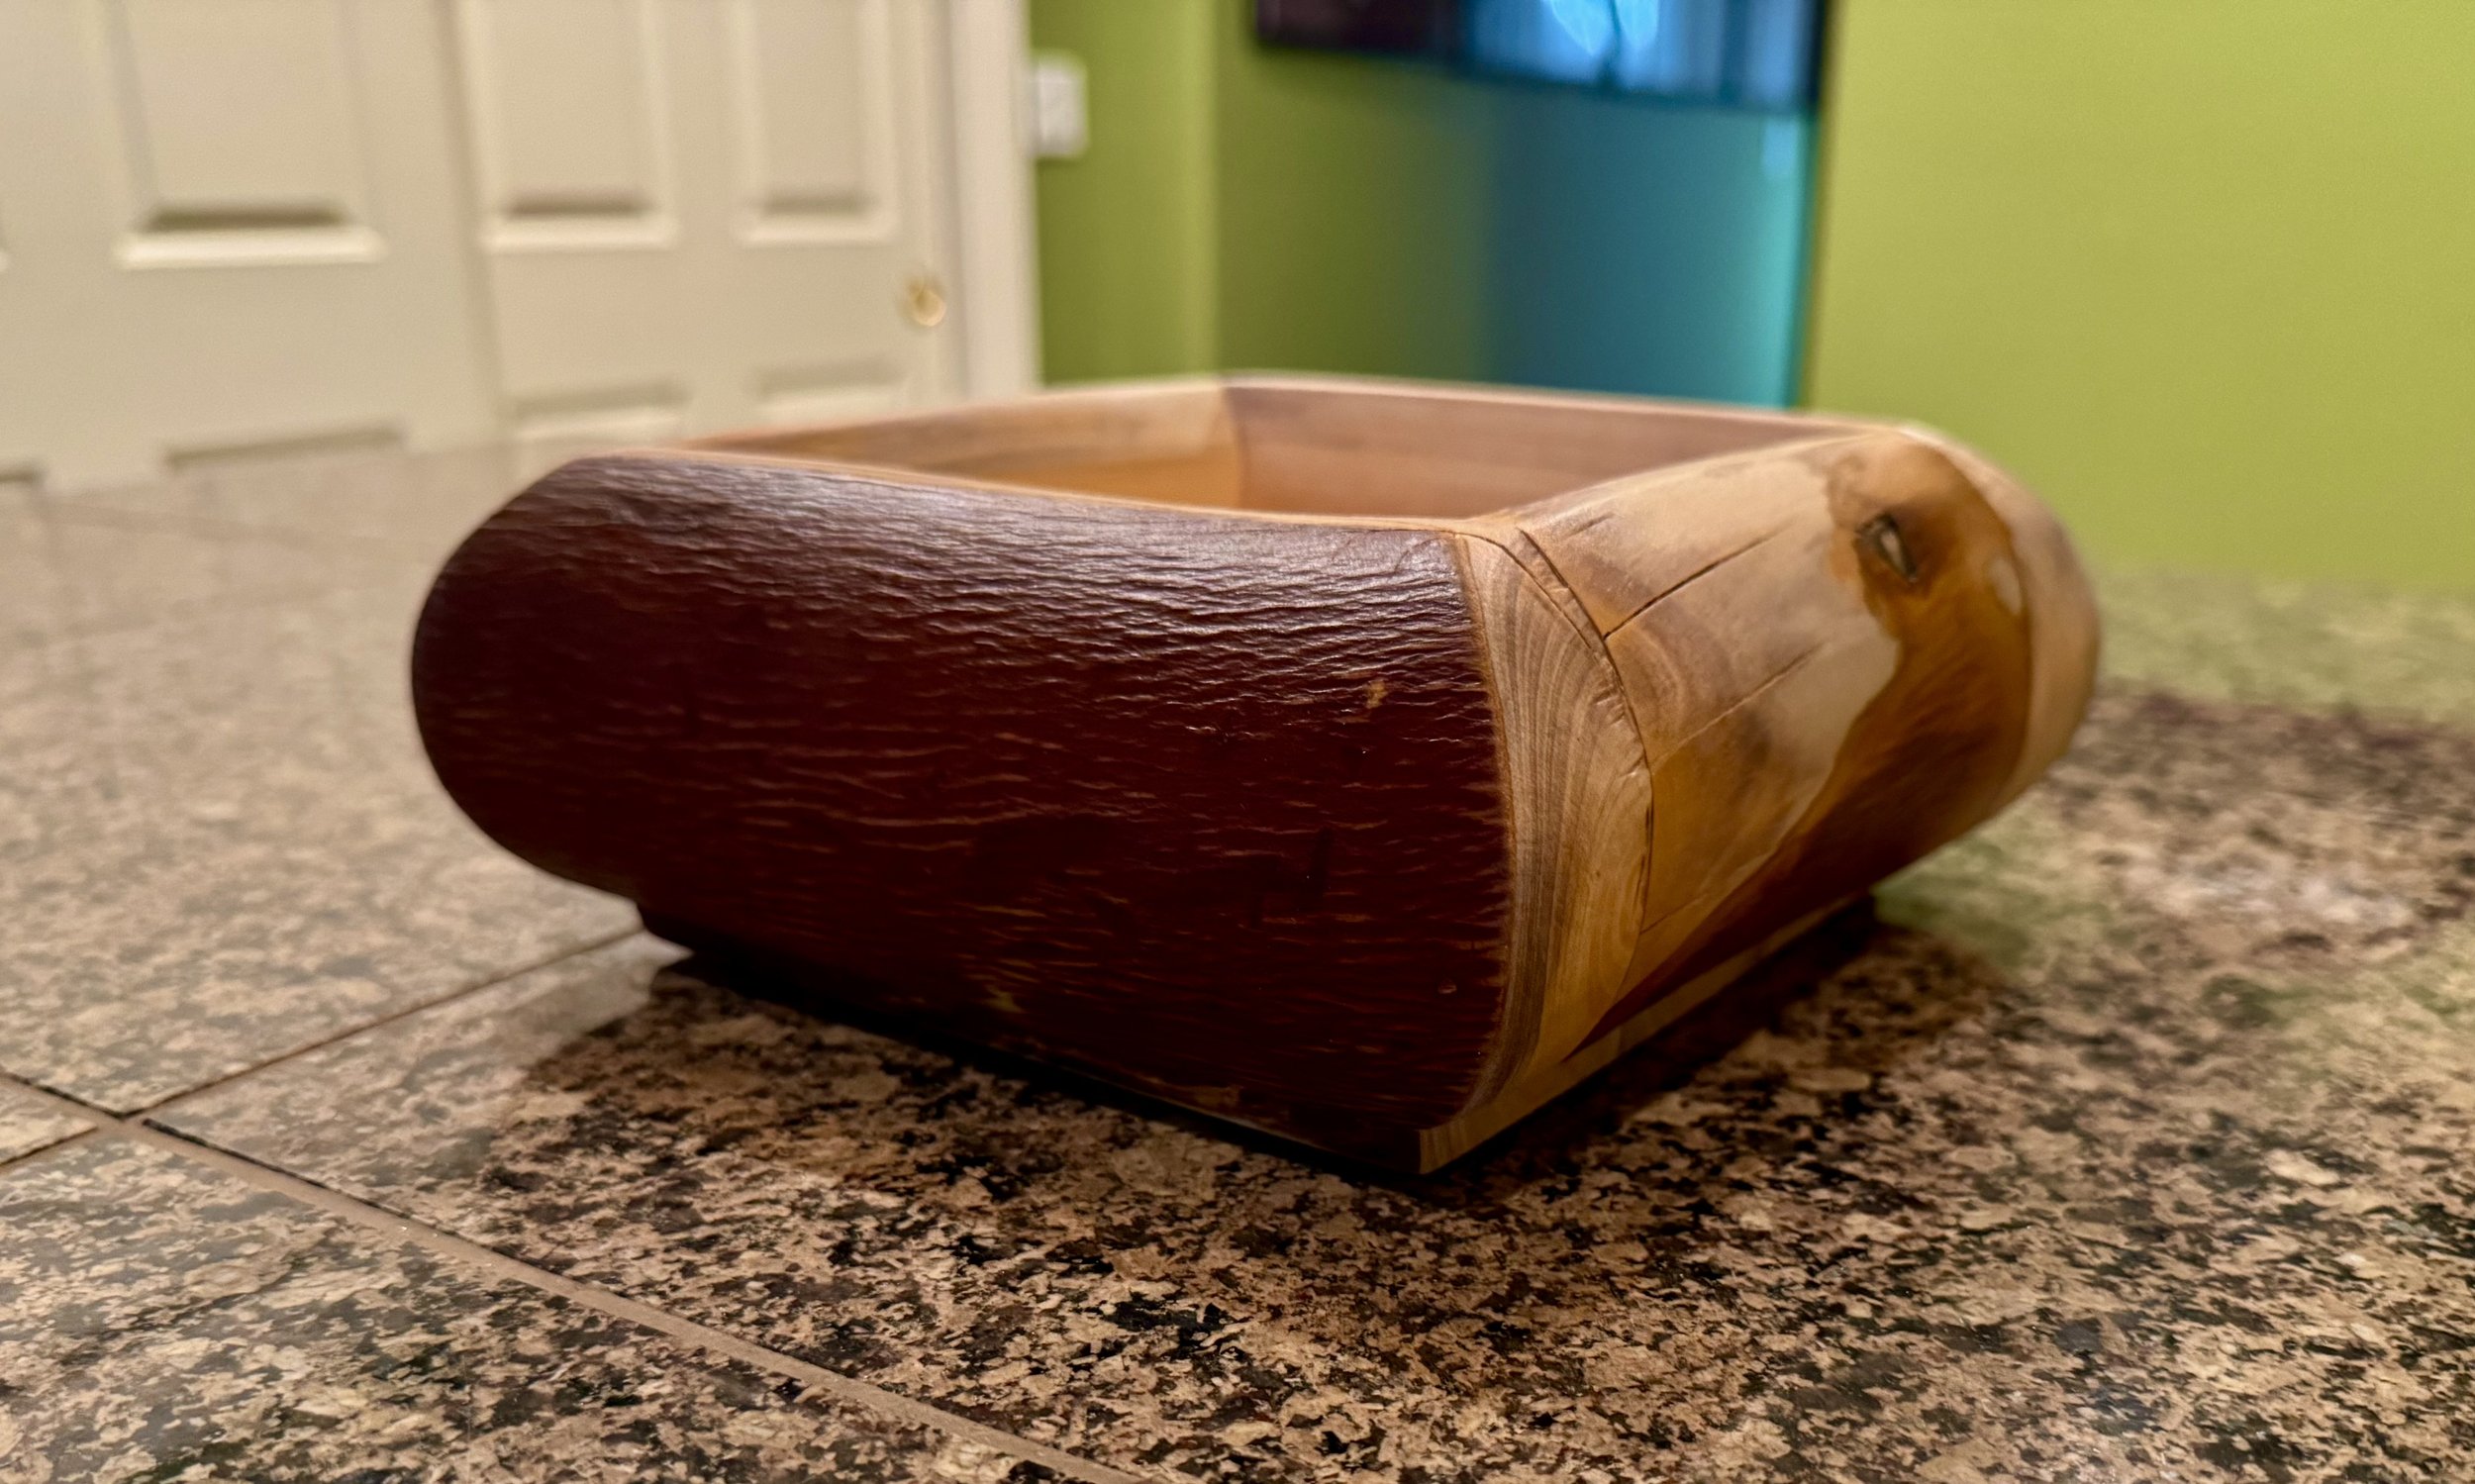
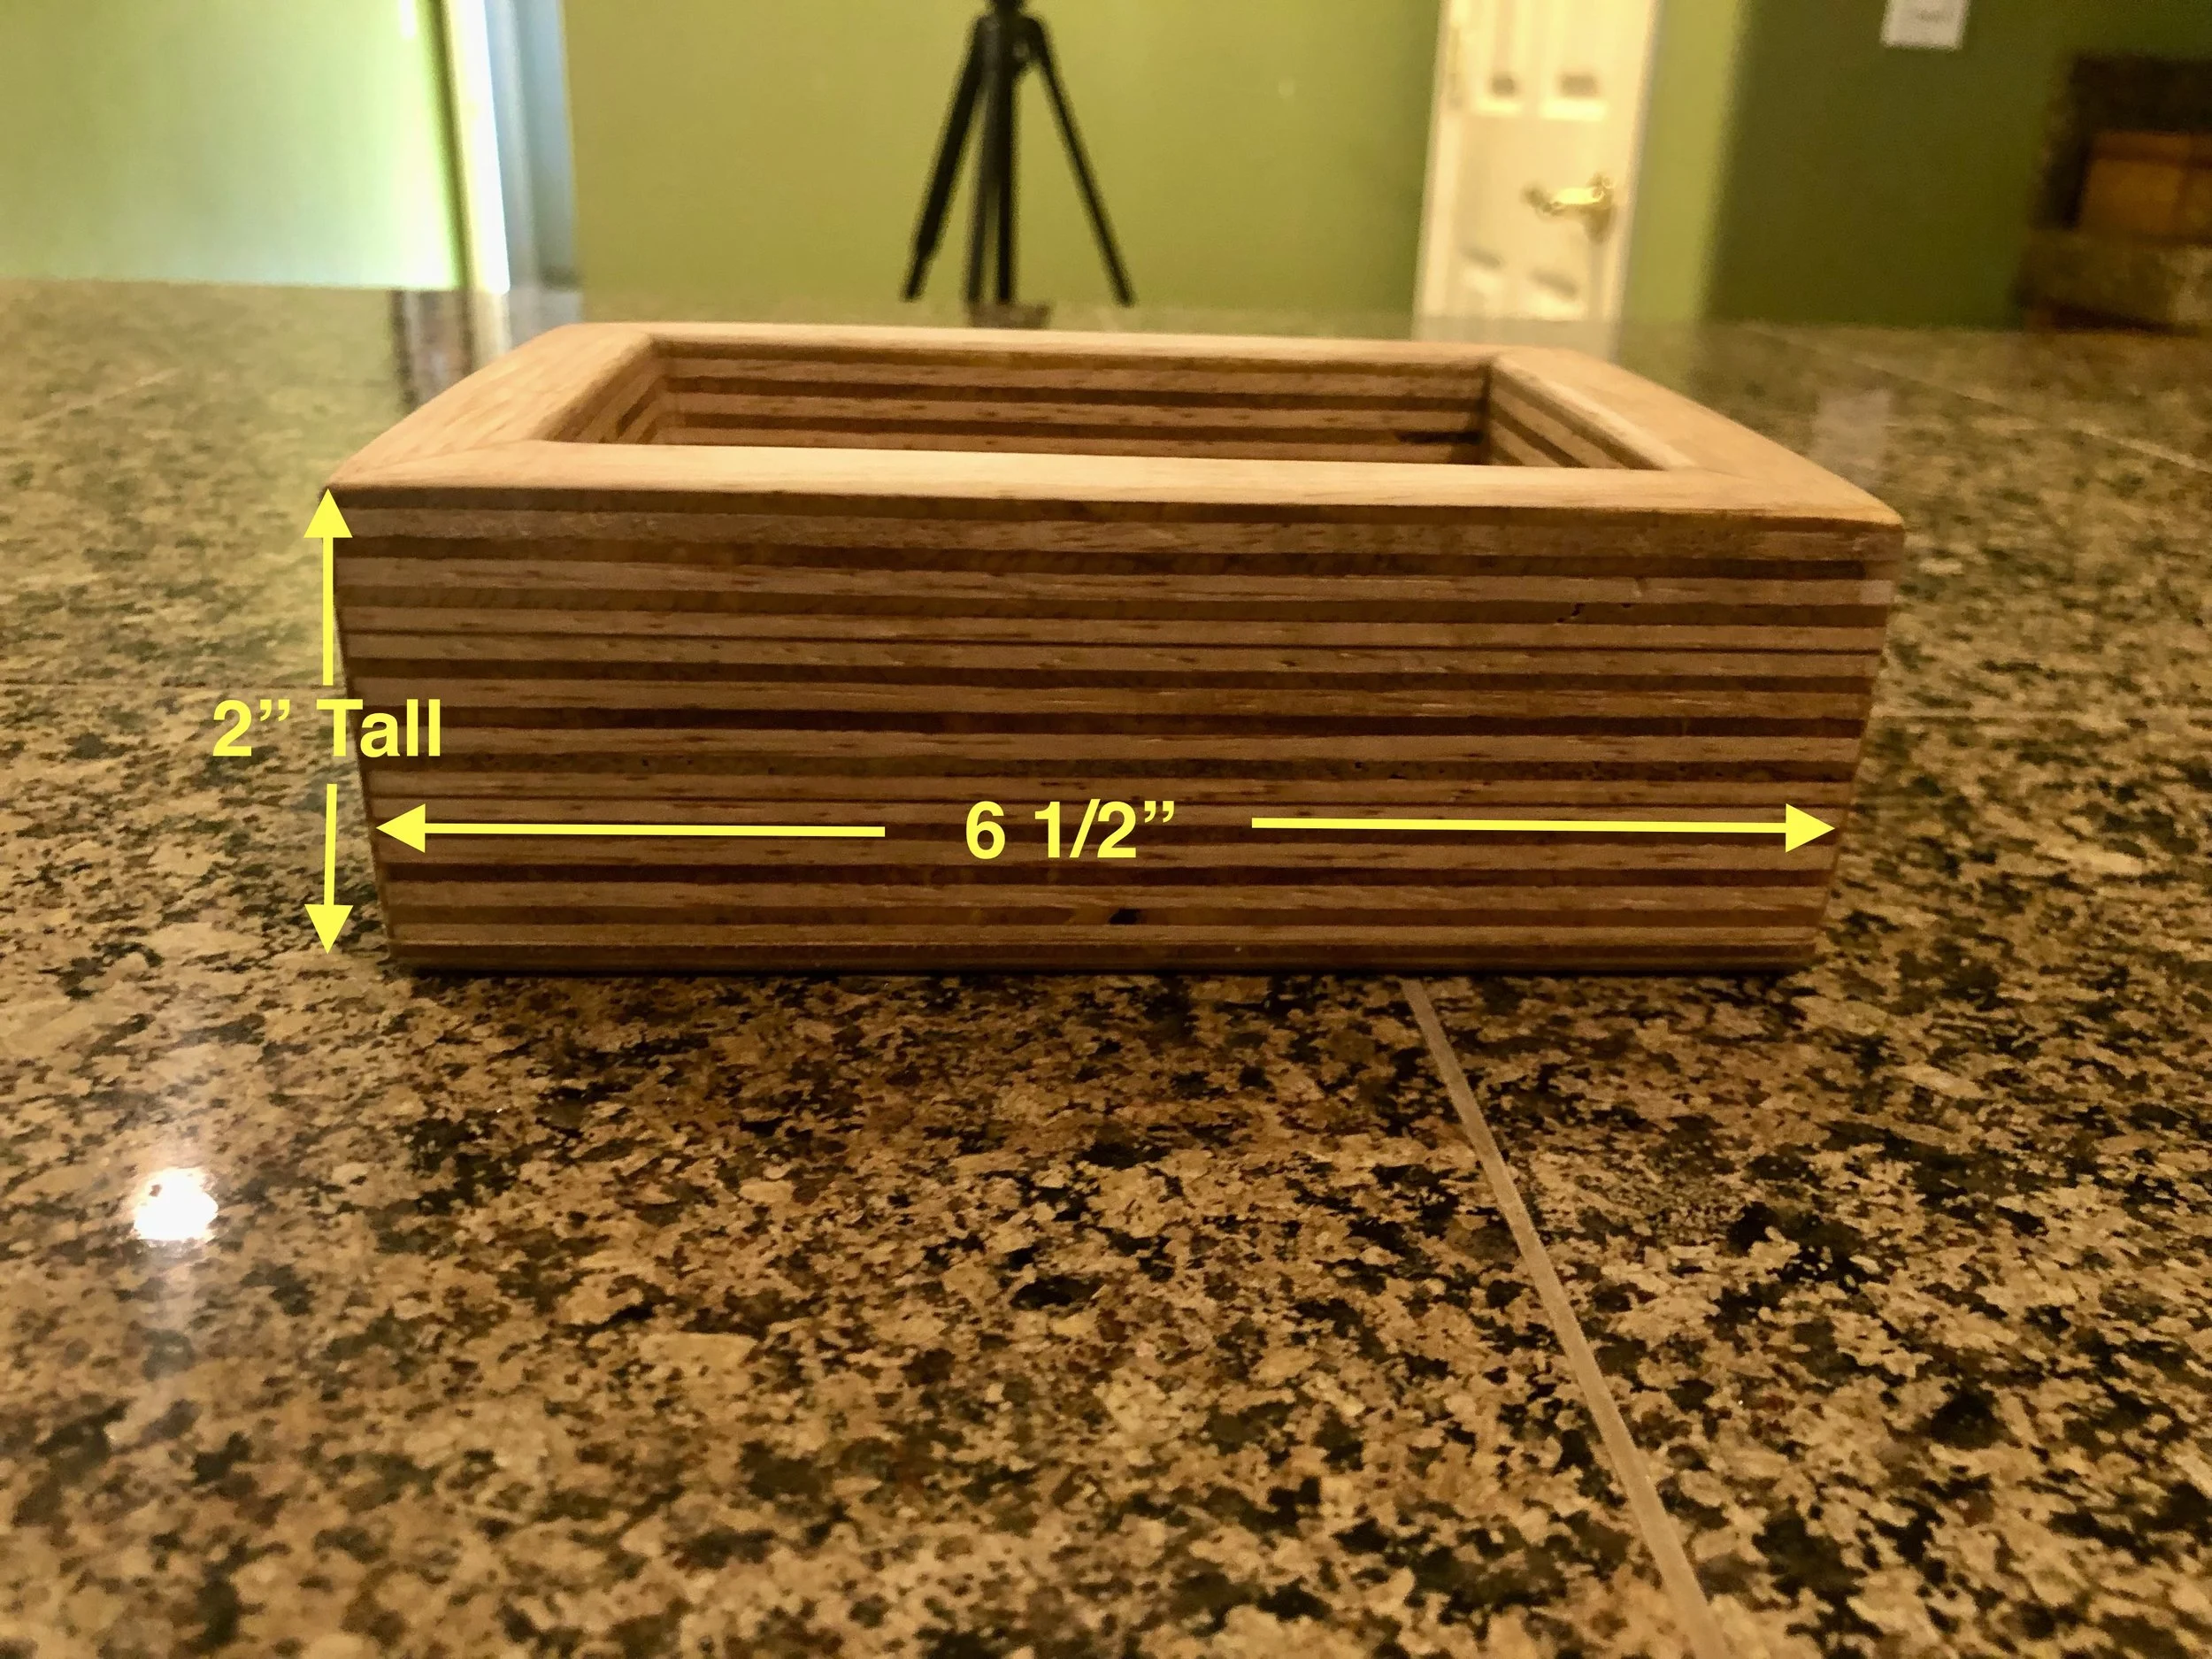
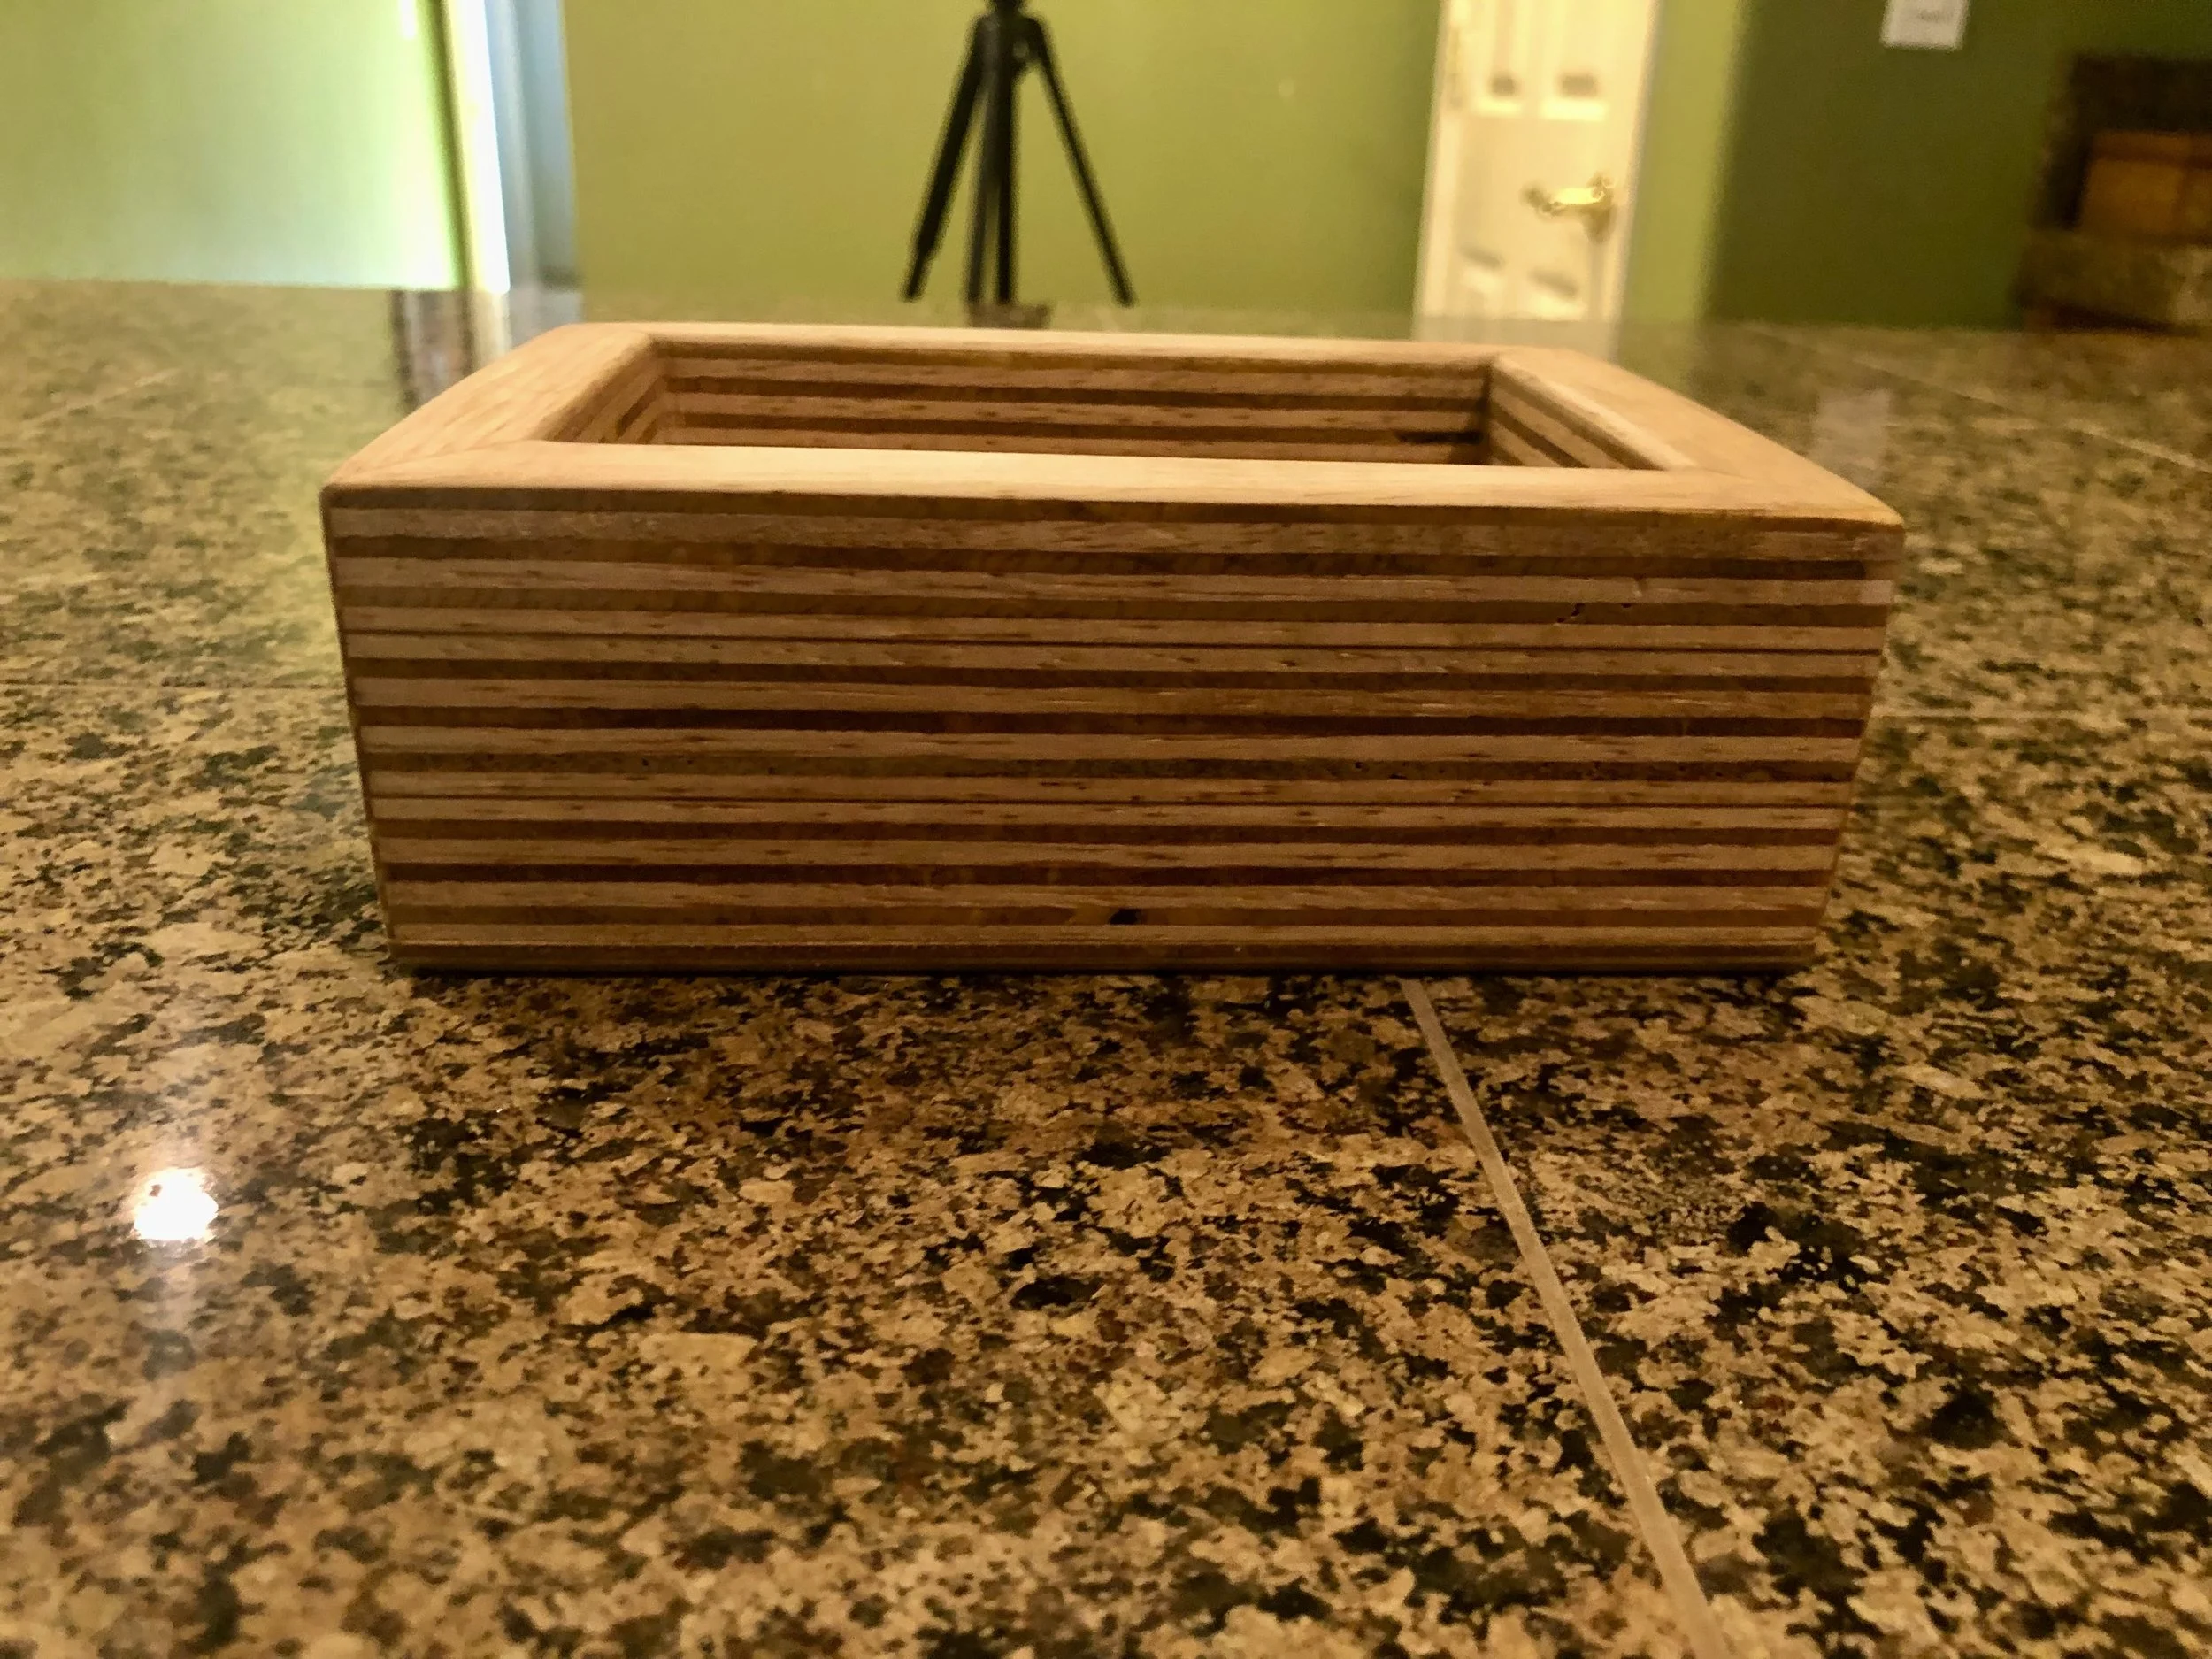
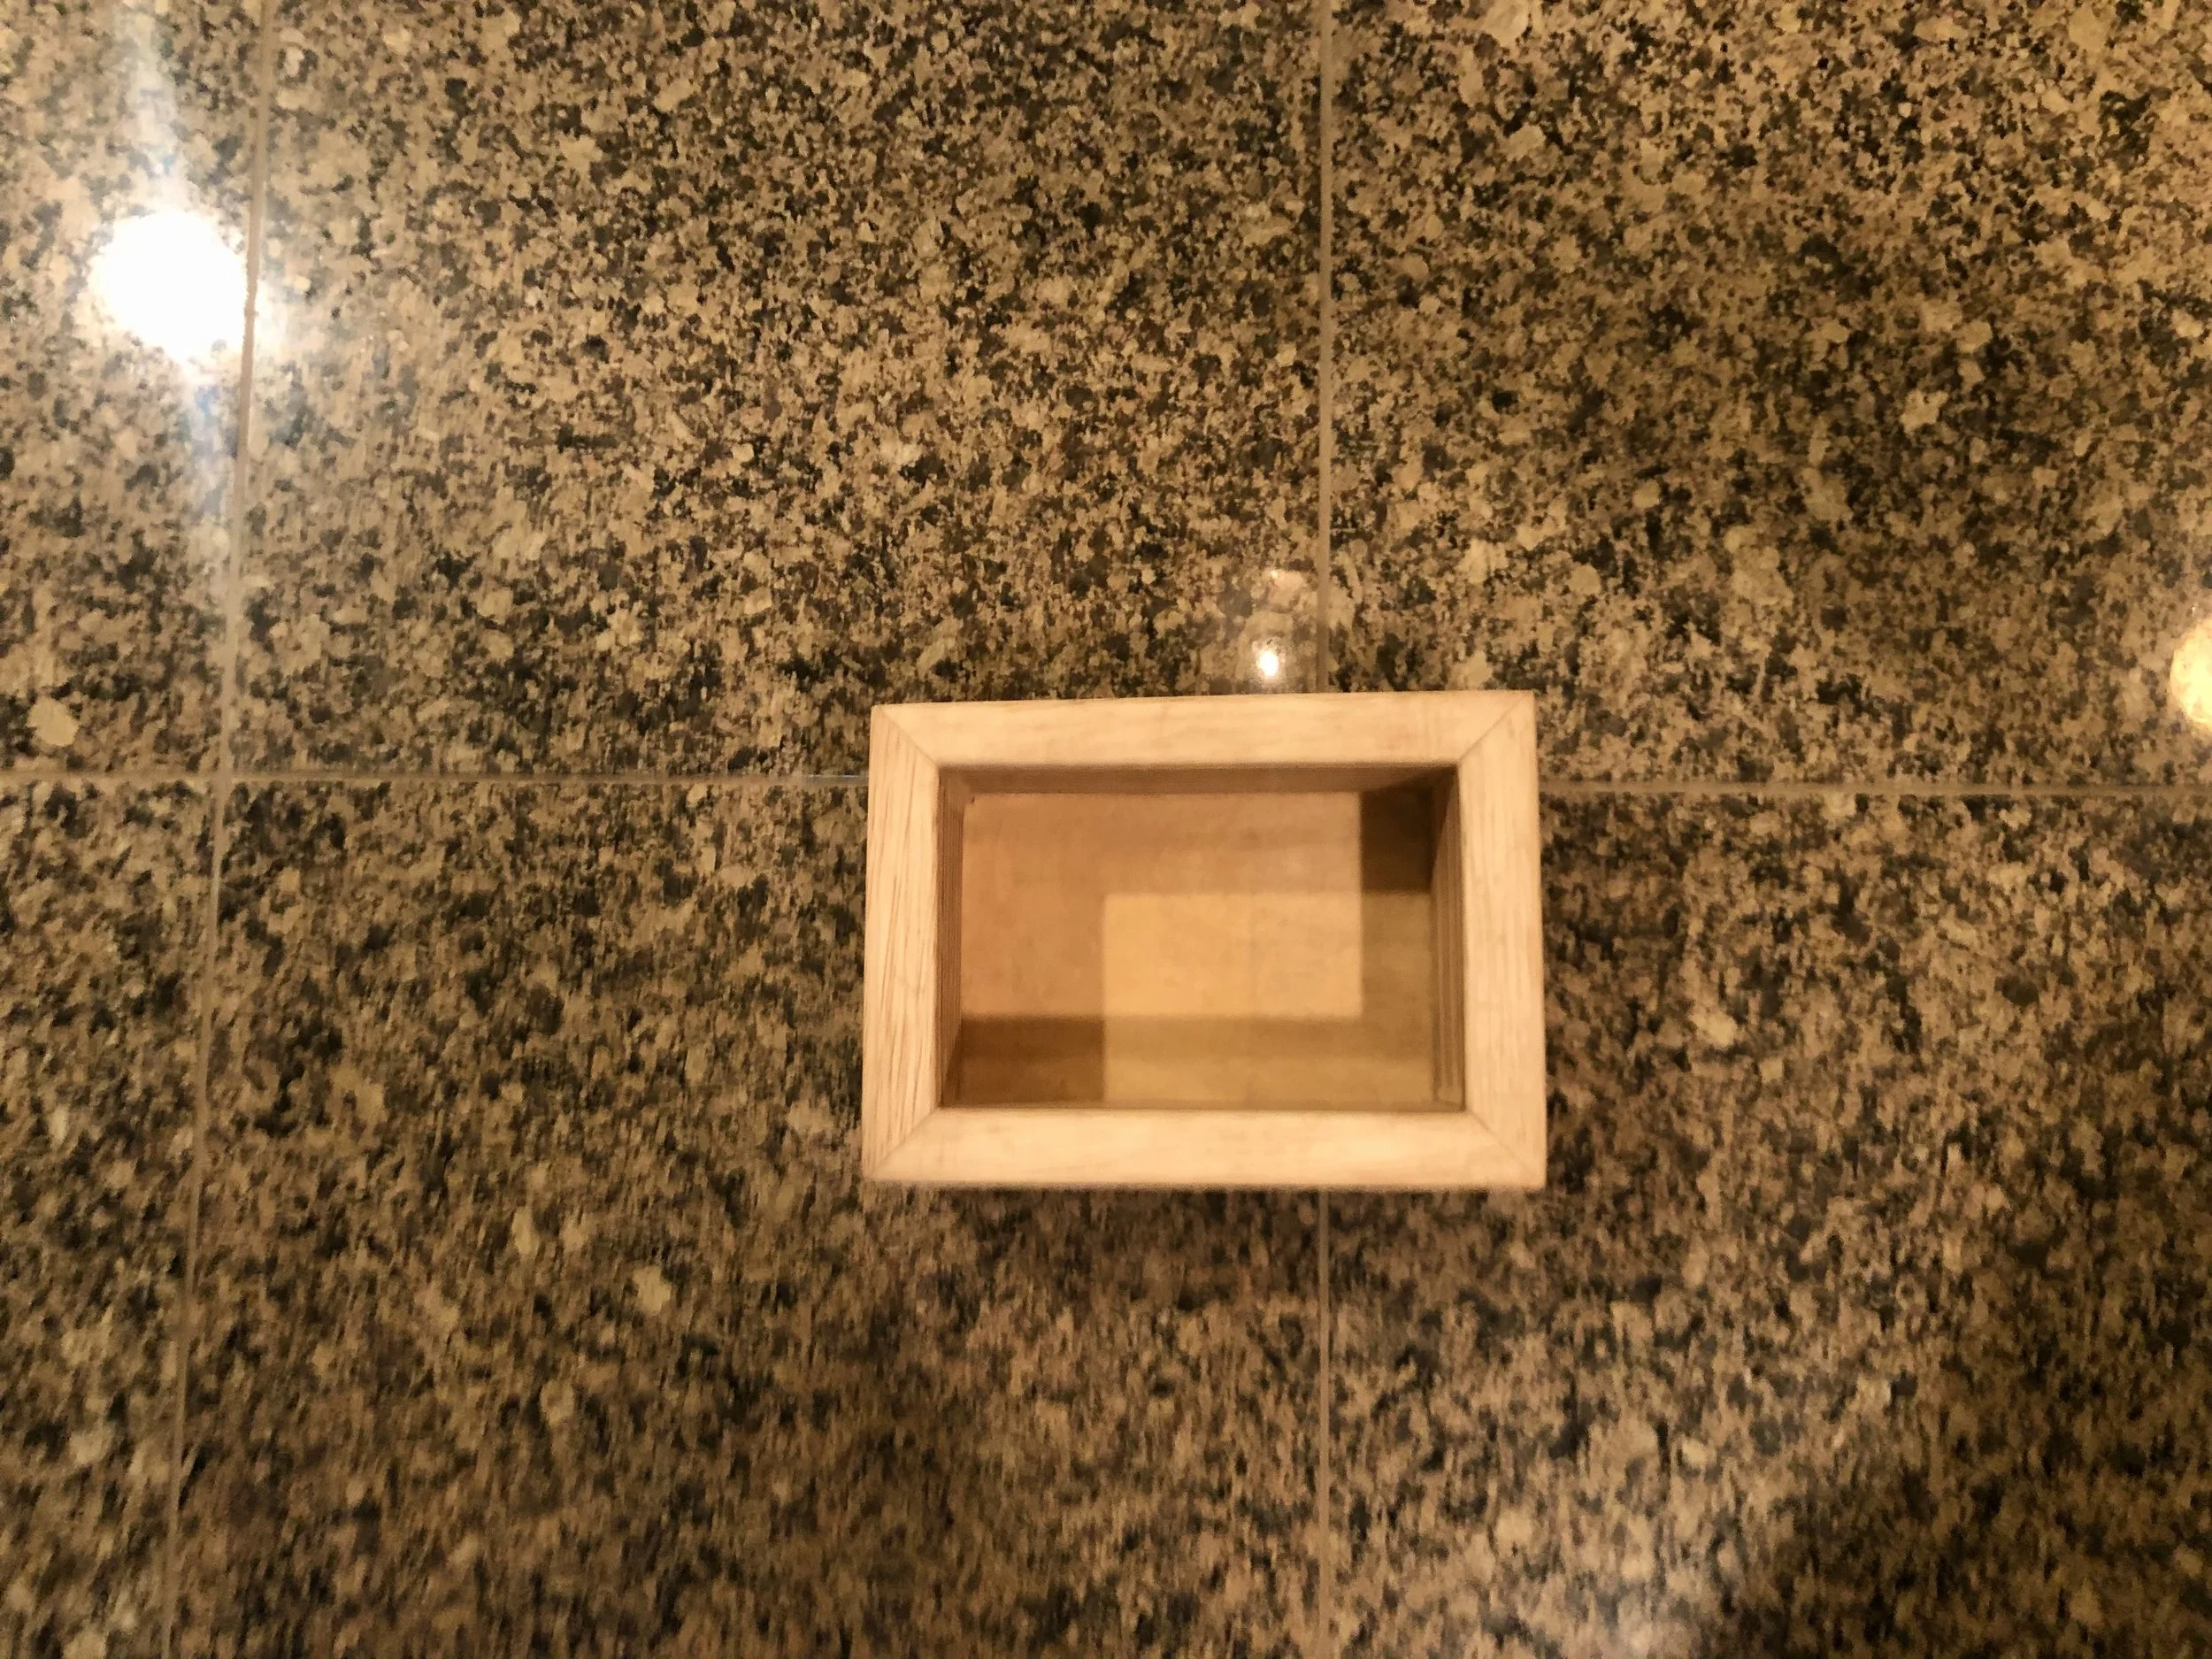
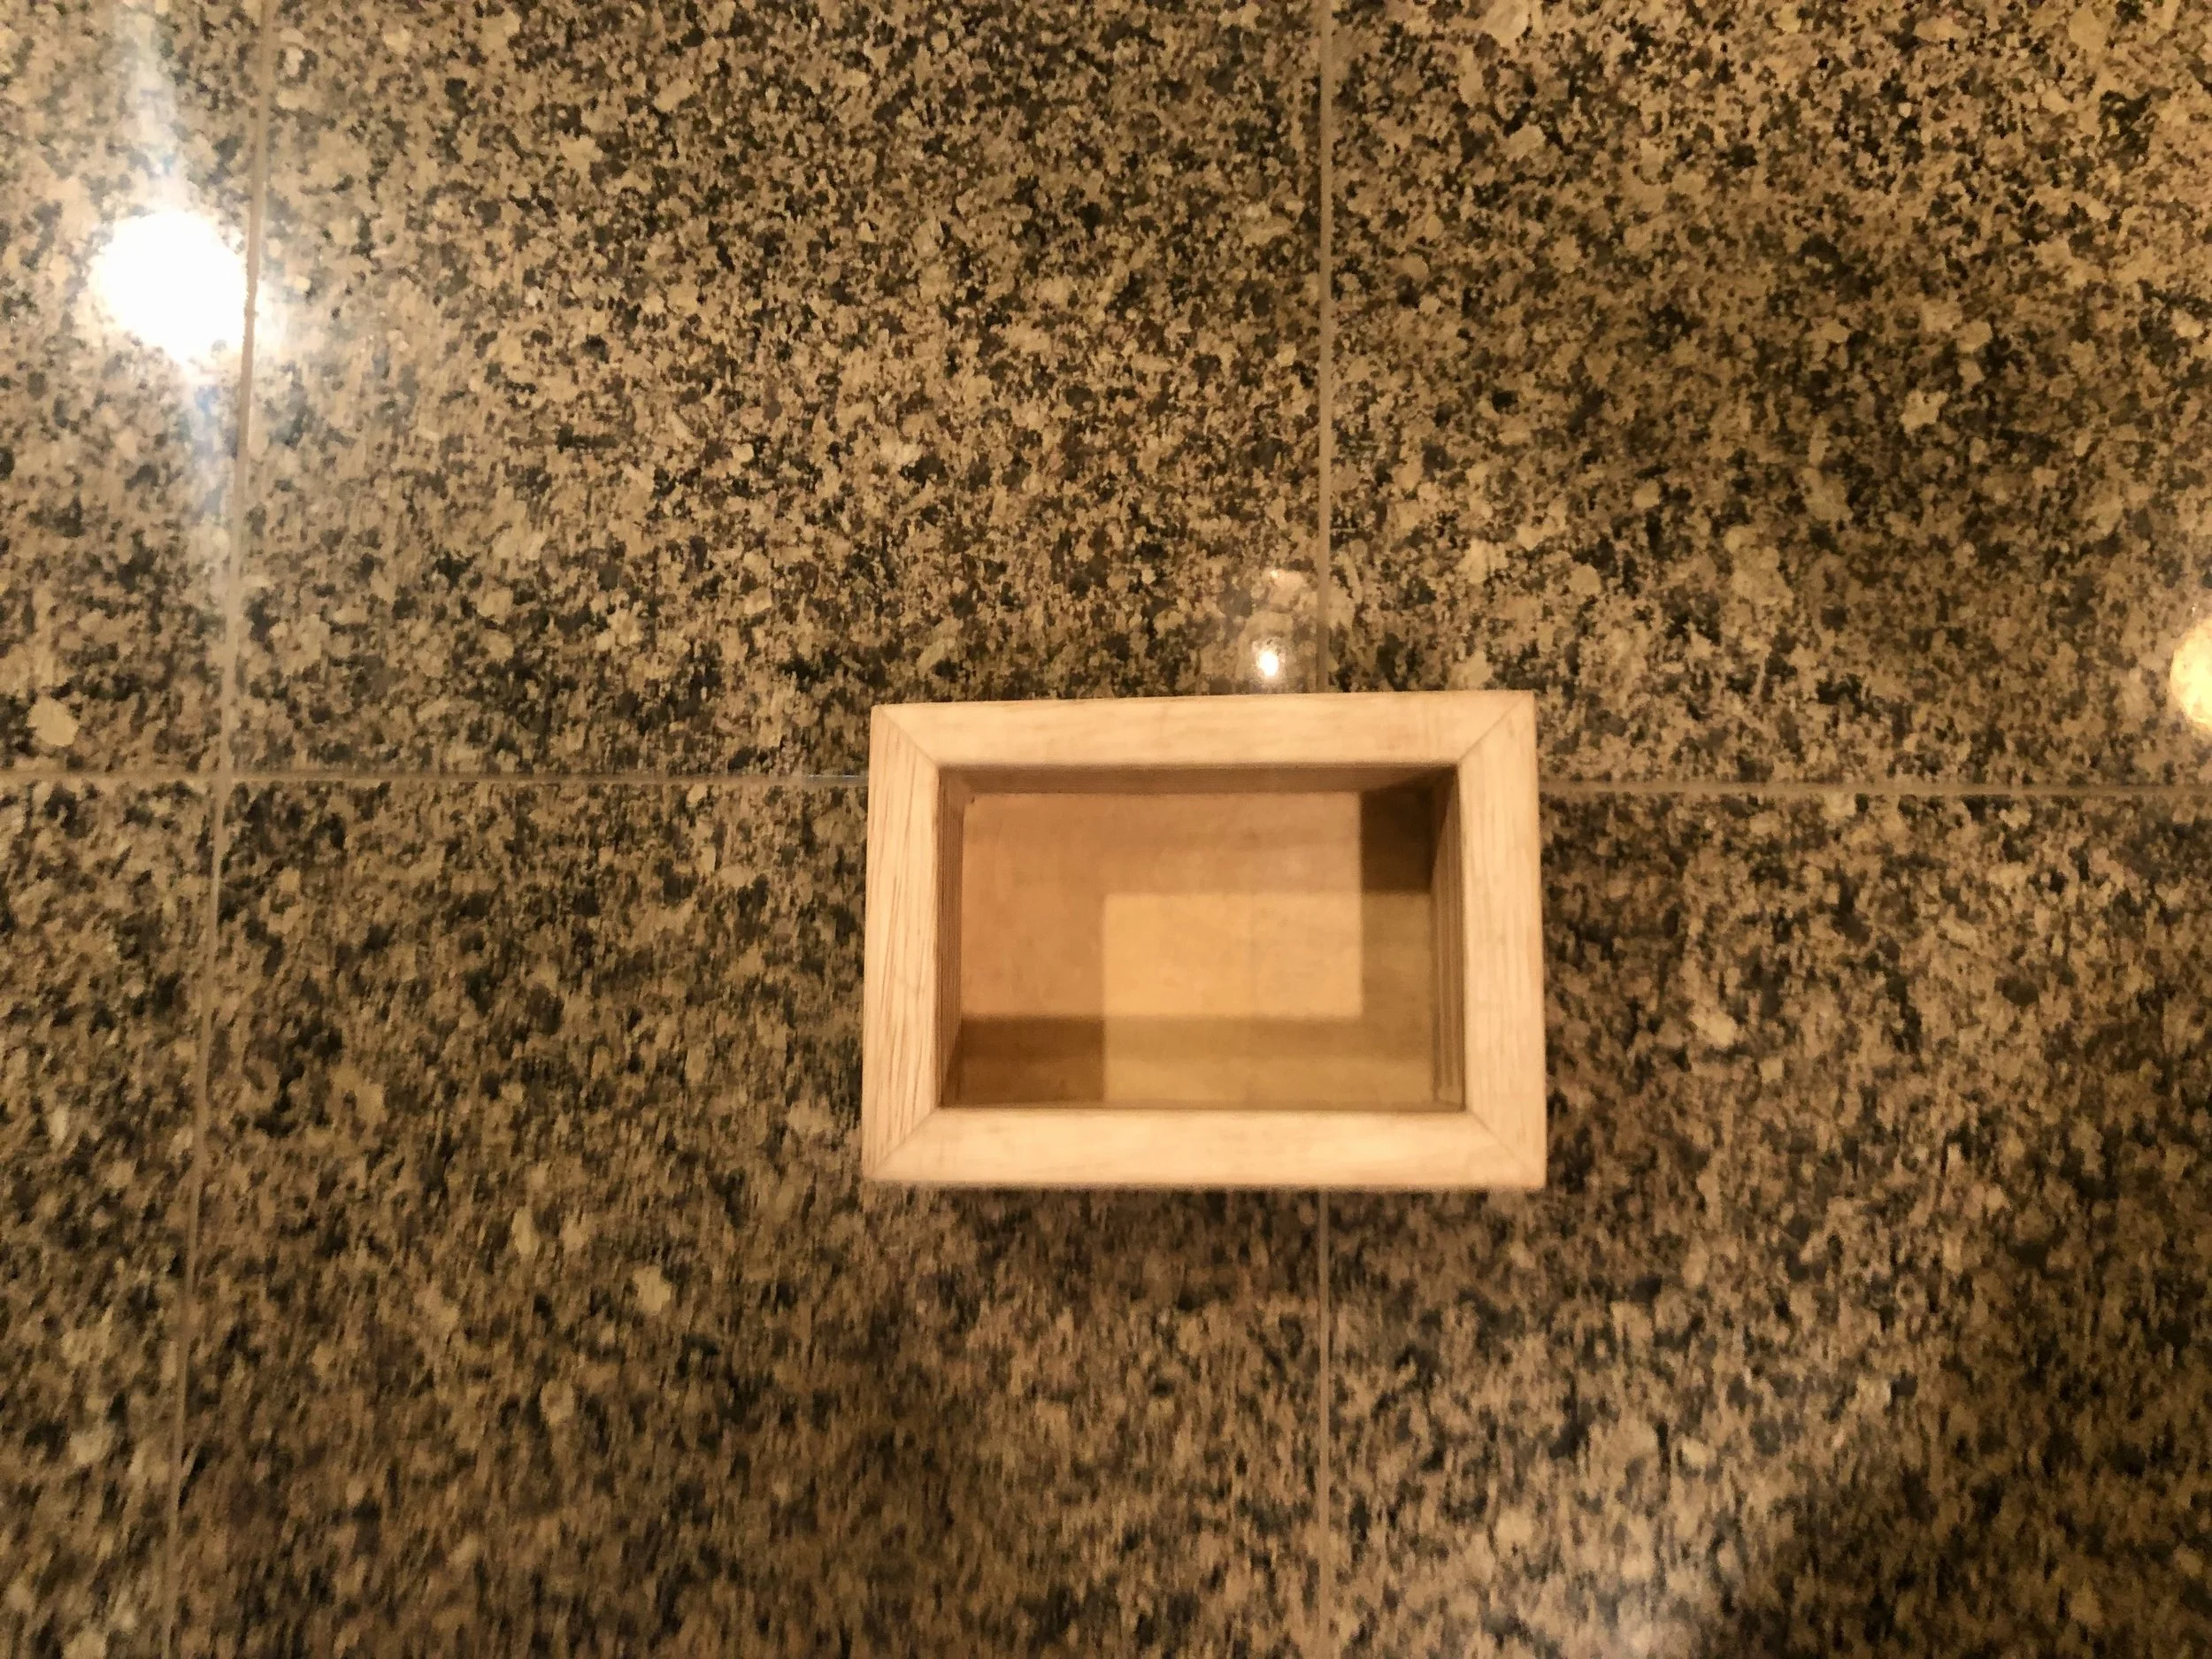
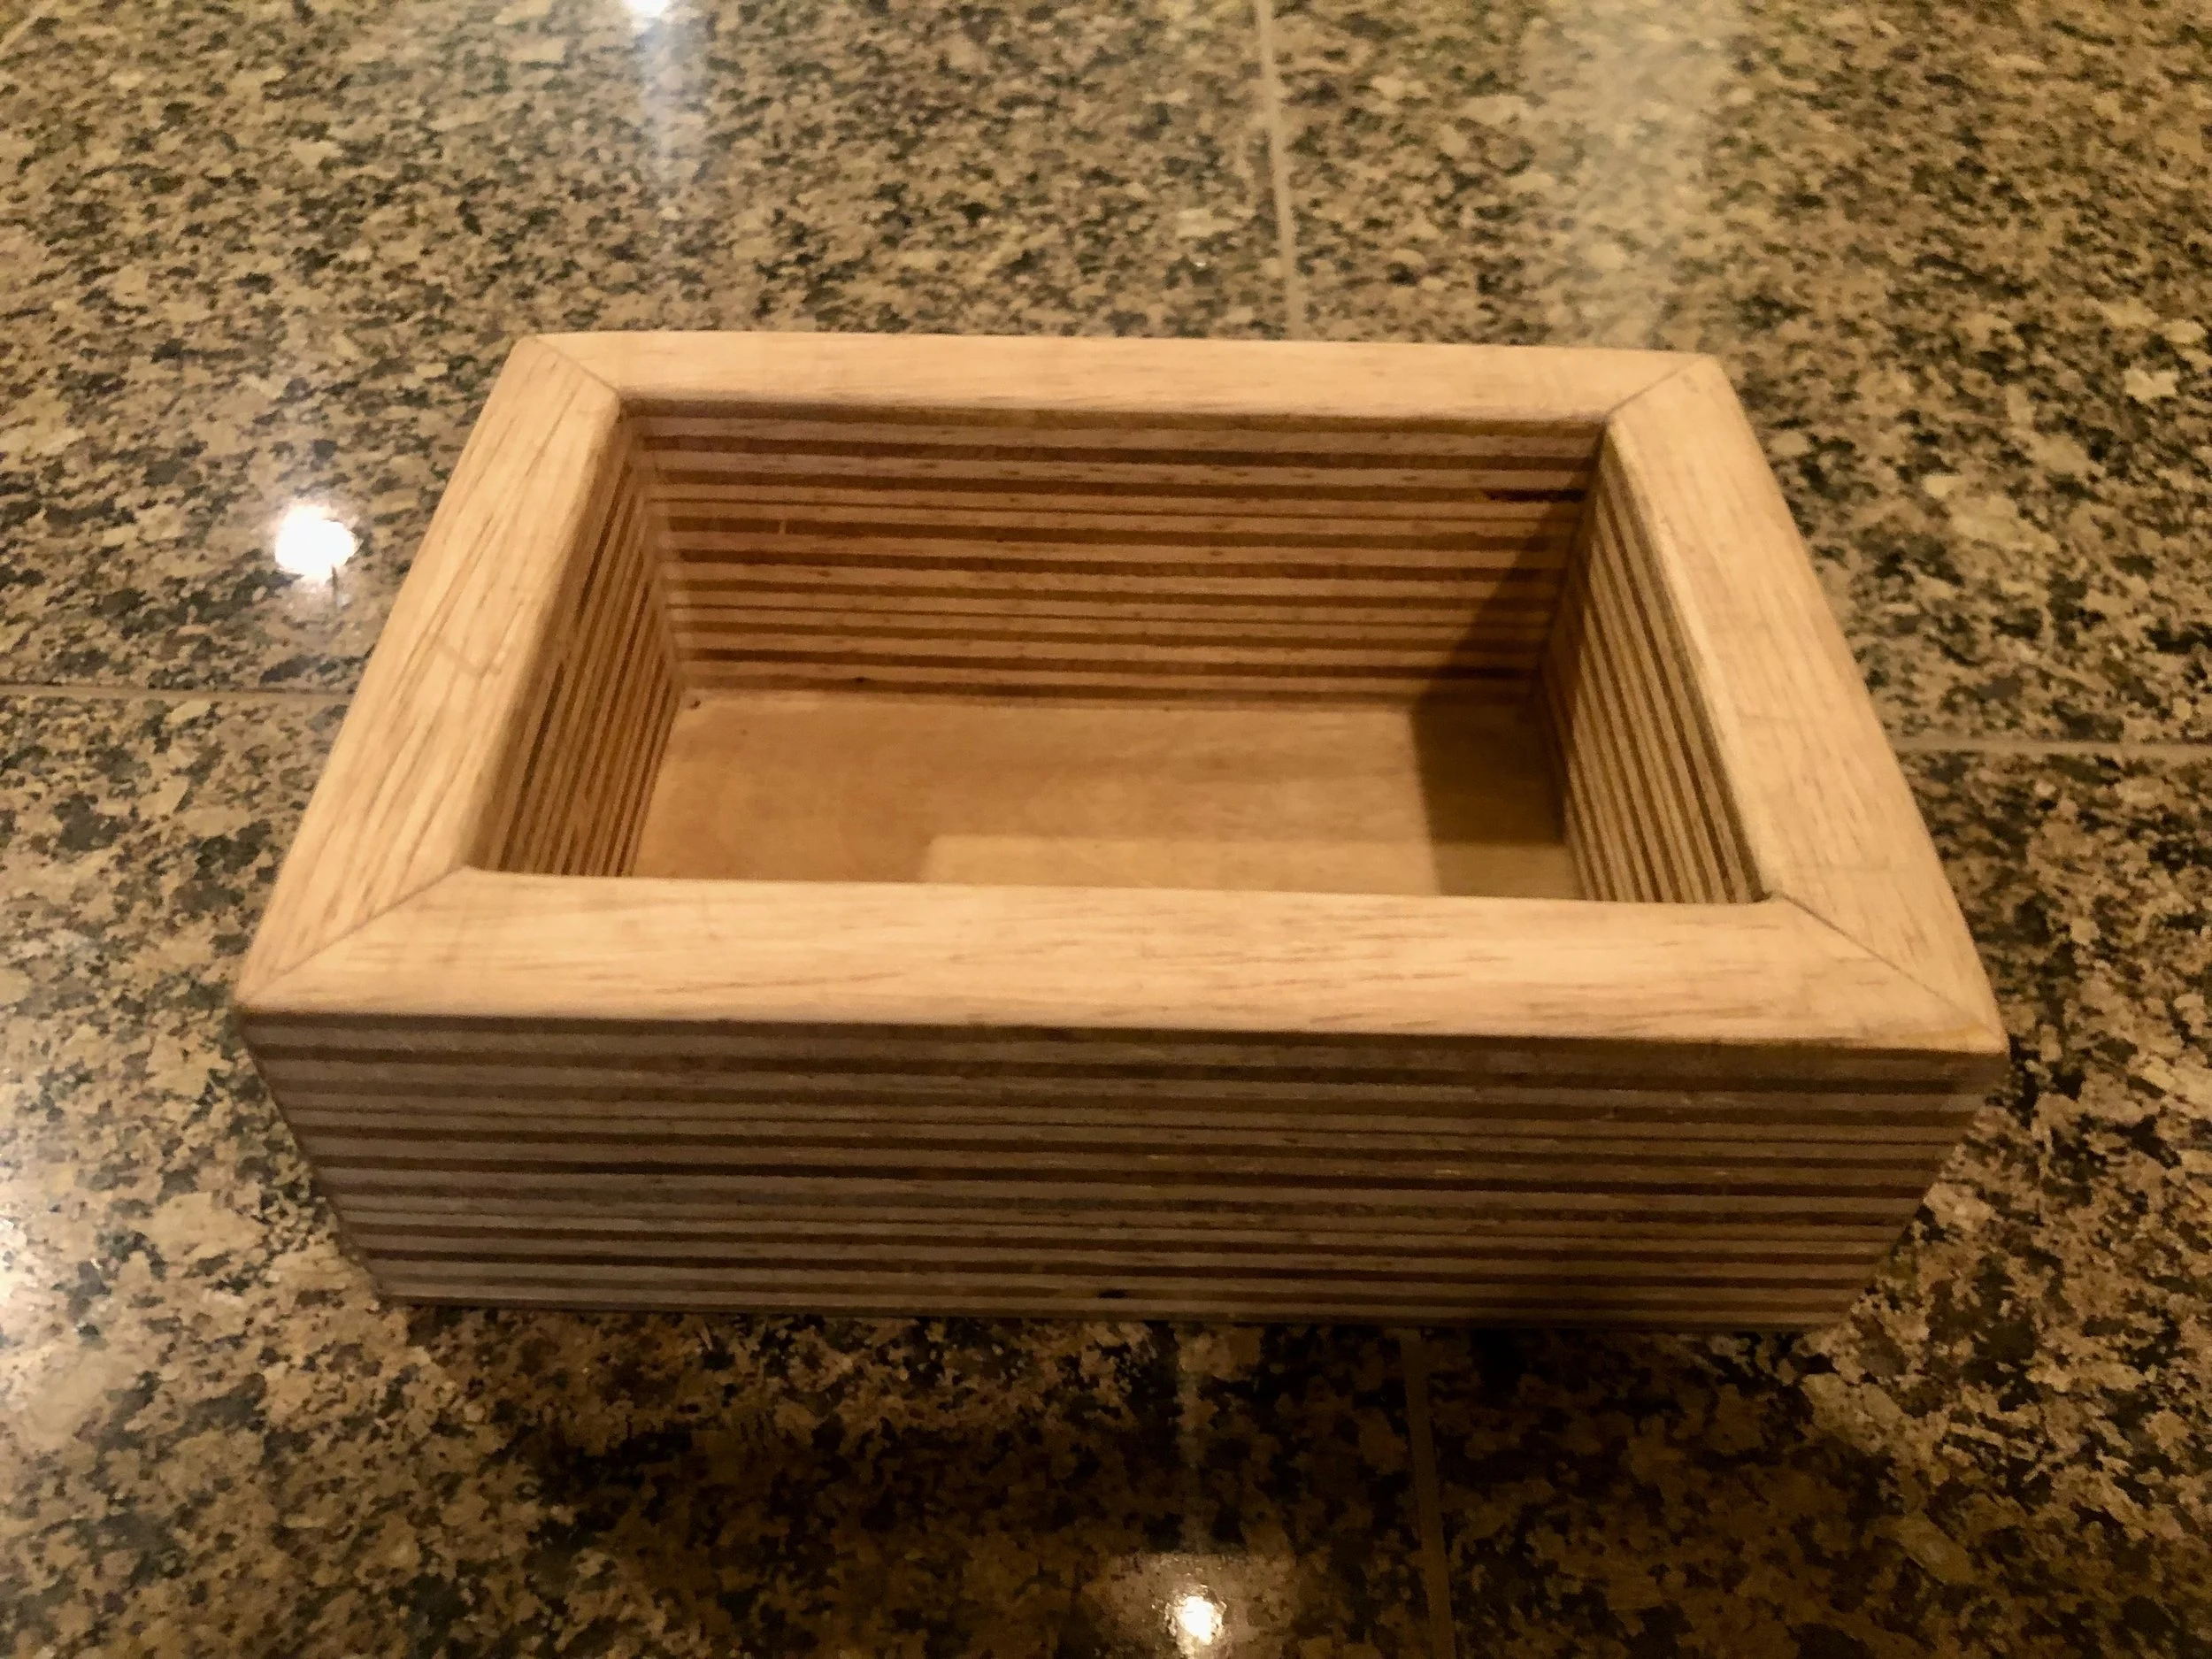
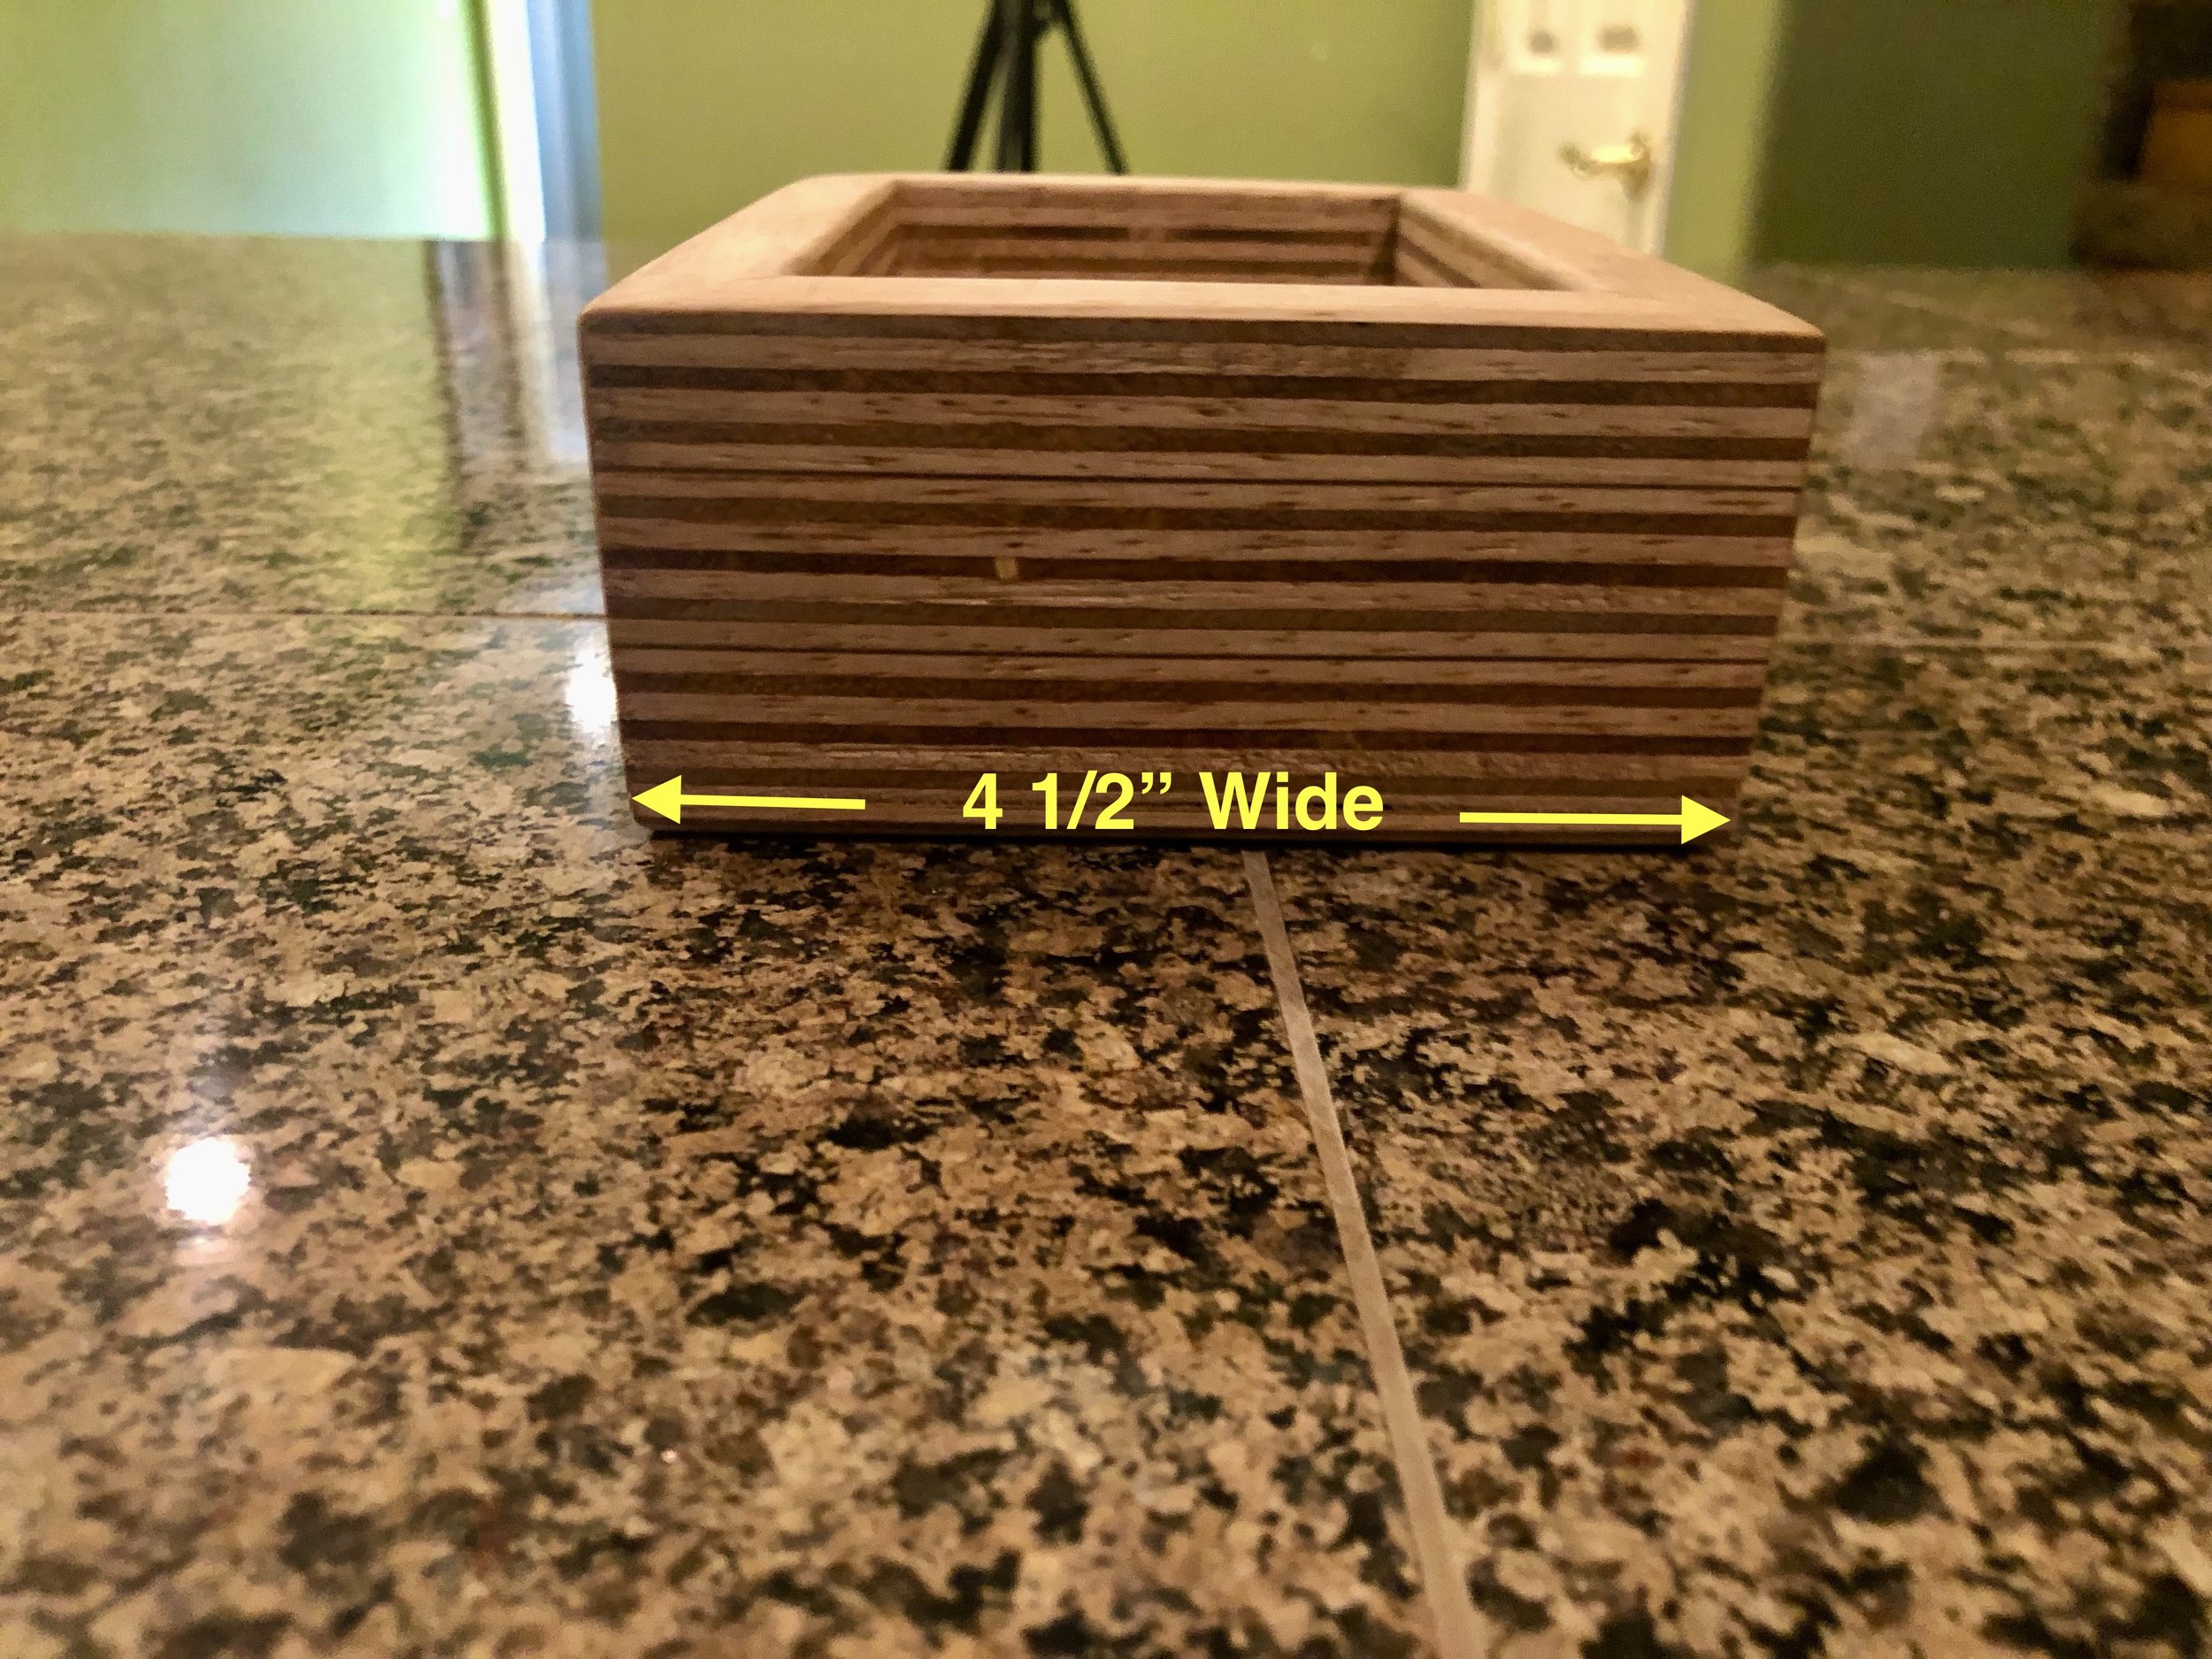
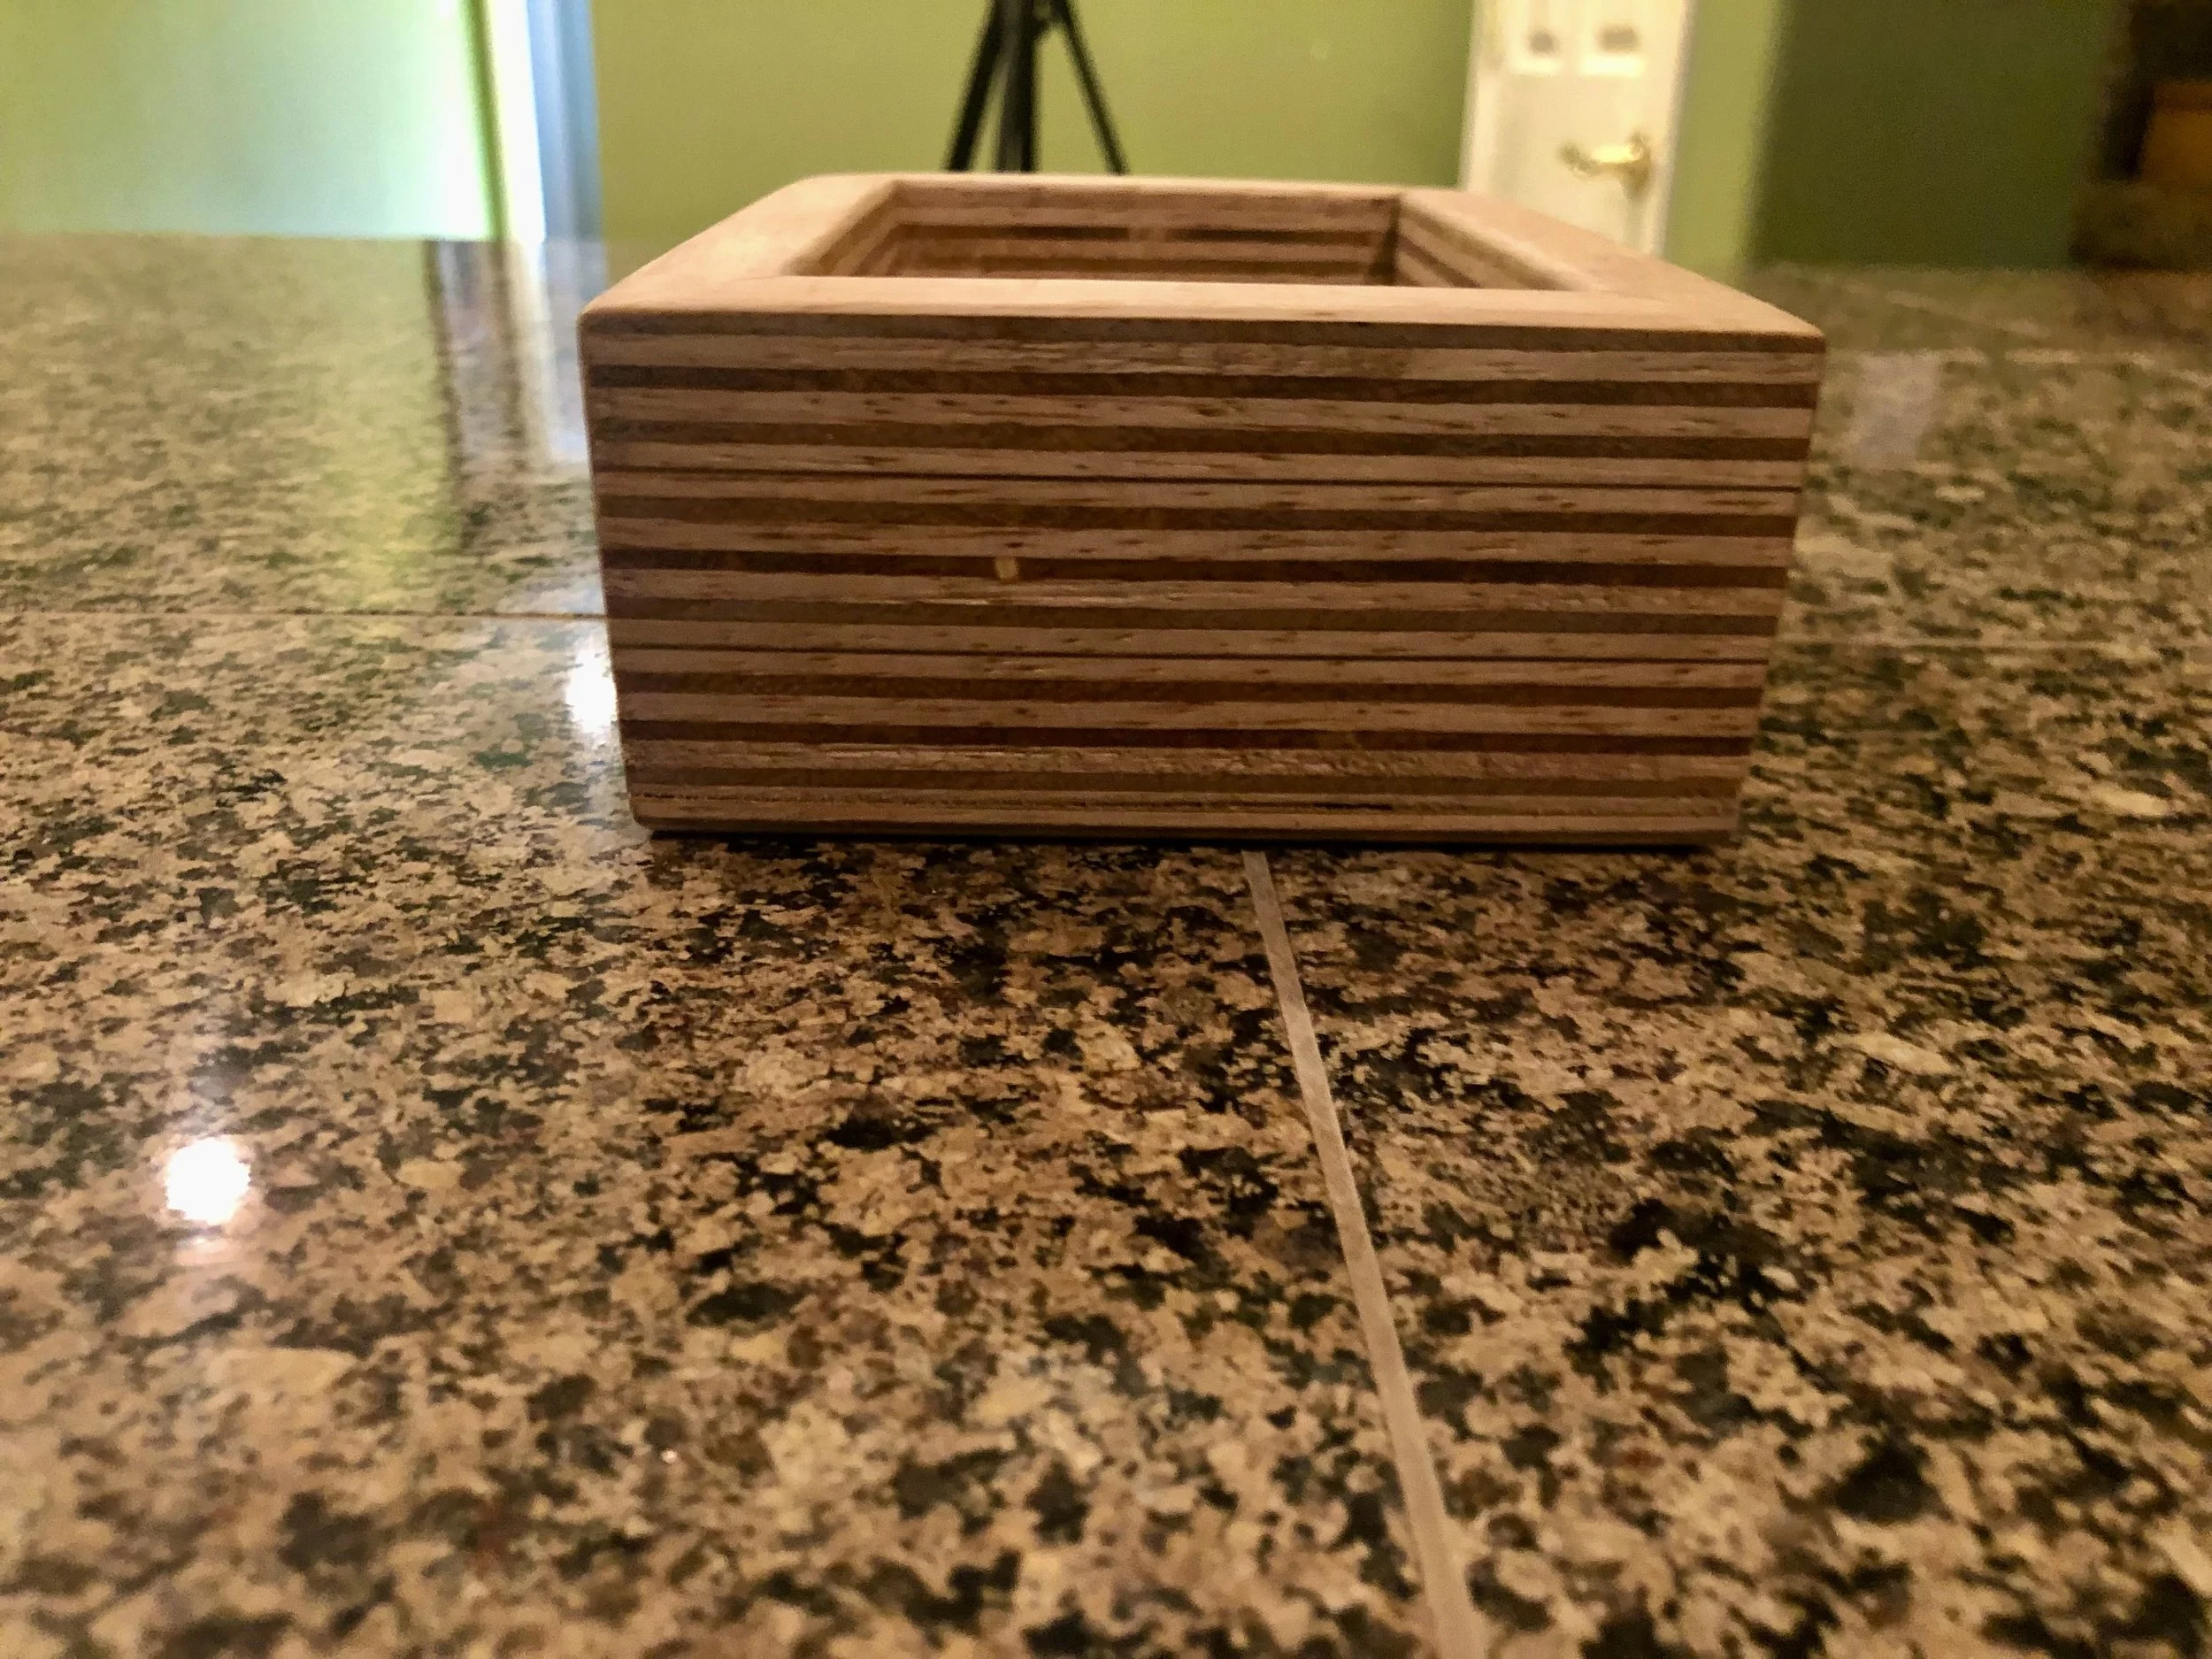
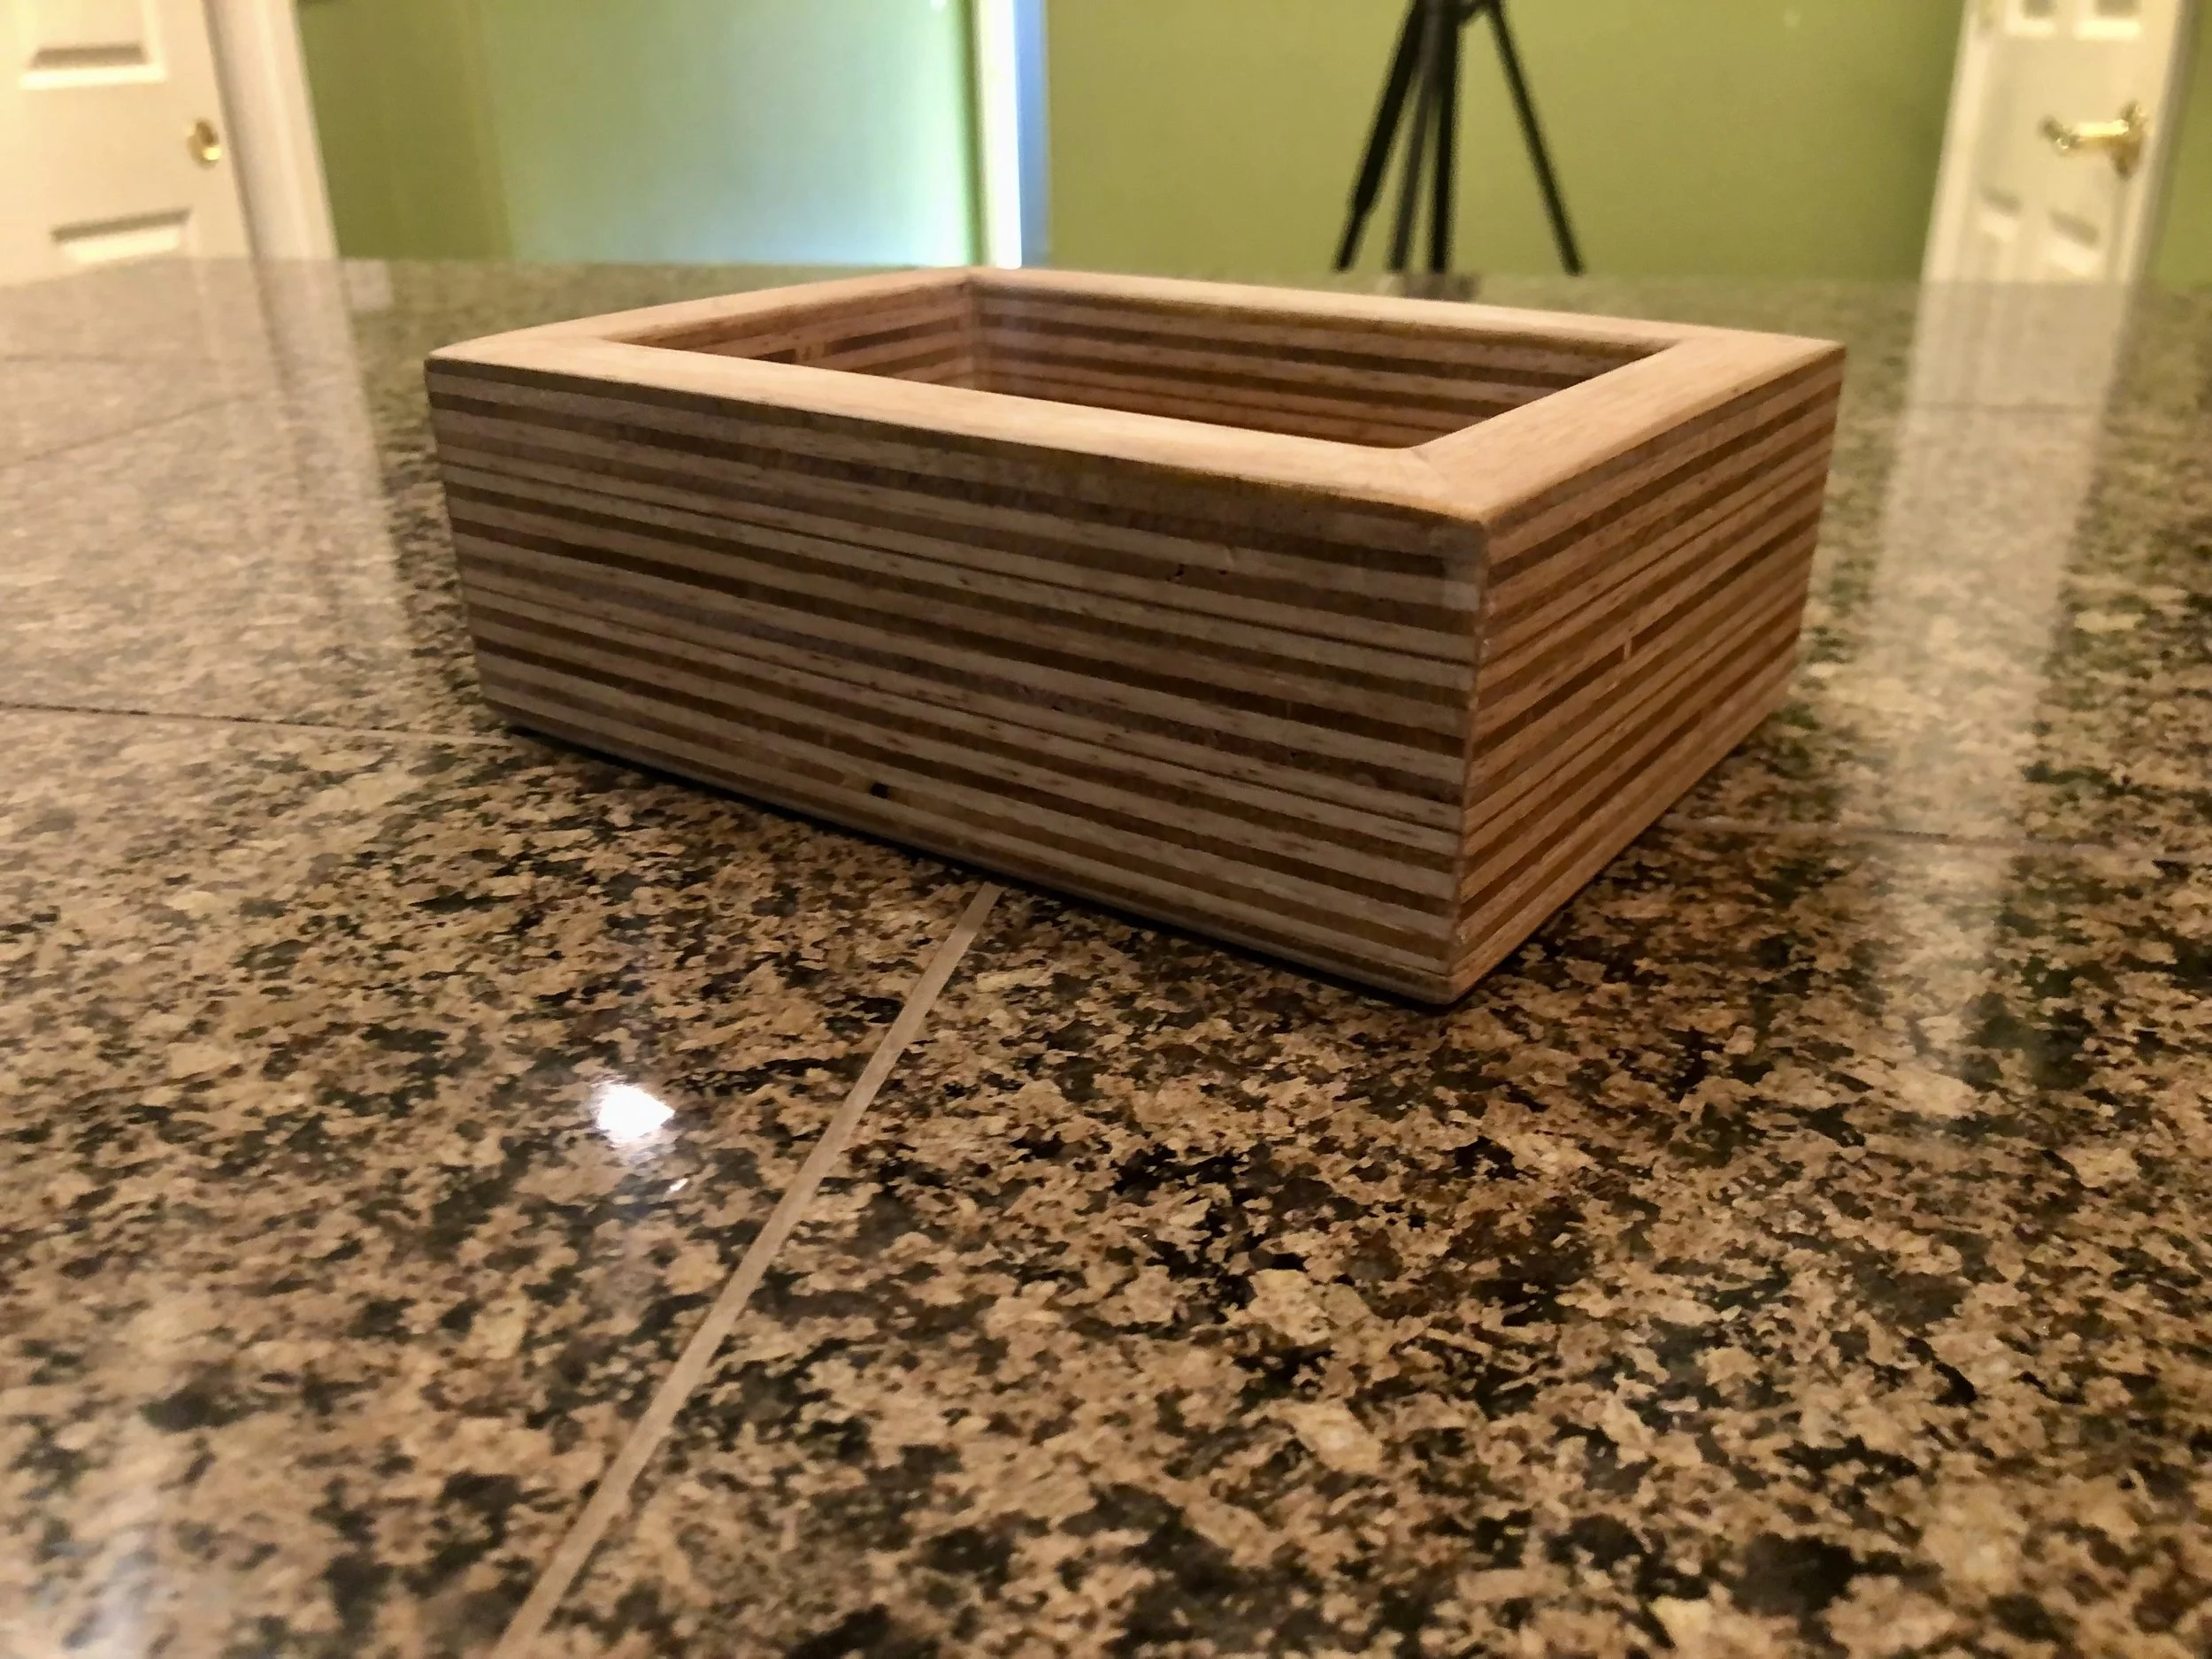
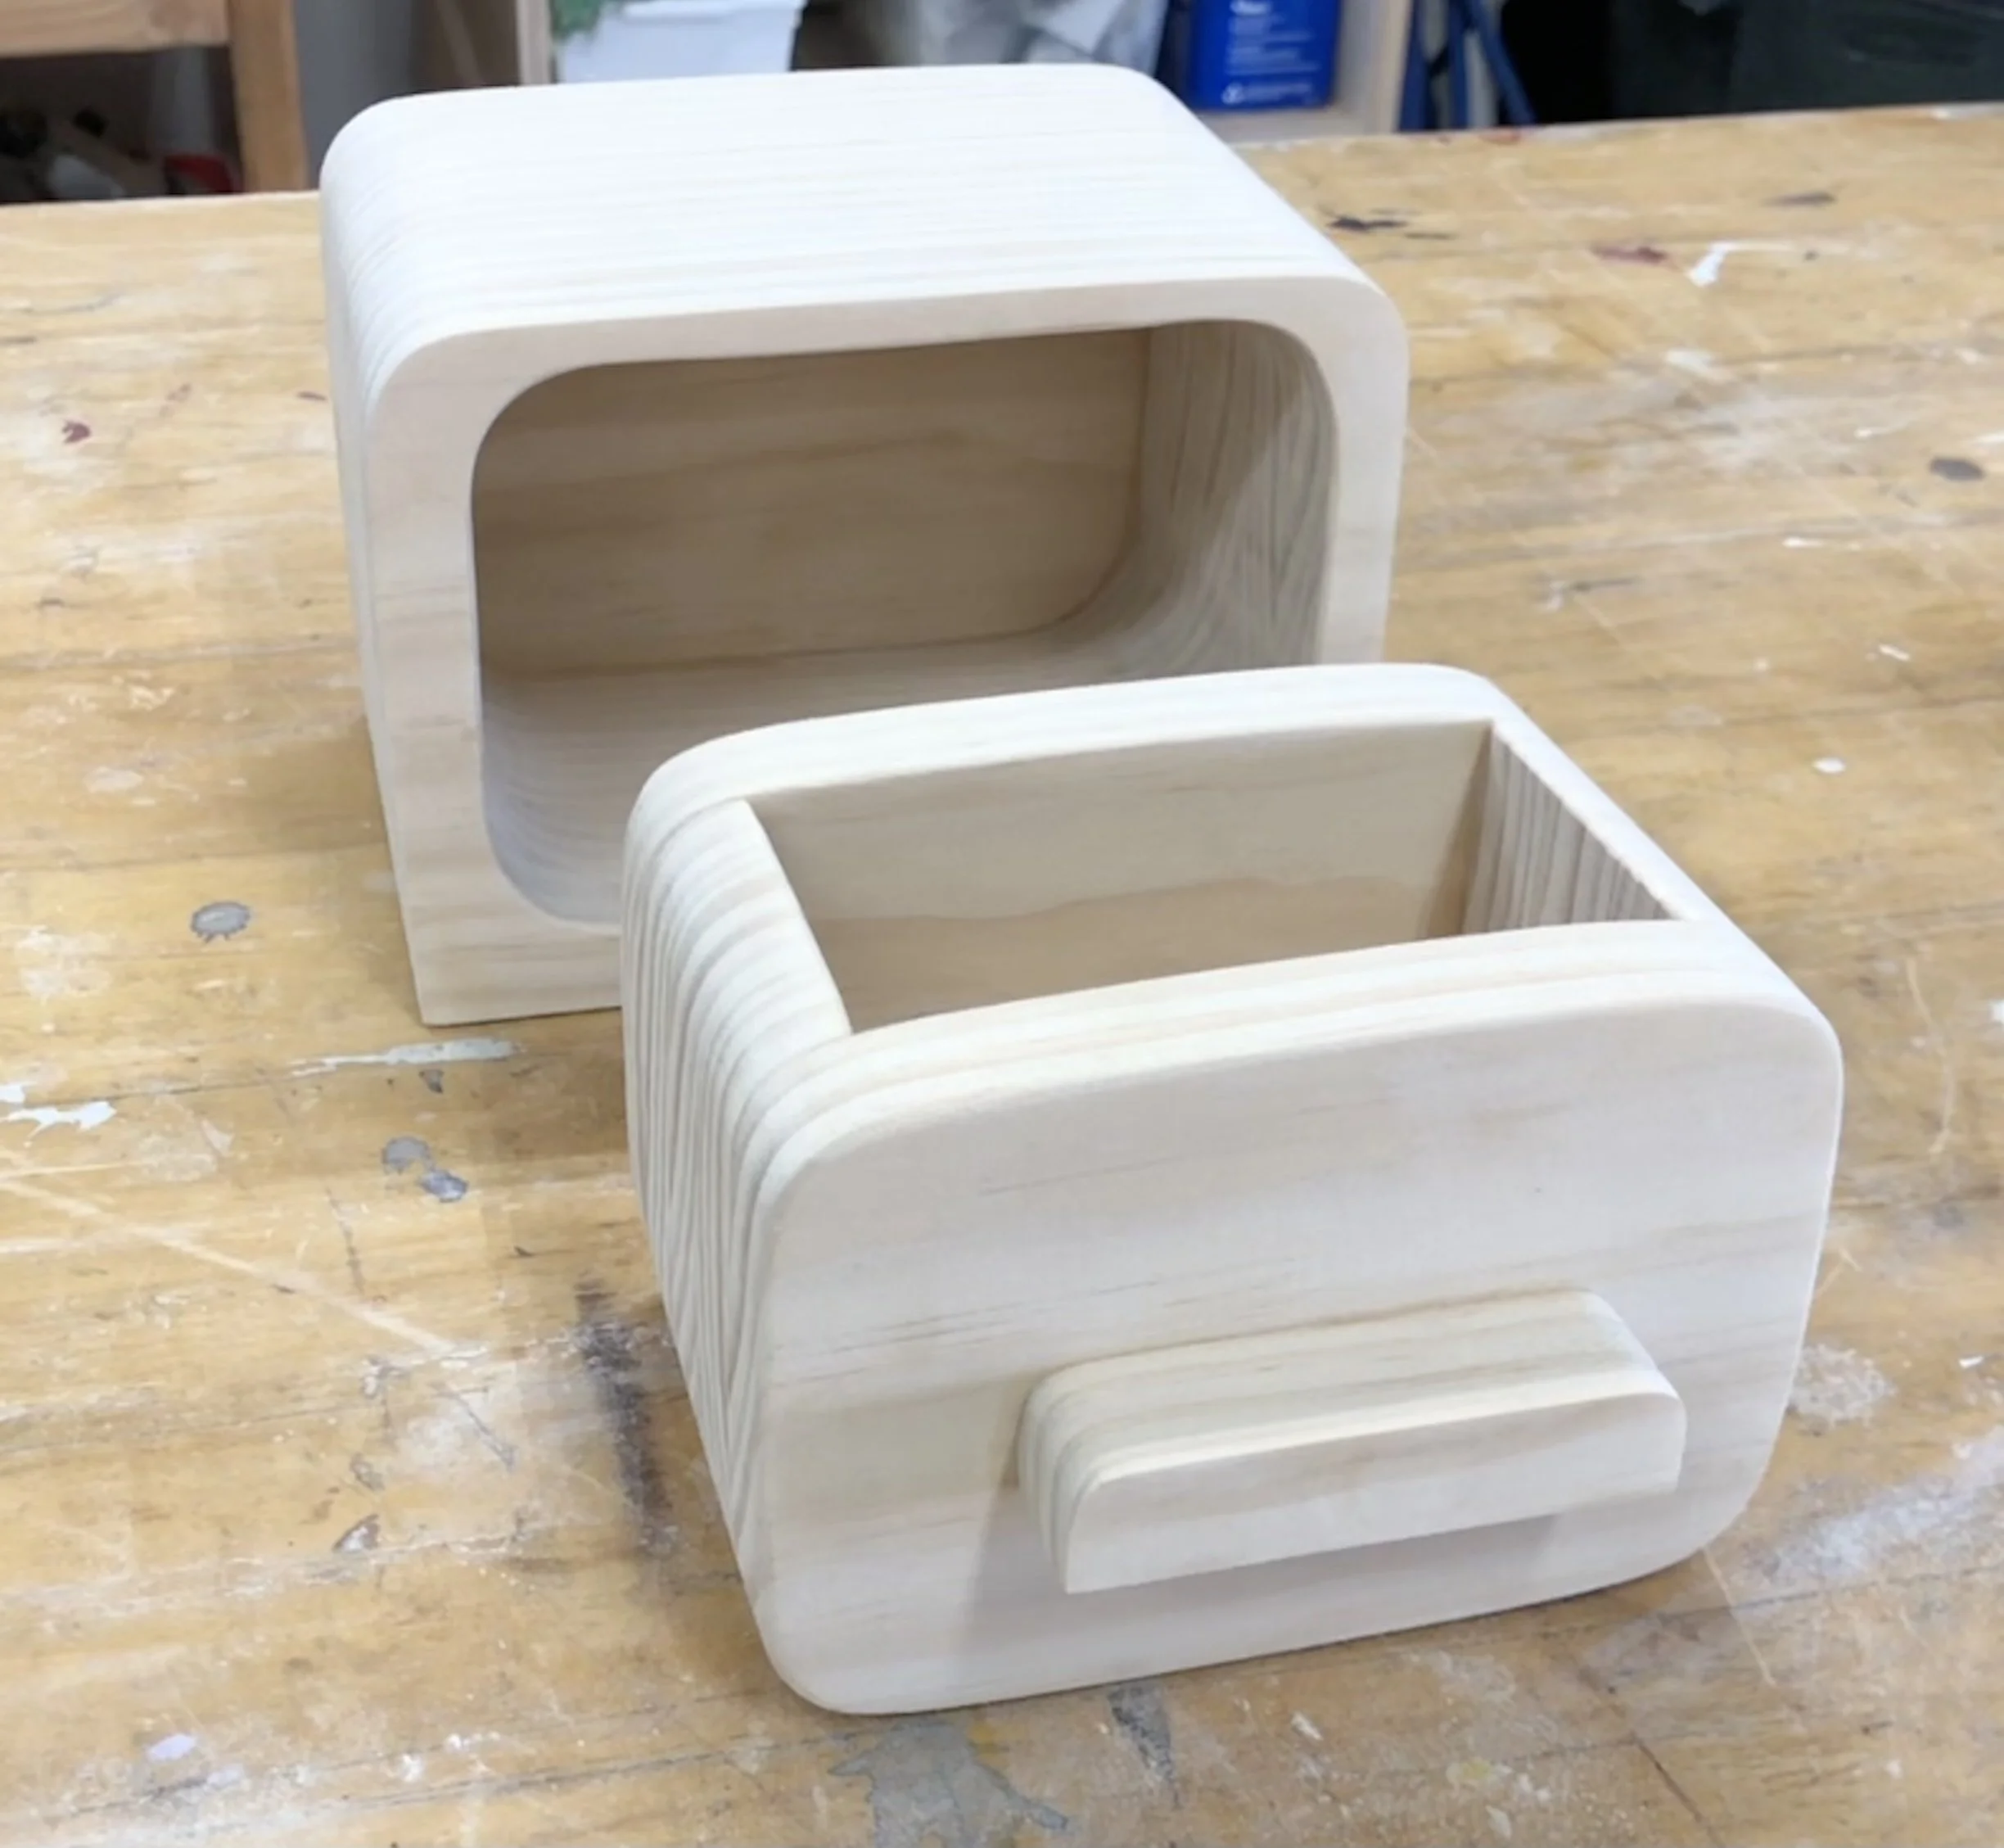
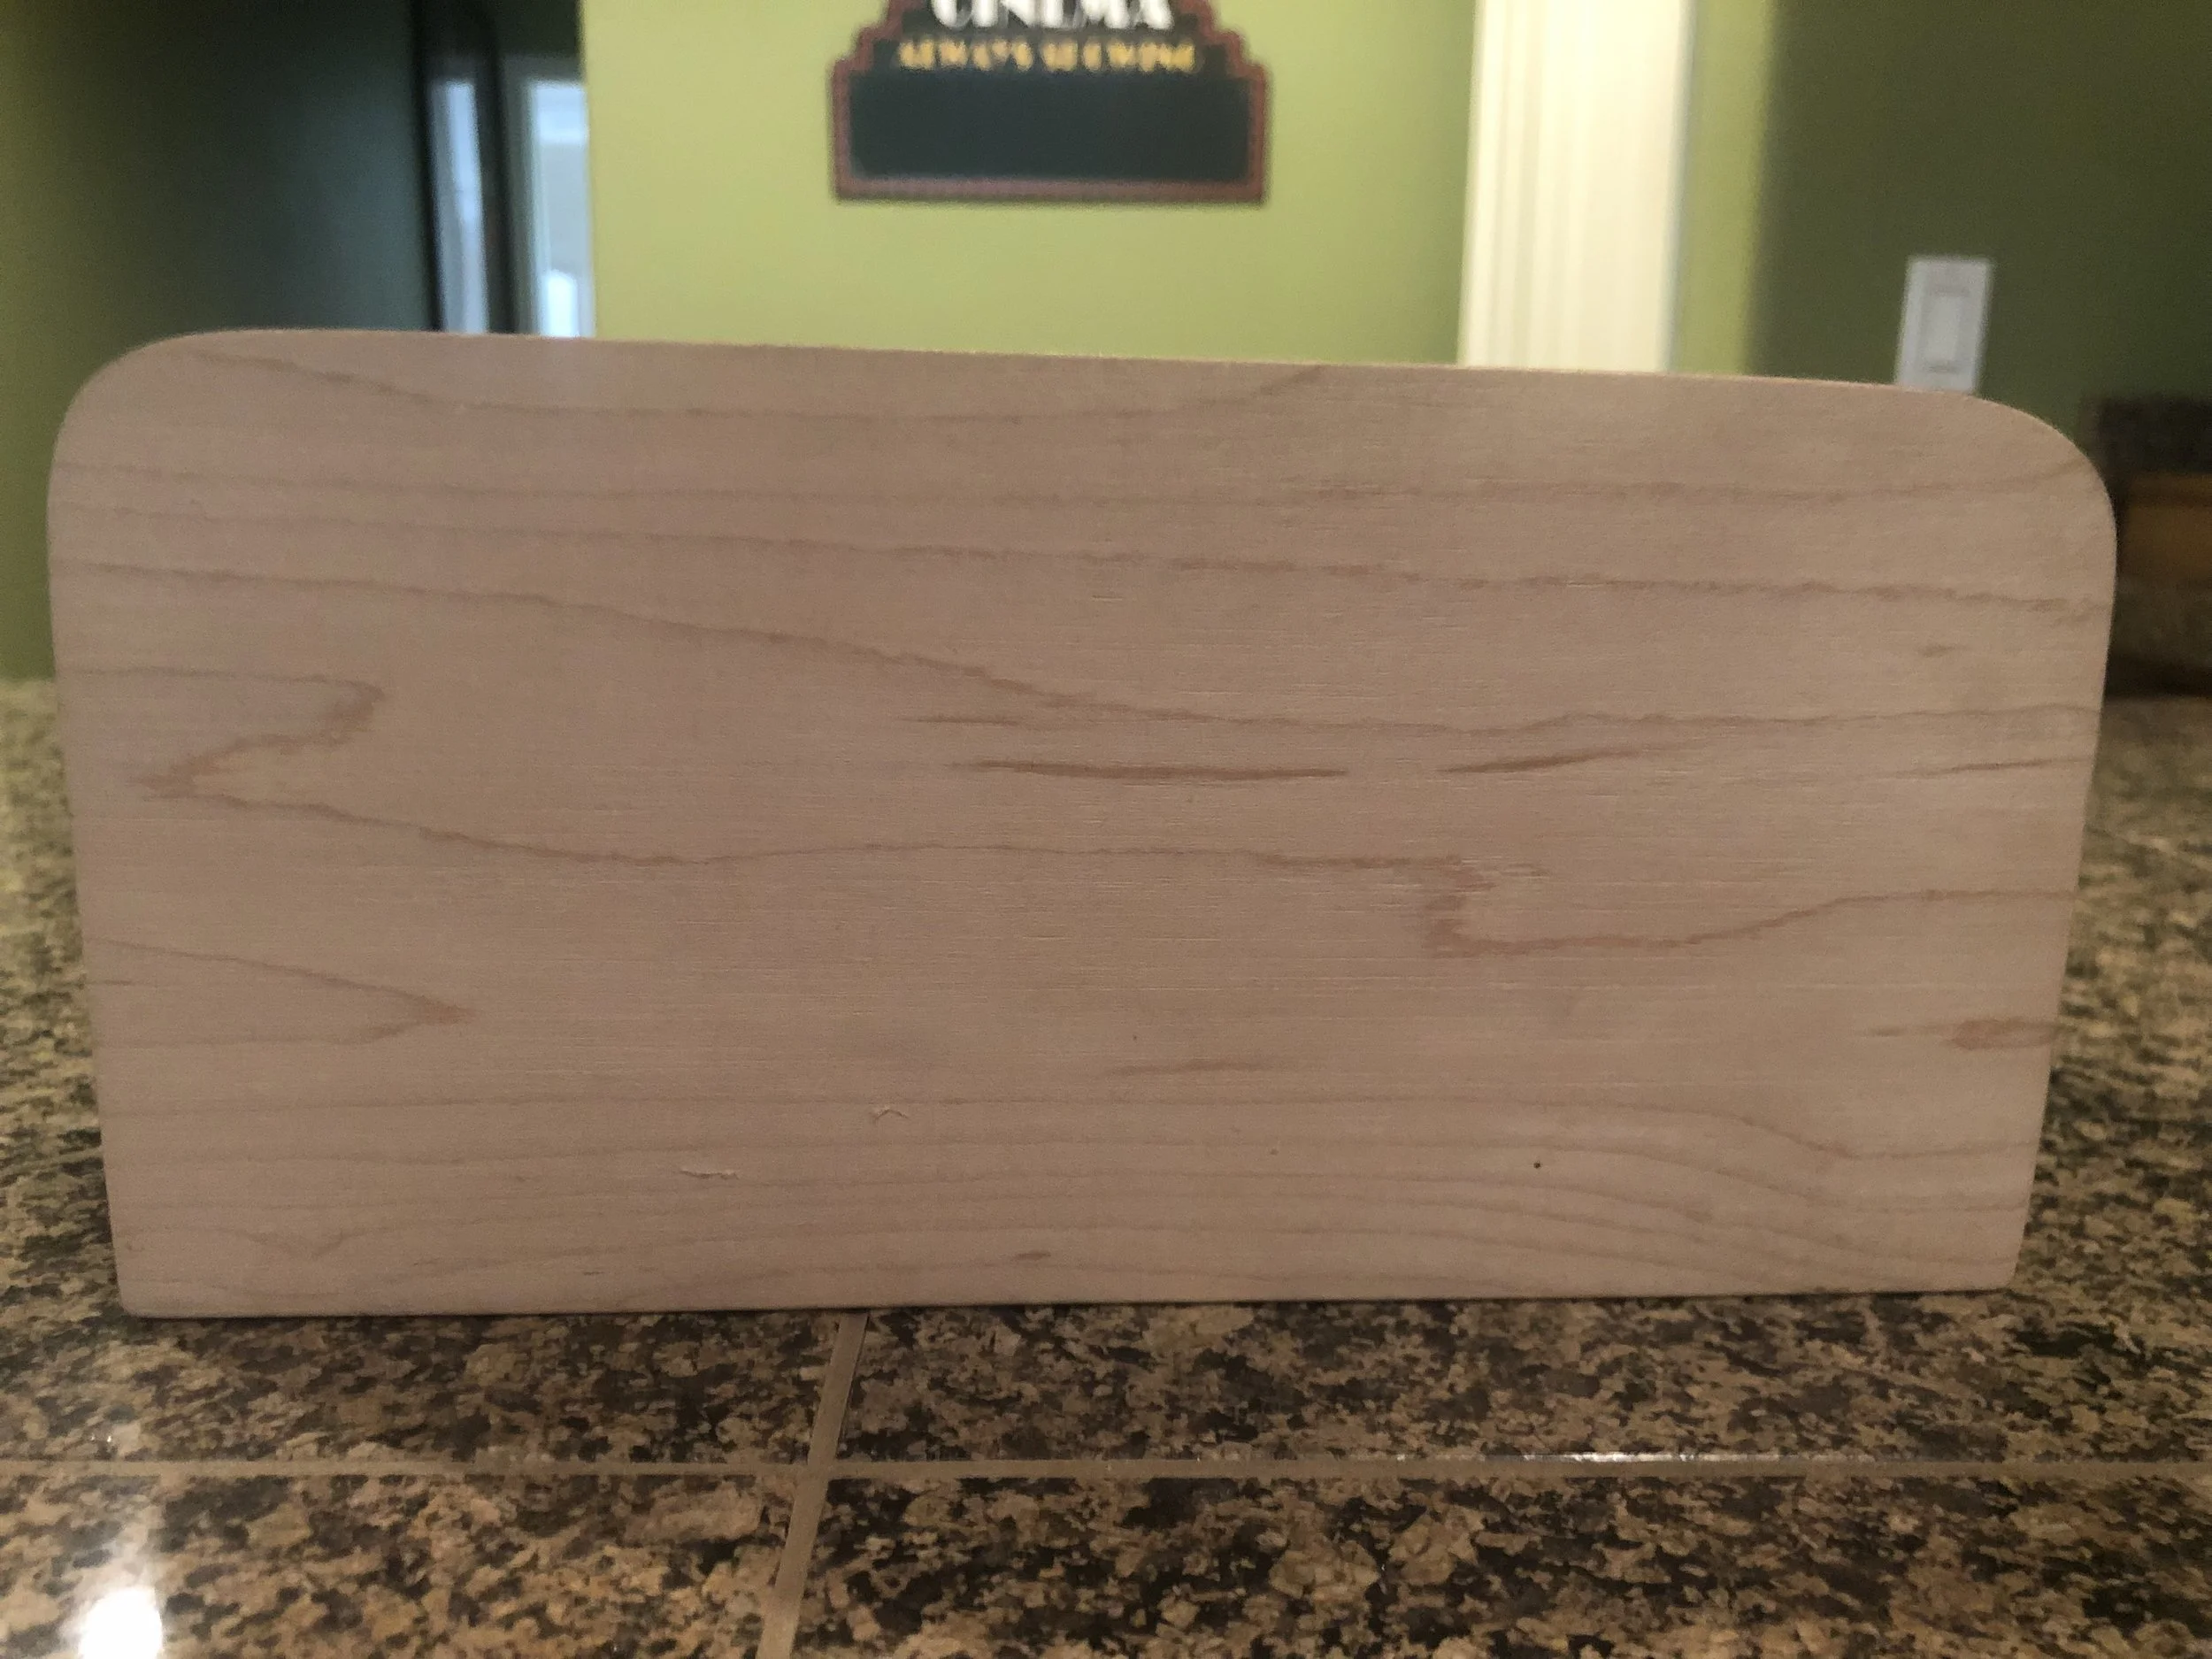
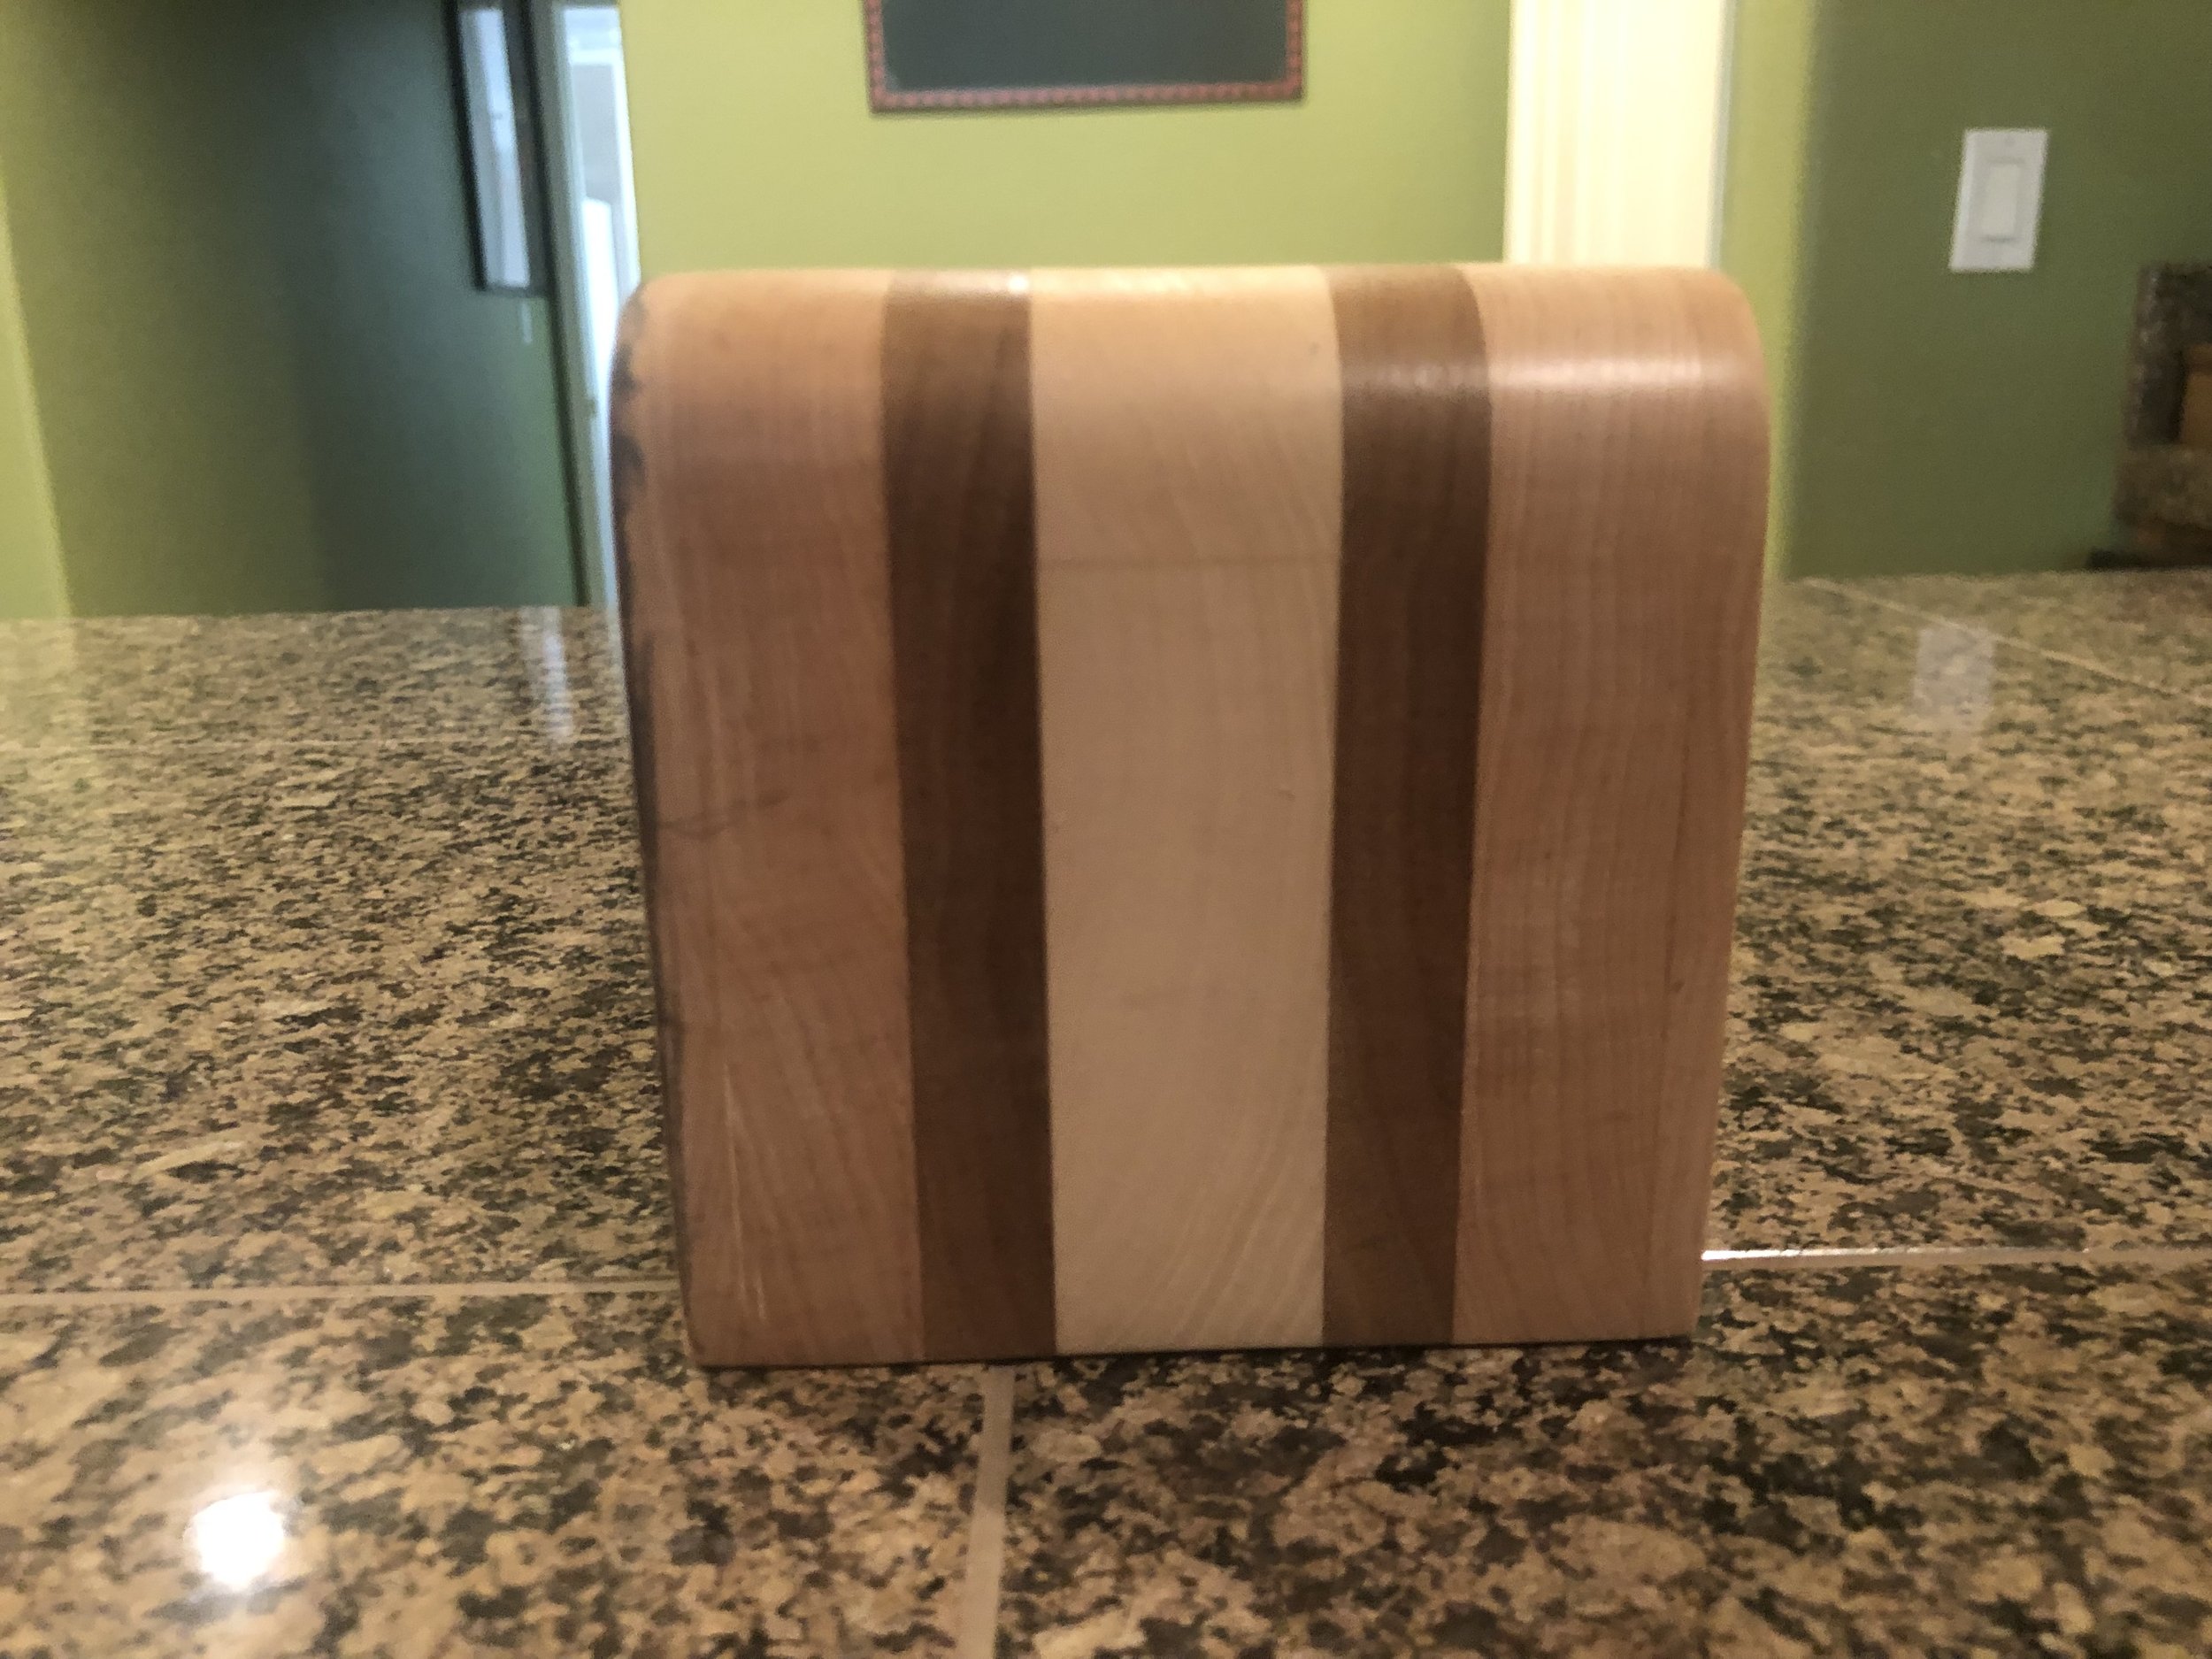
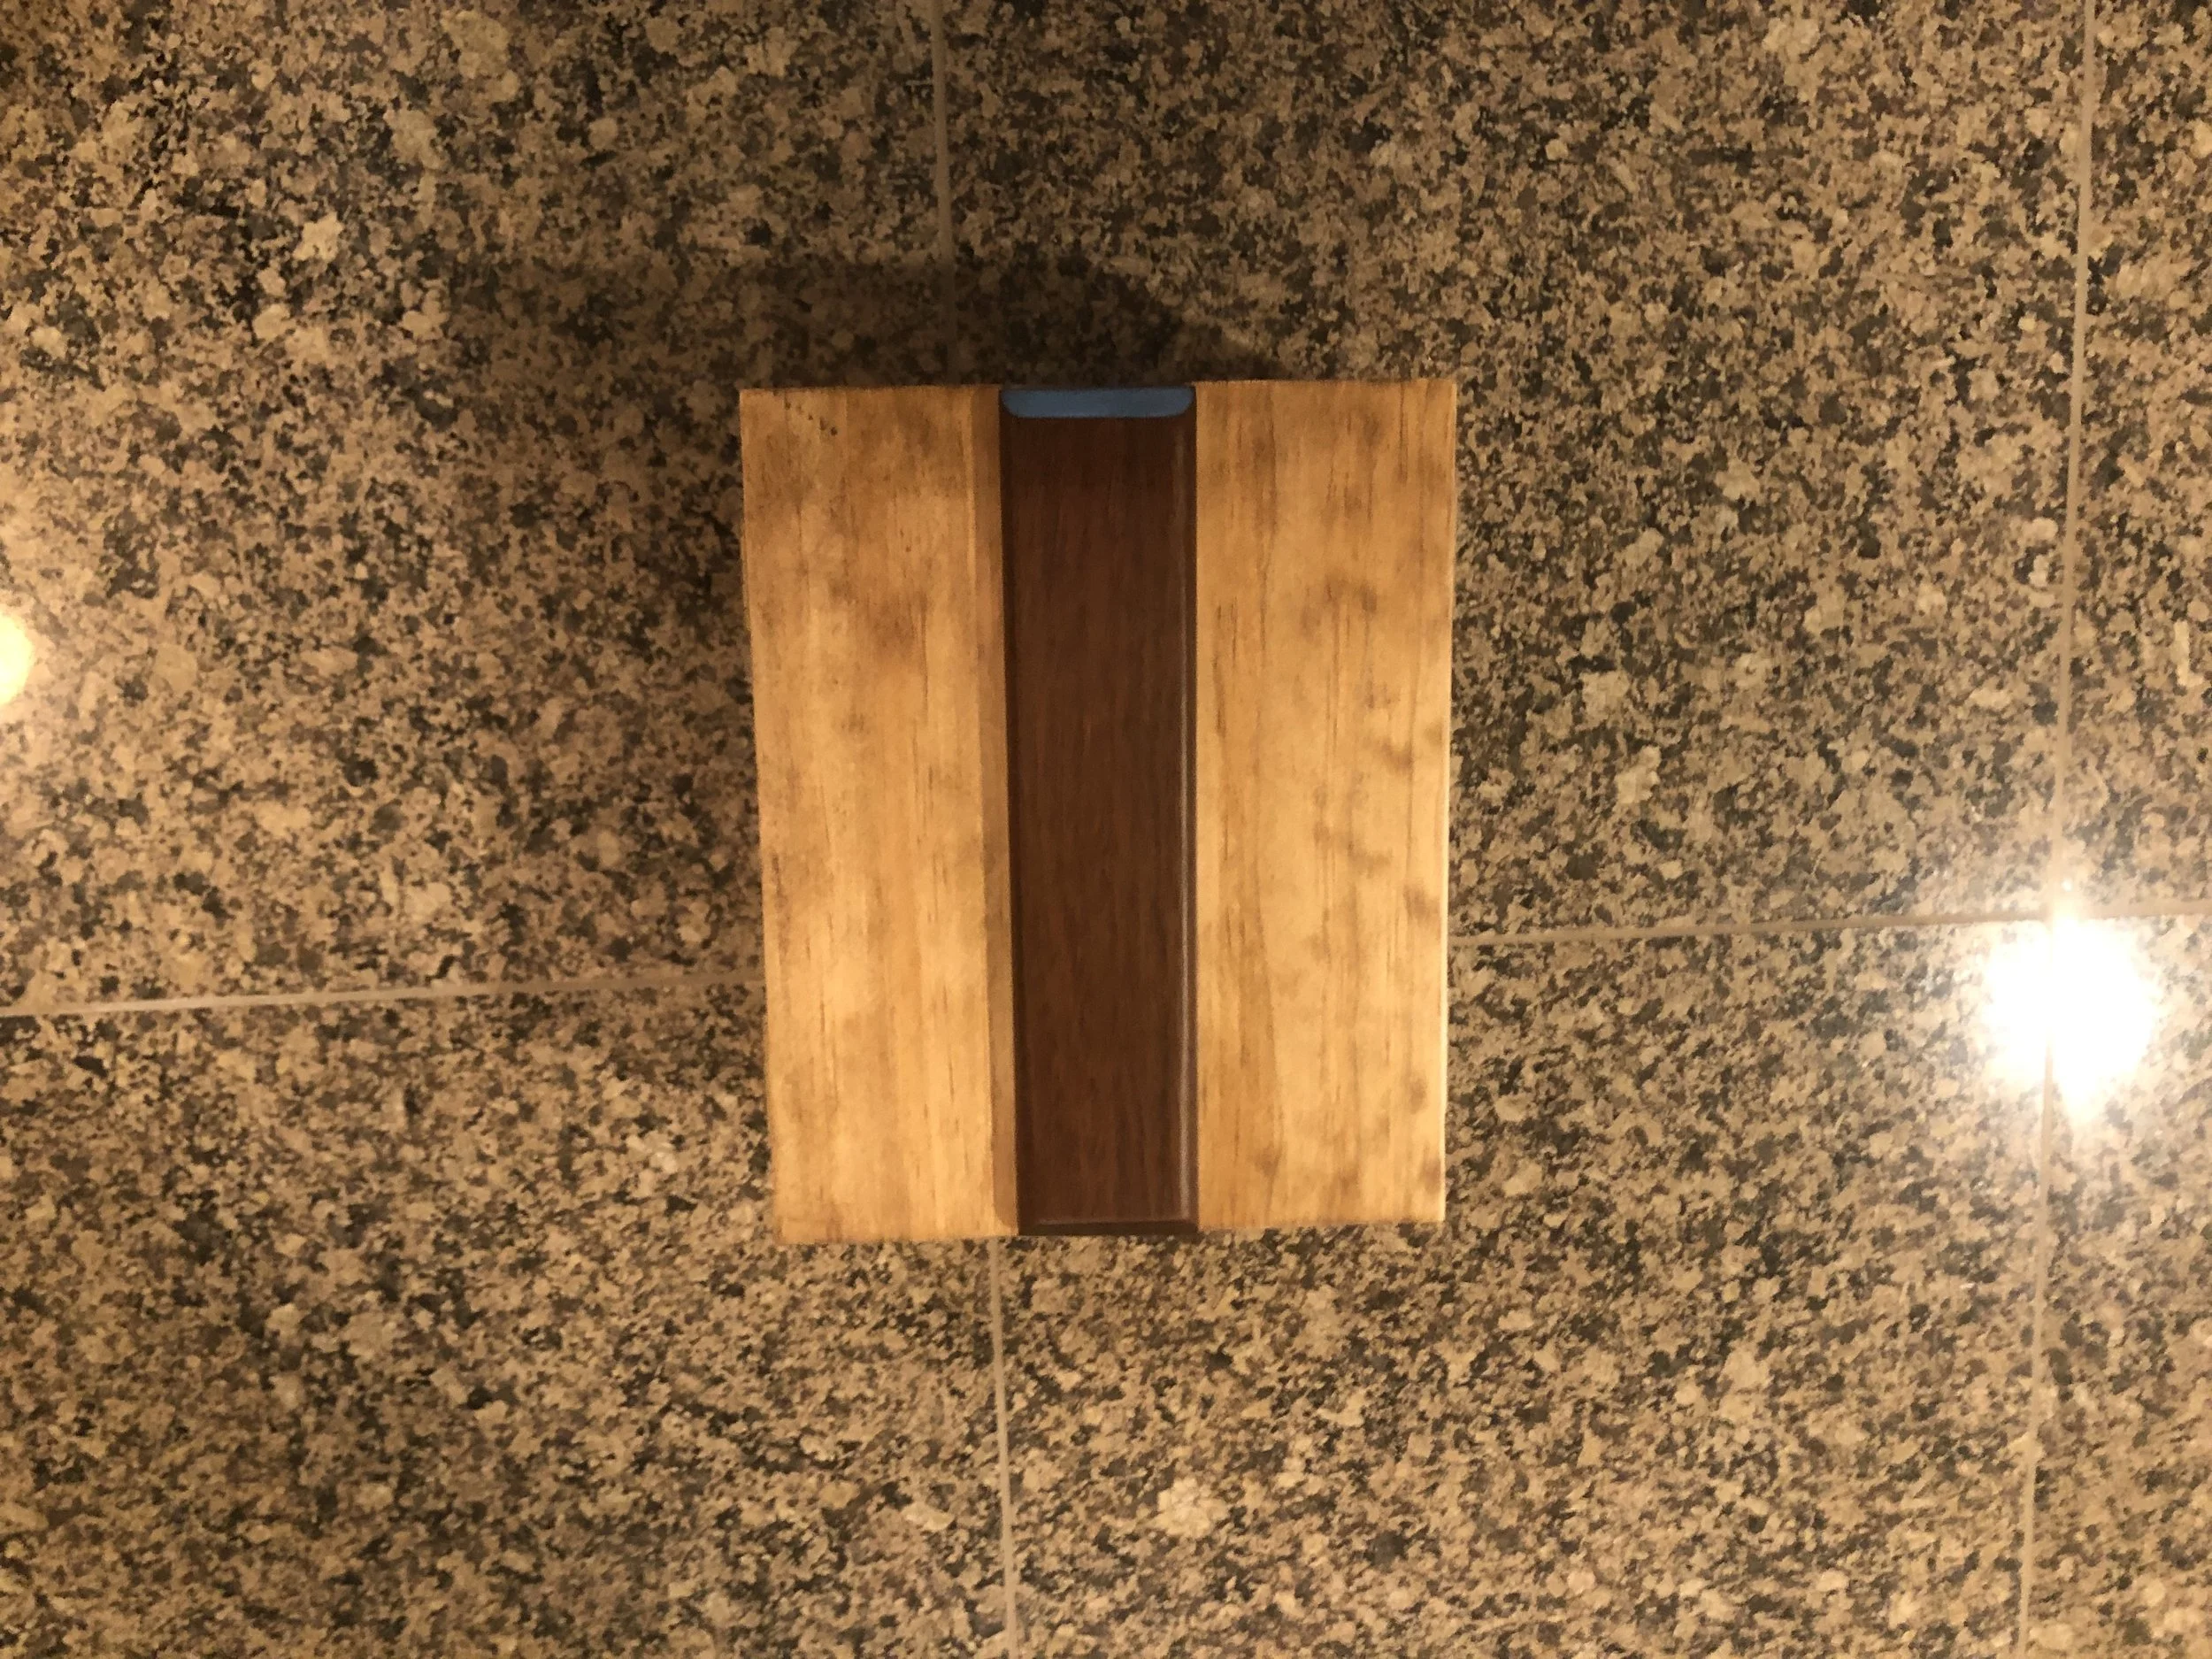
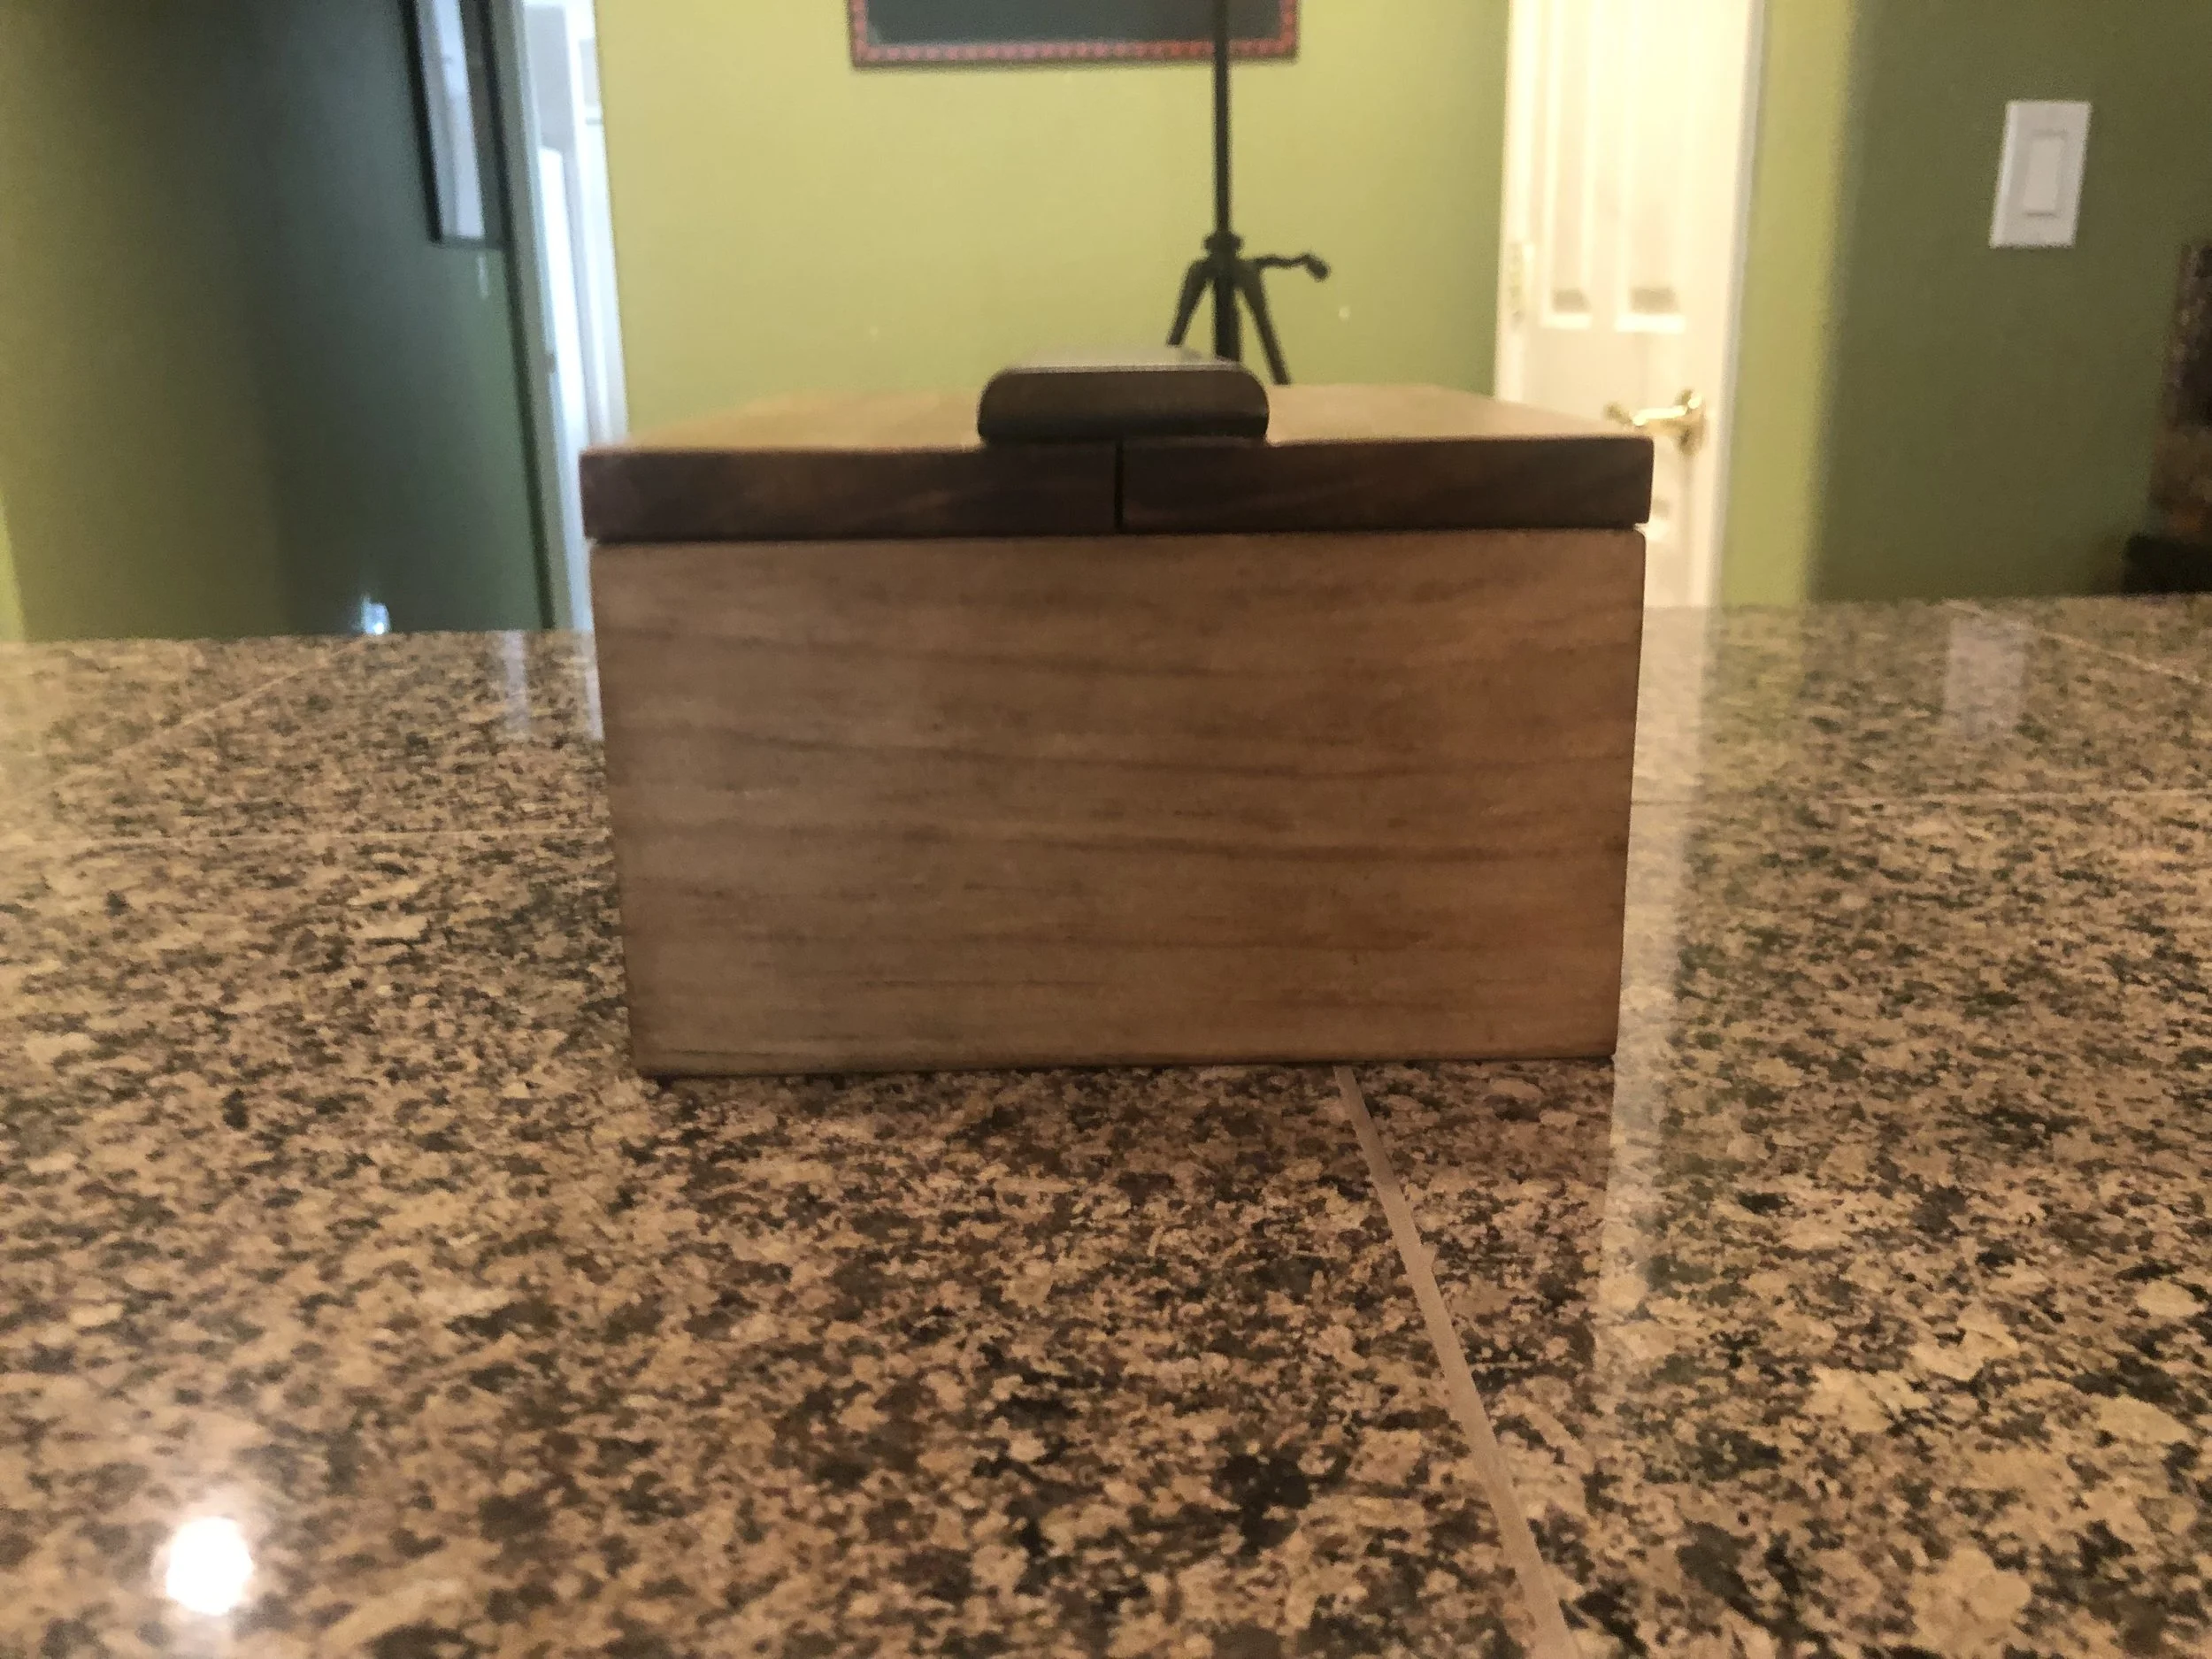
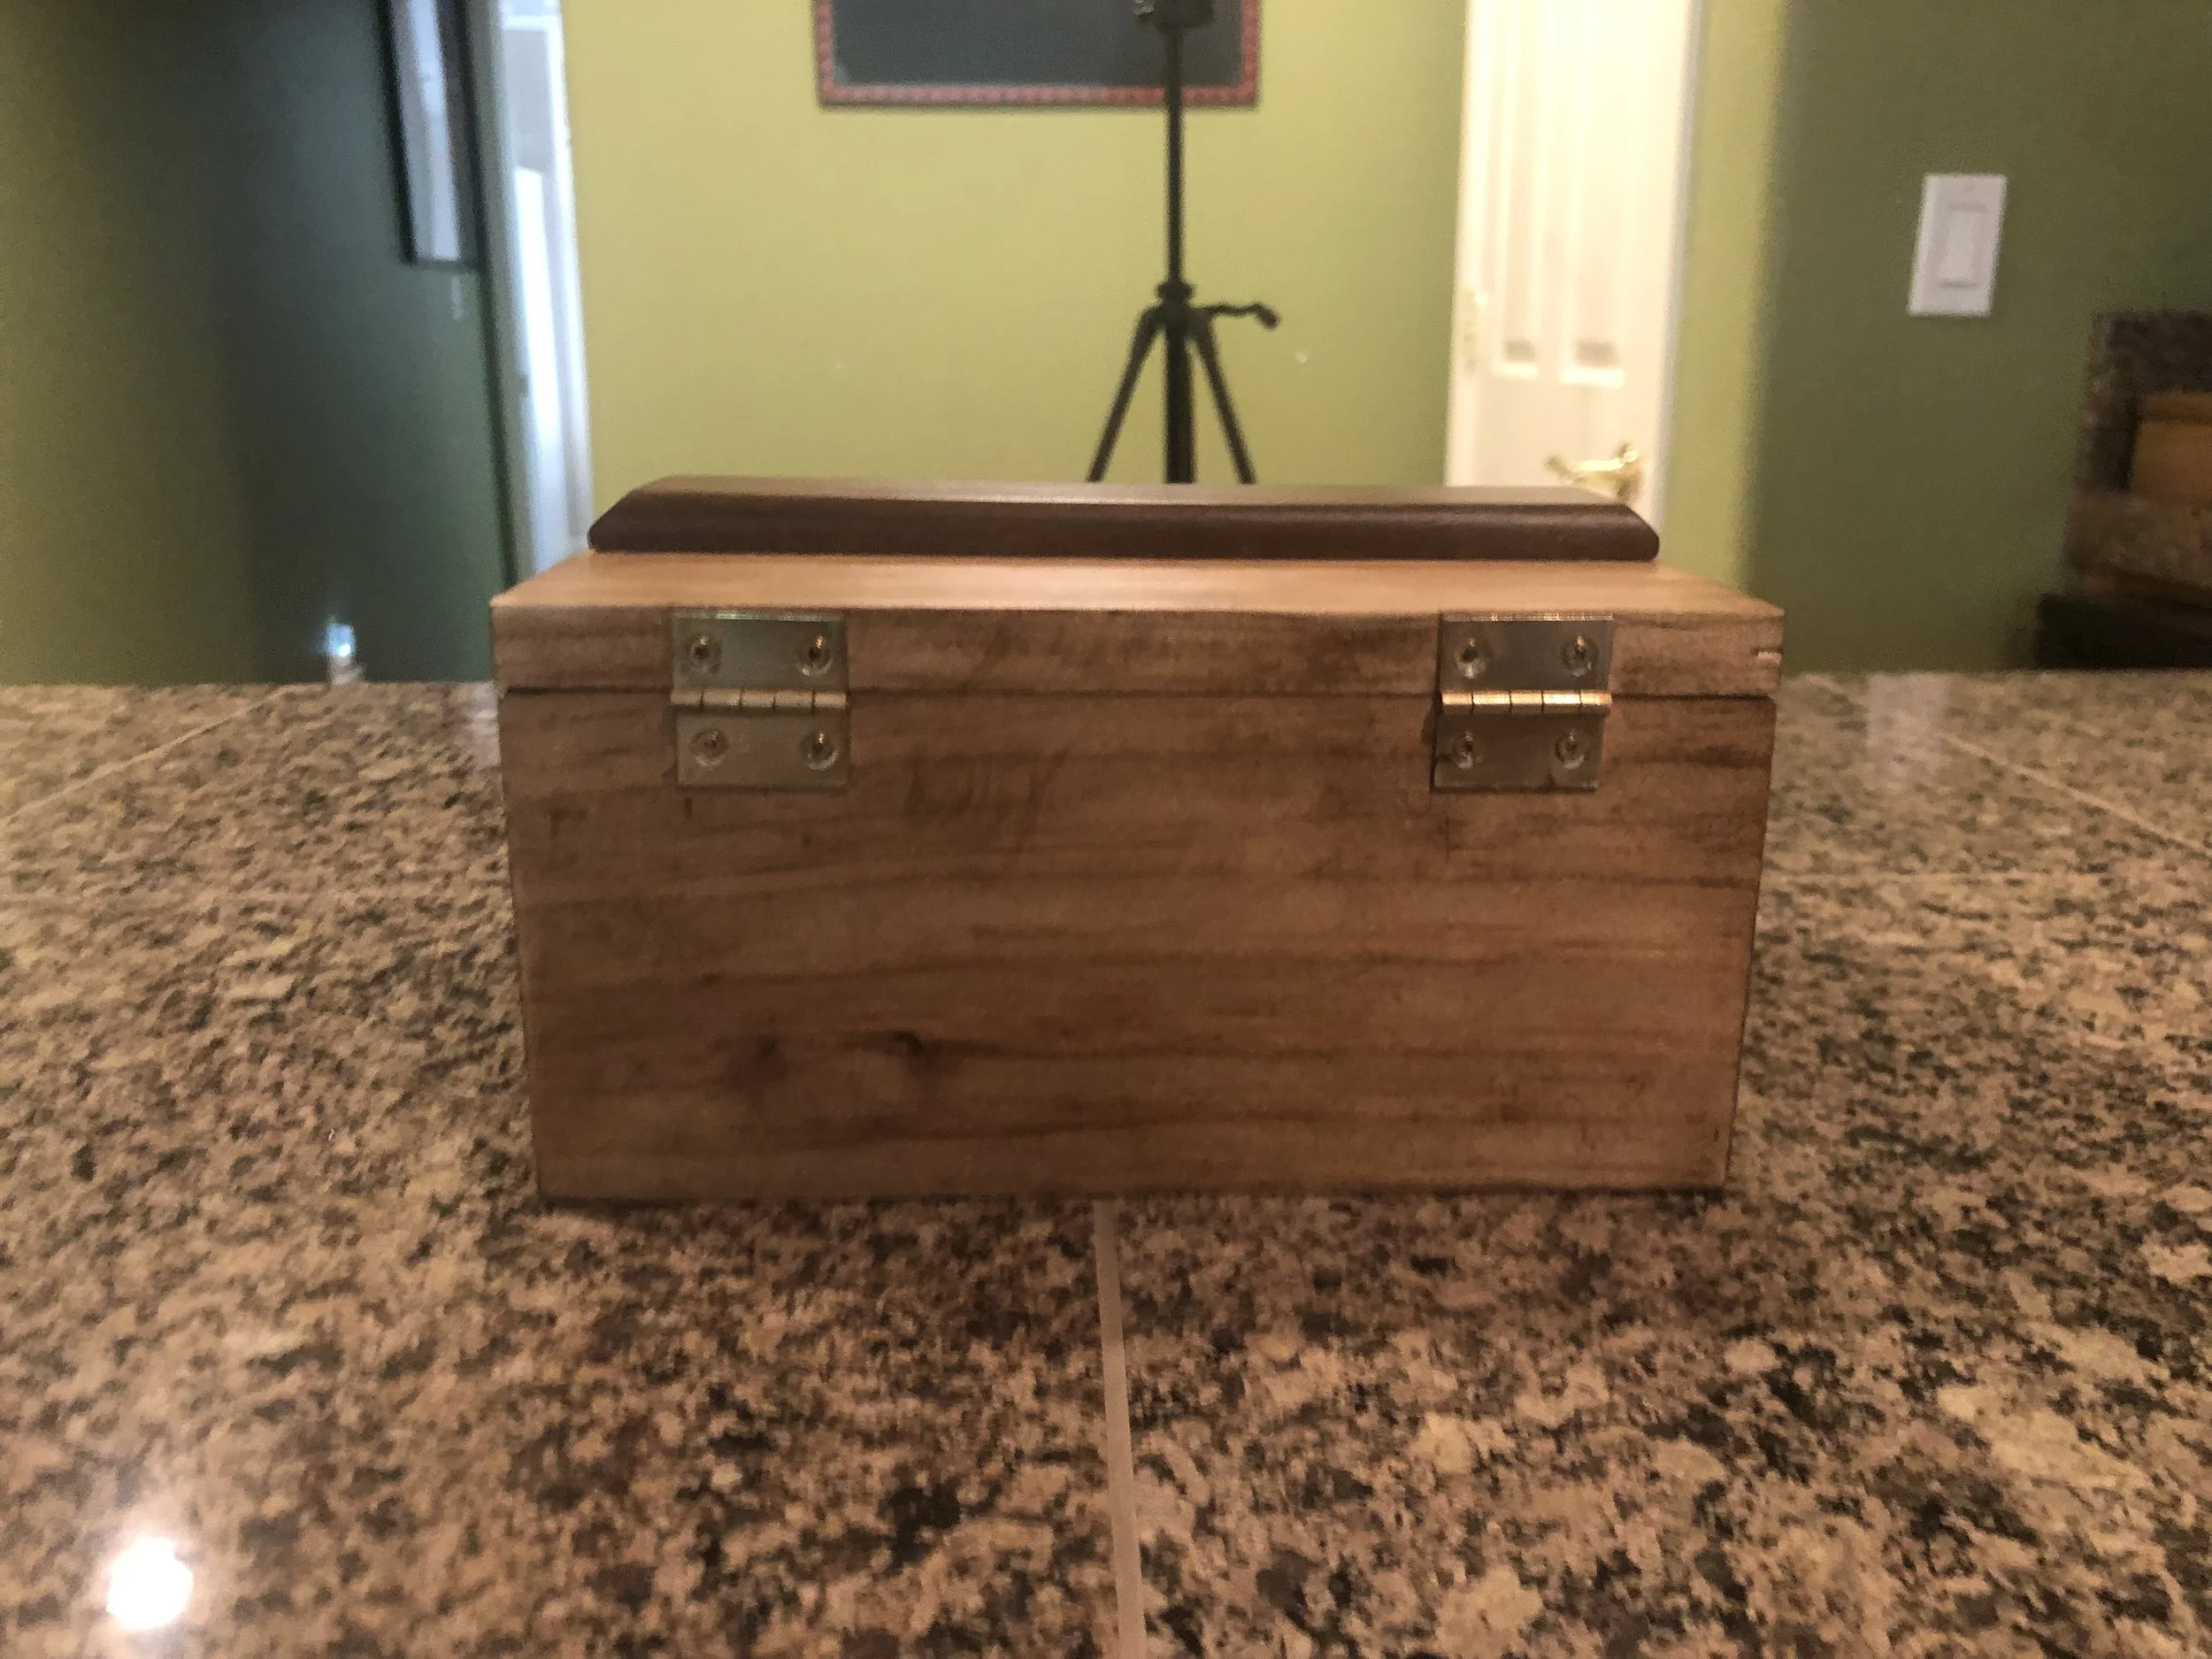
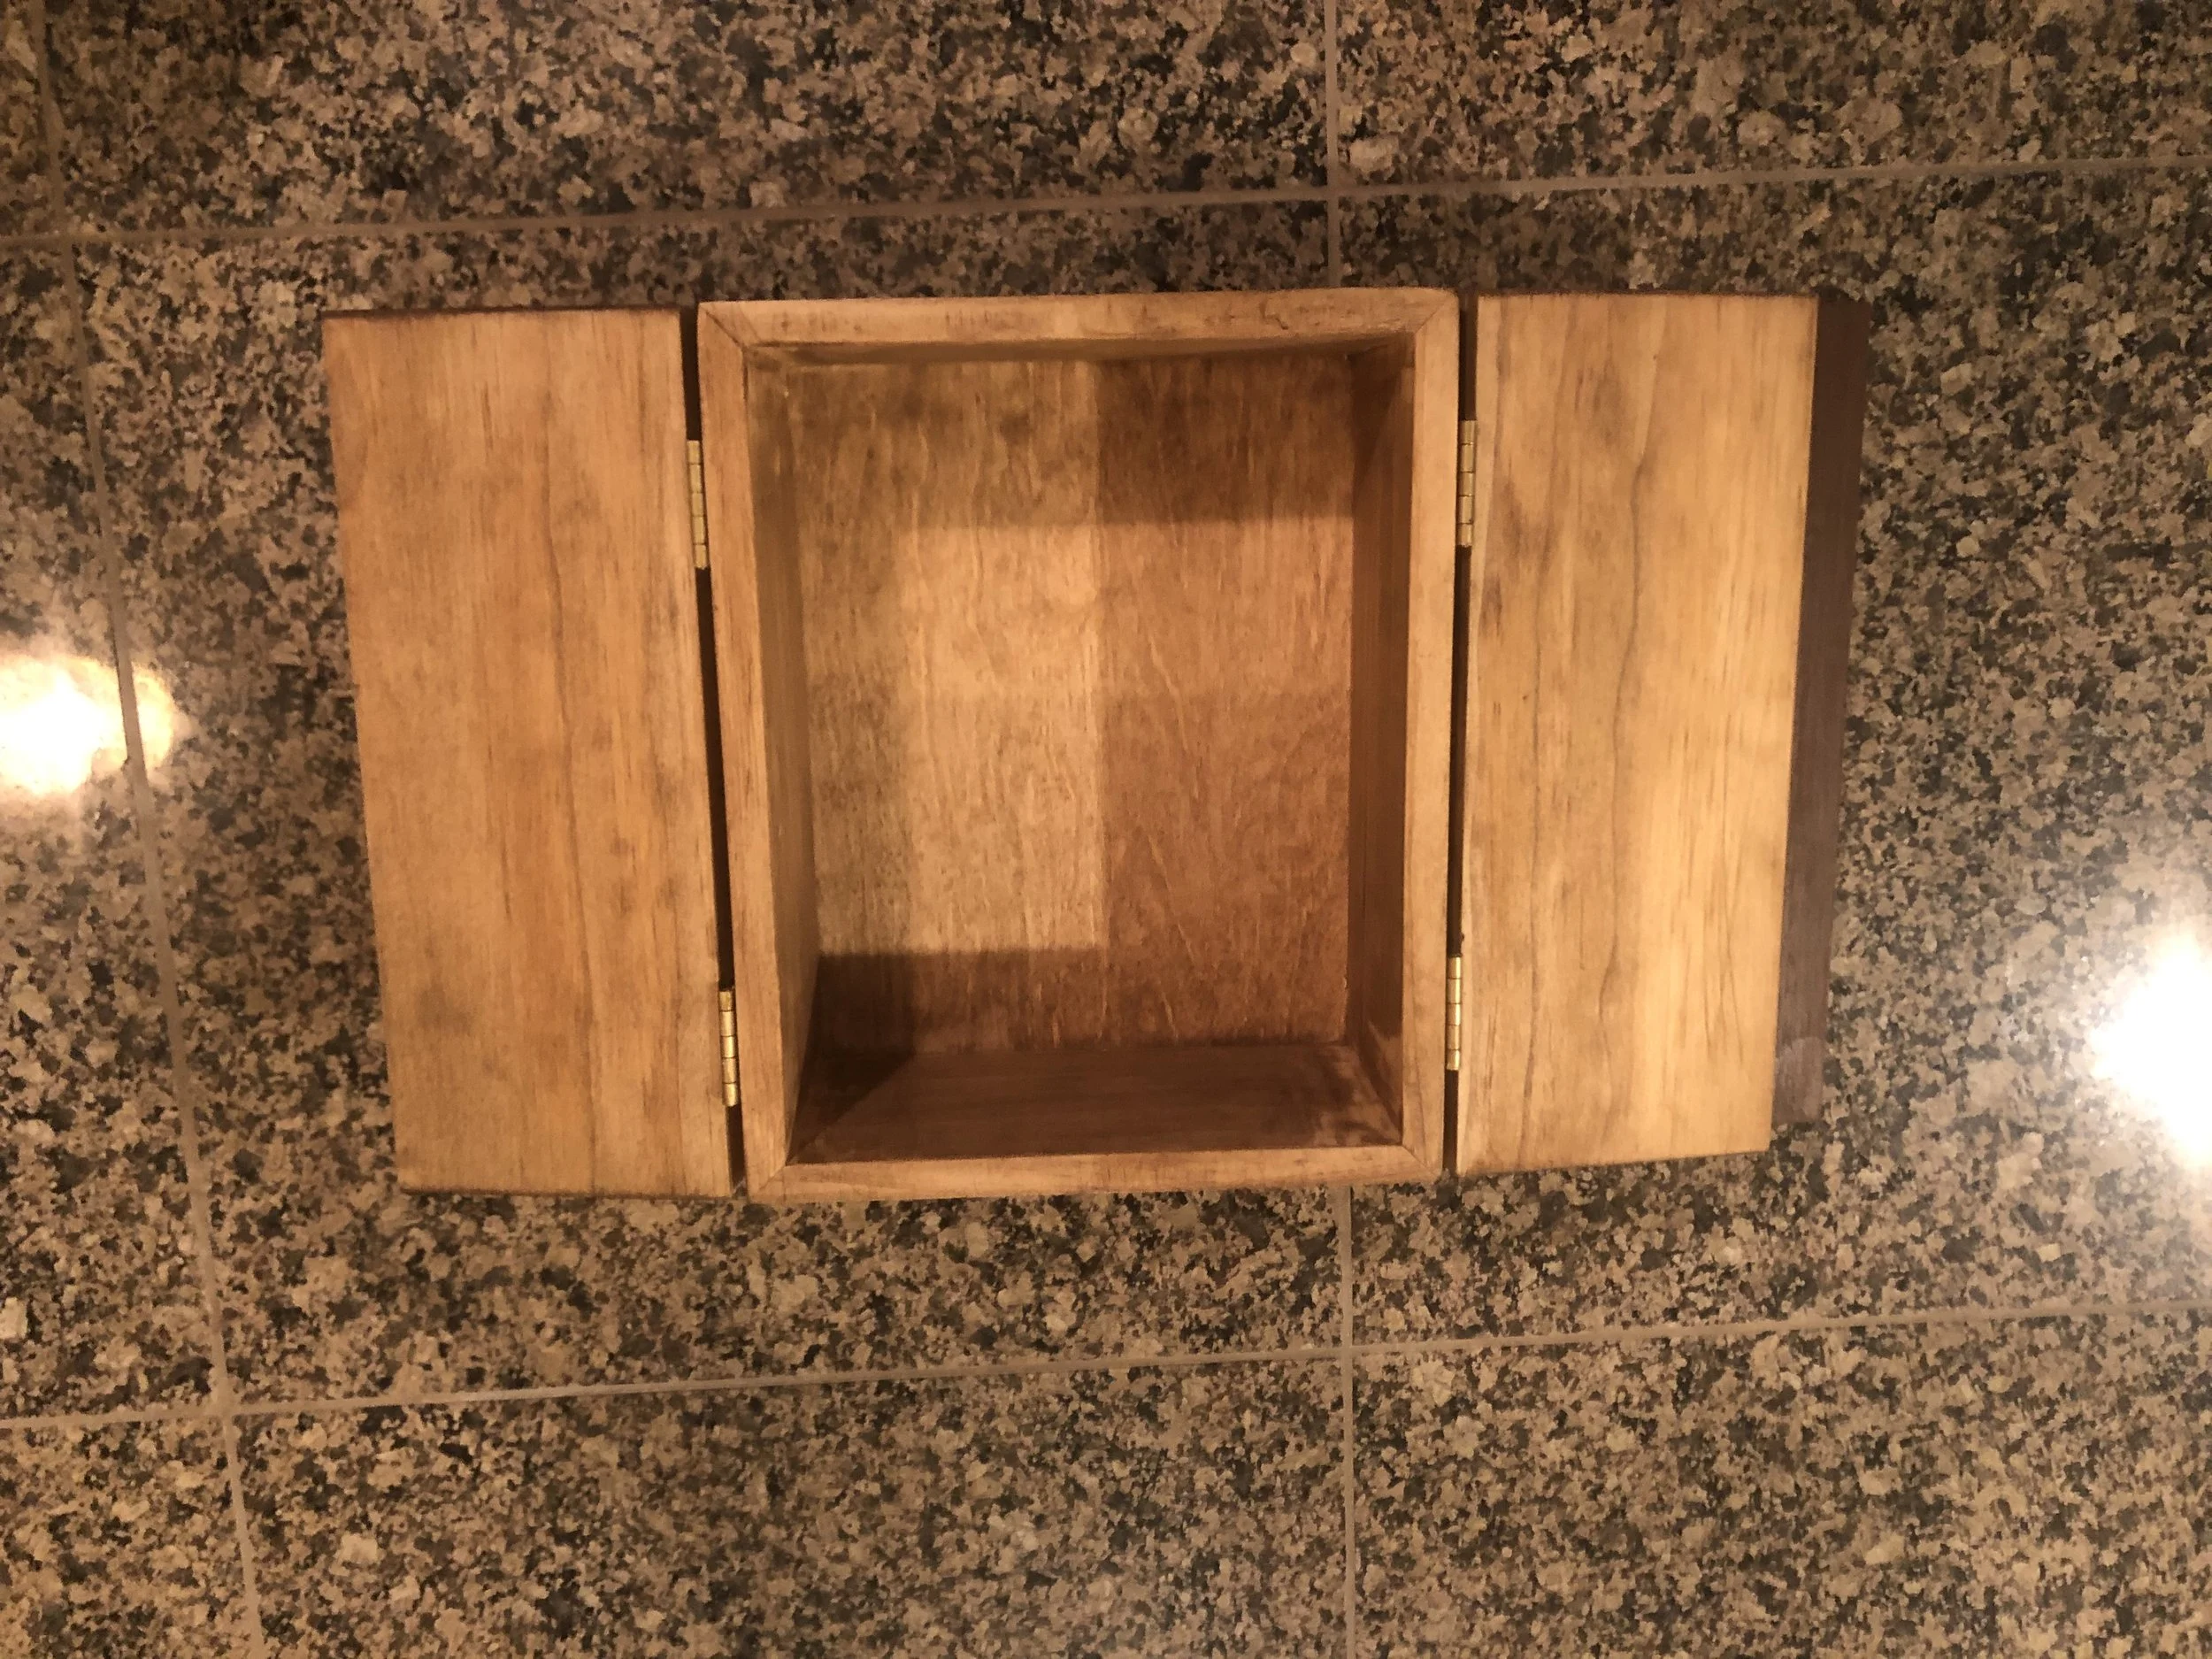
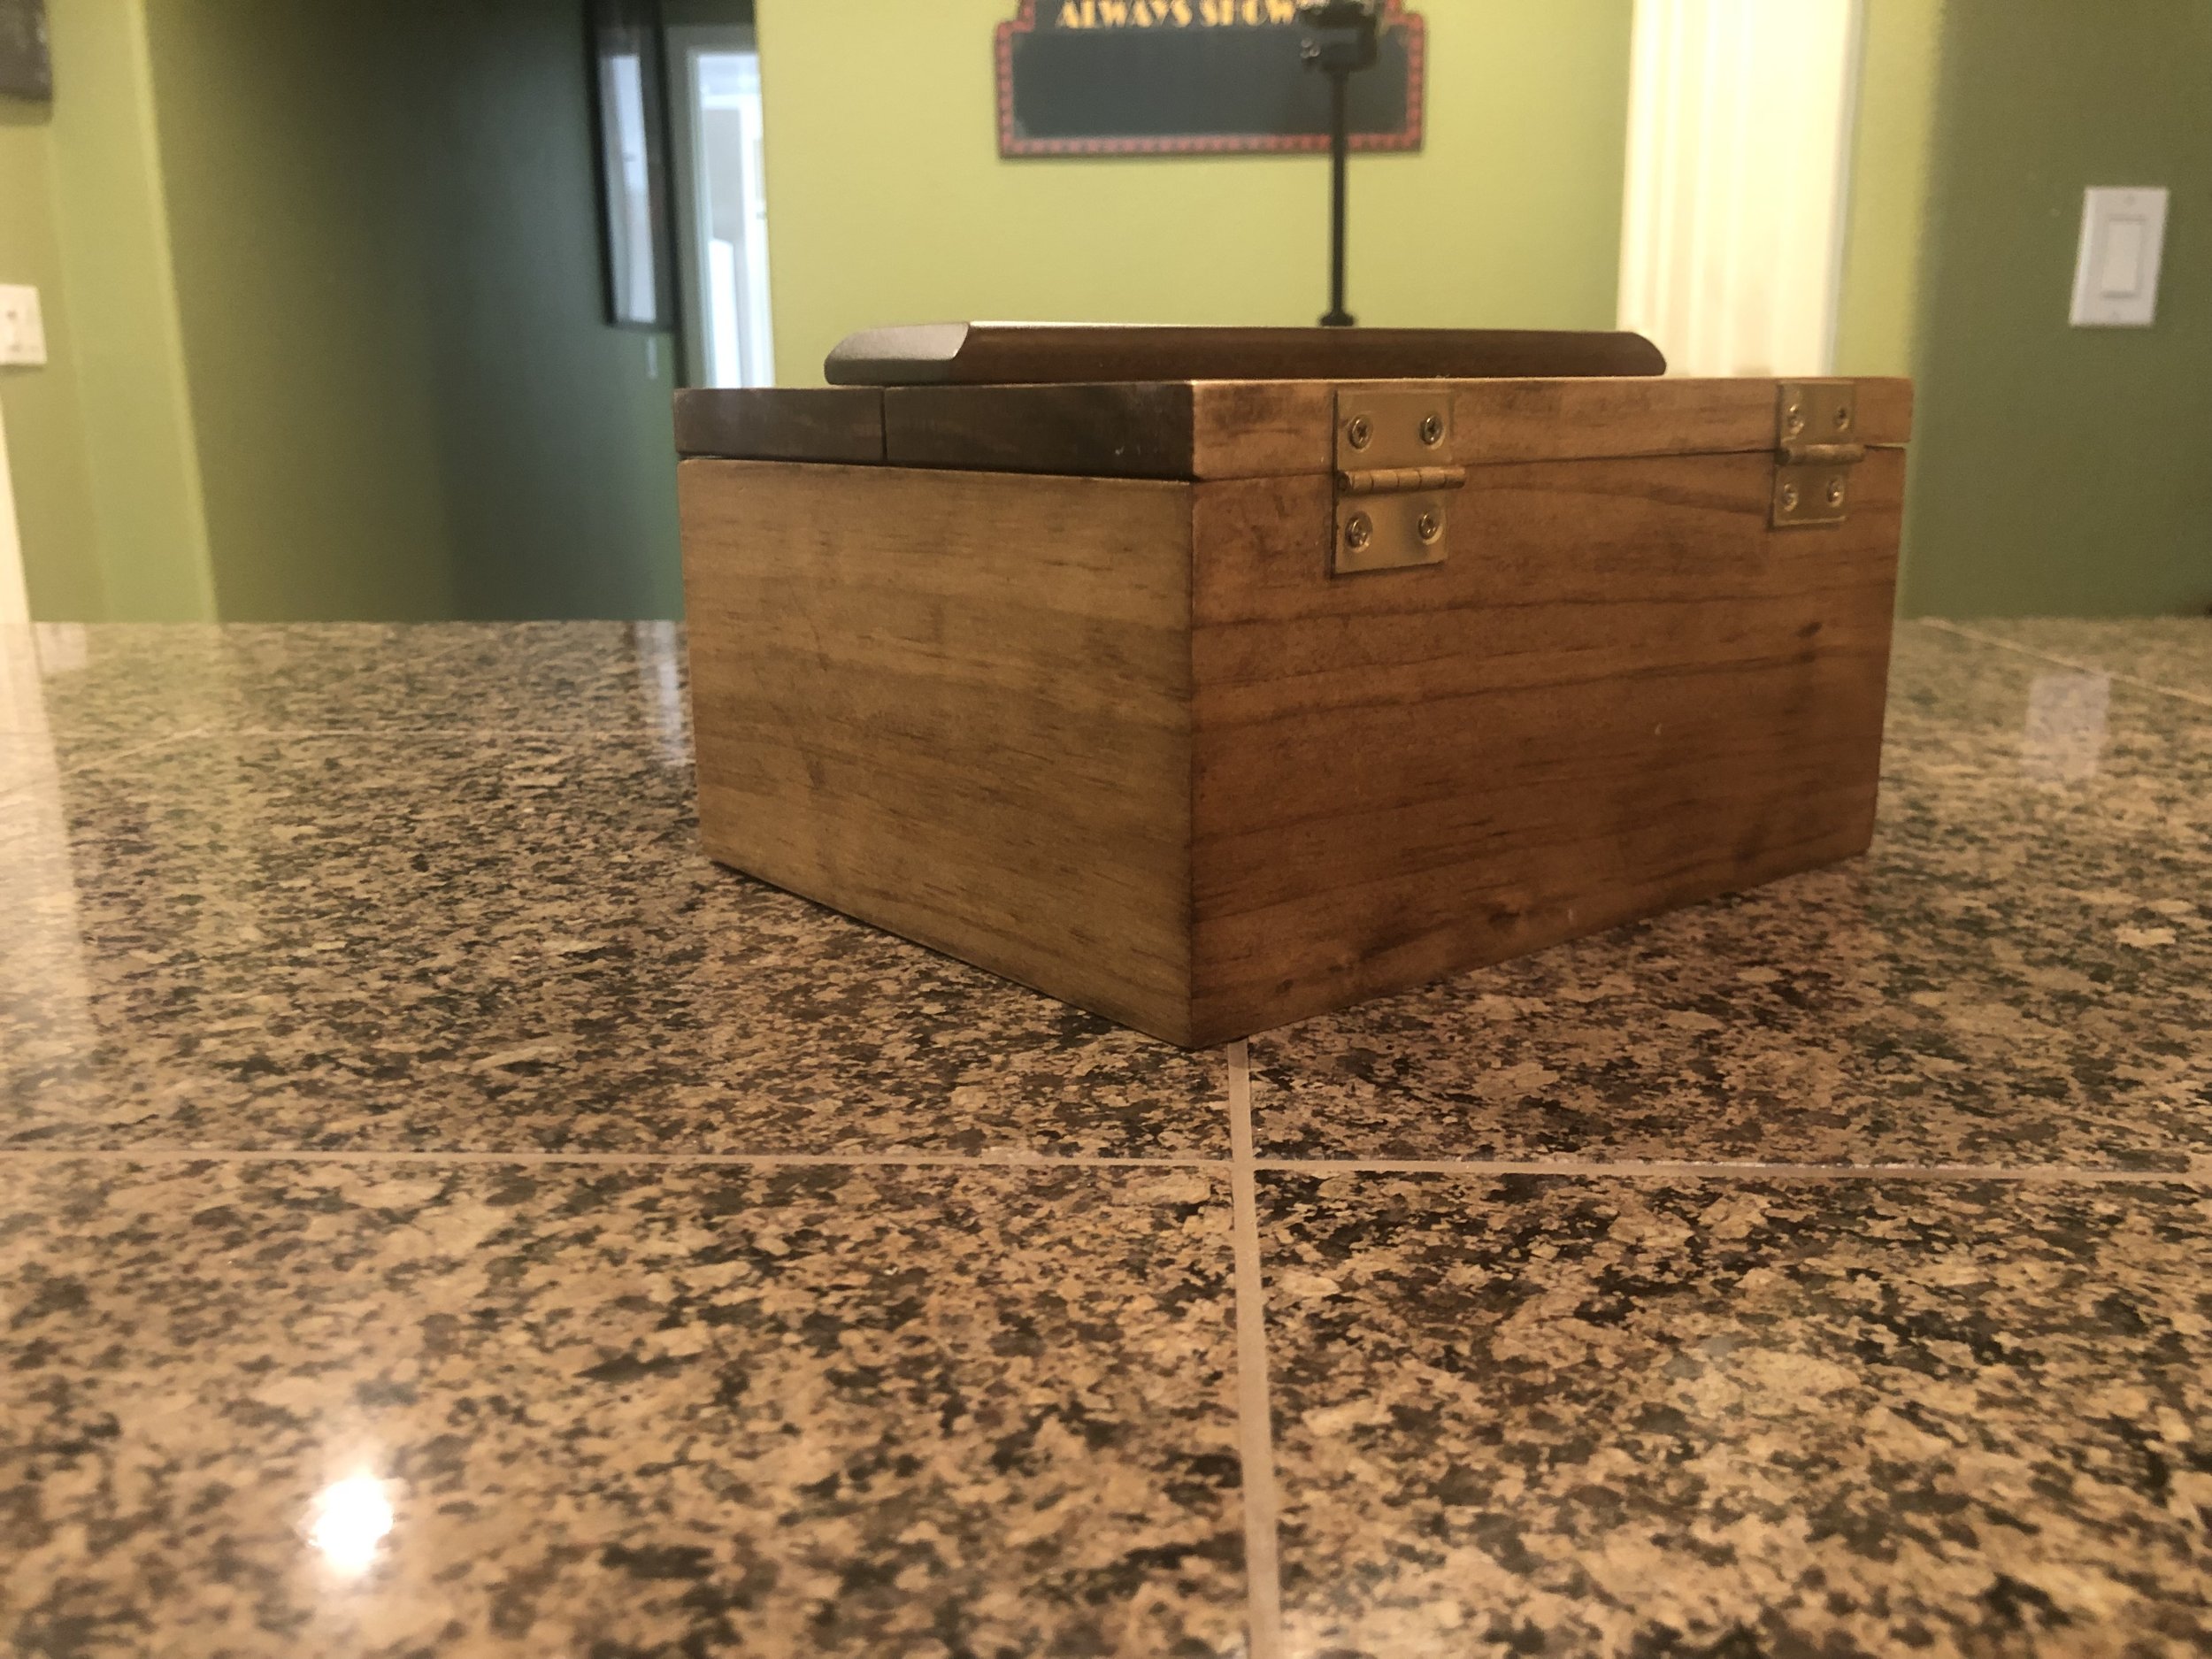
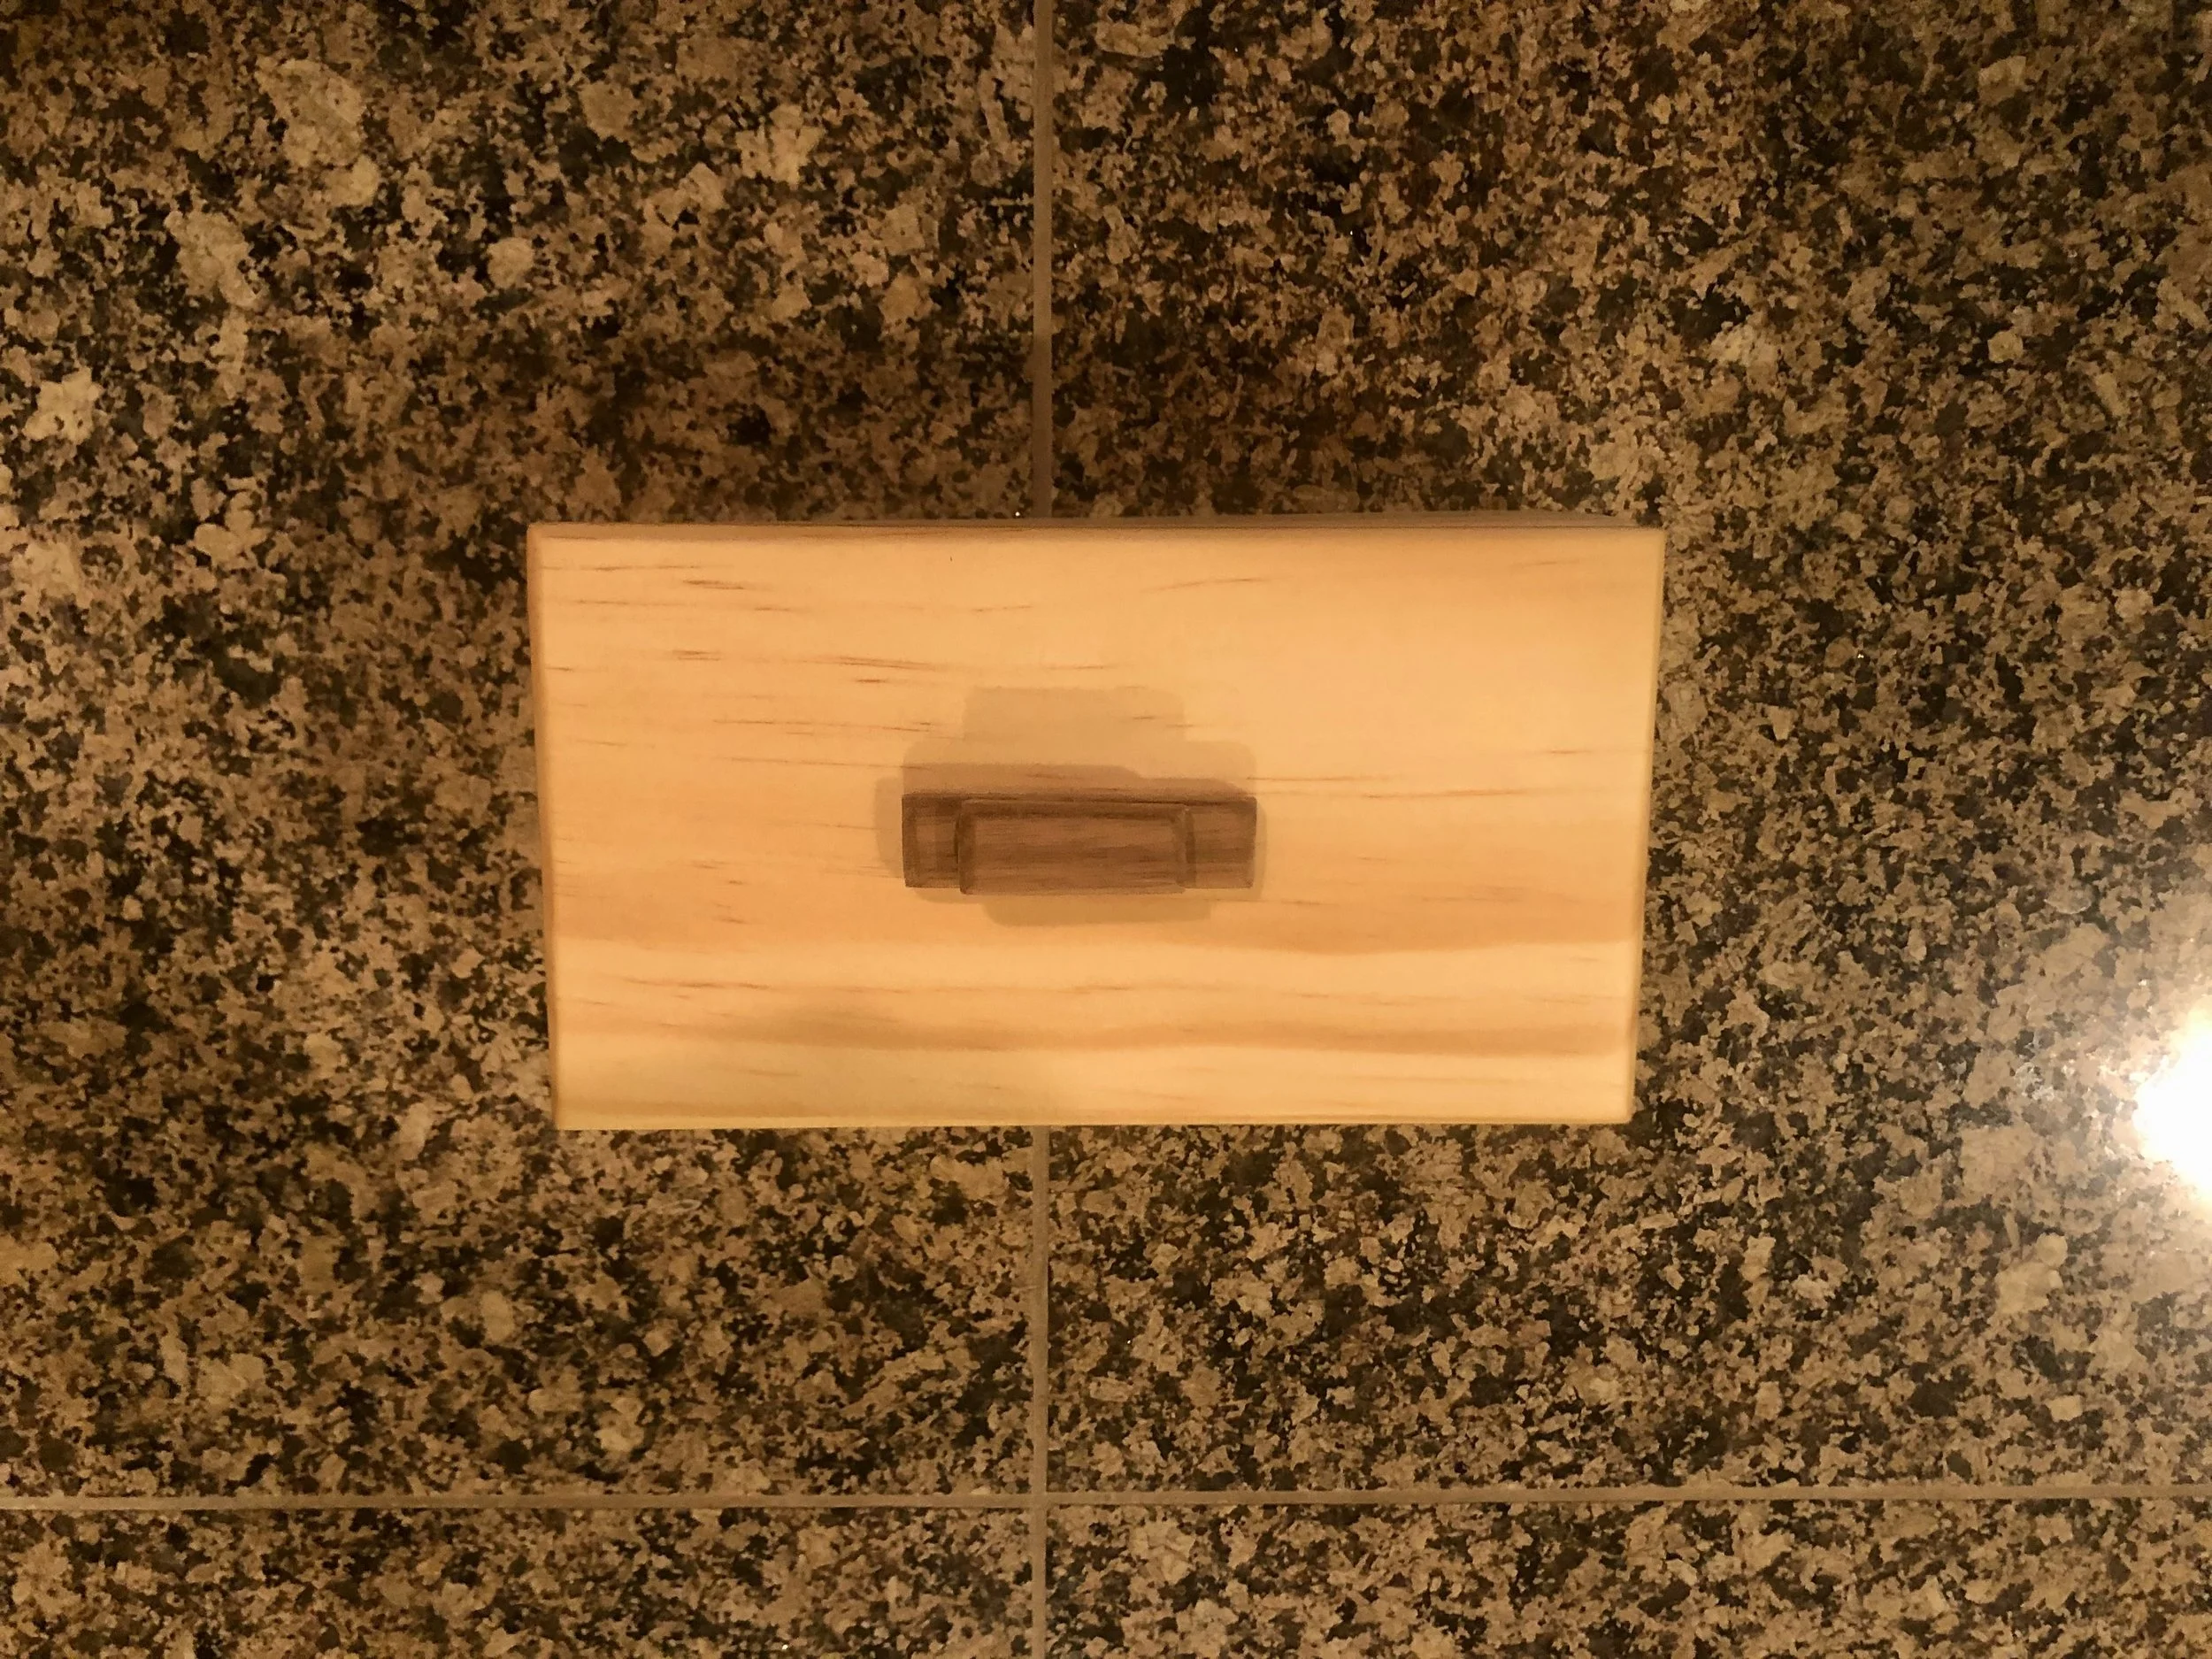
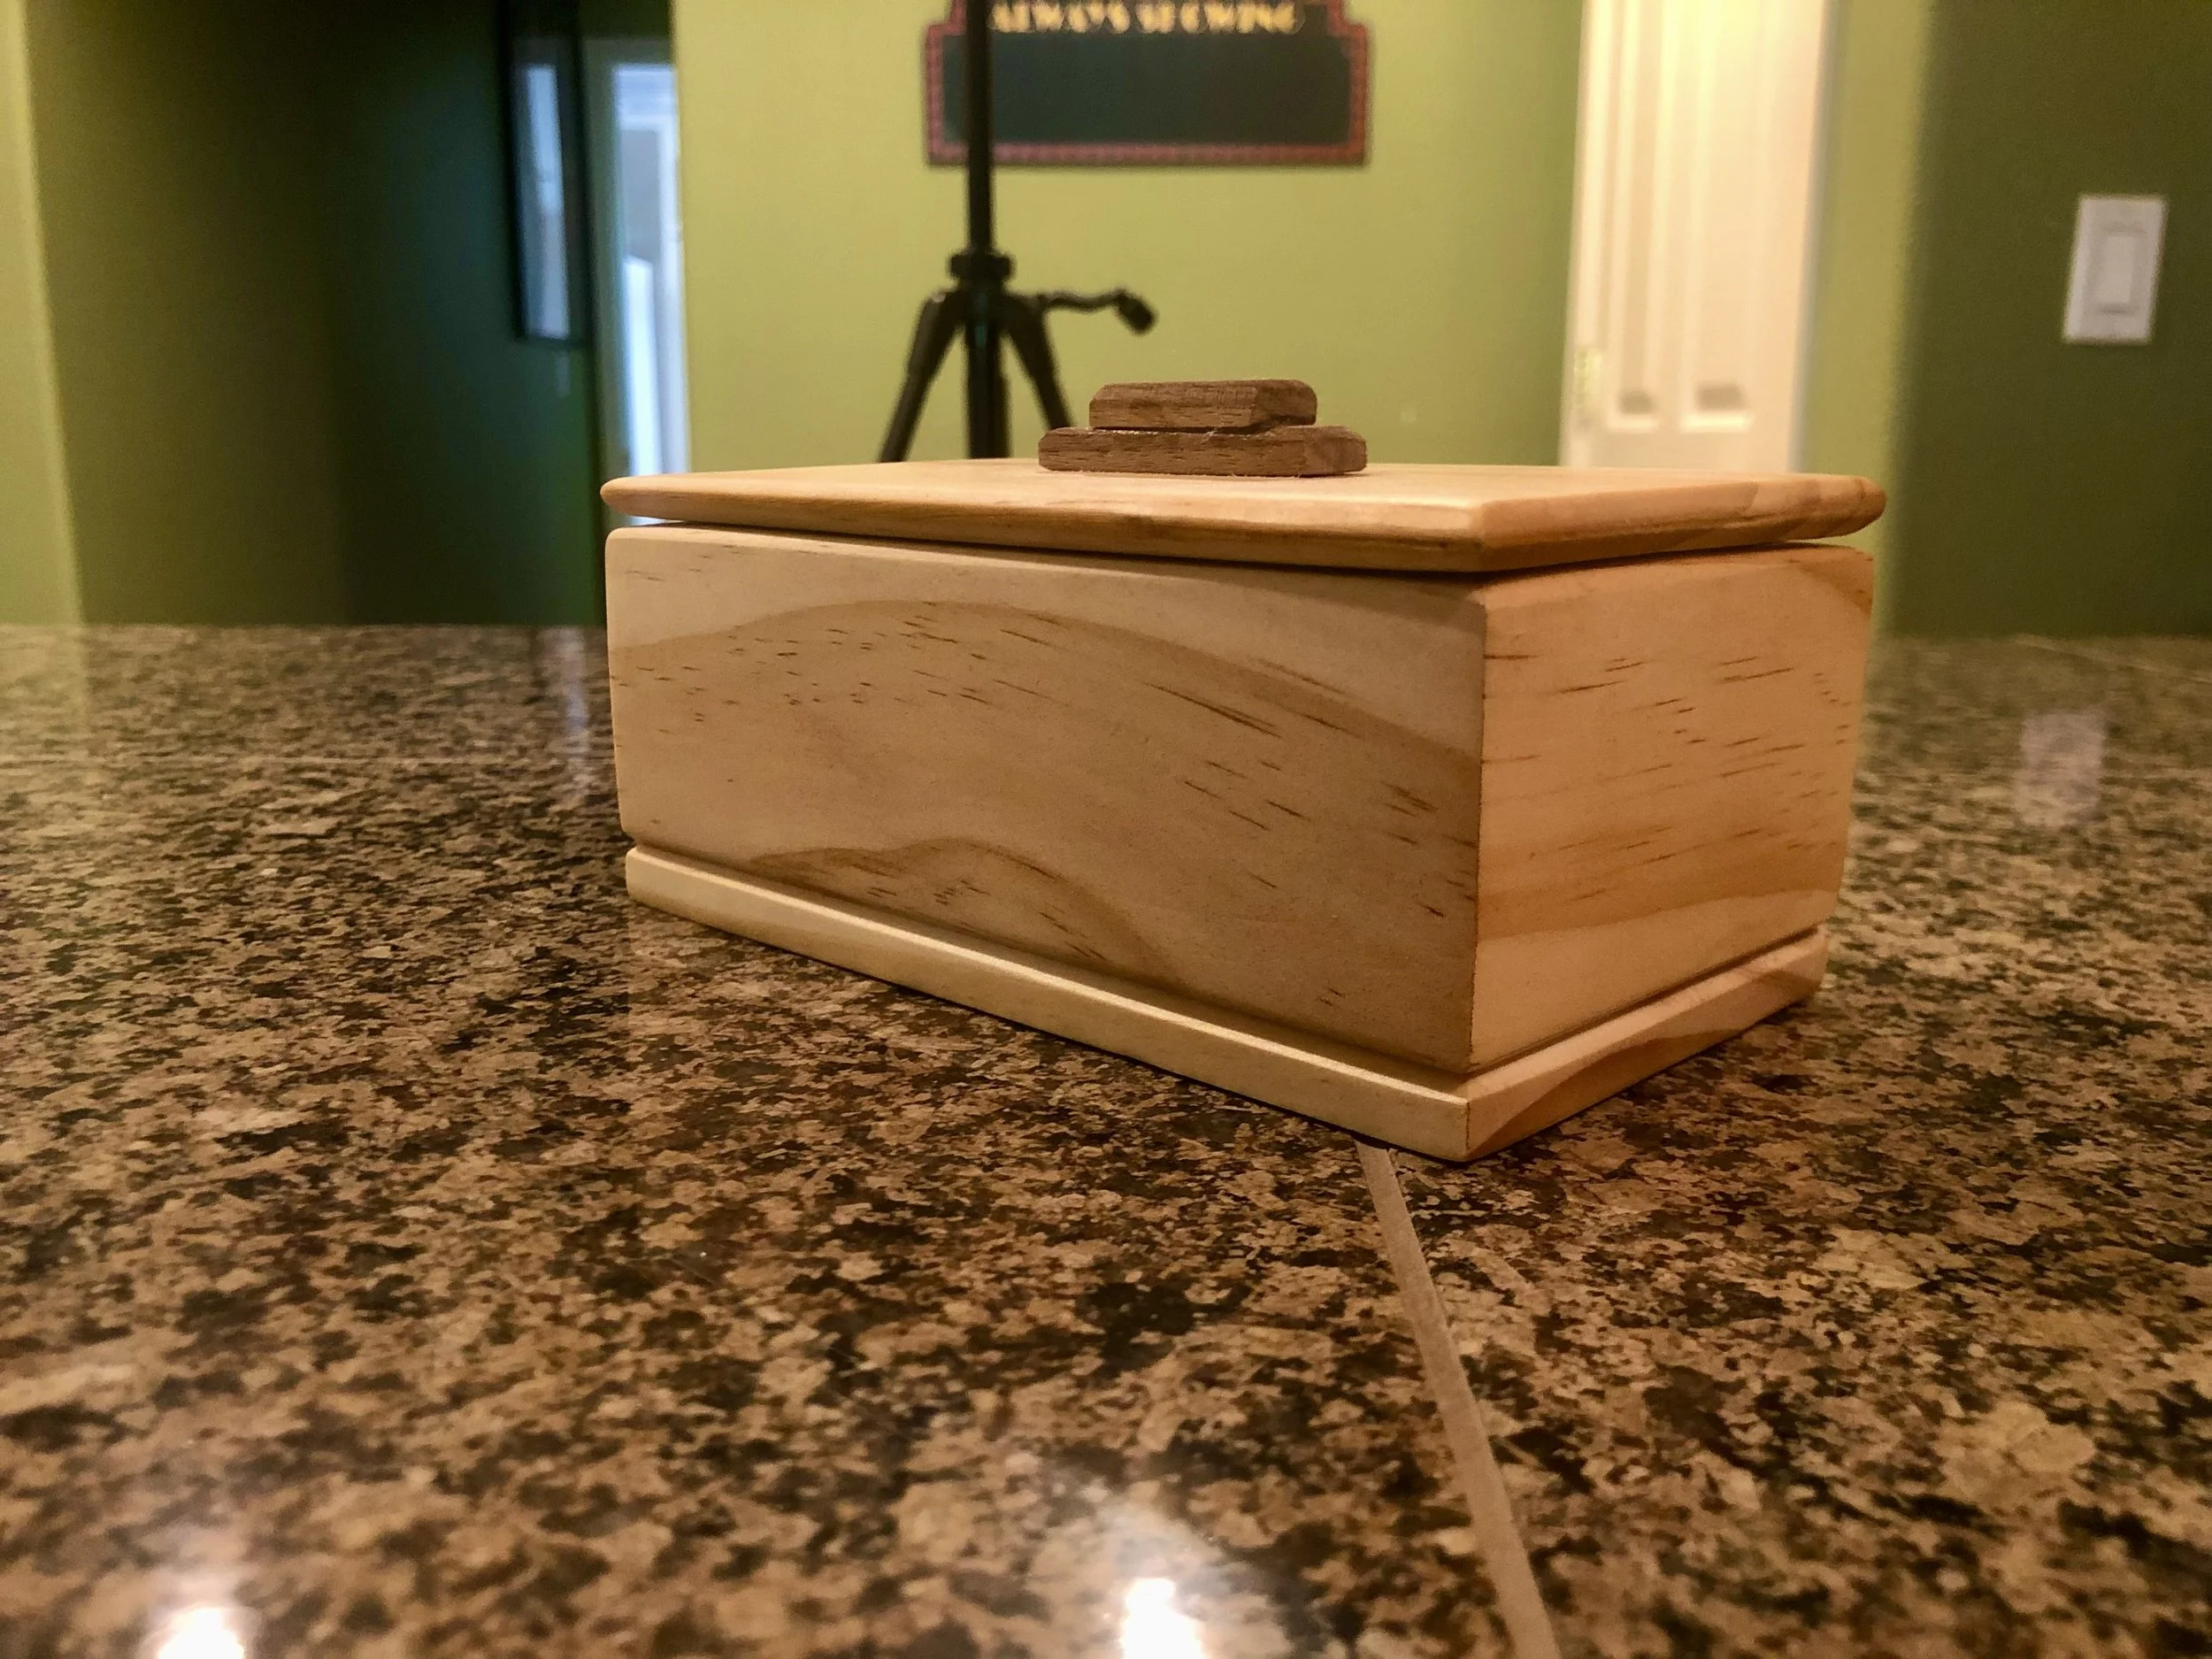
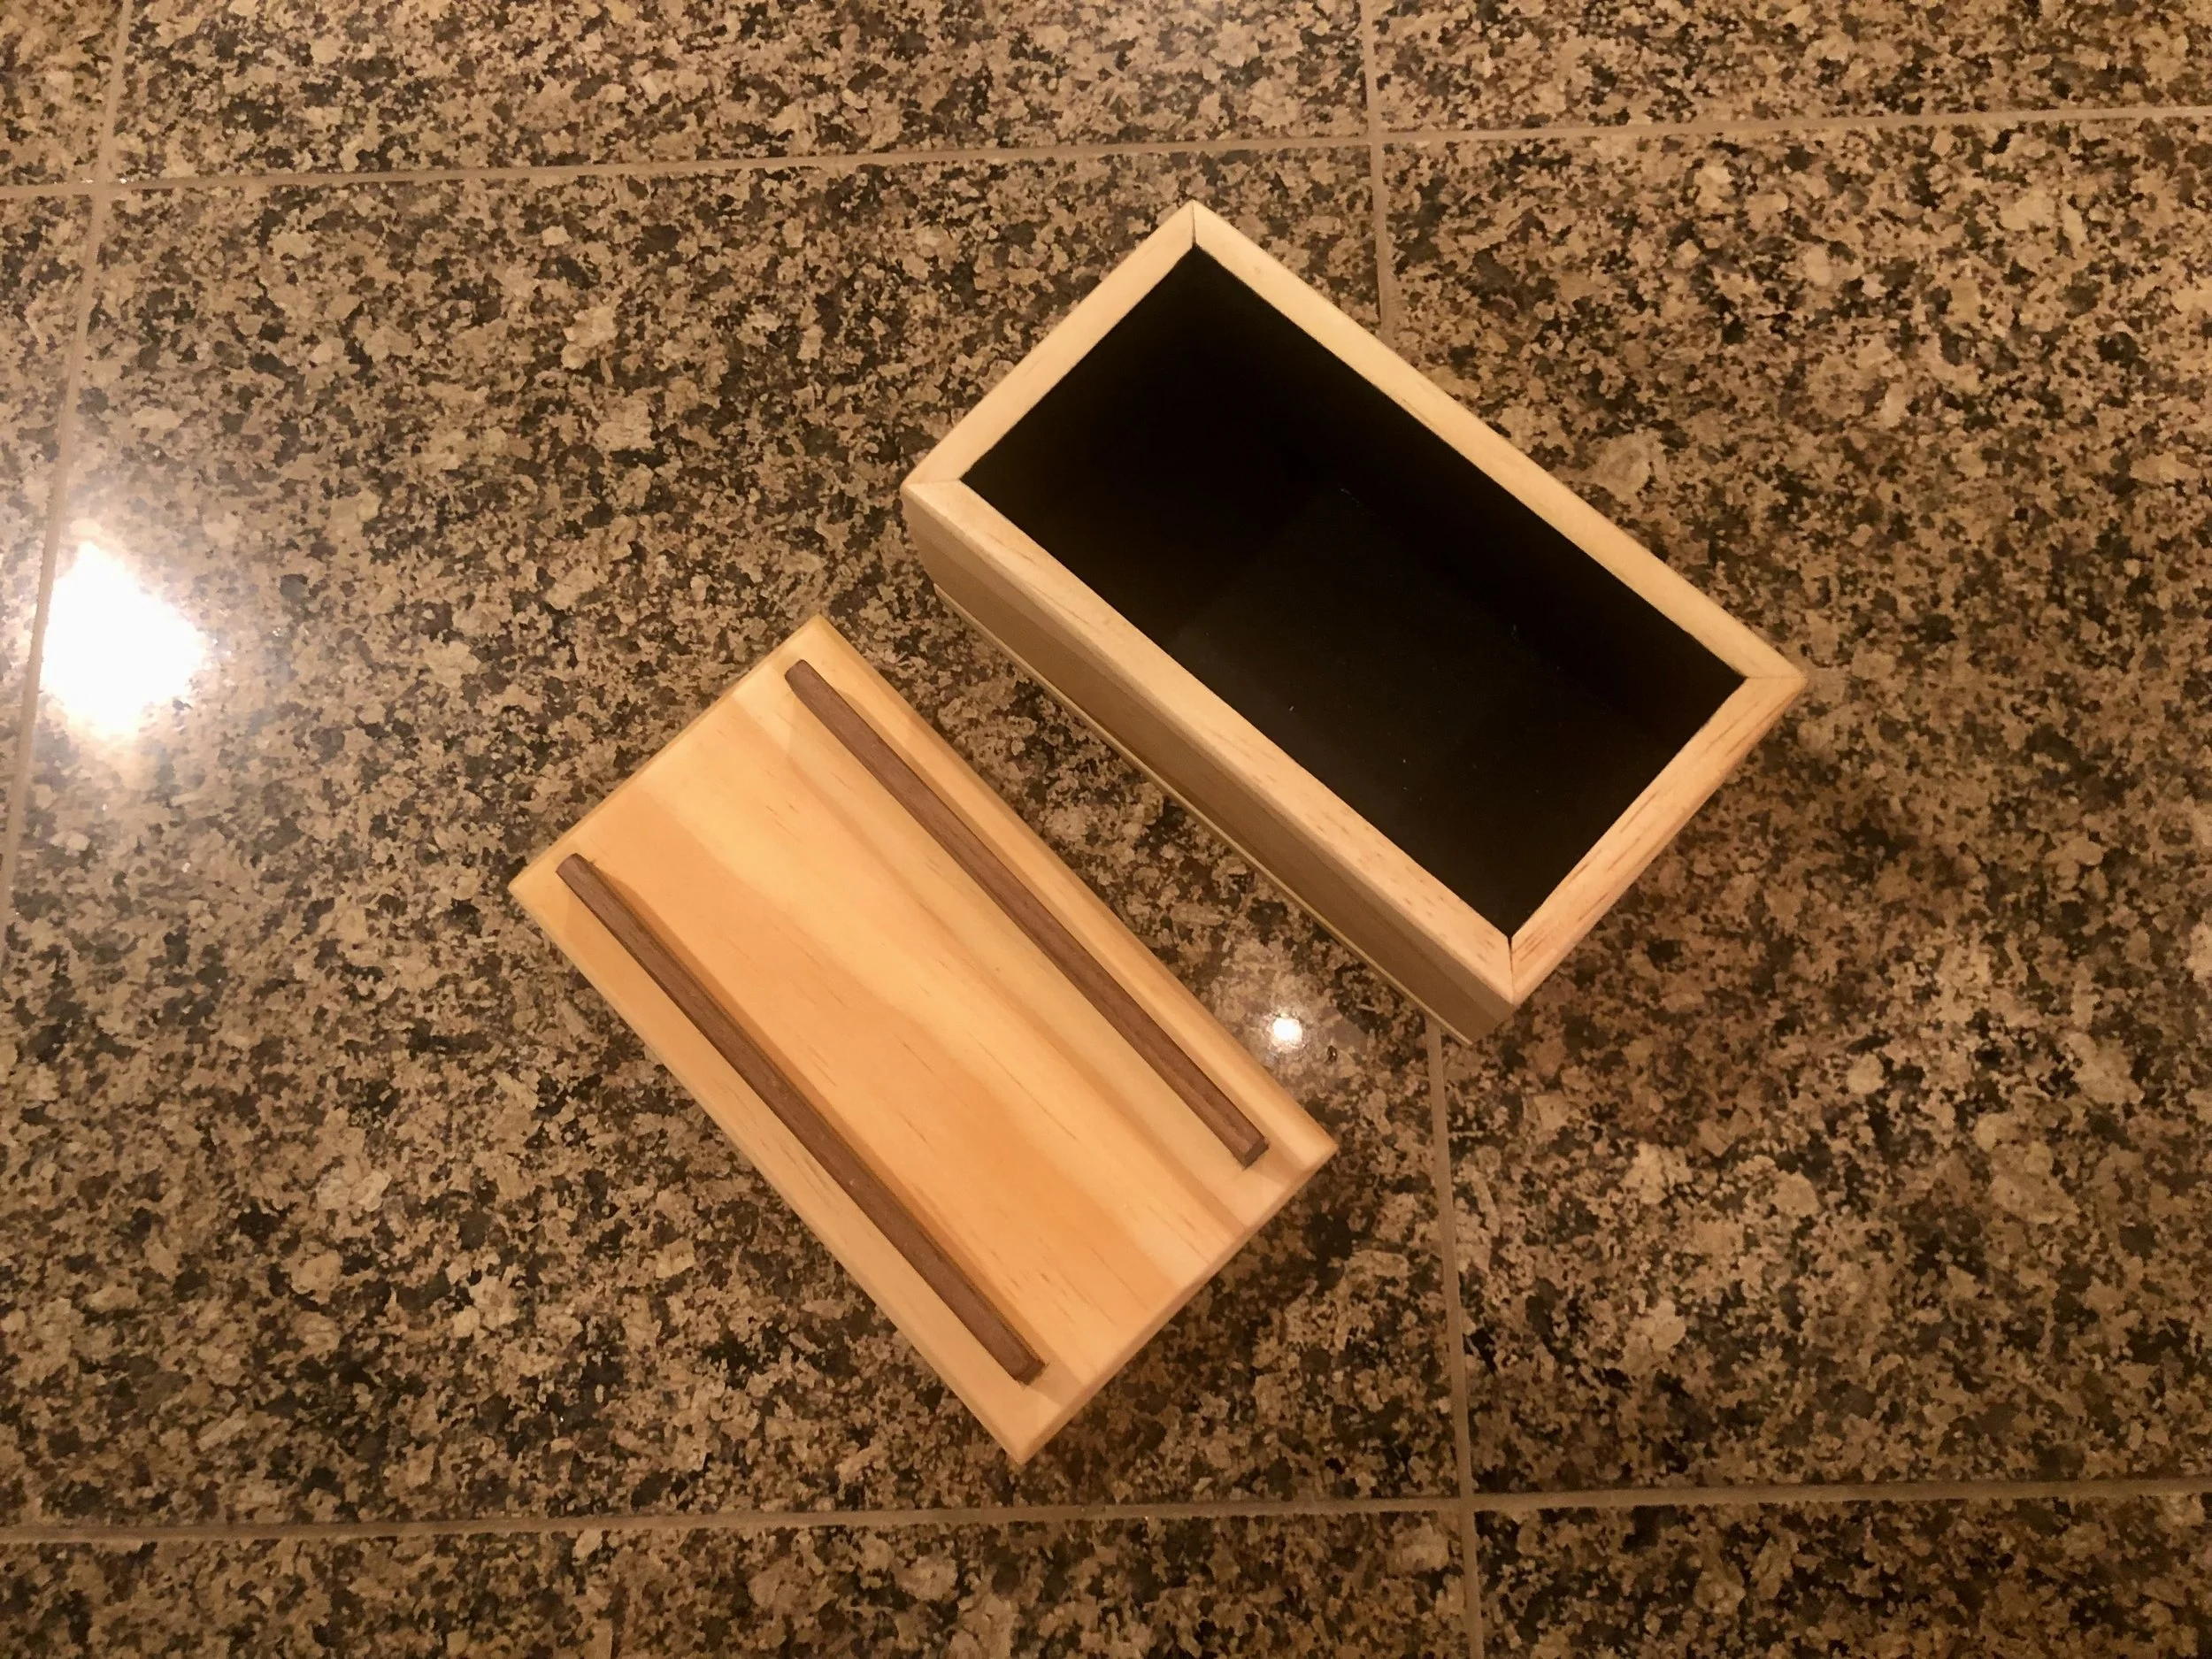
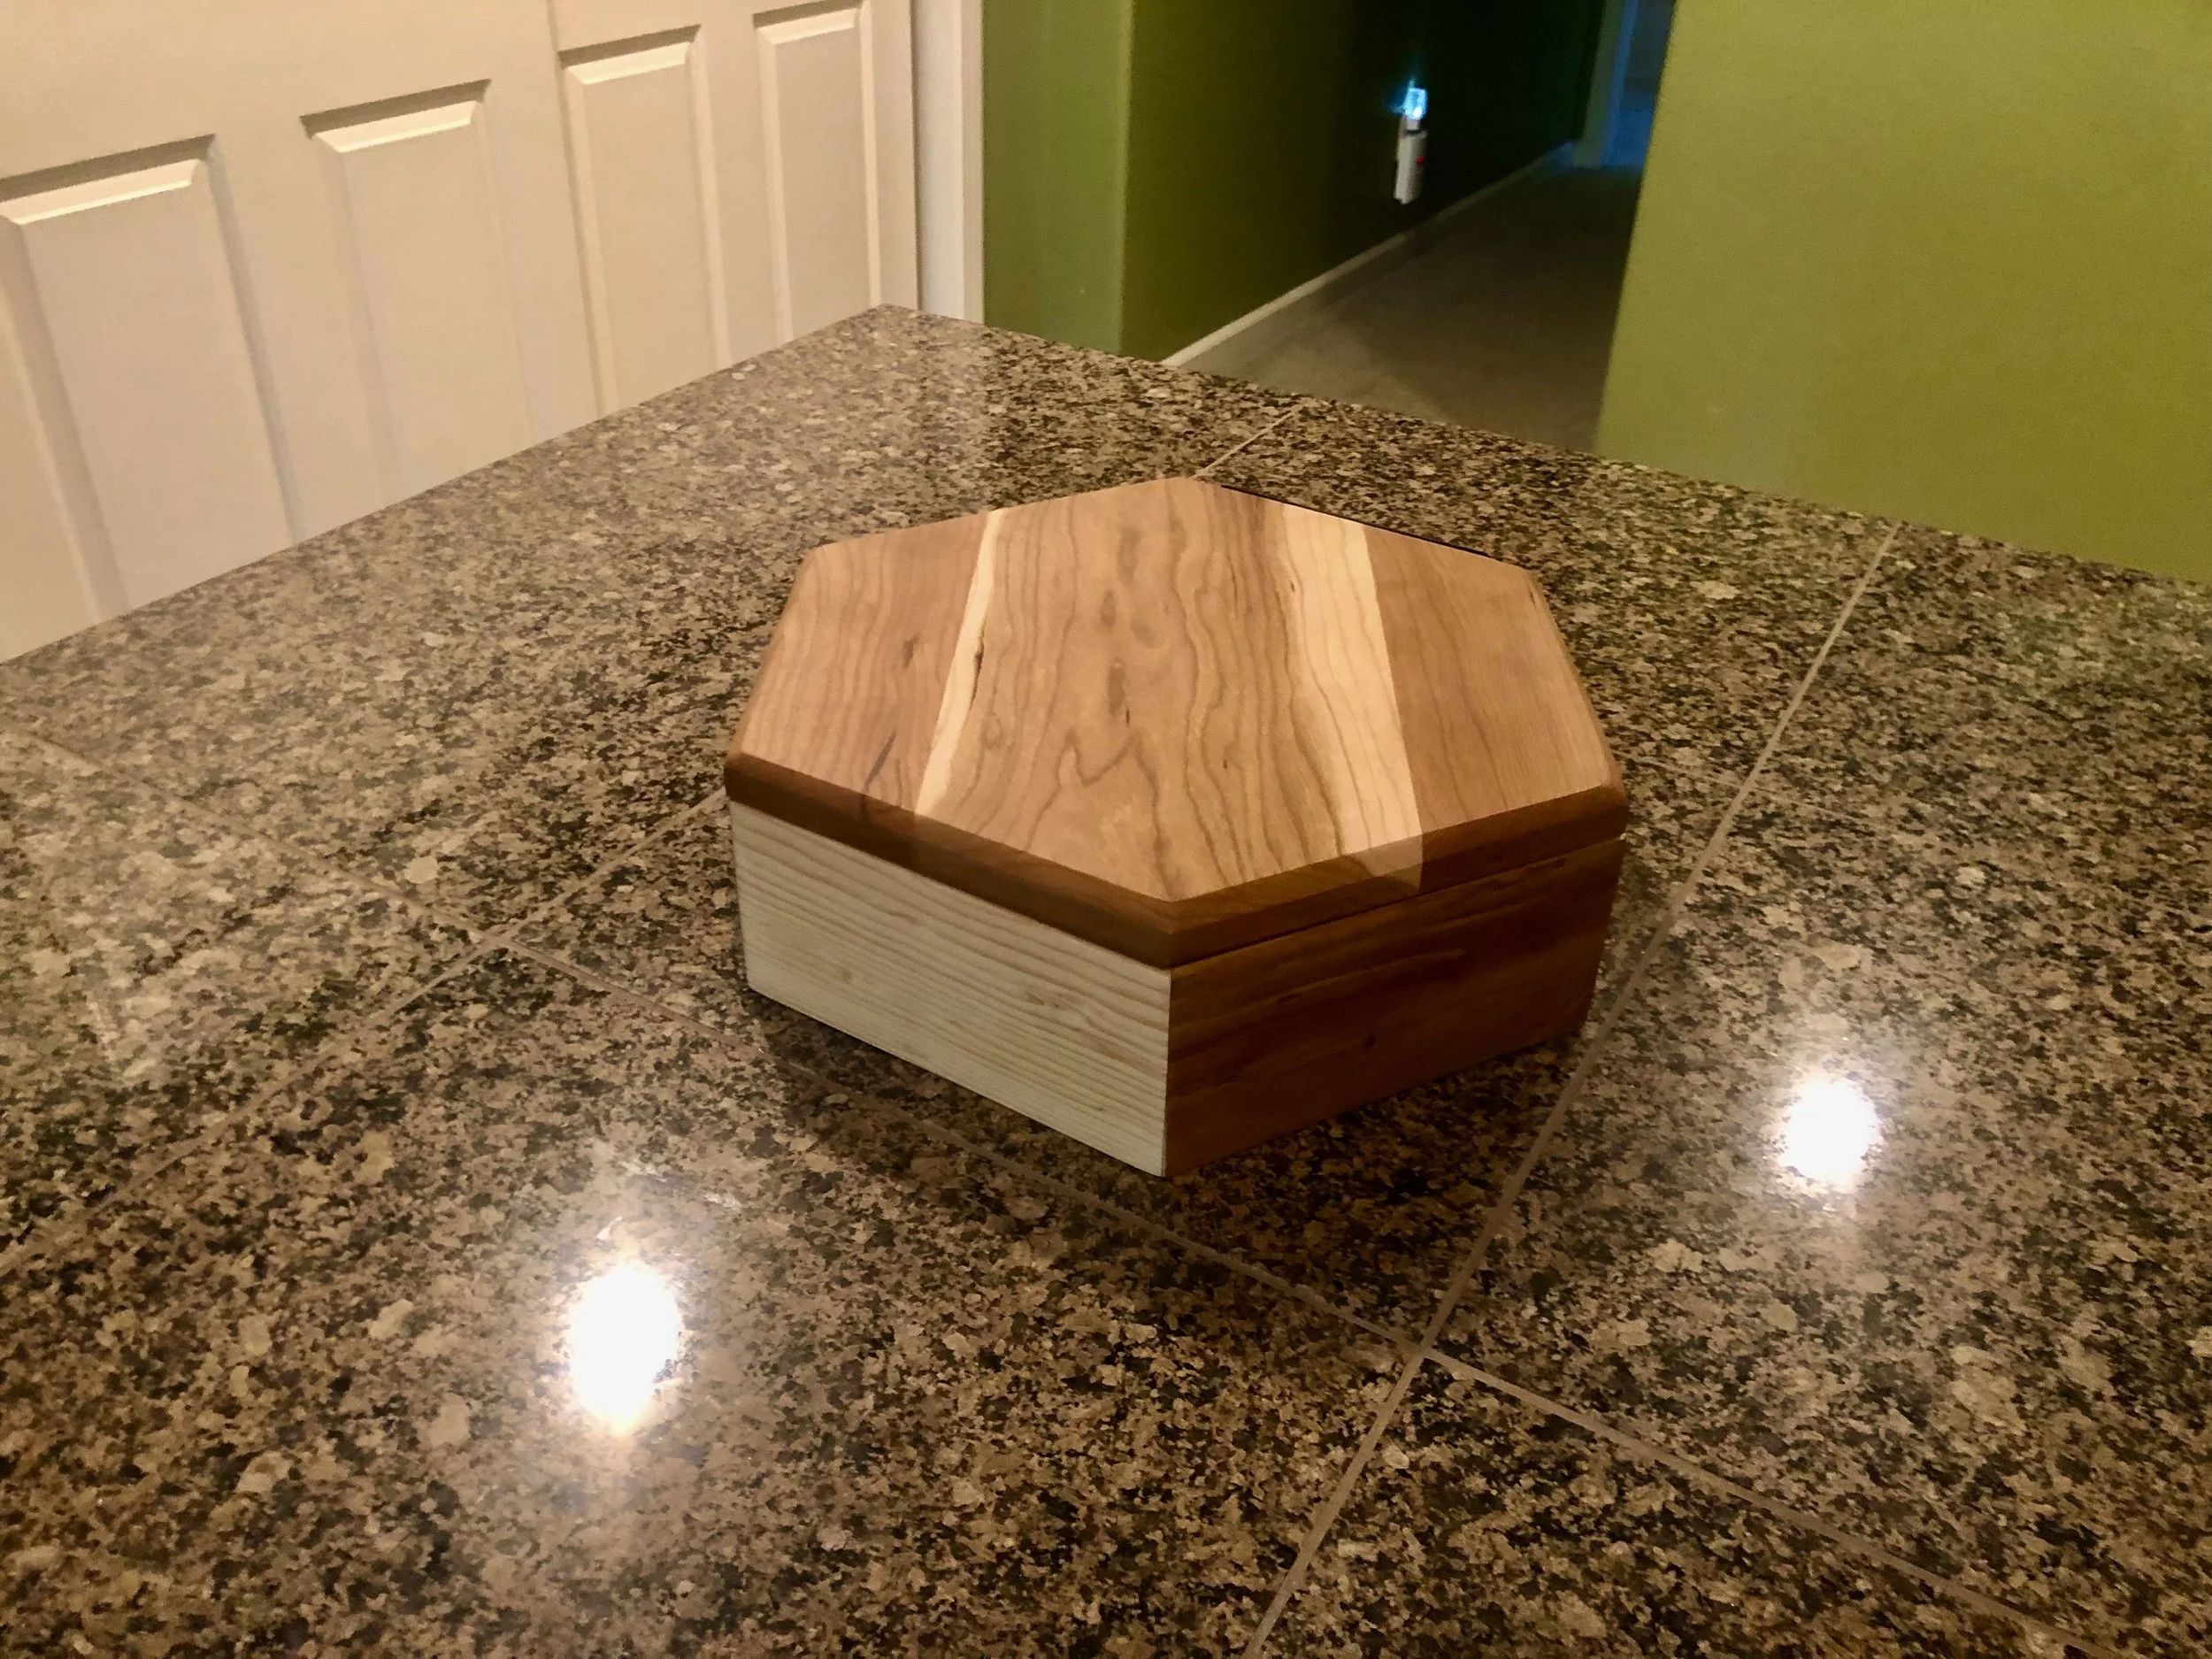
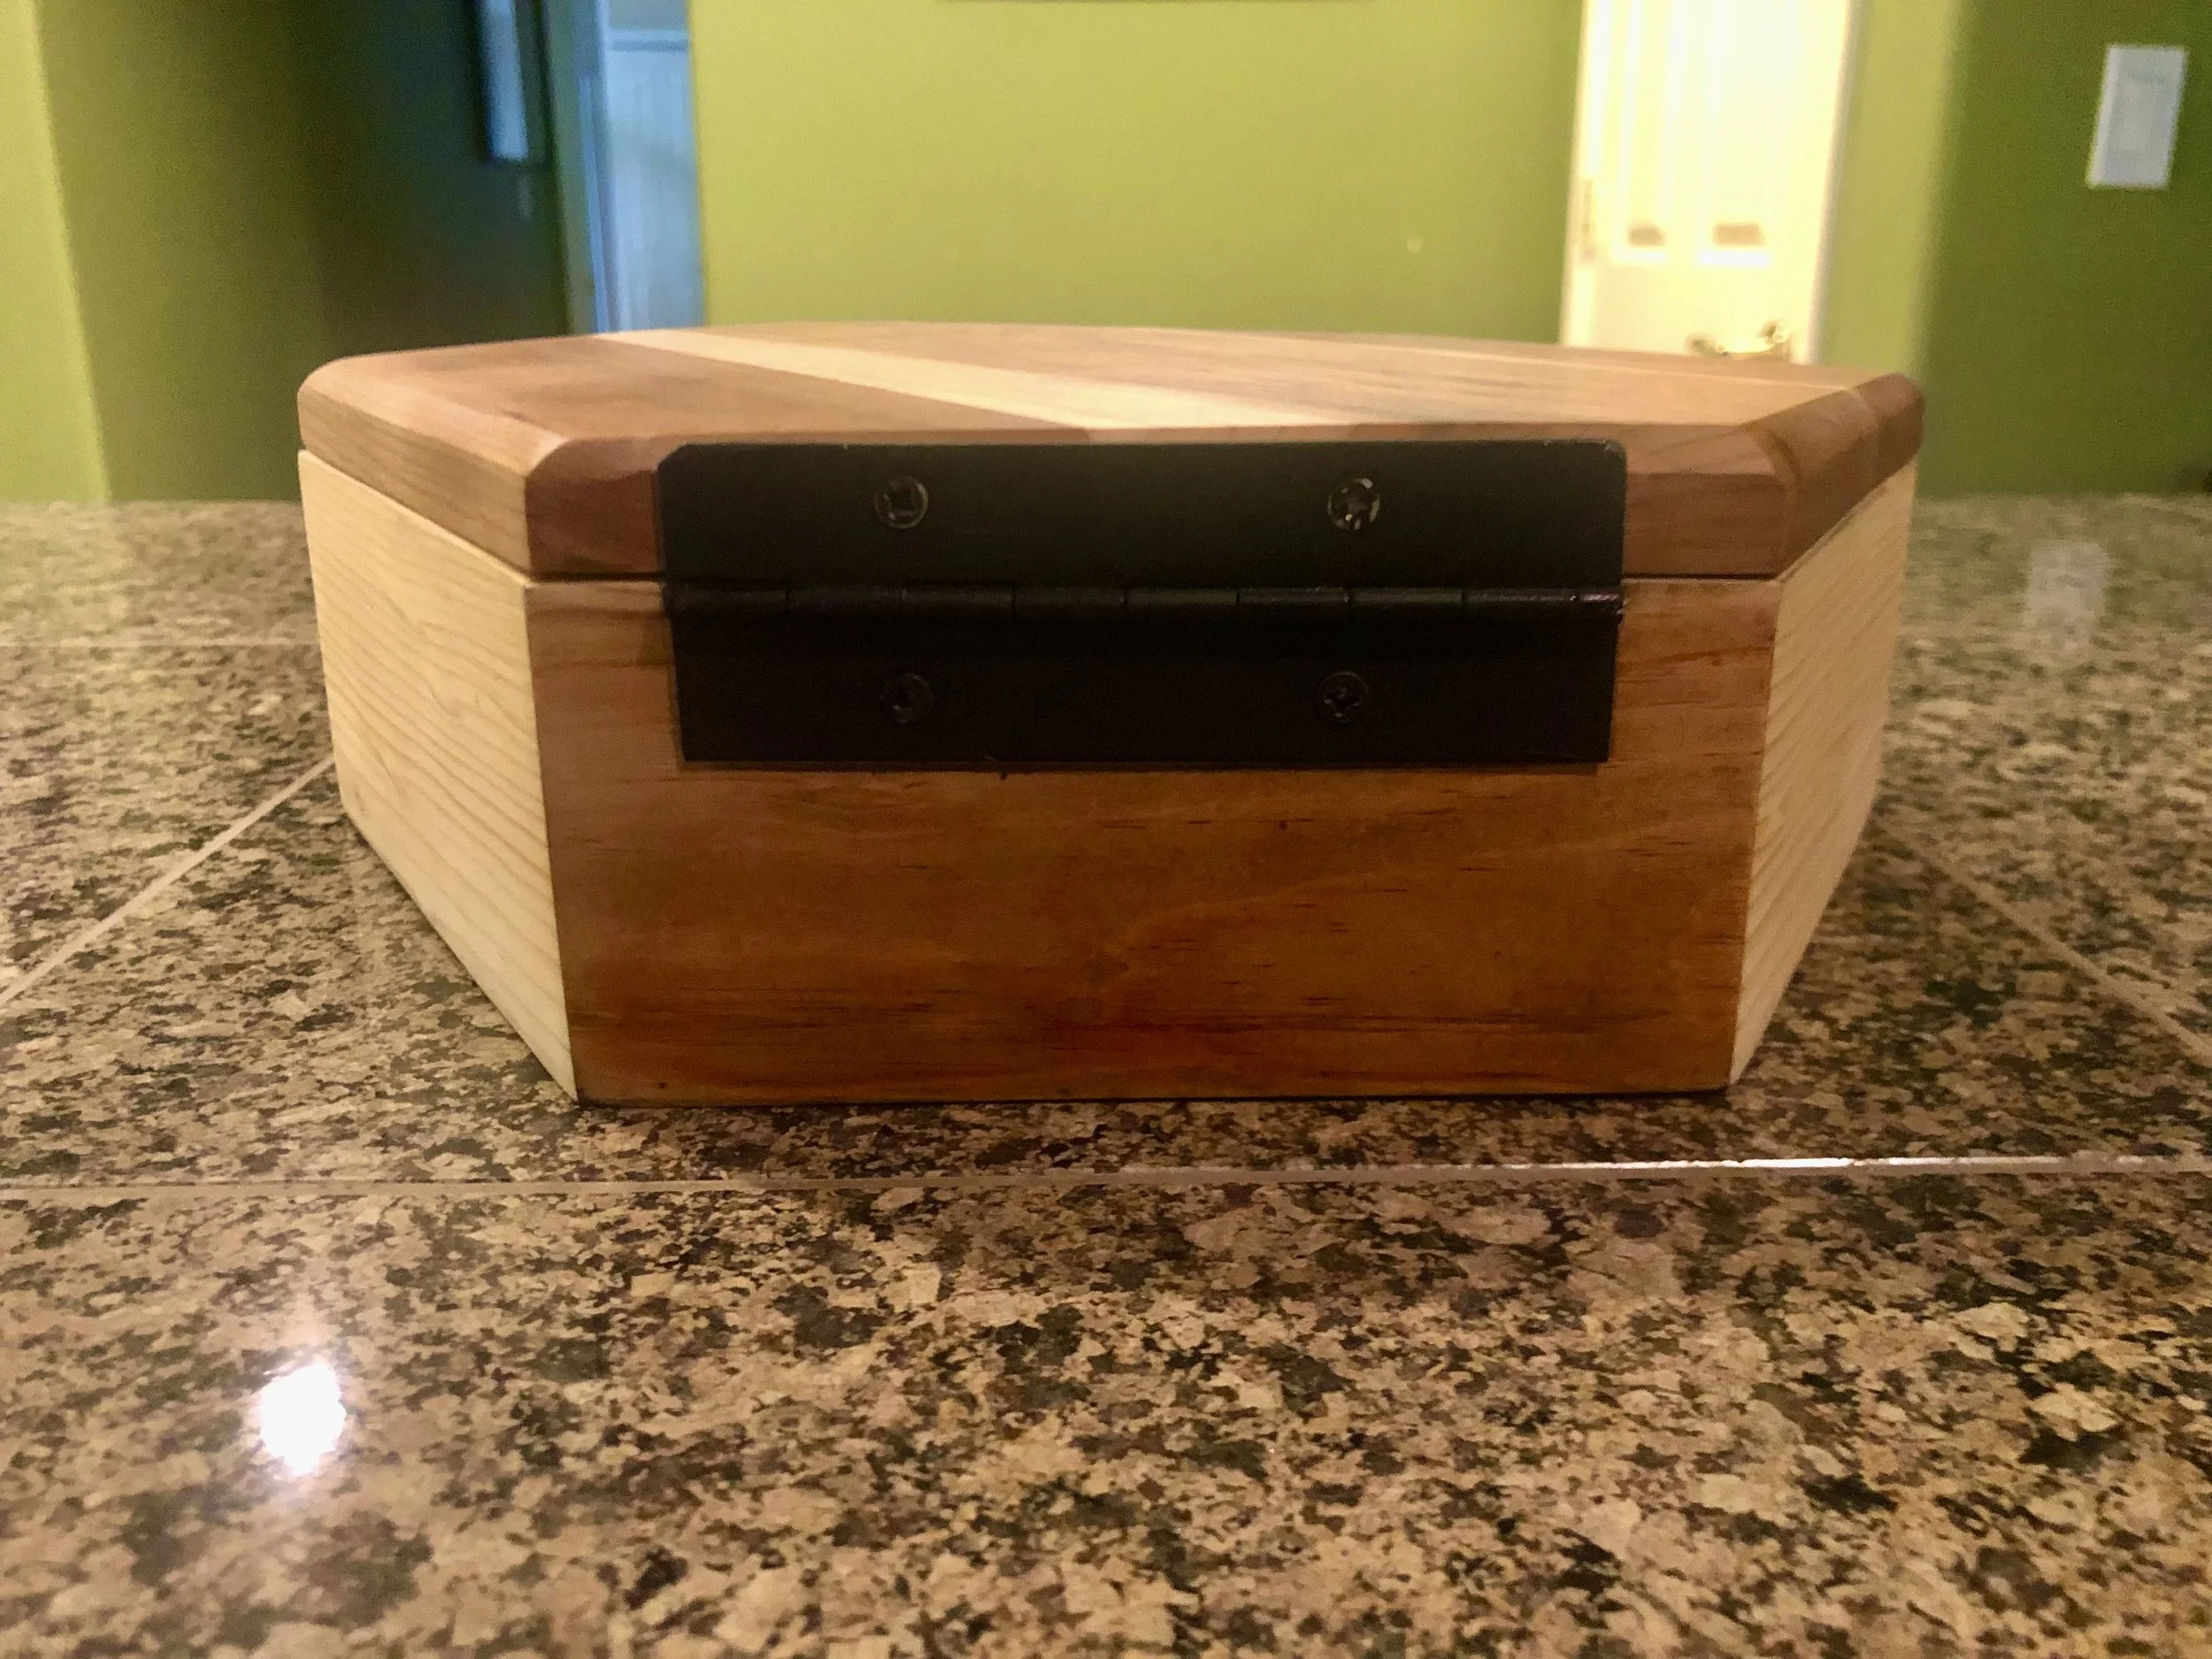
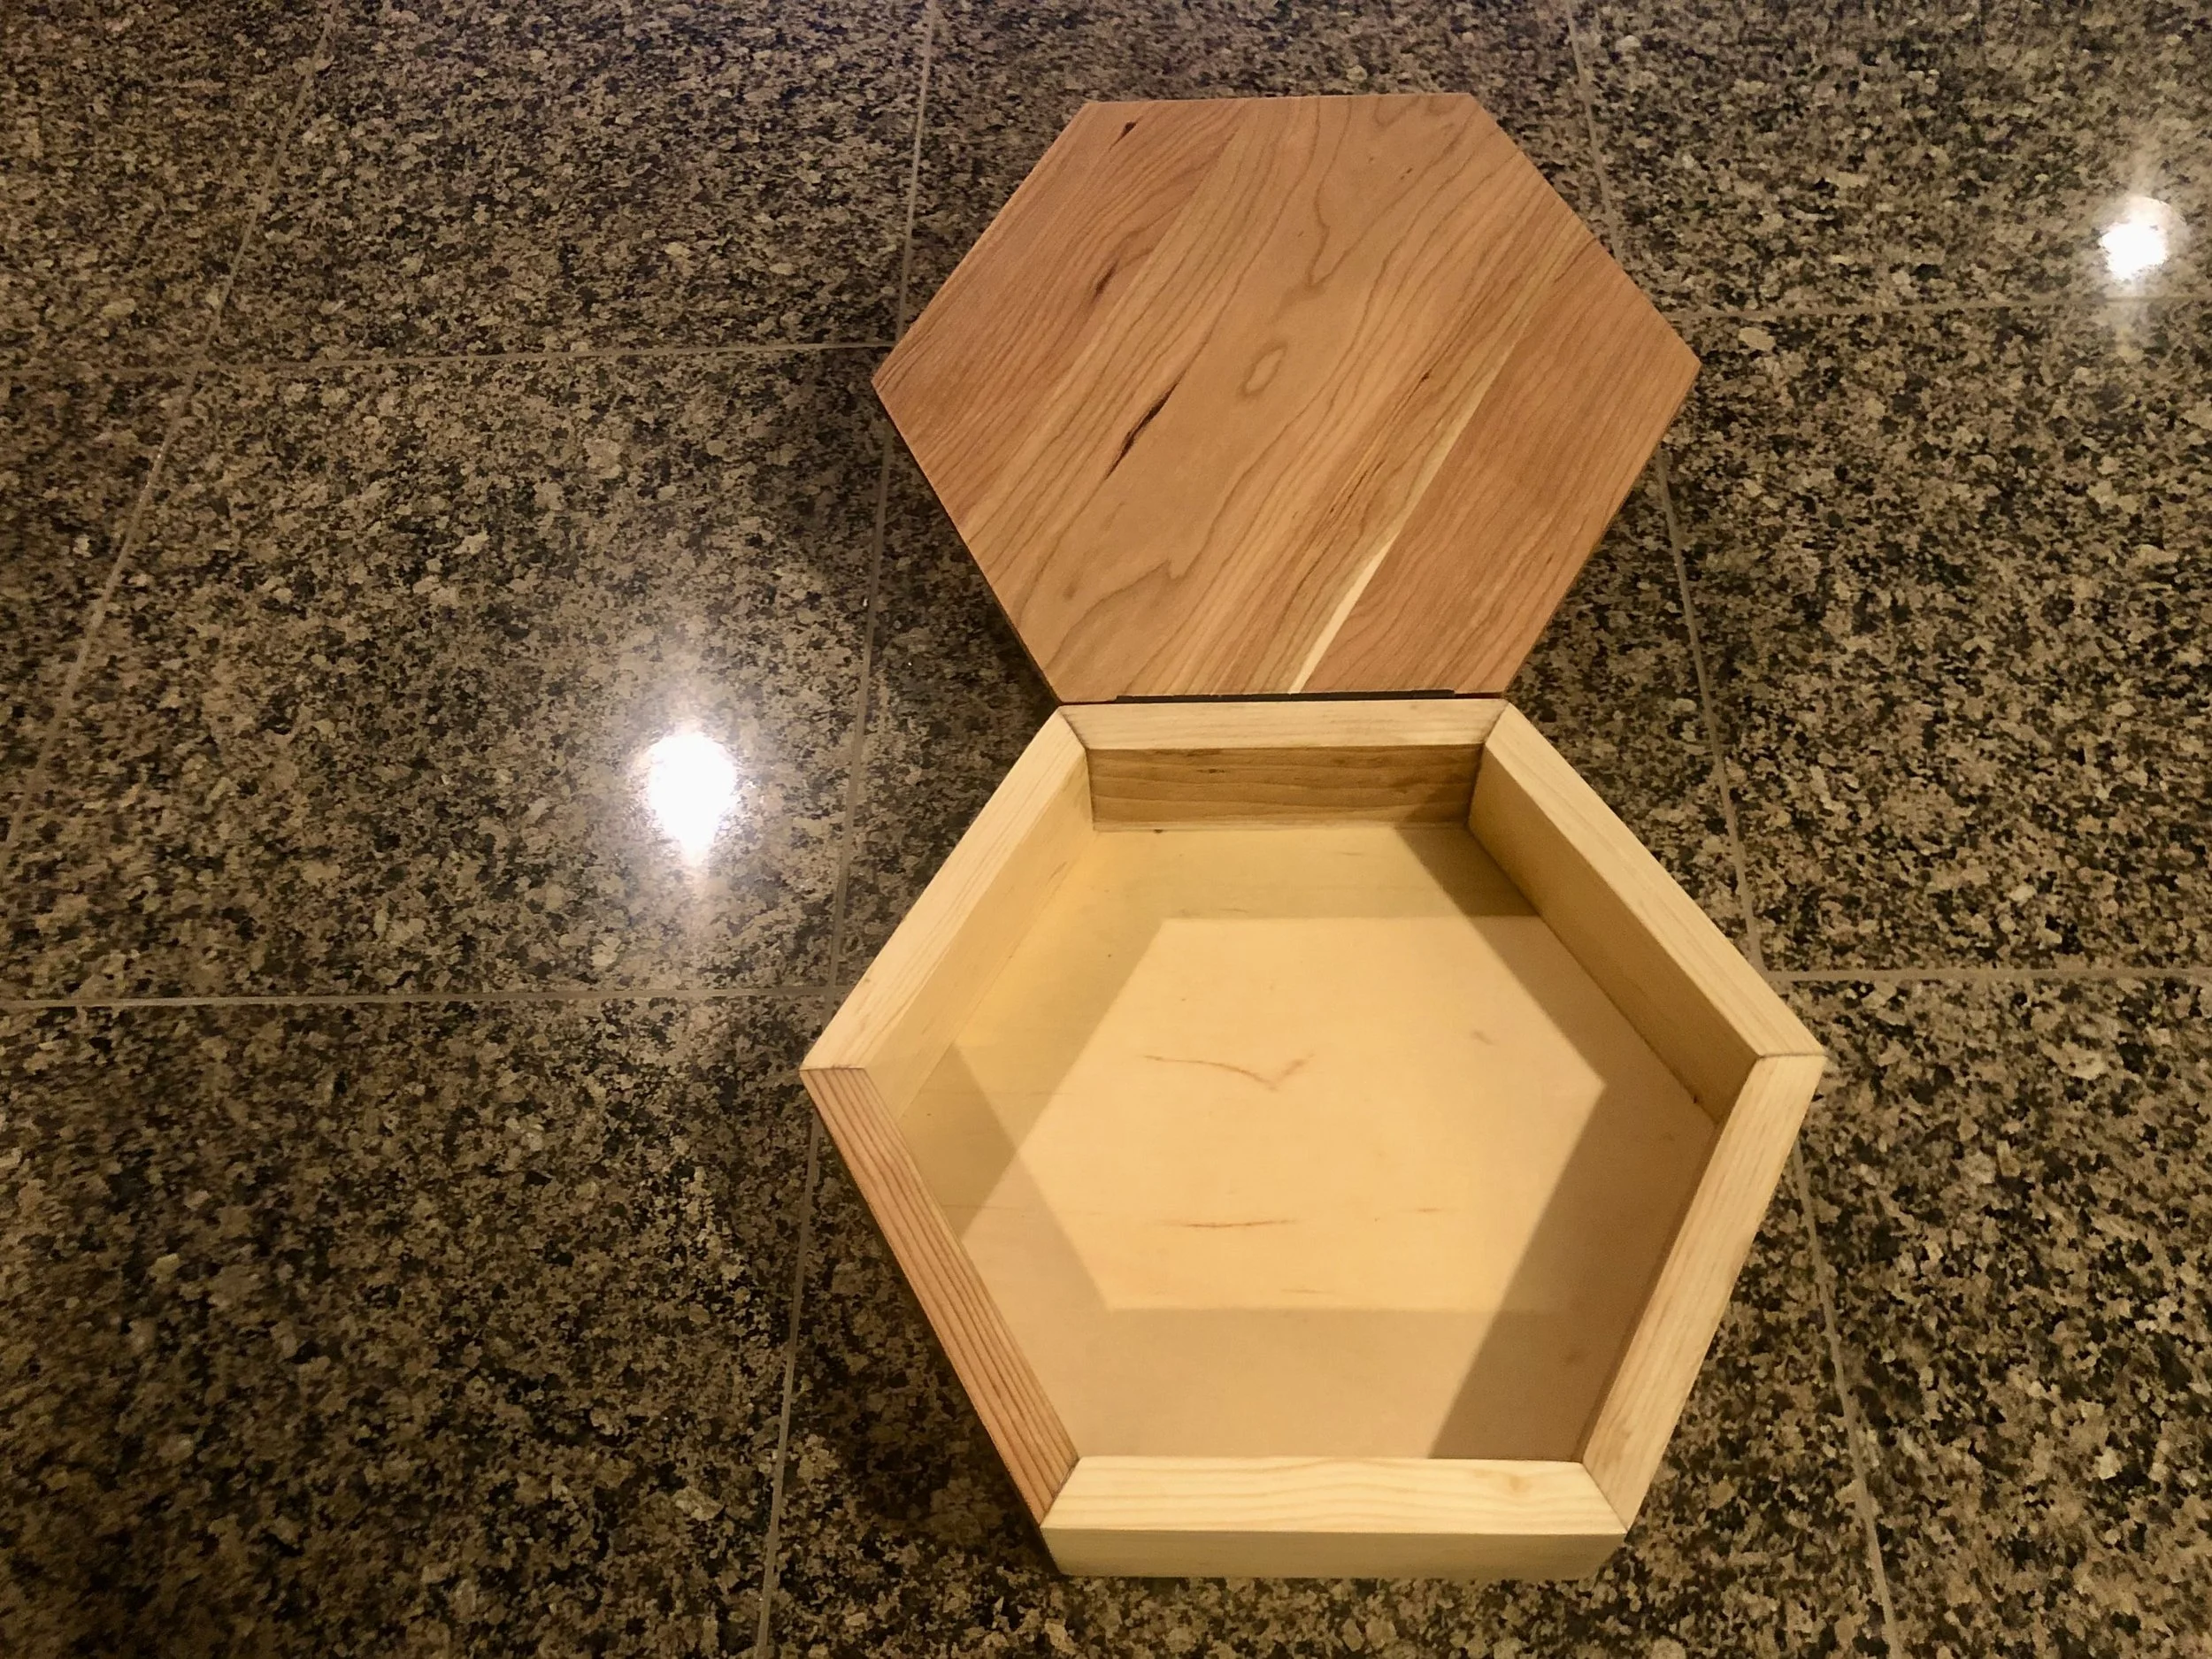
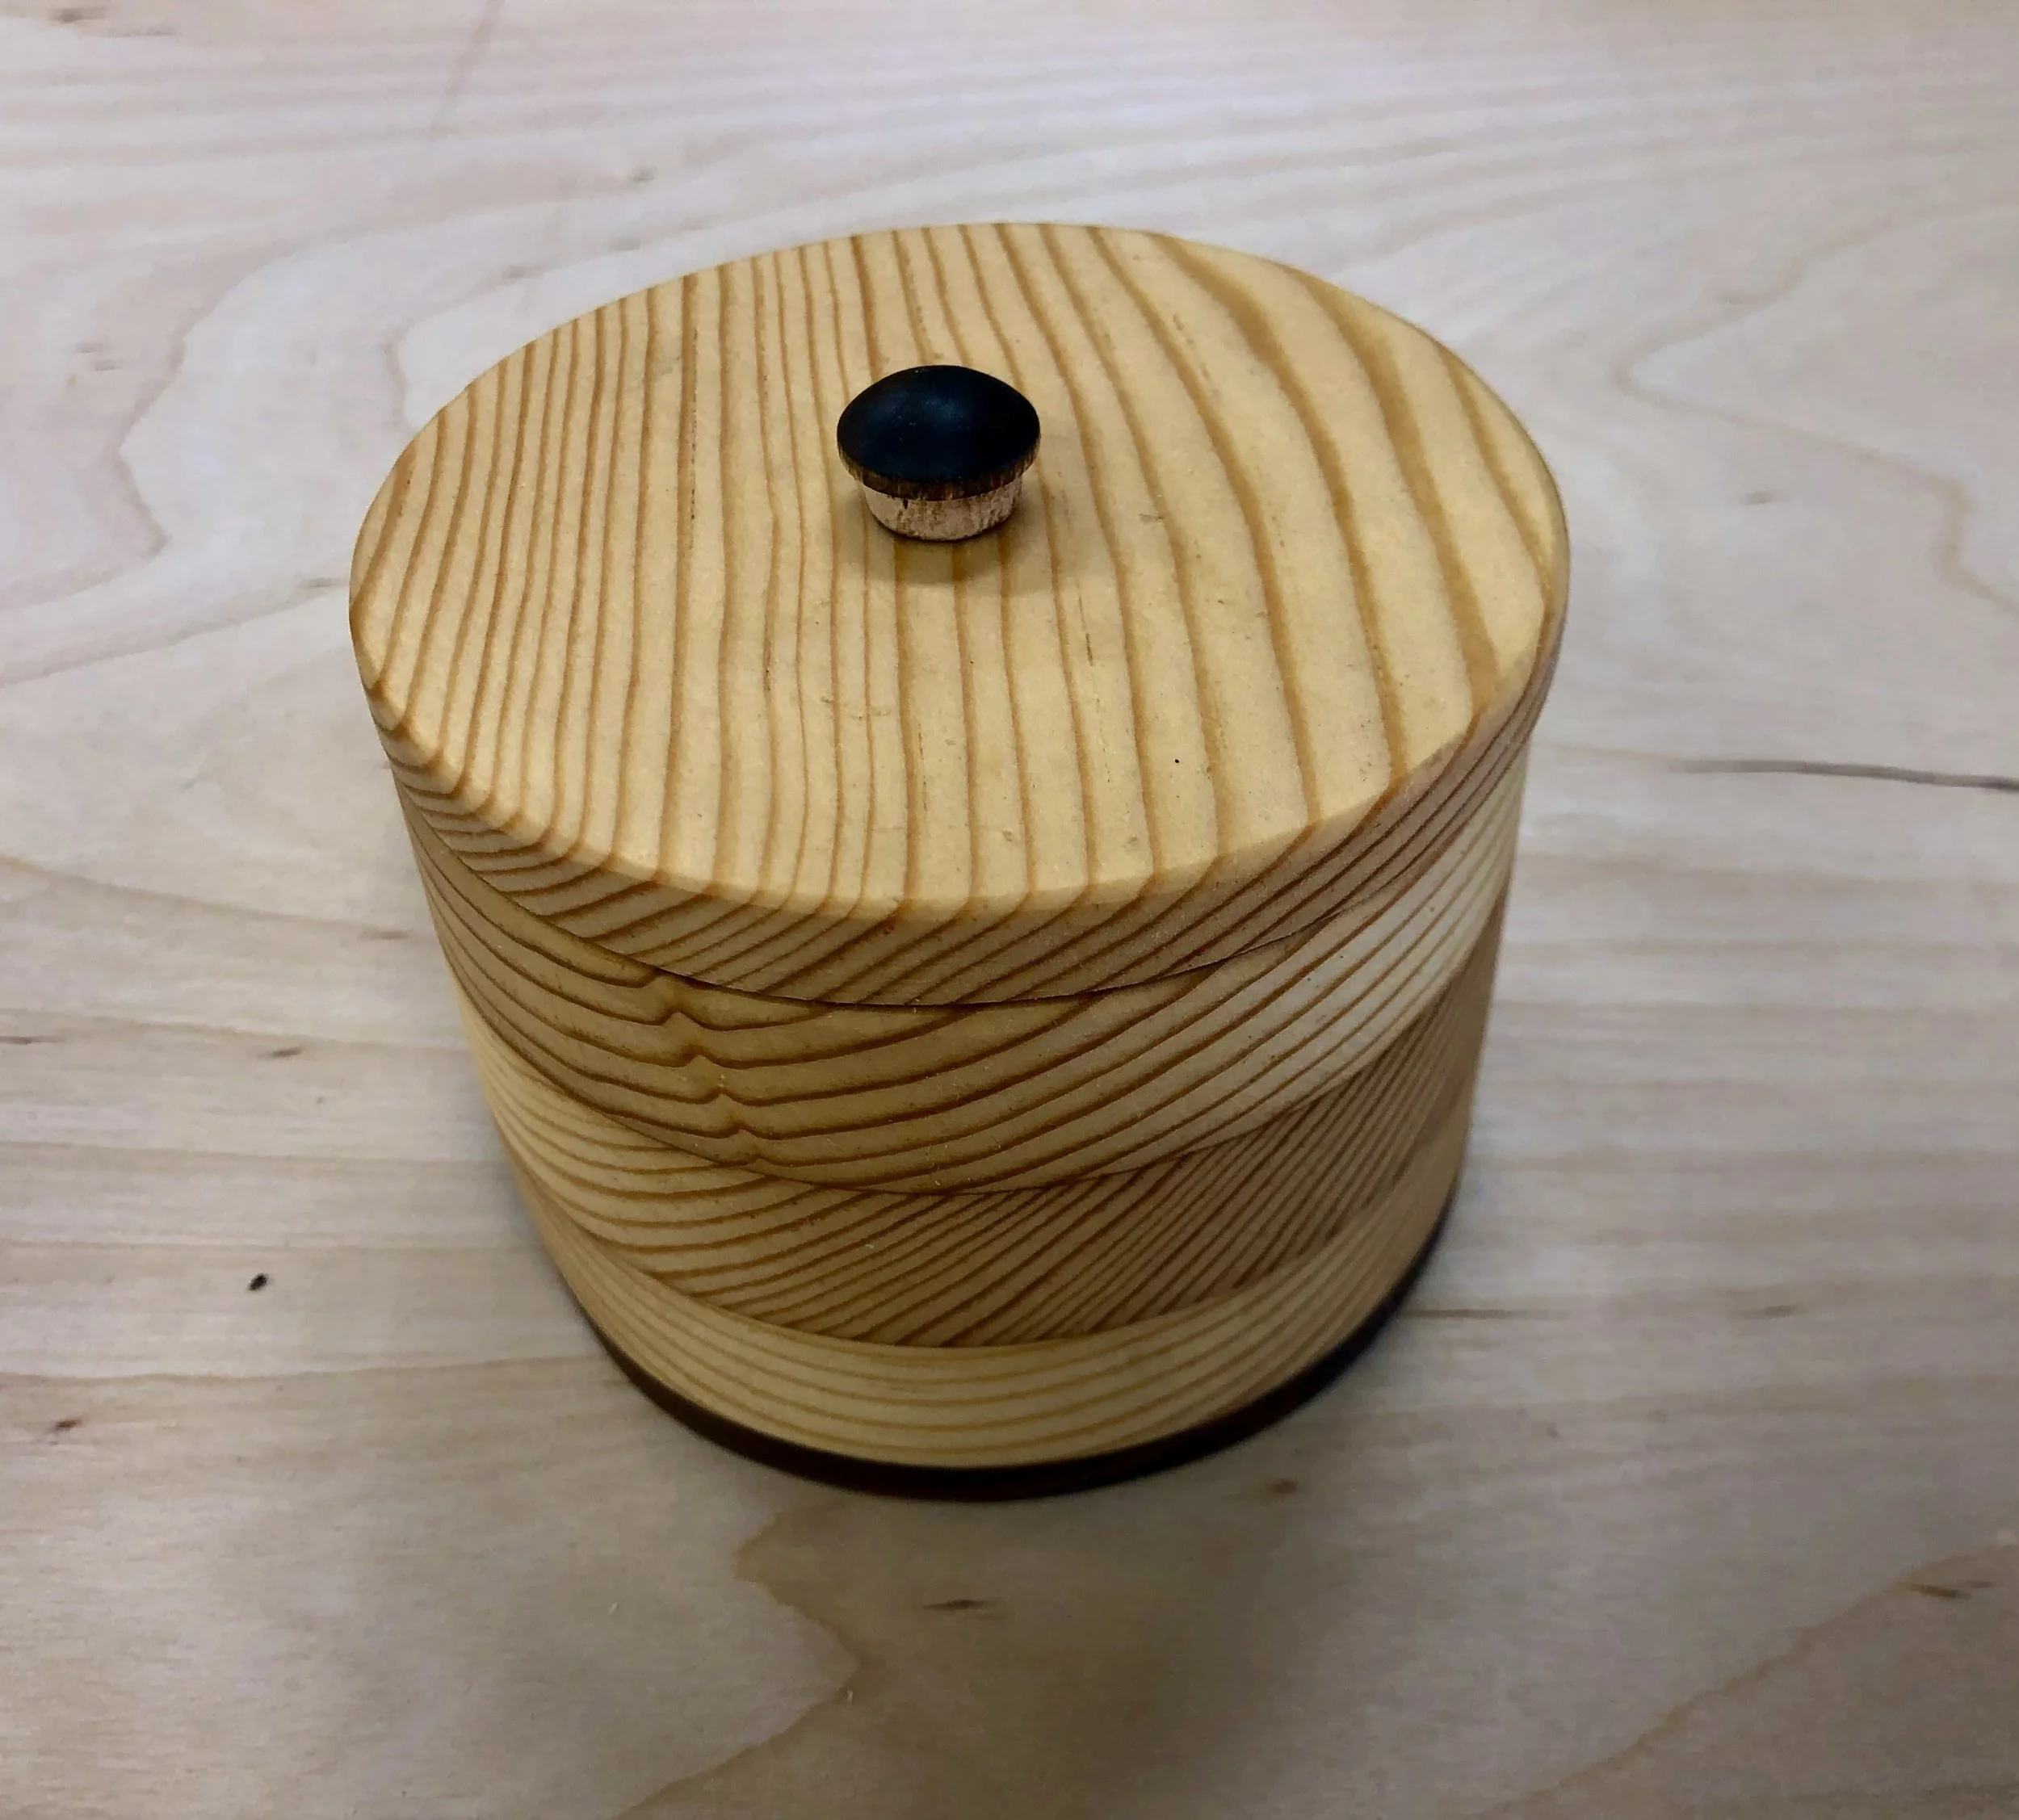
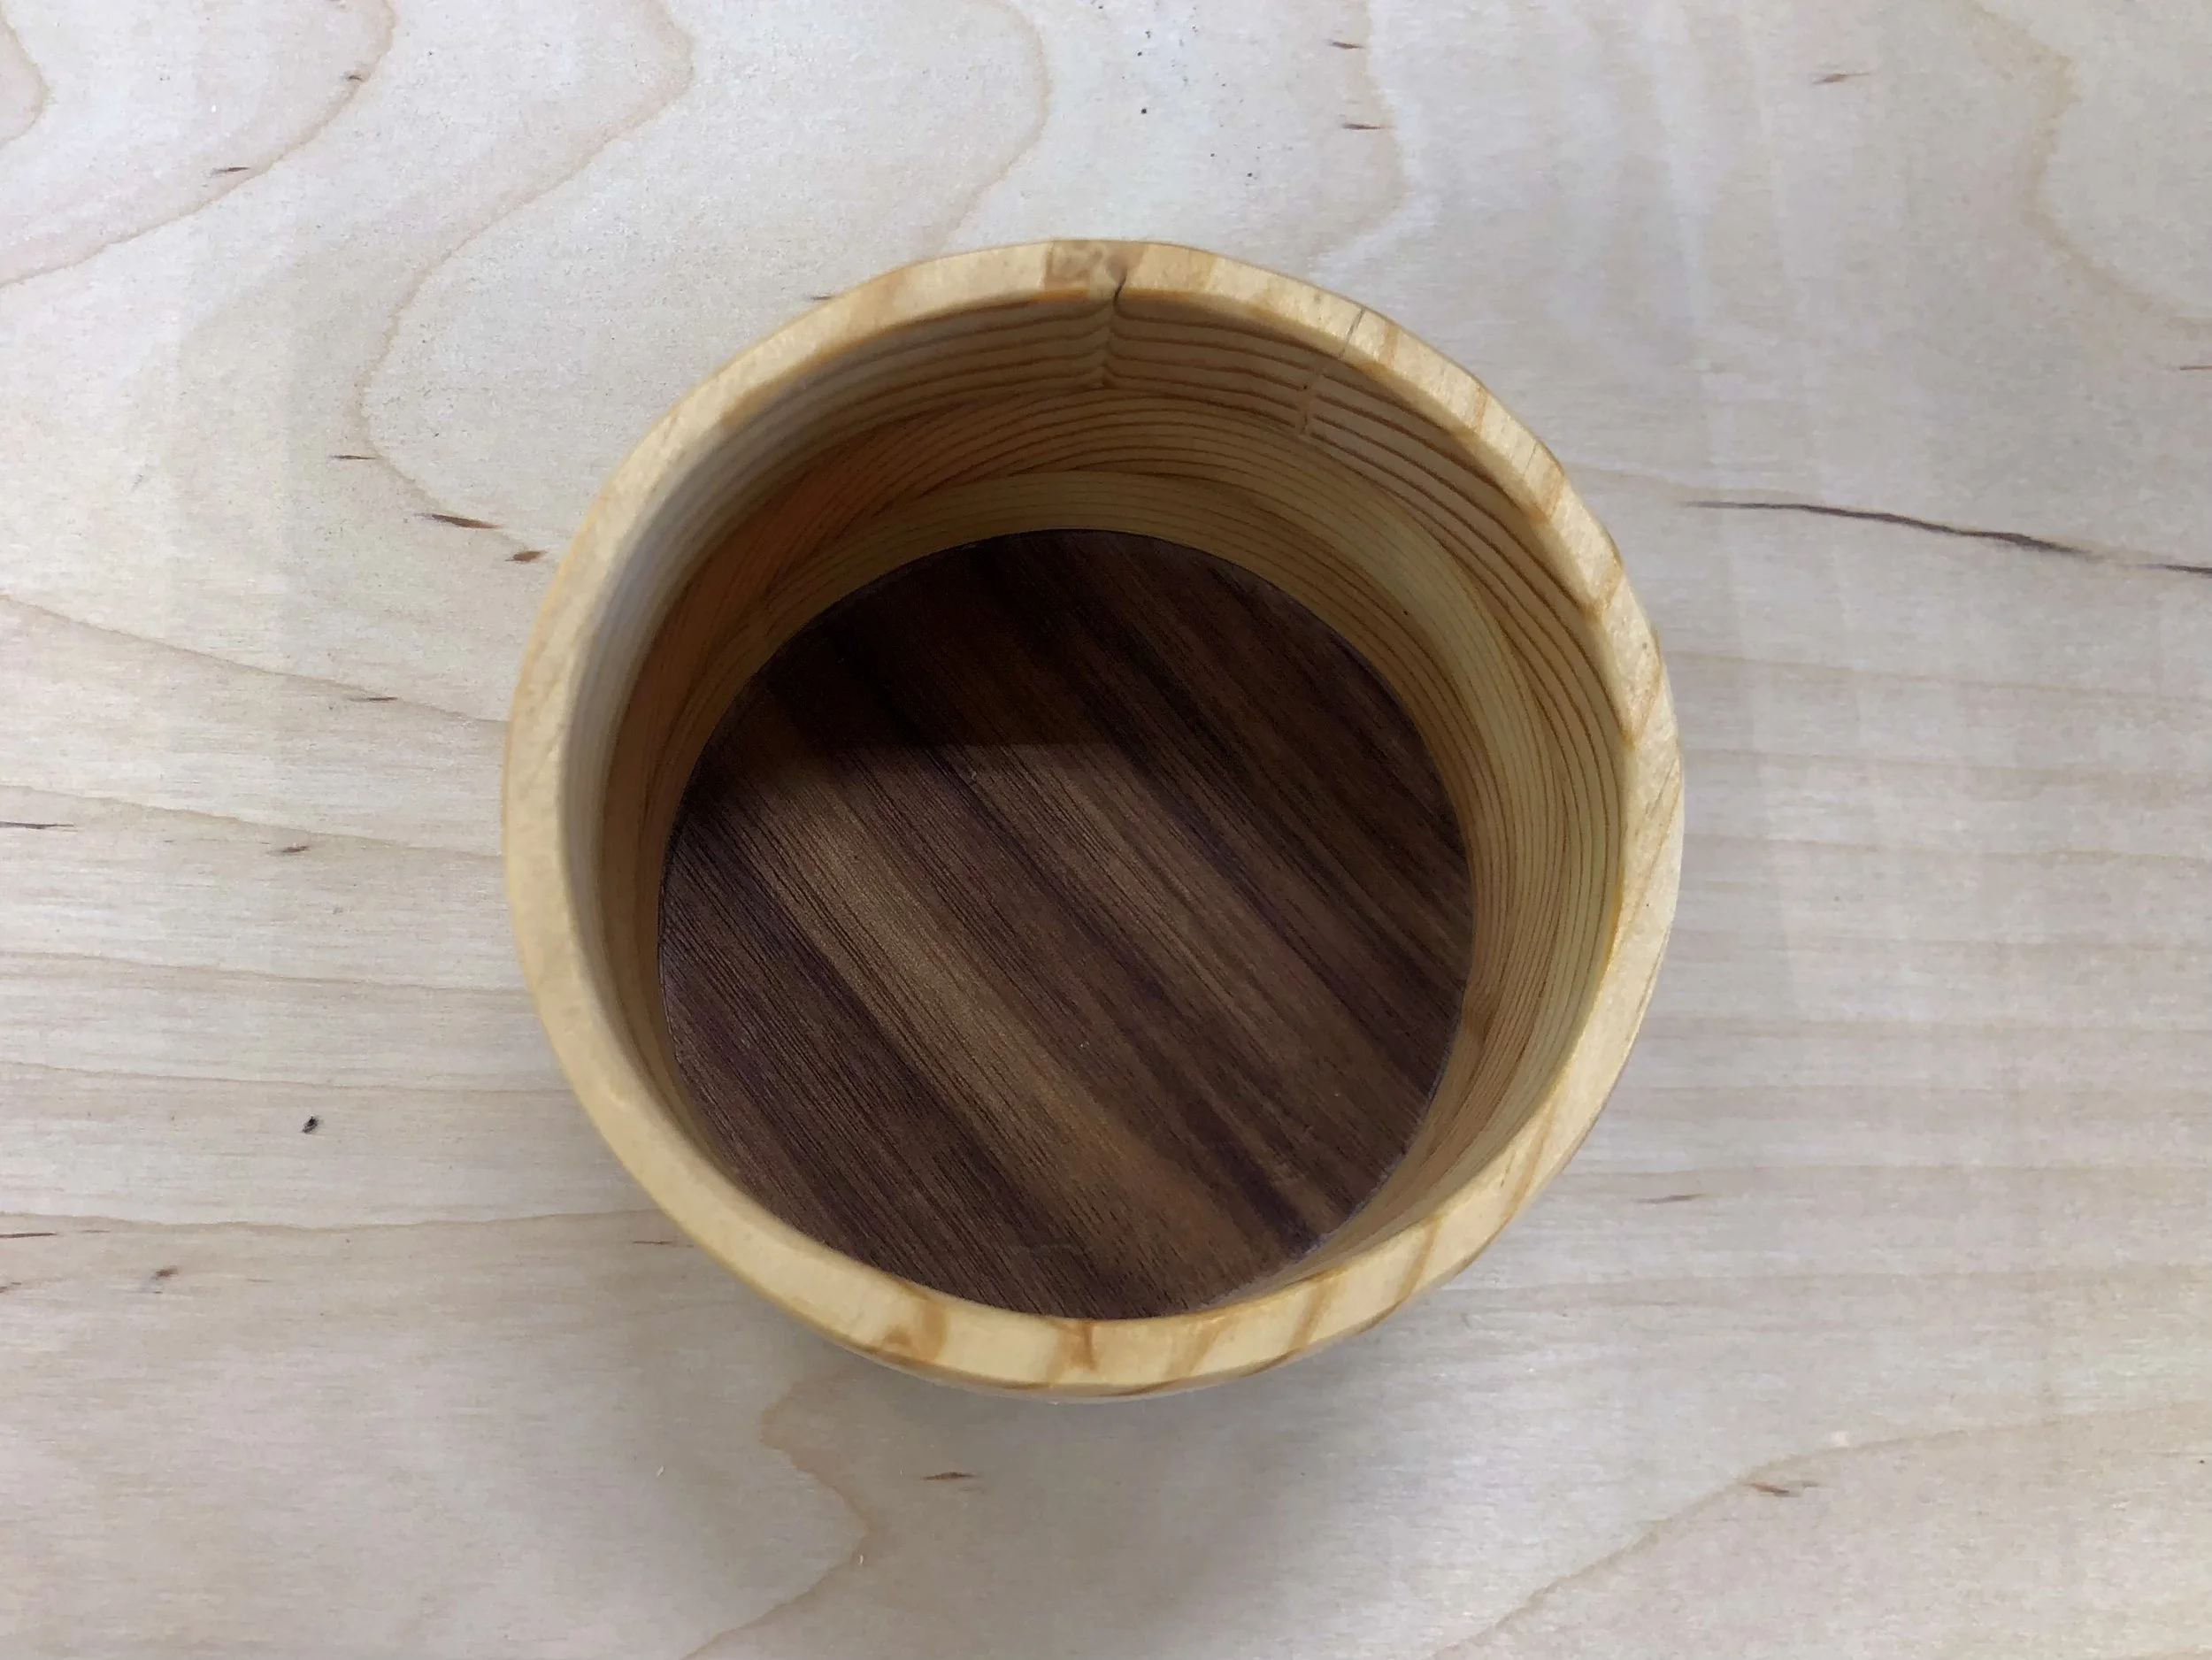
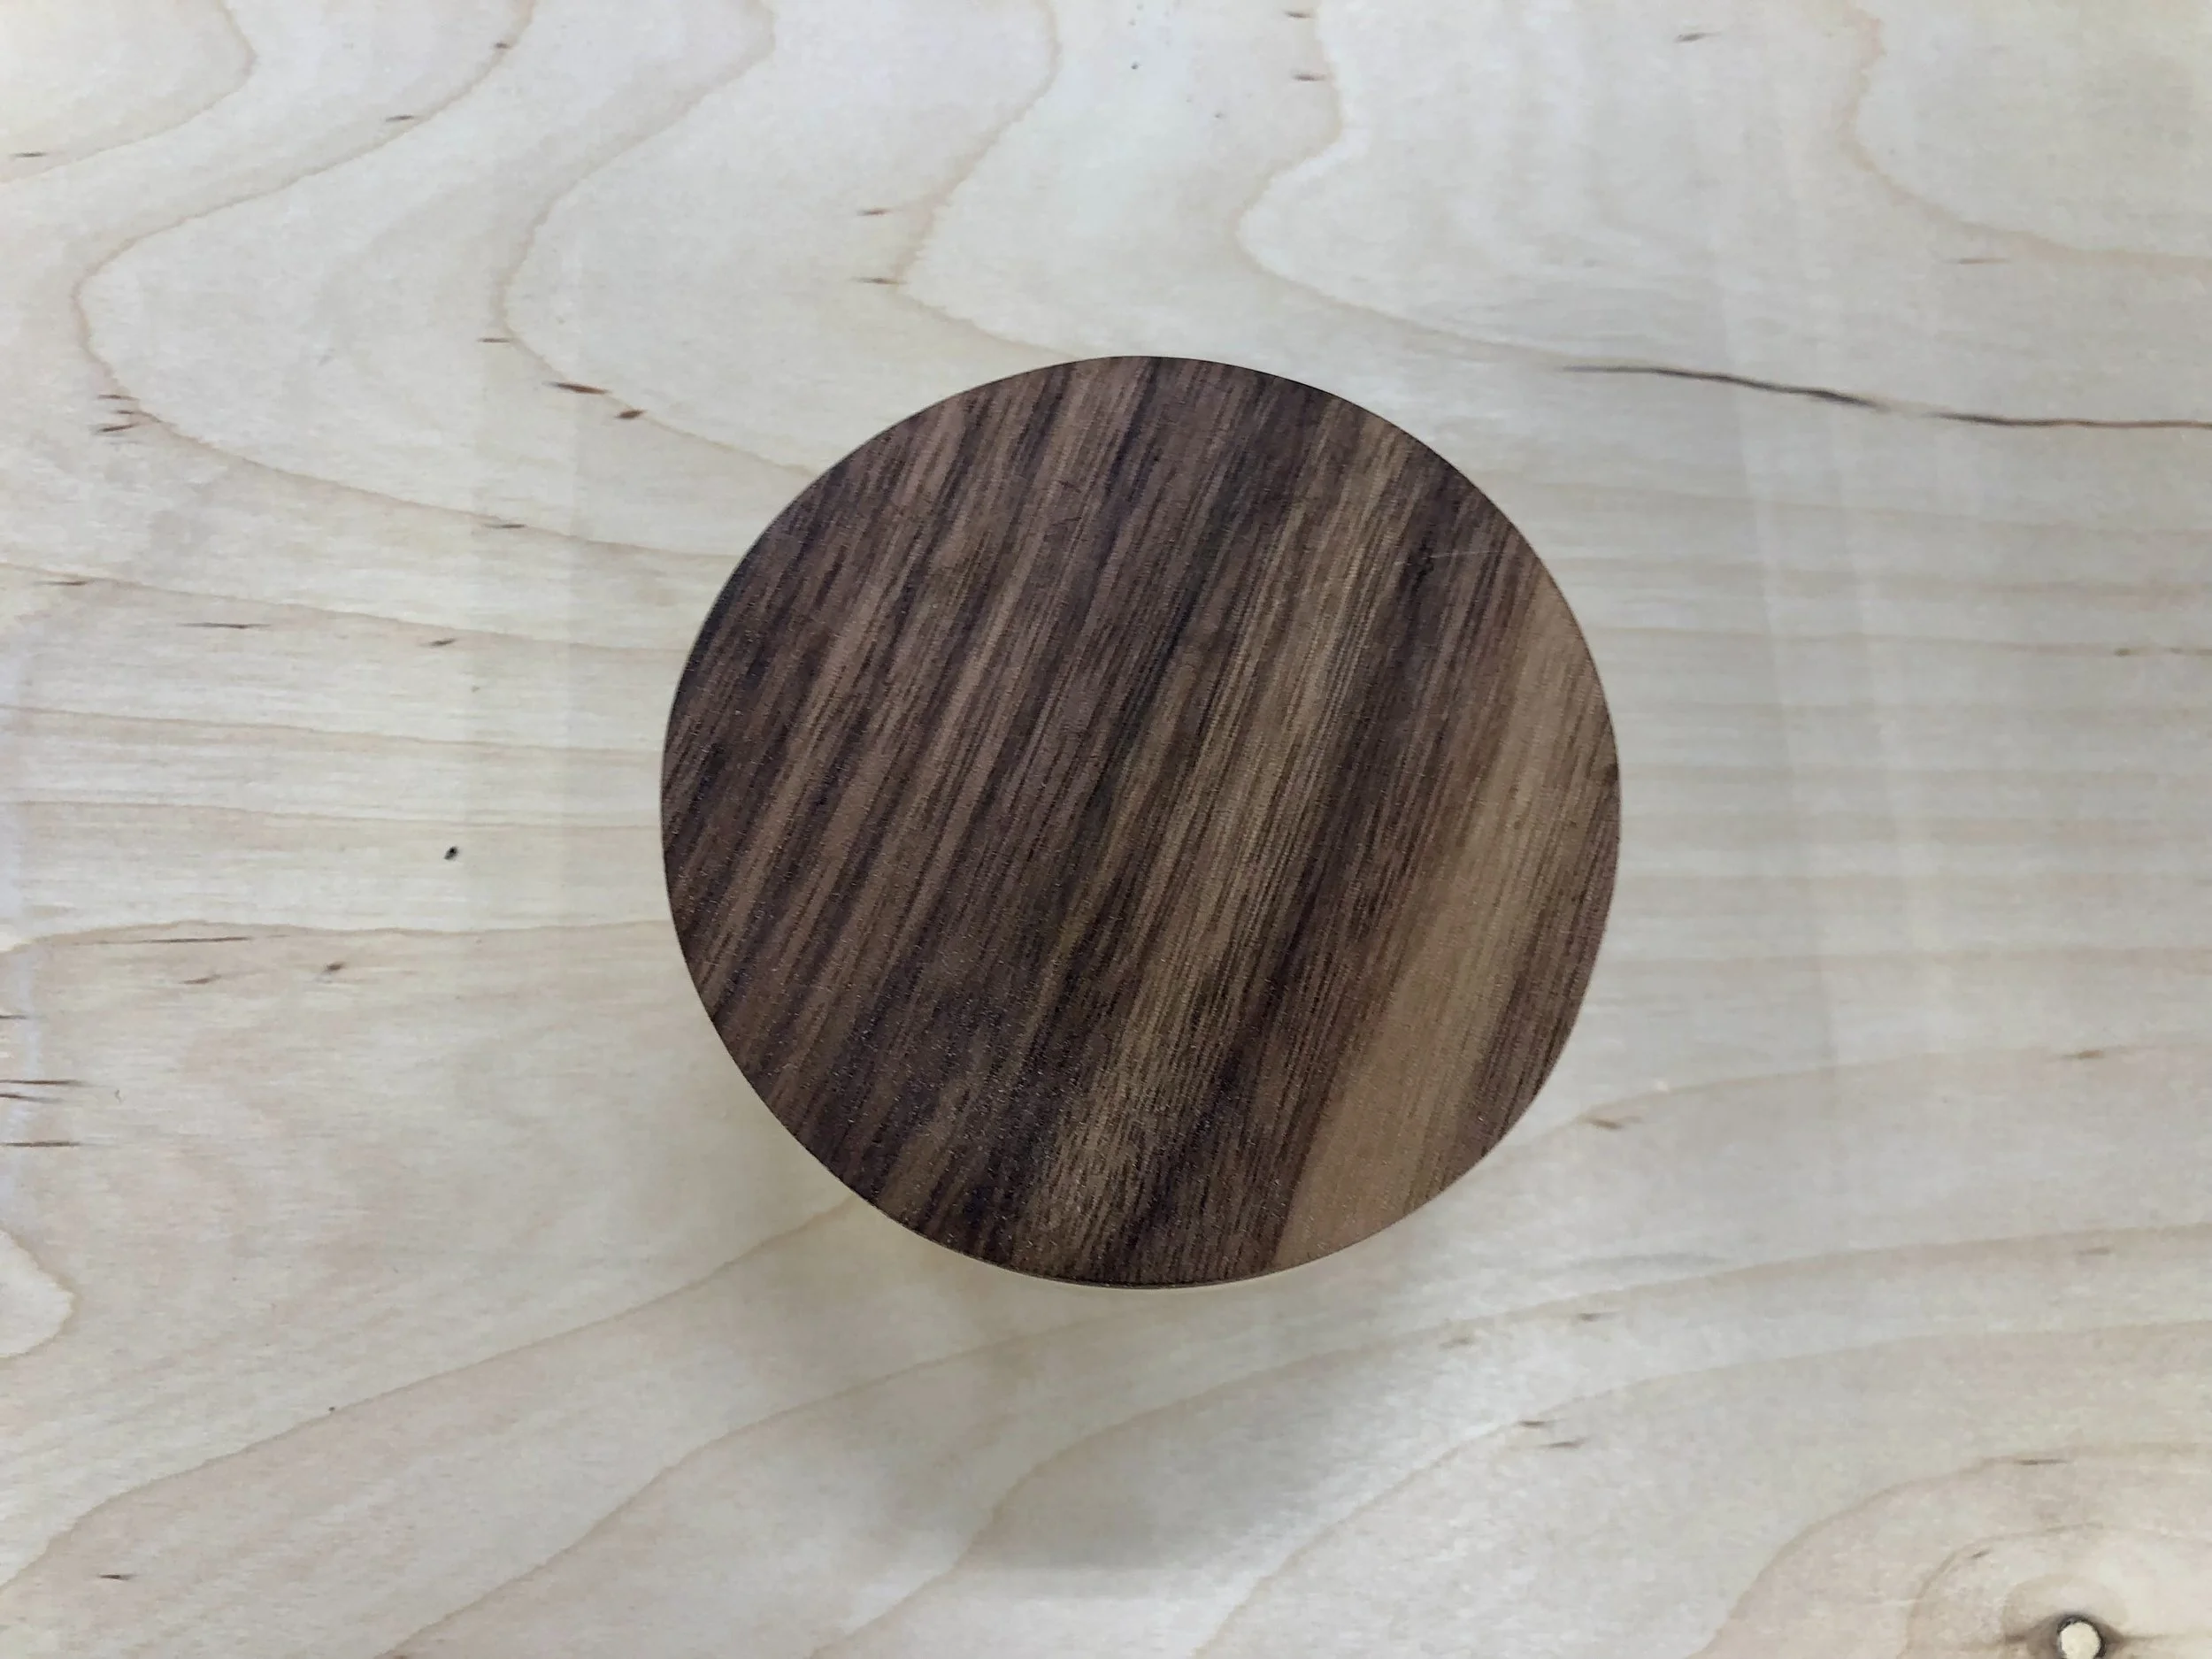
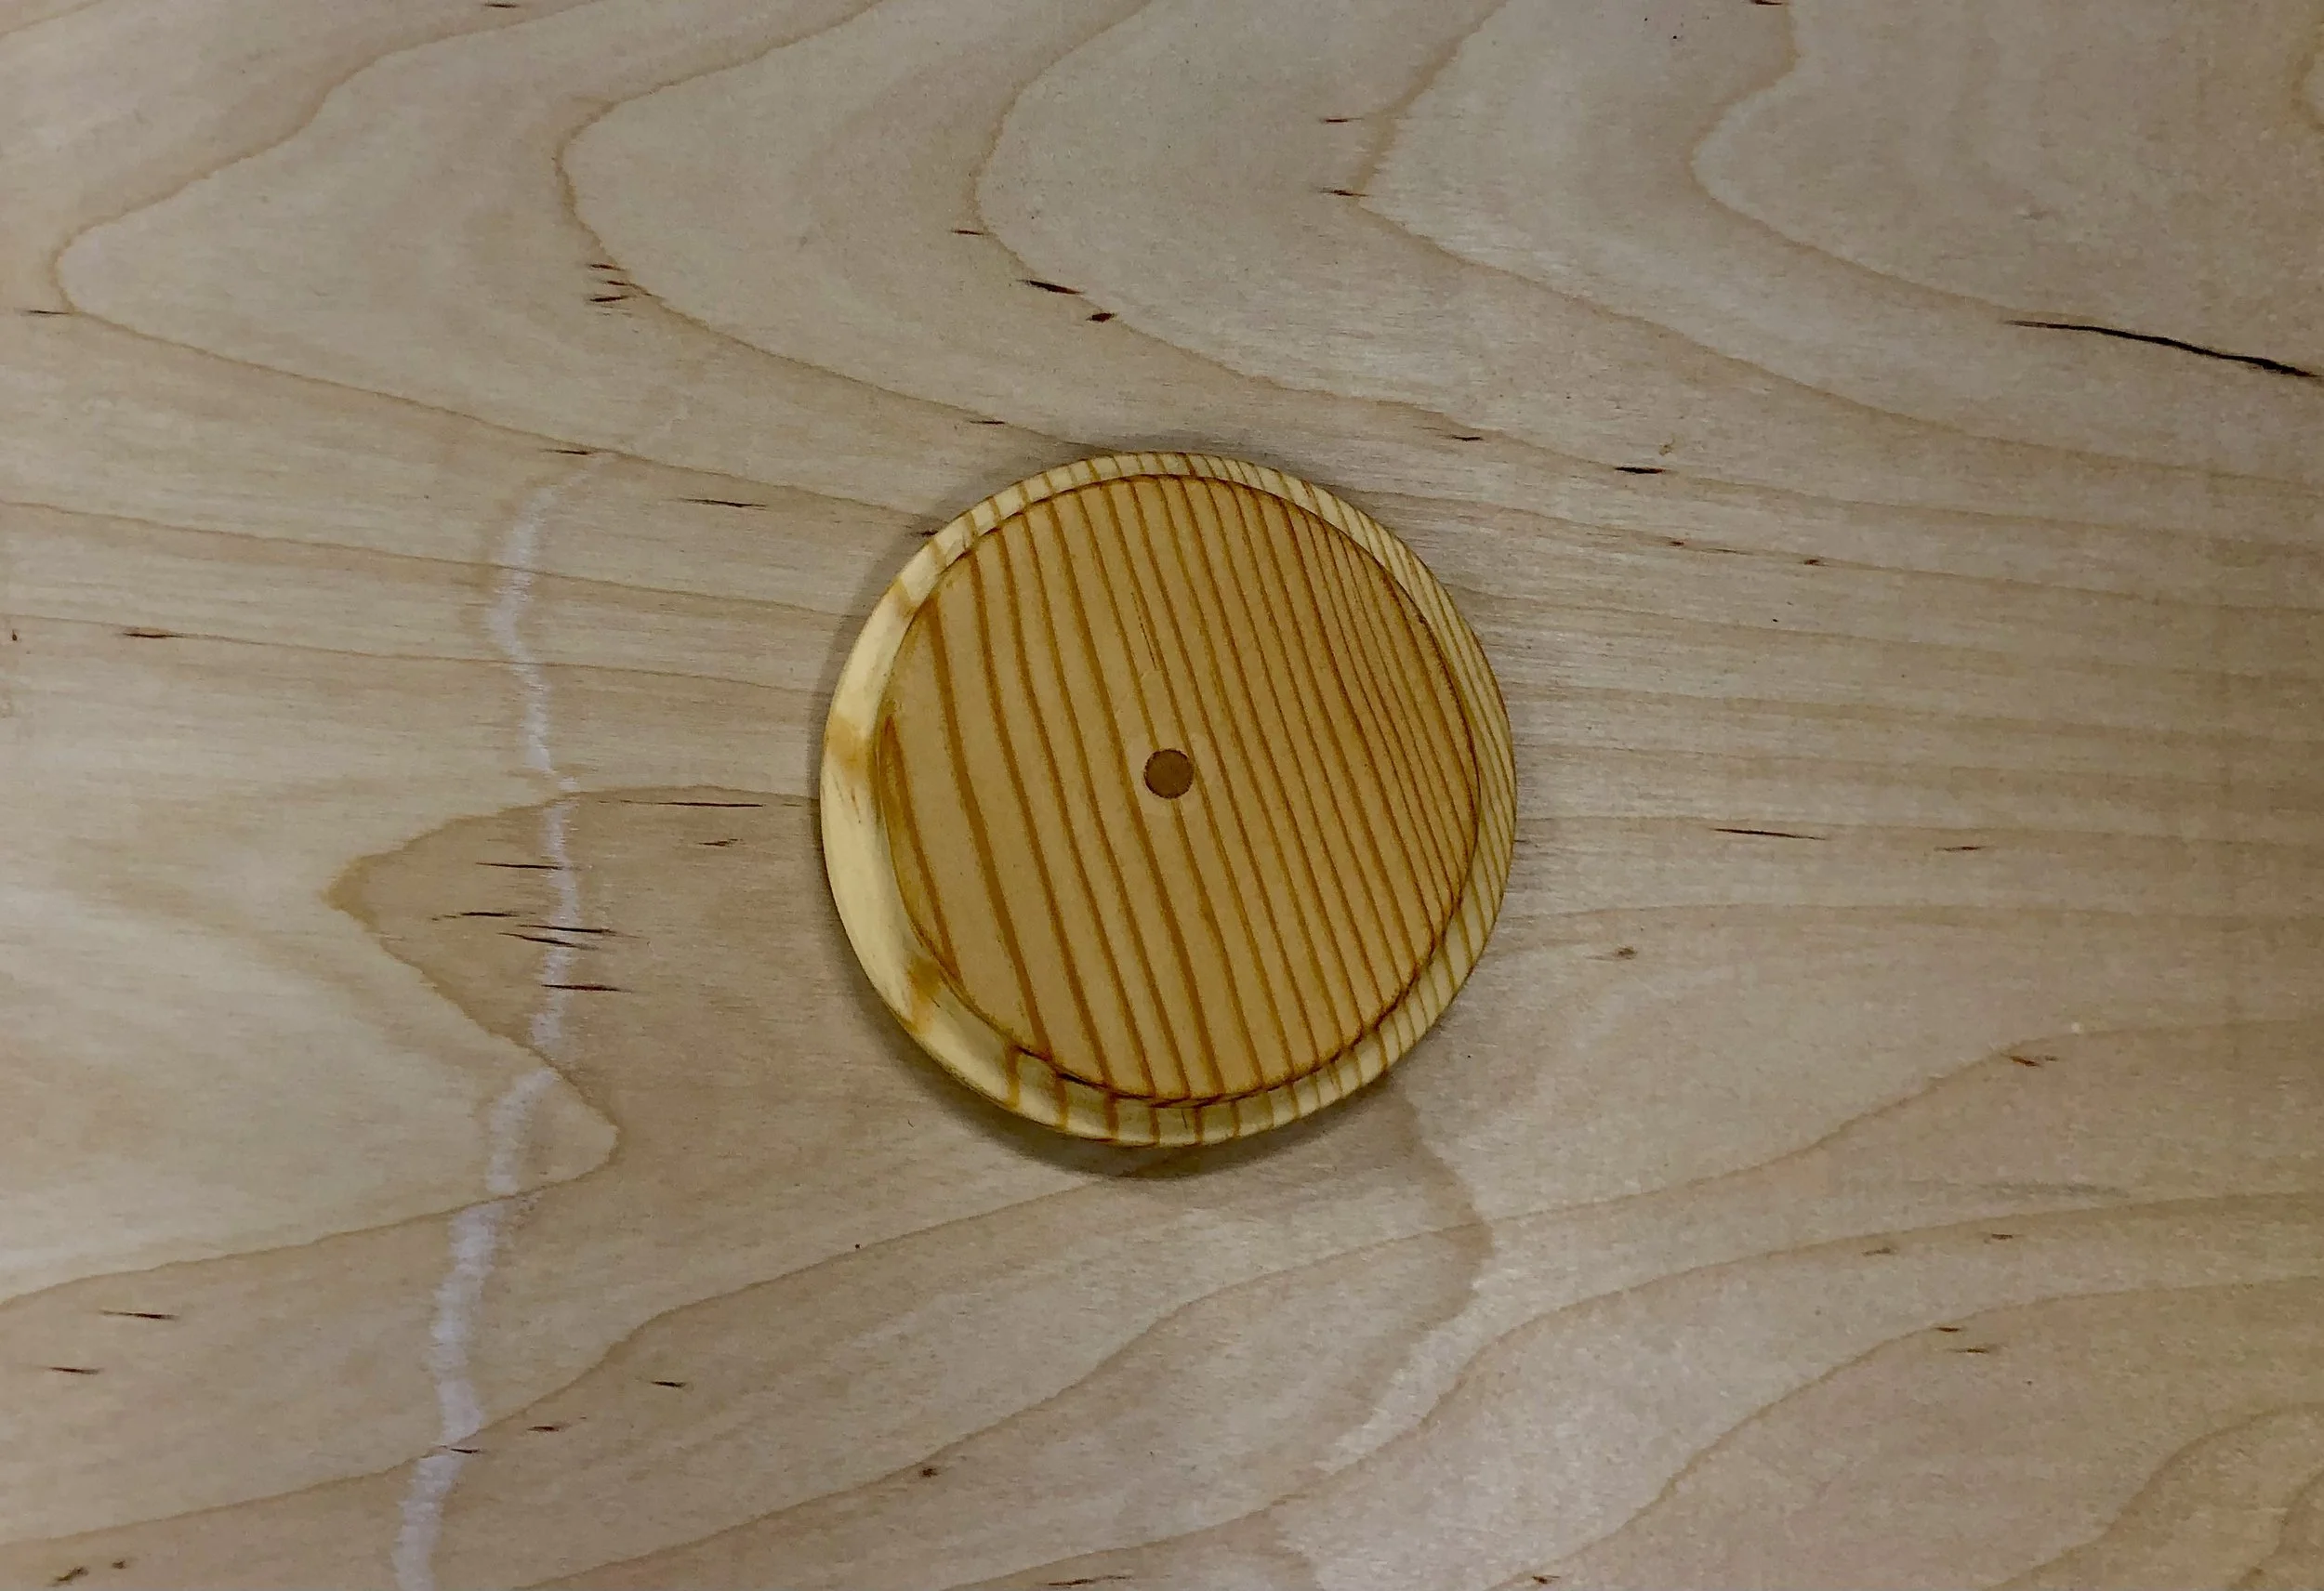
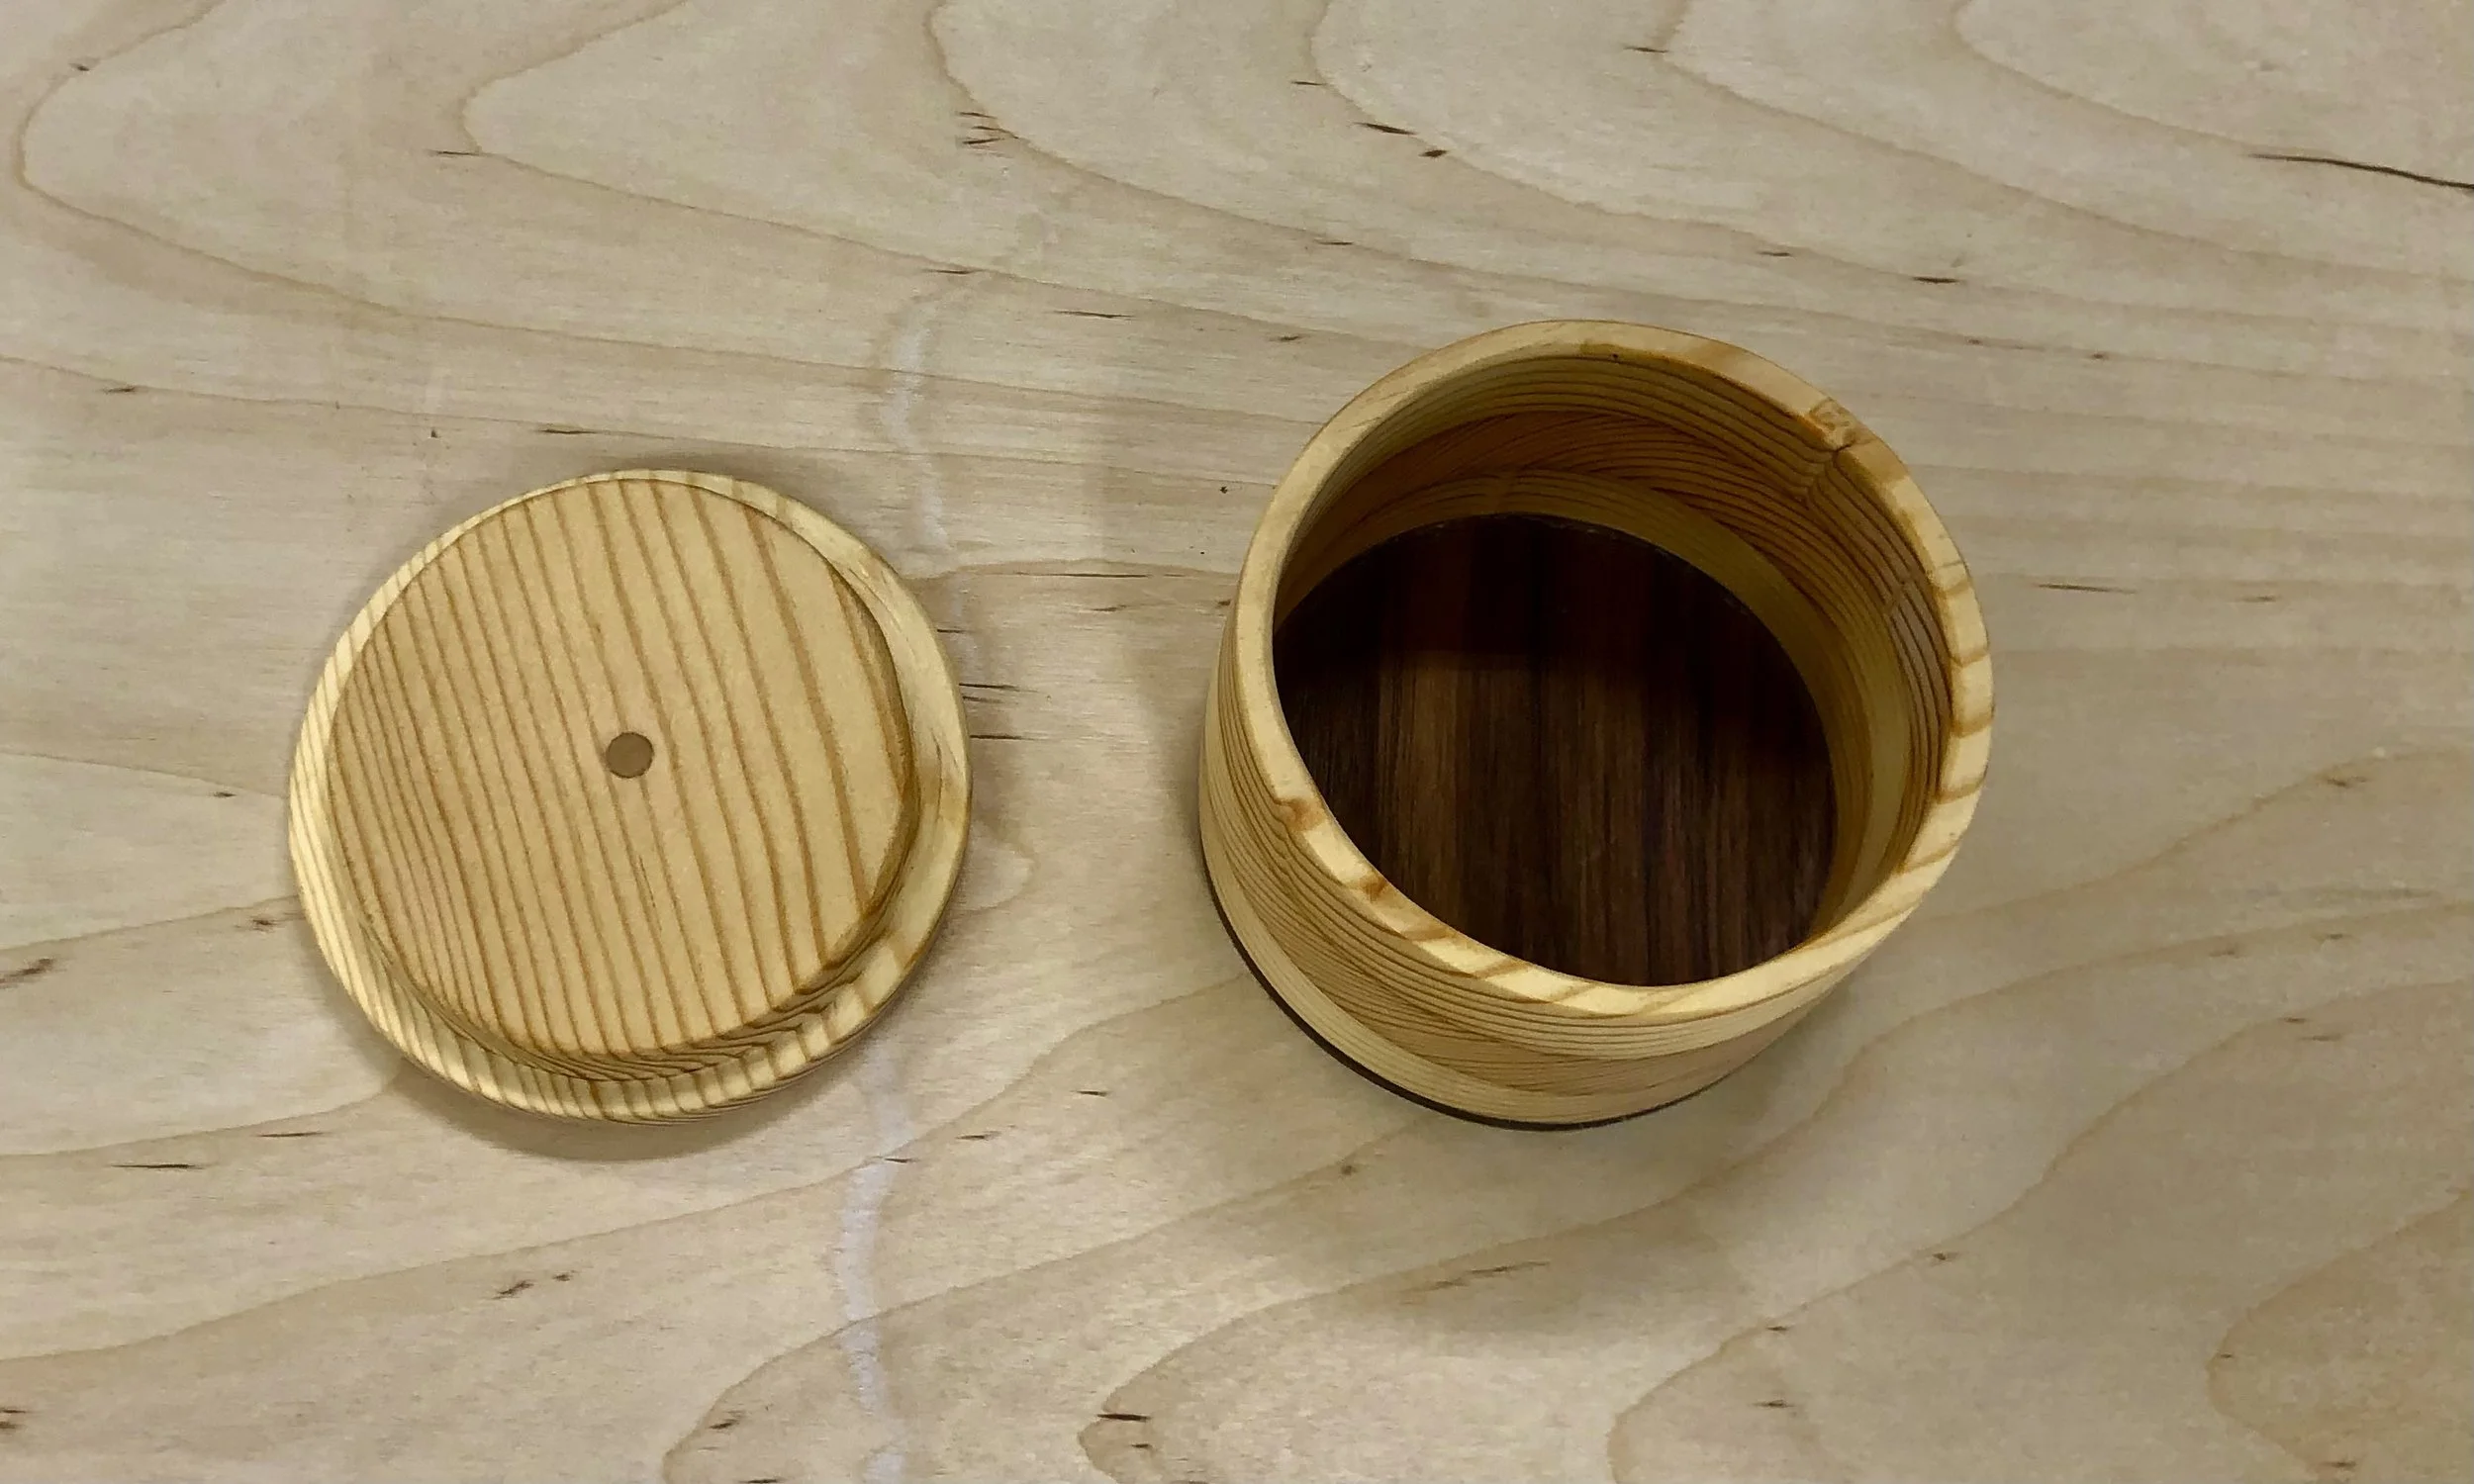
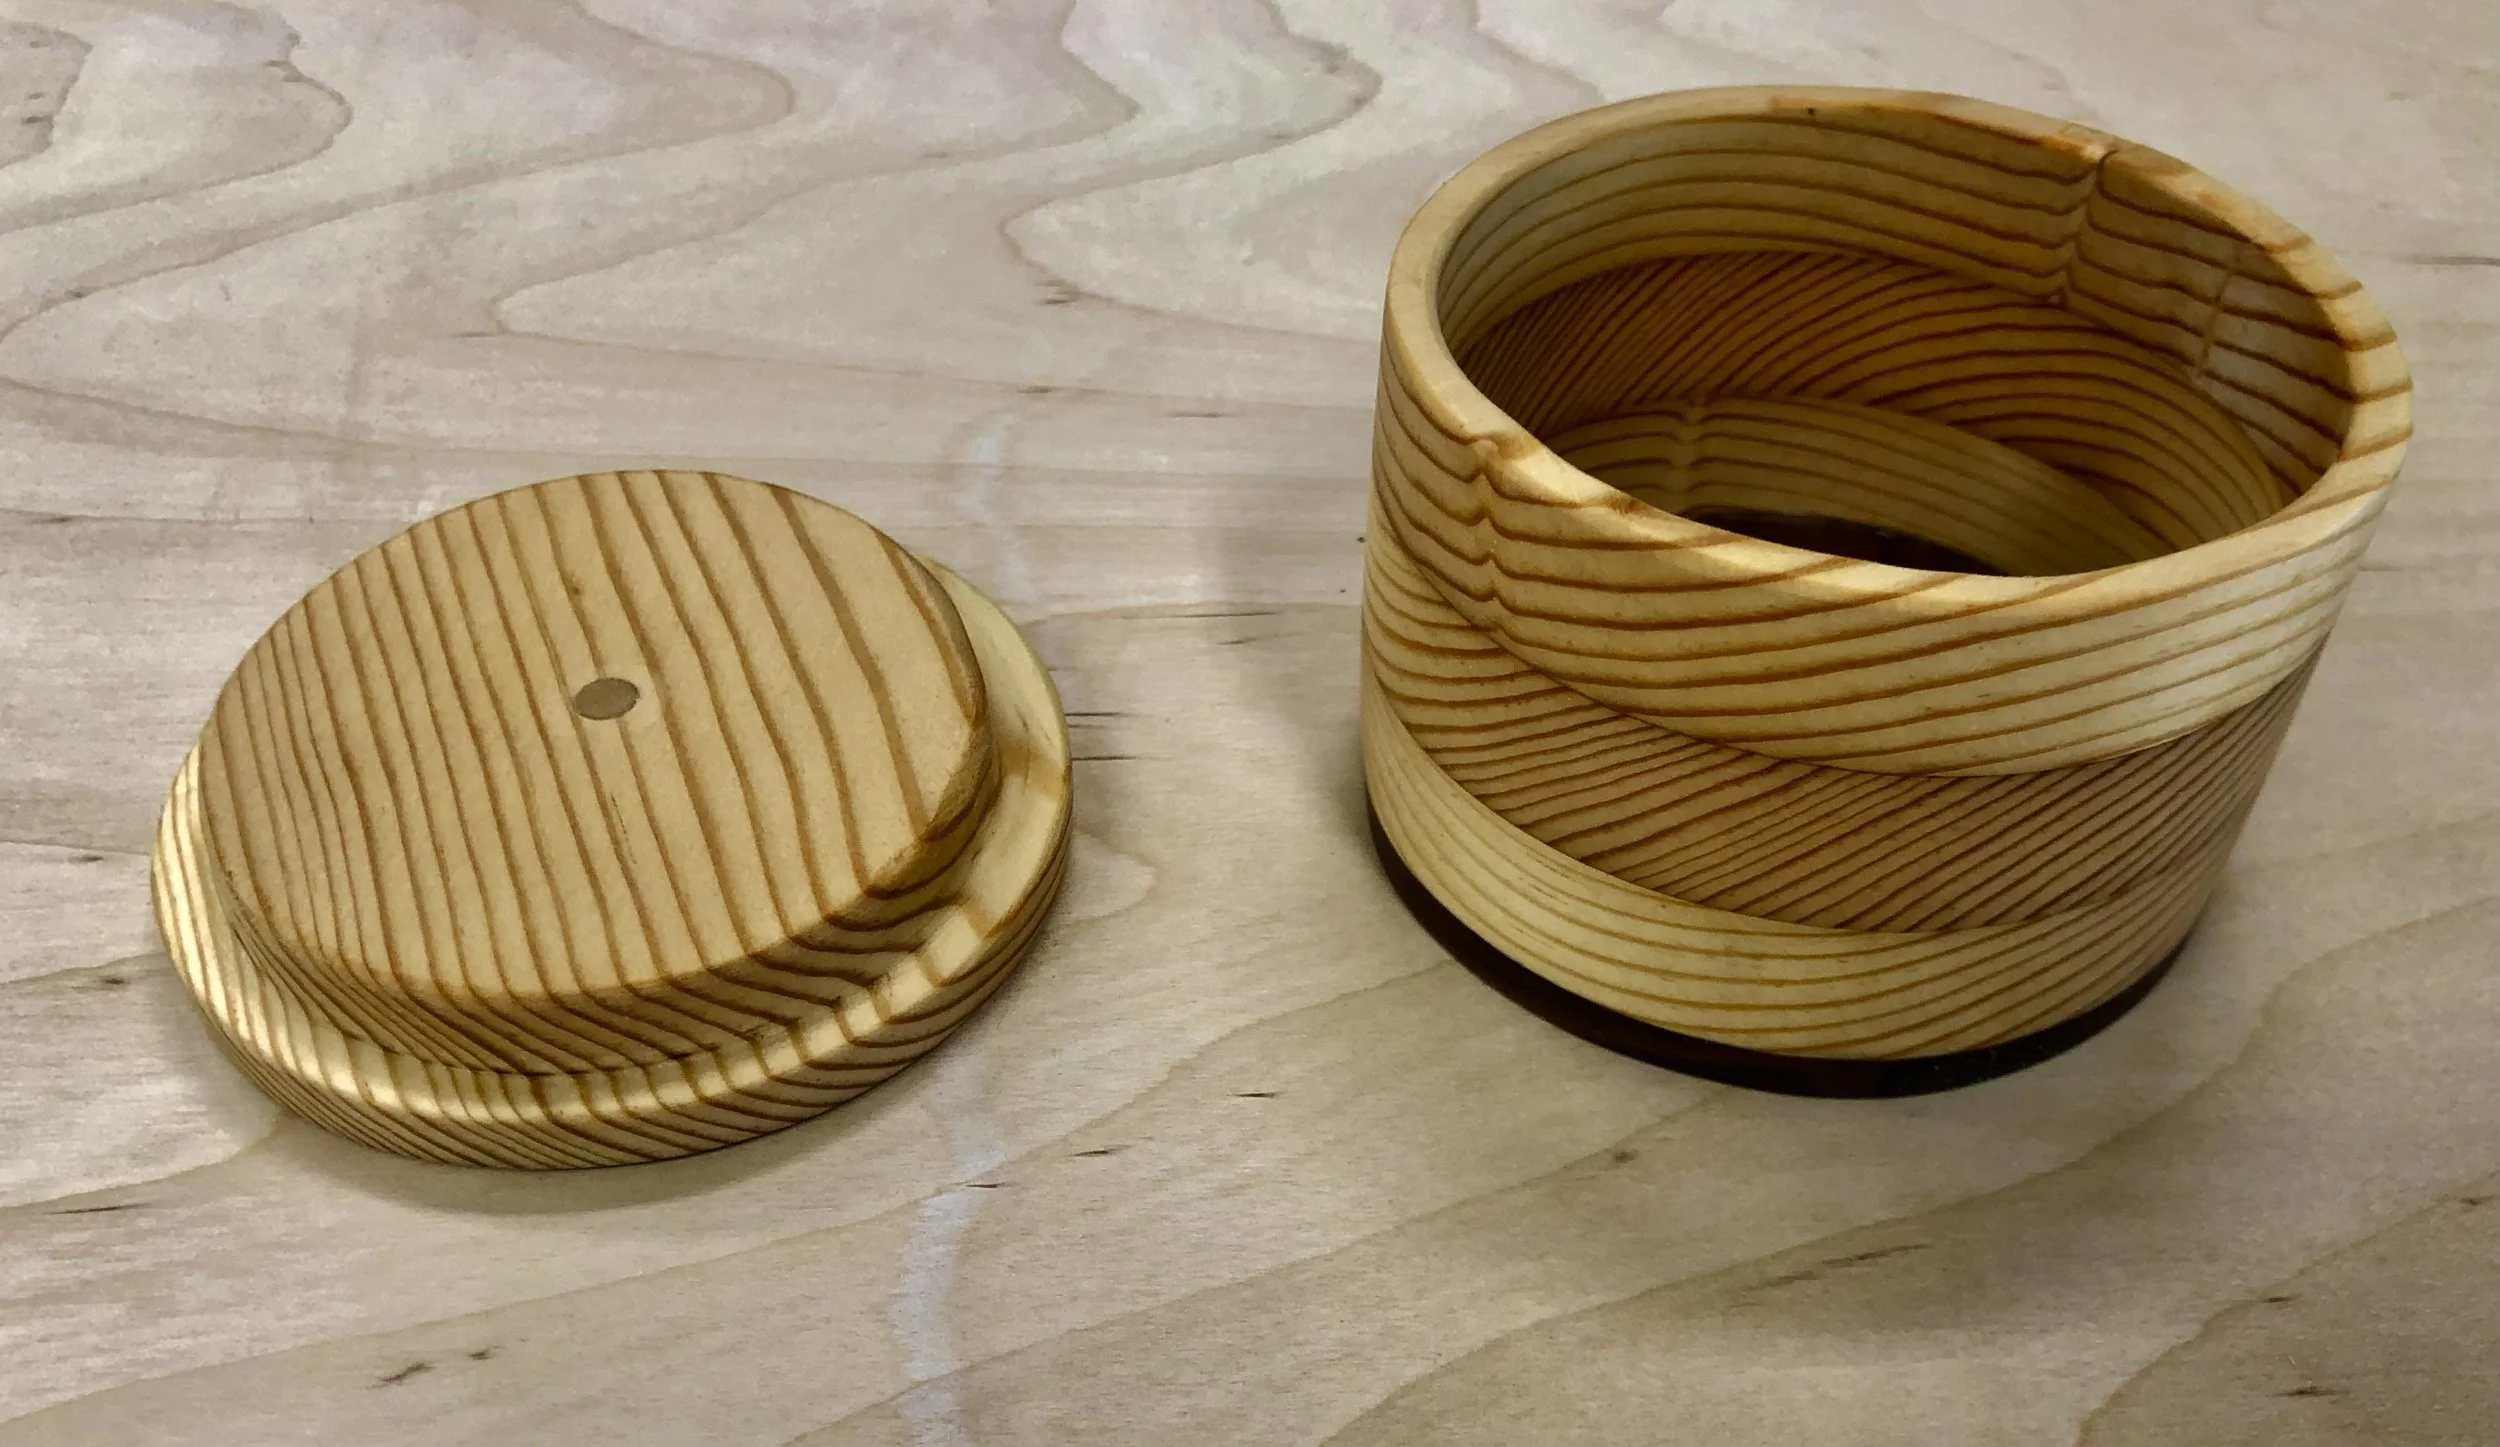
Band Saw Box
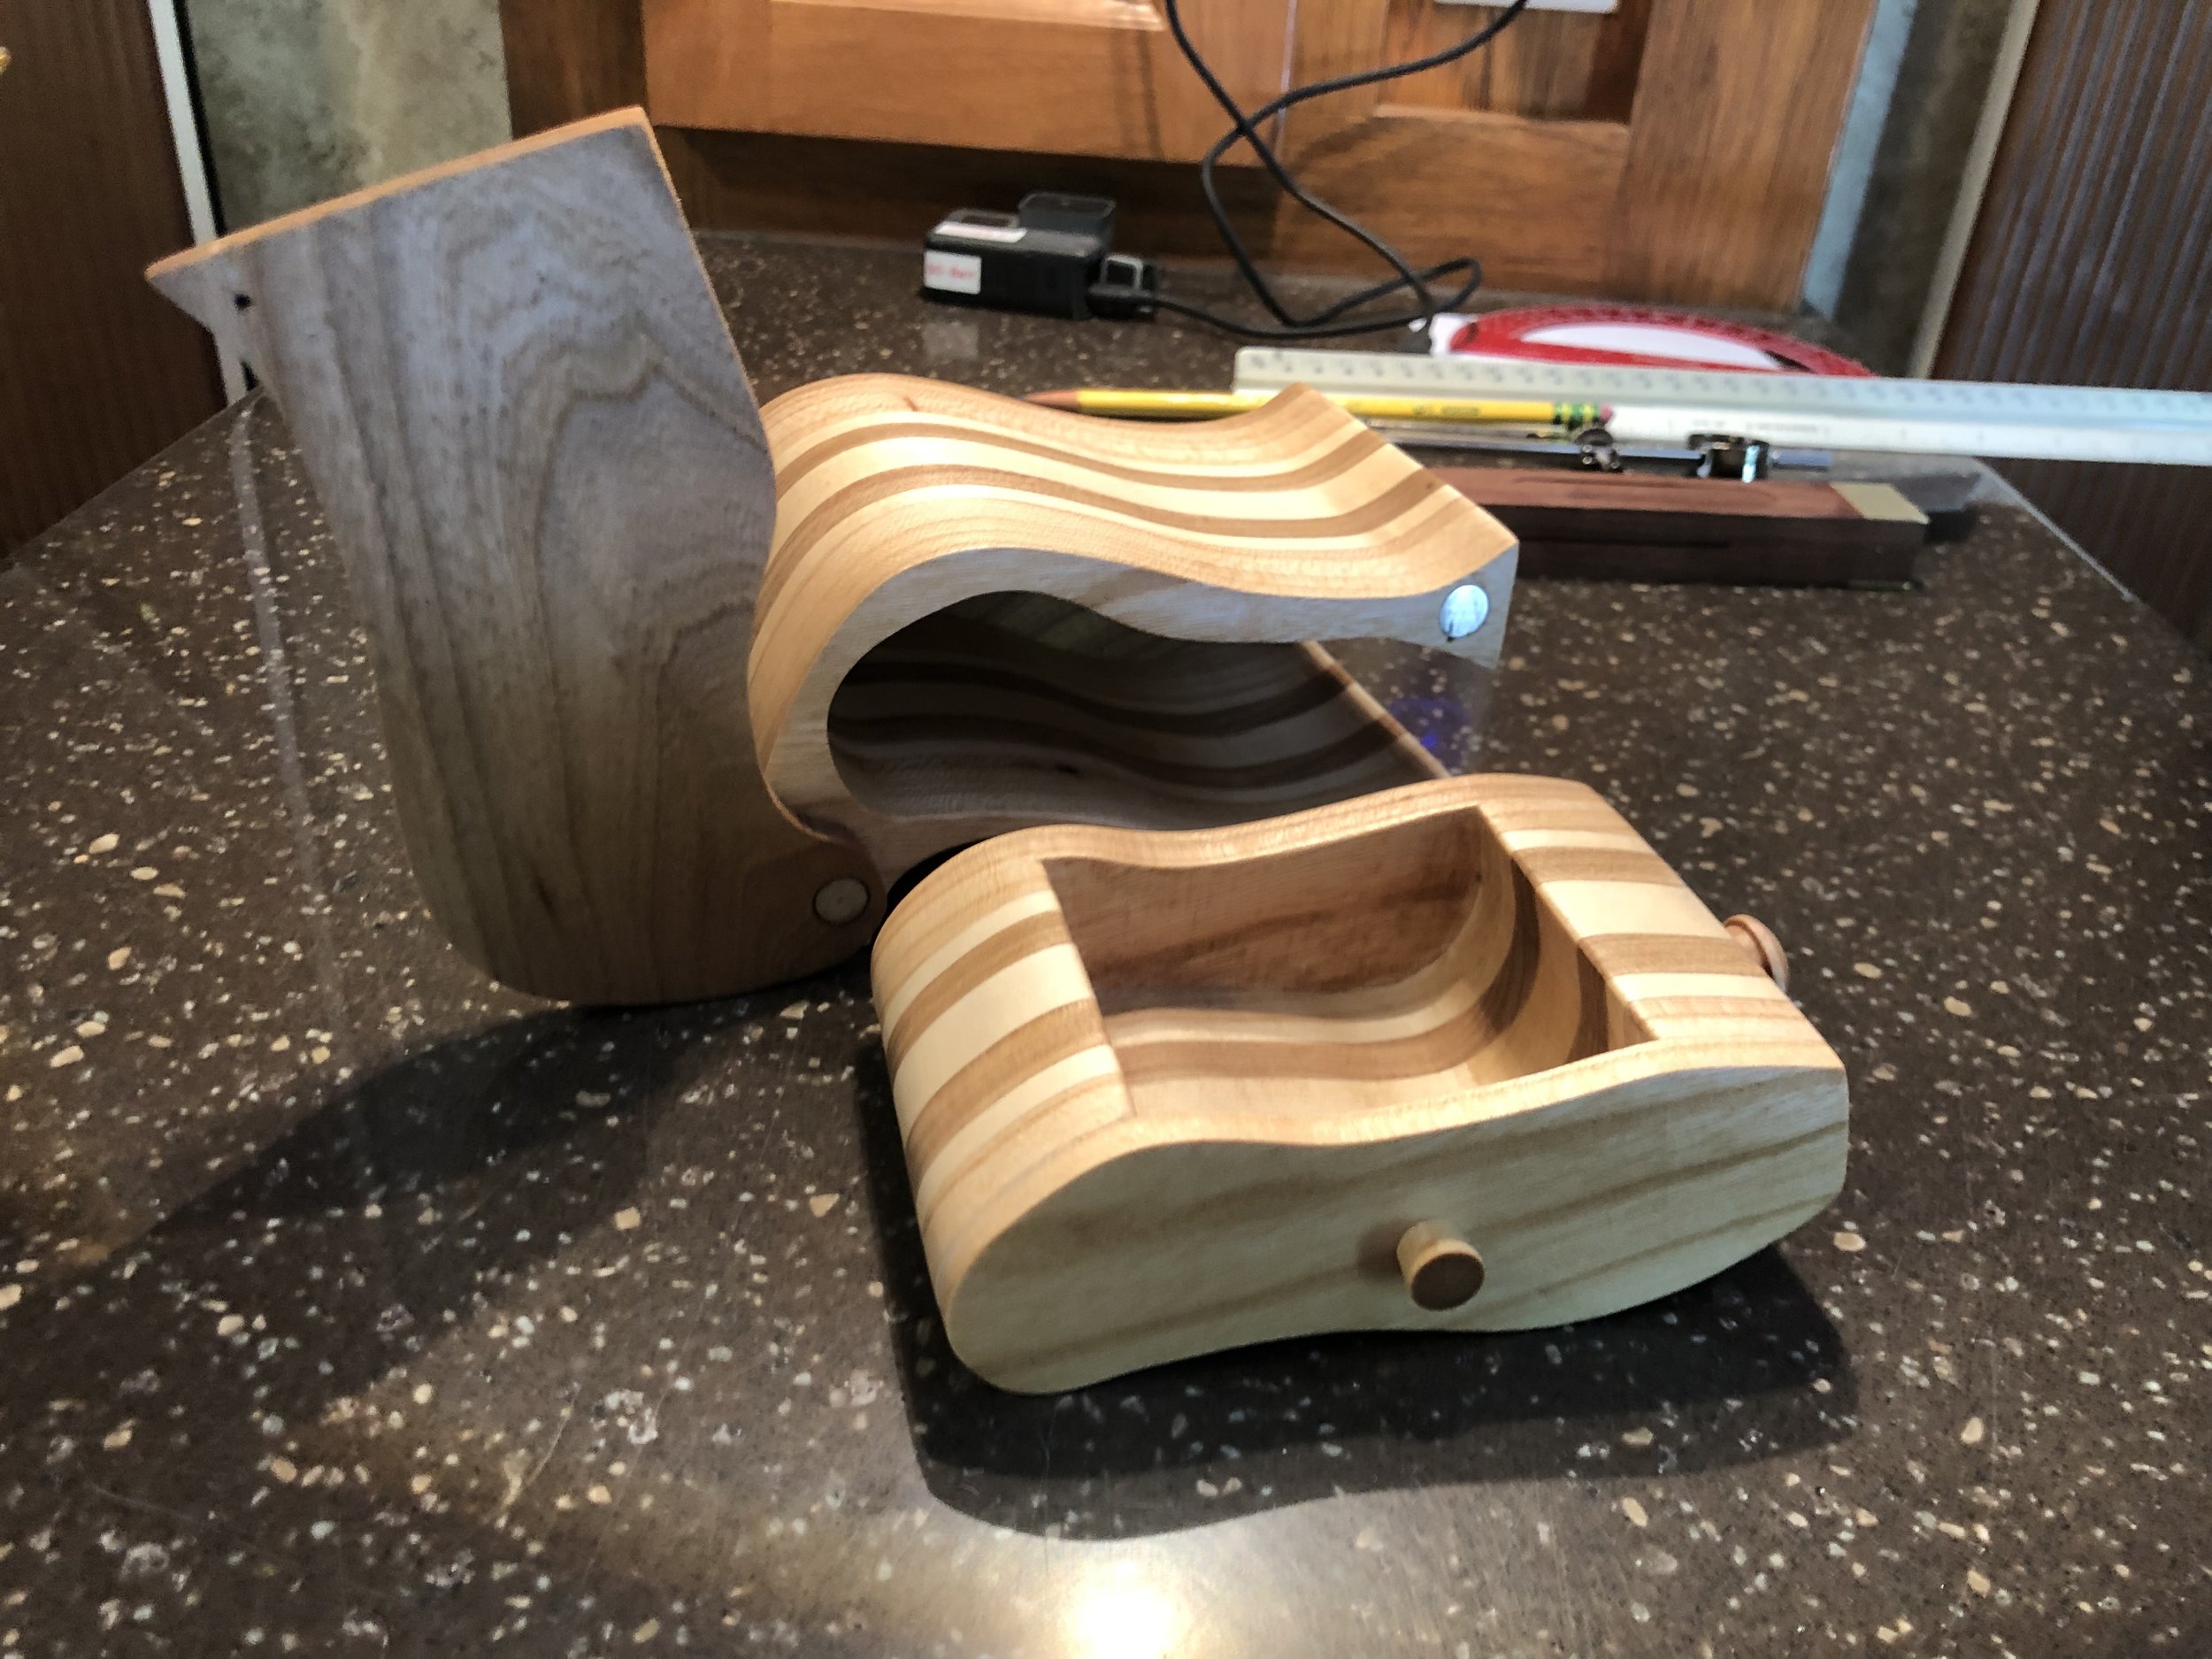
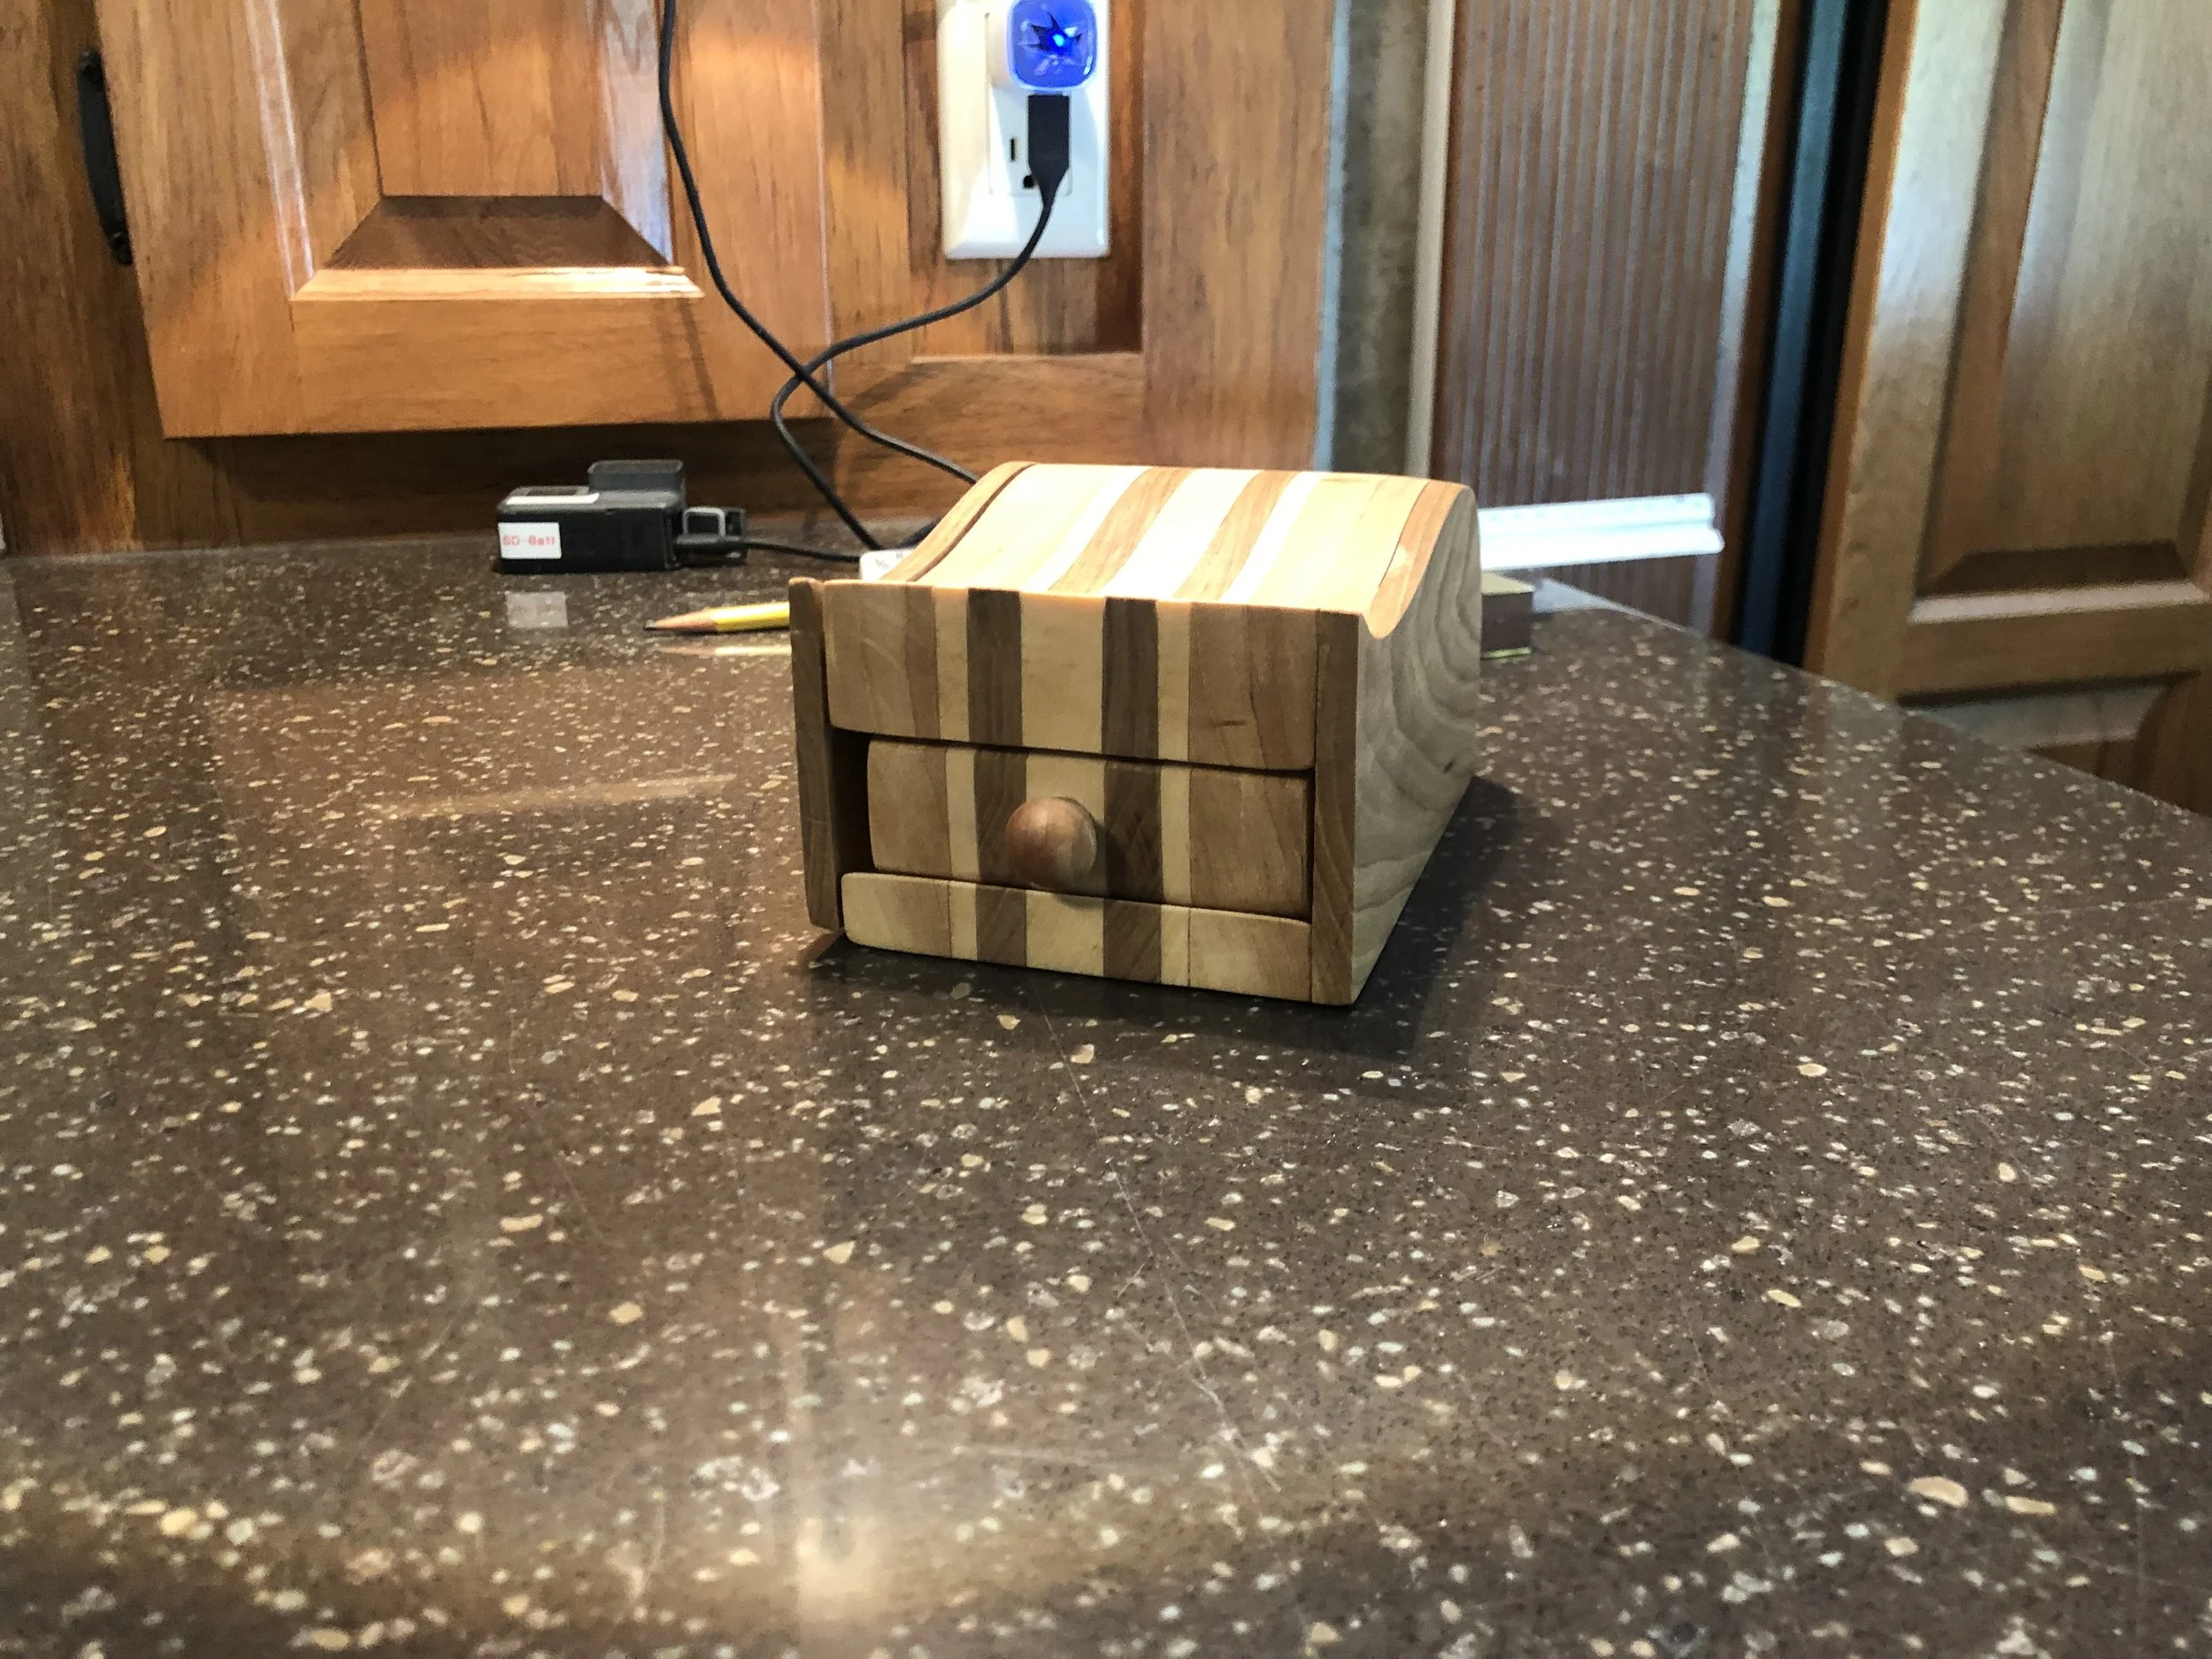
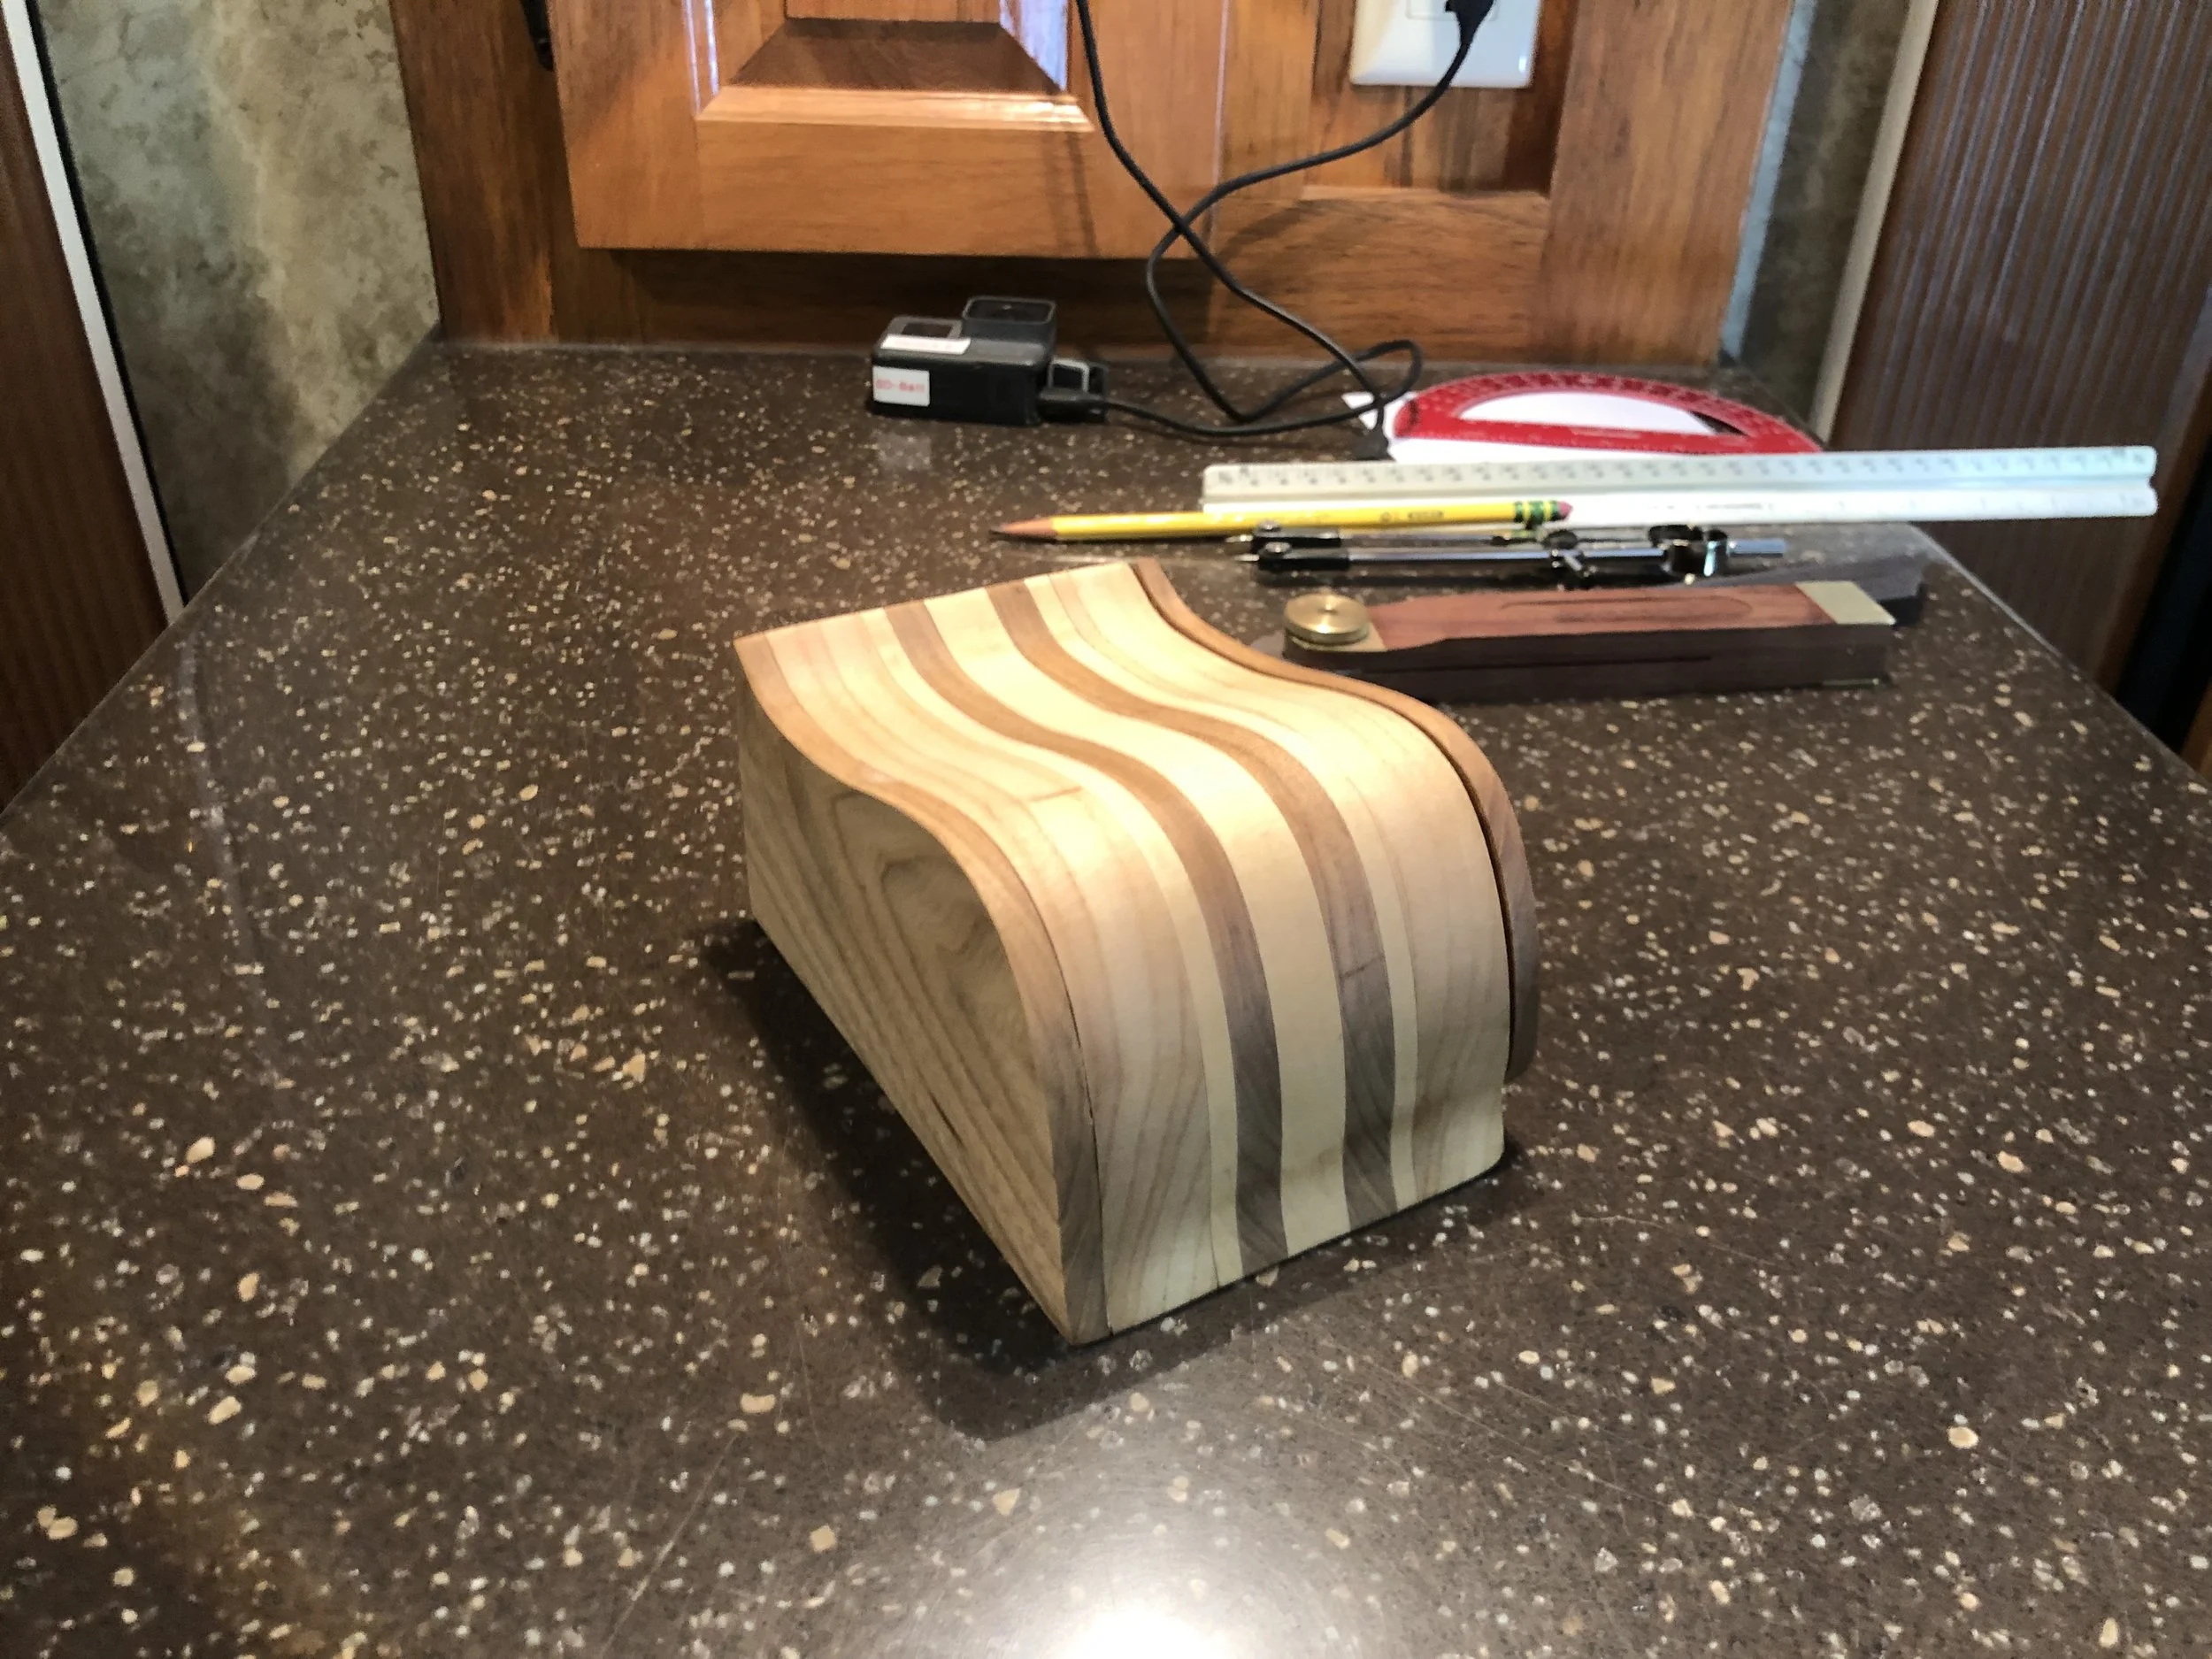
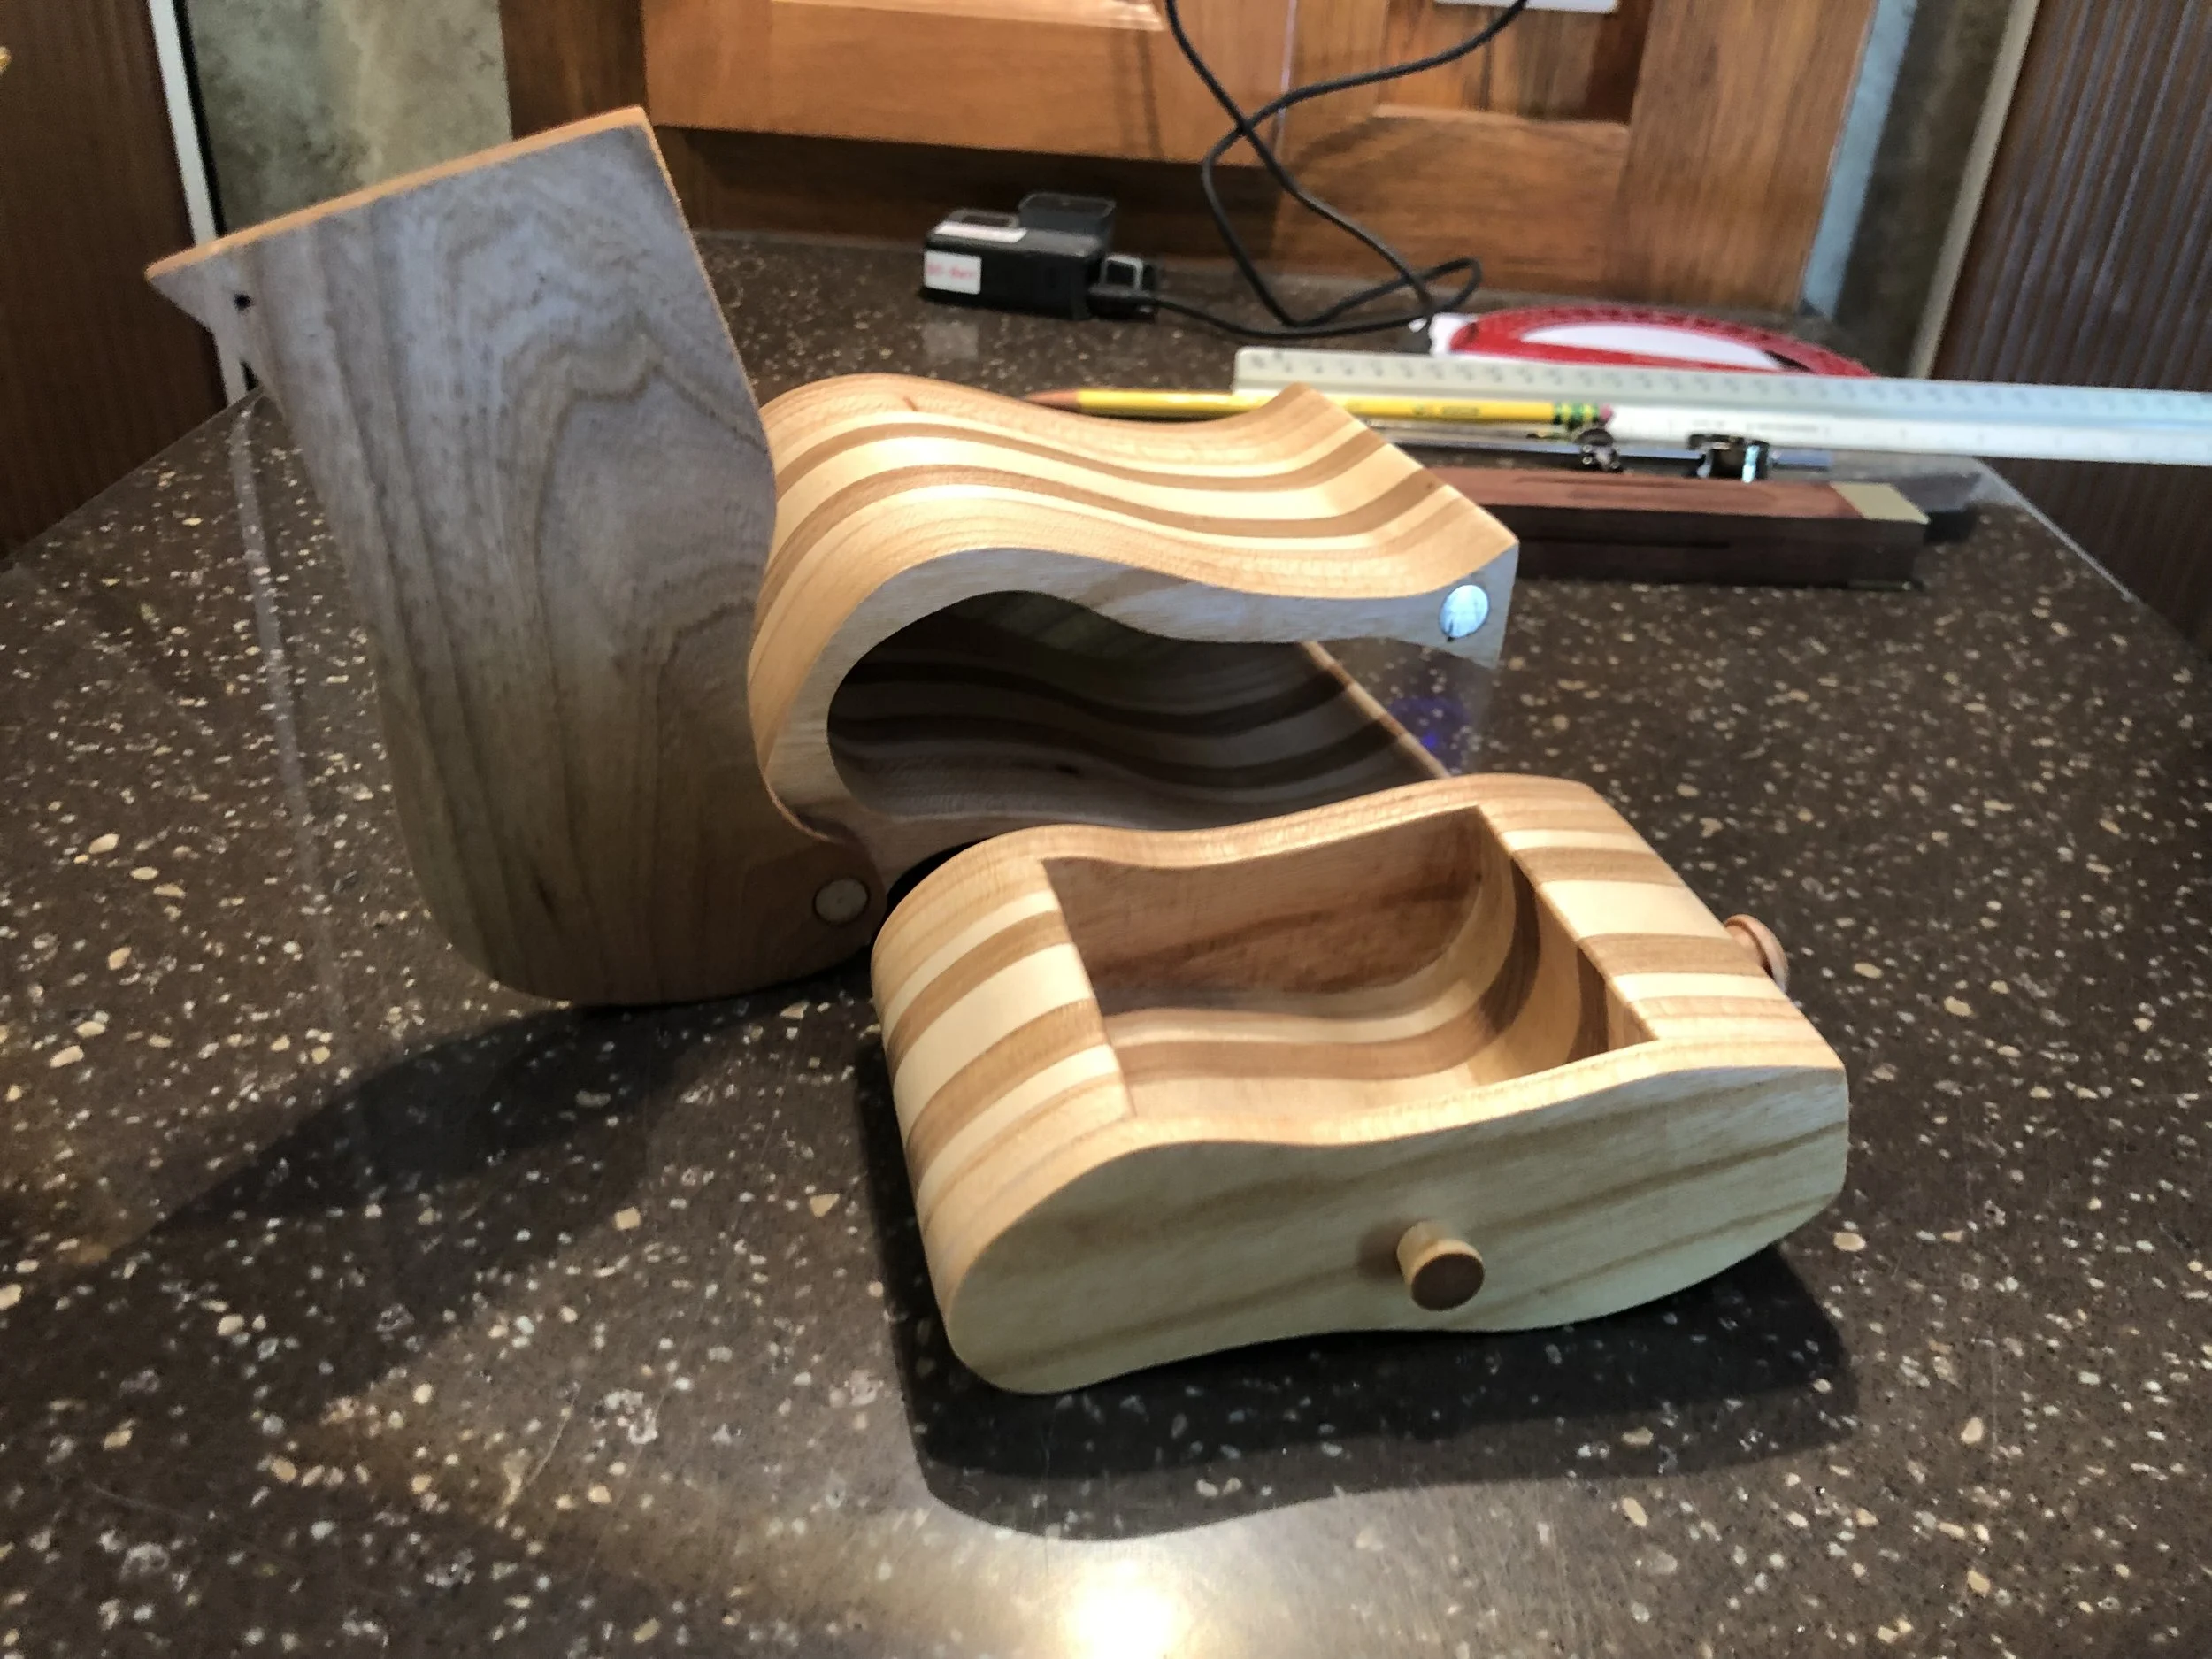
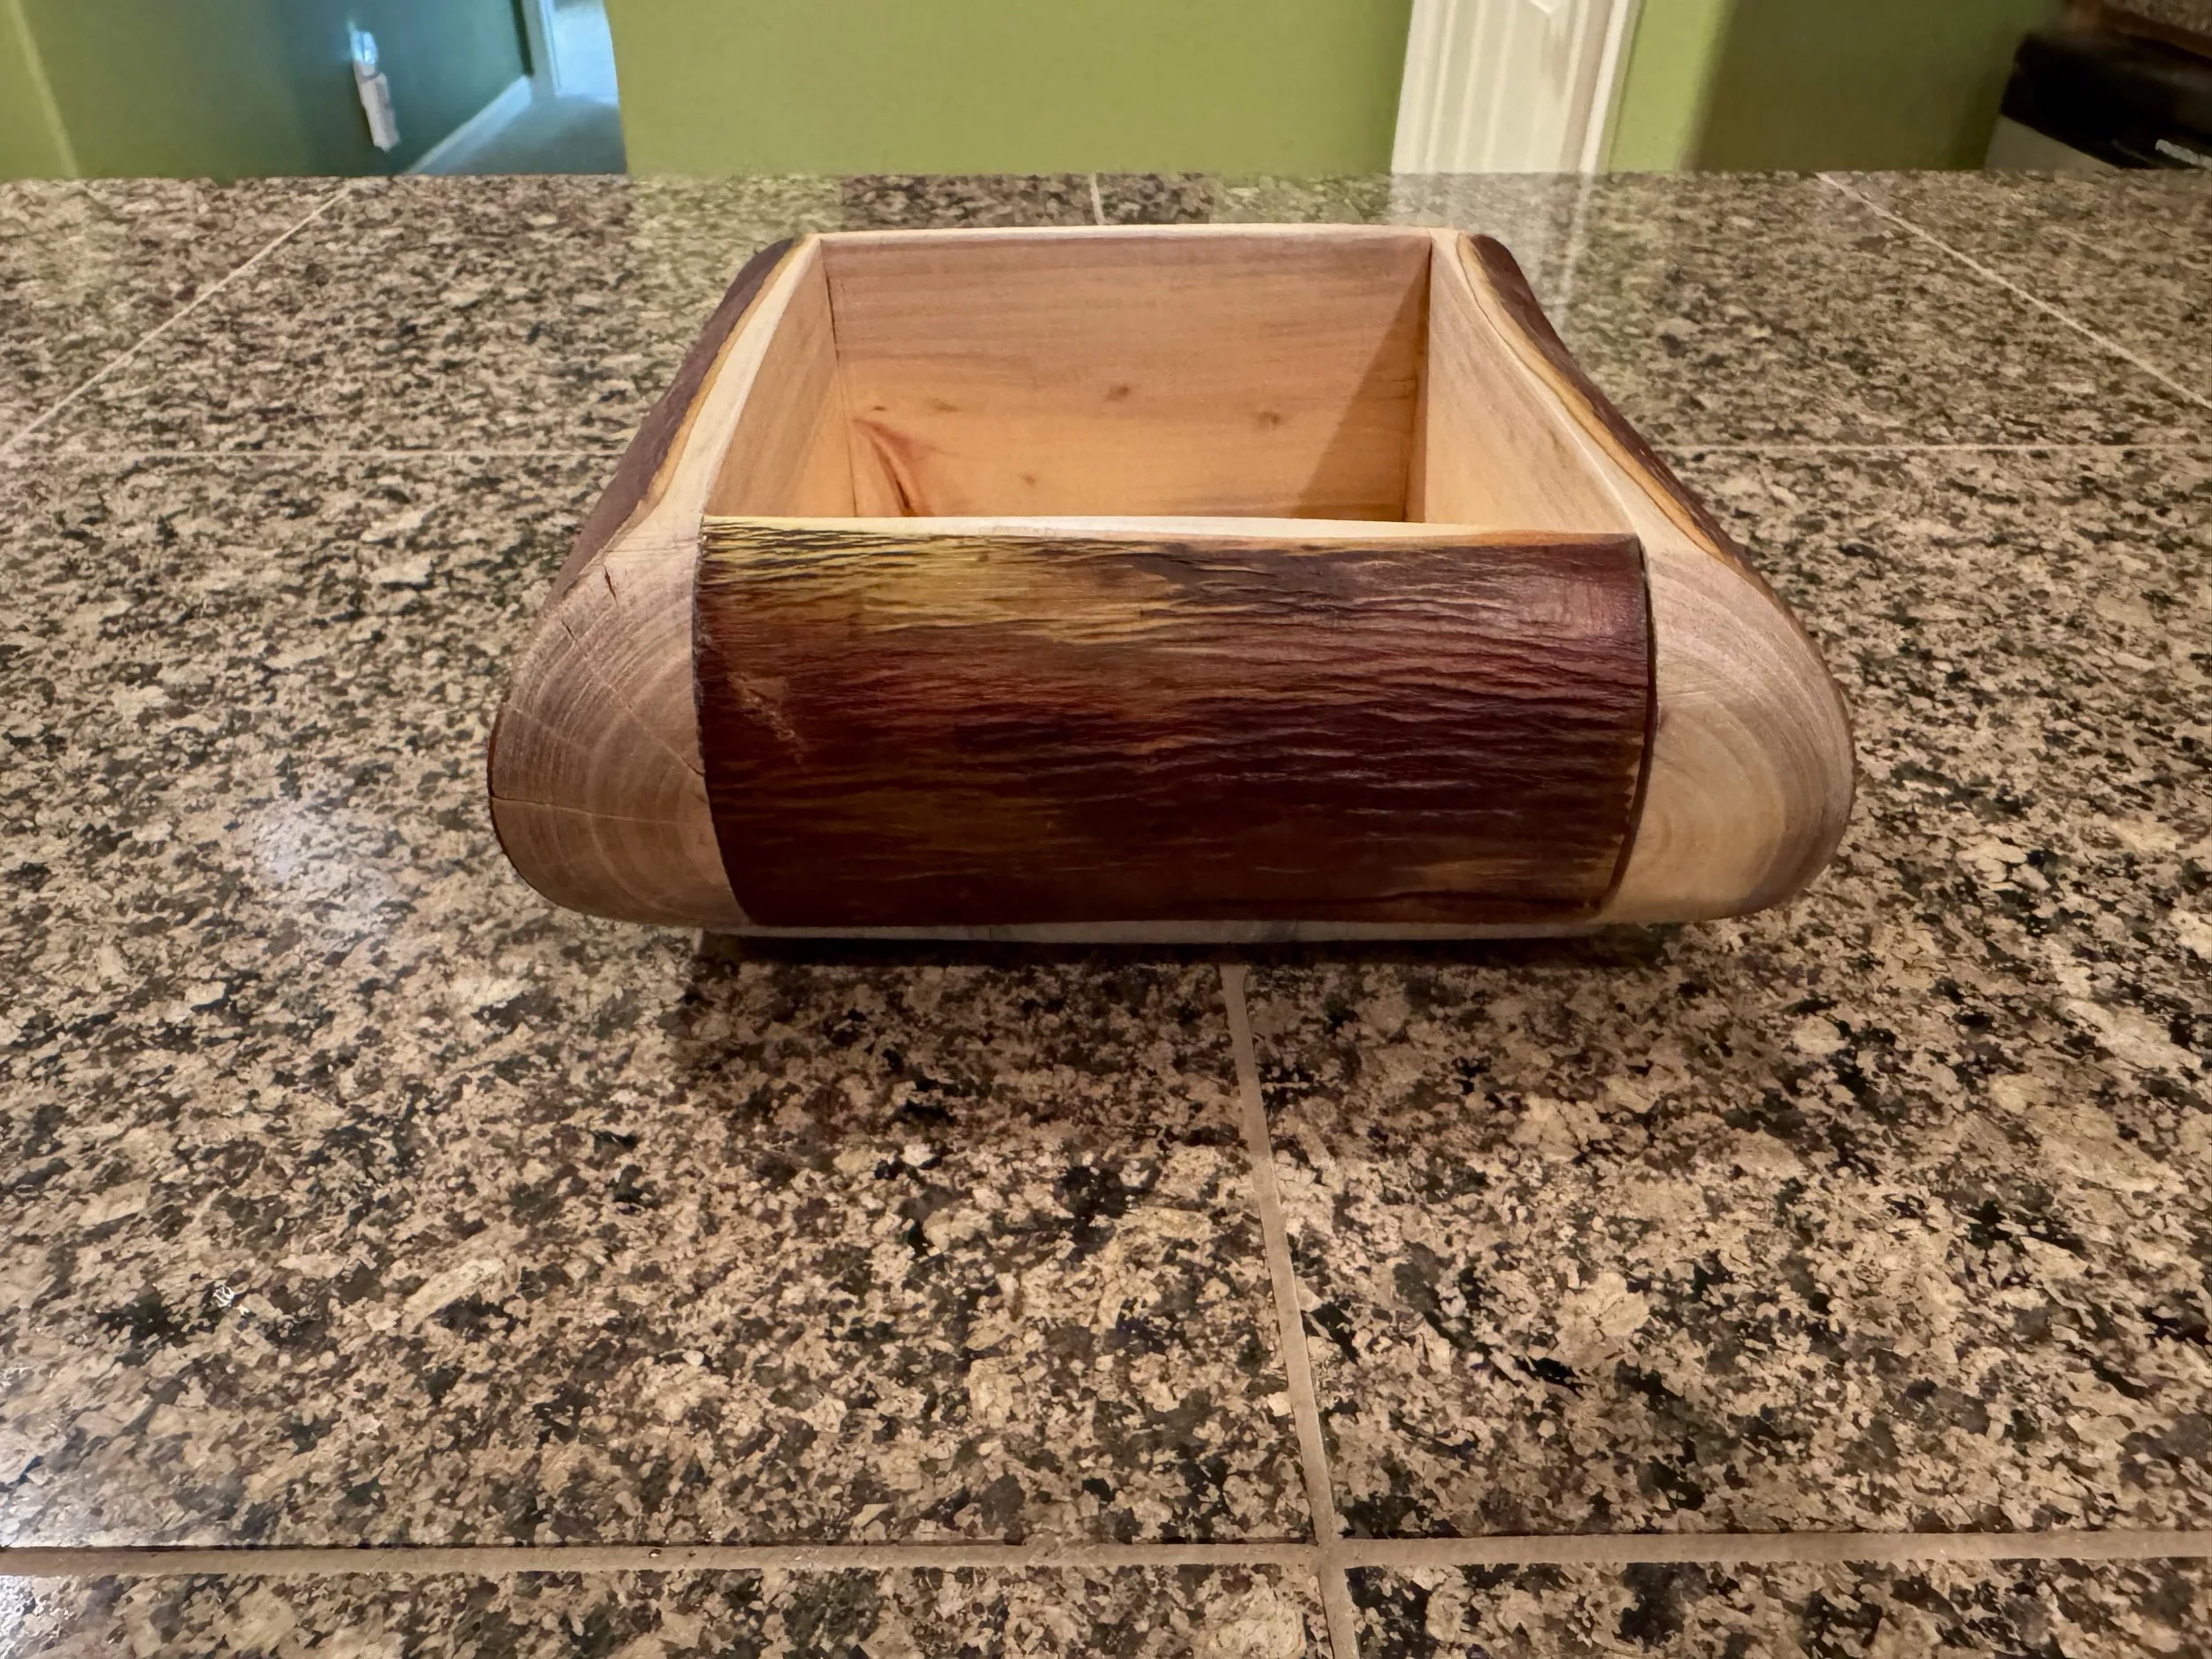
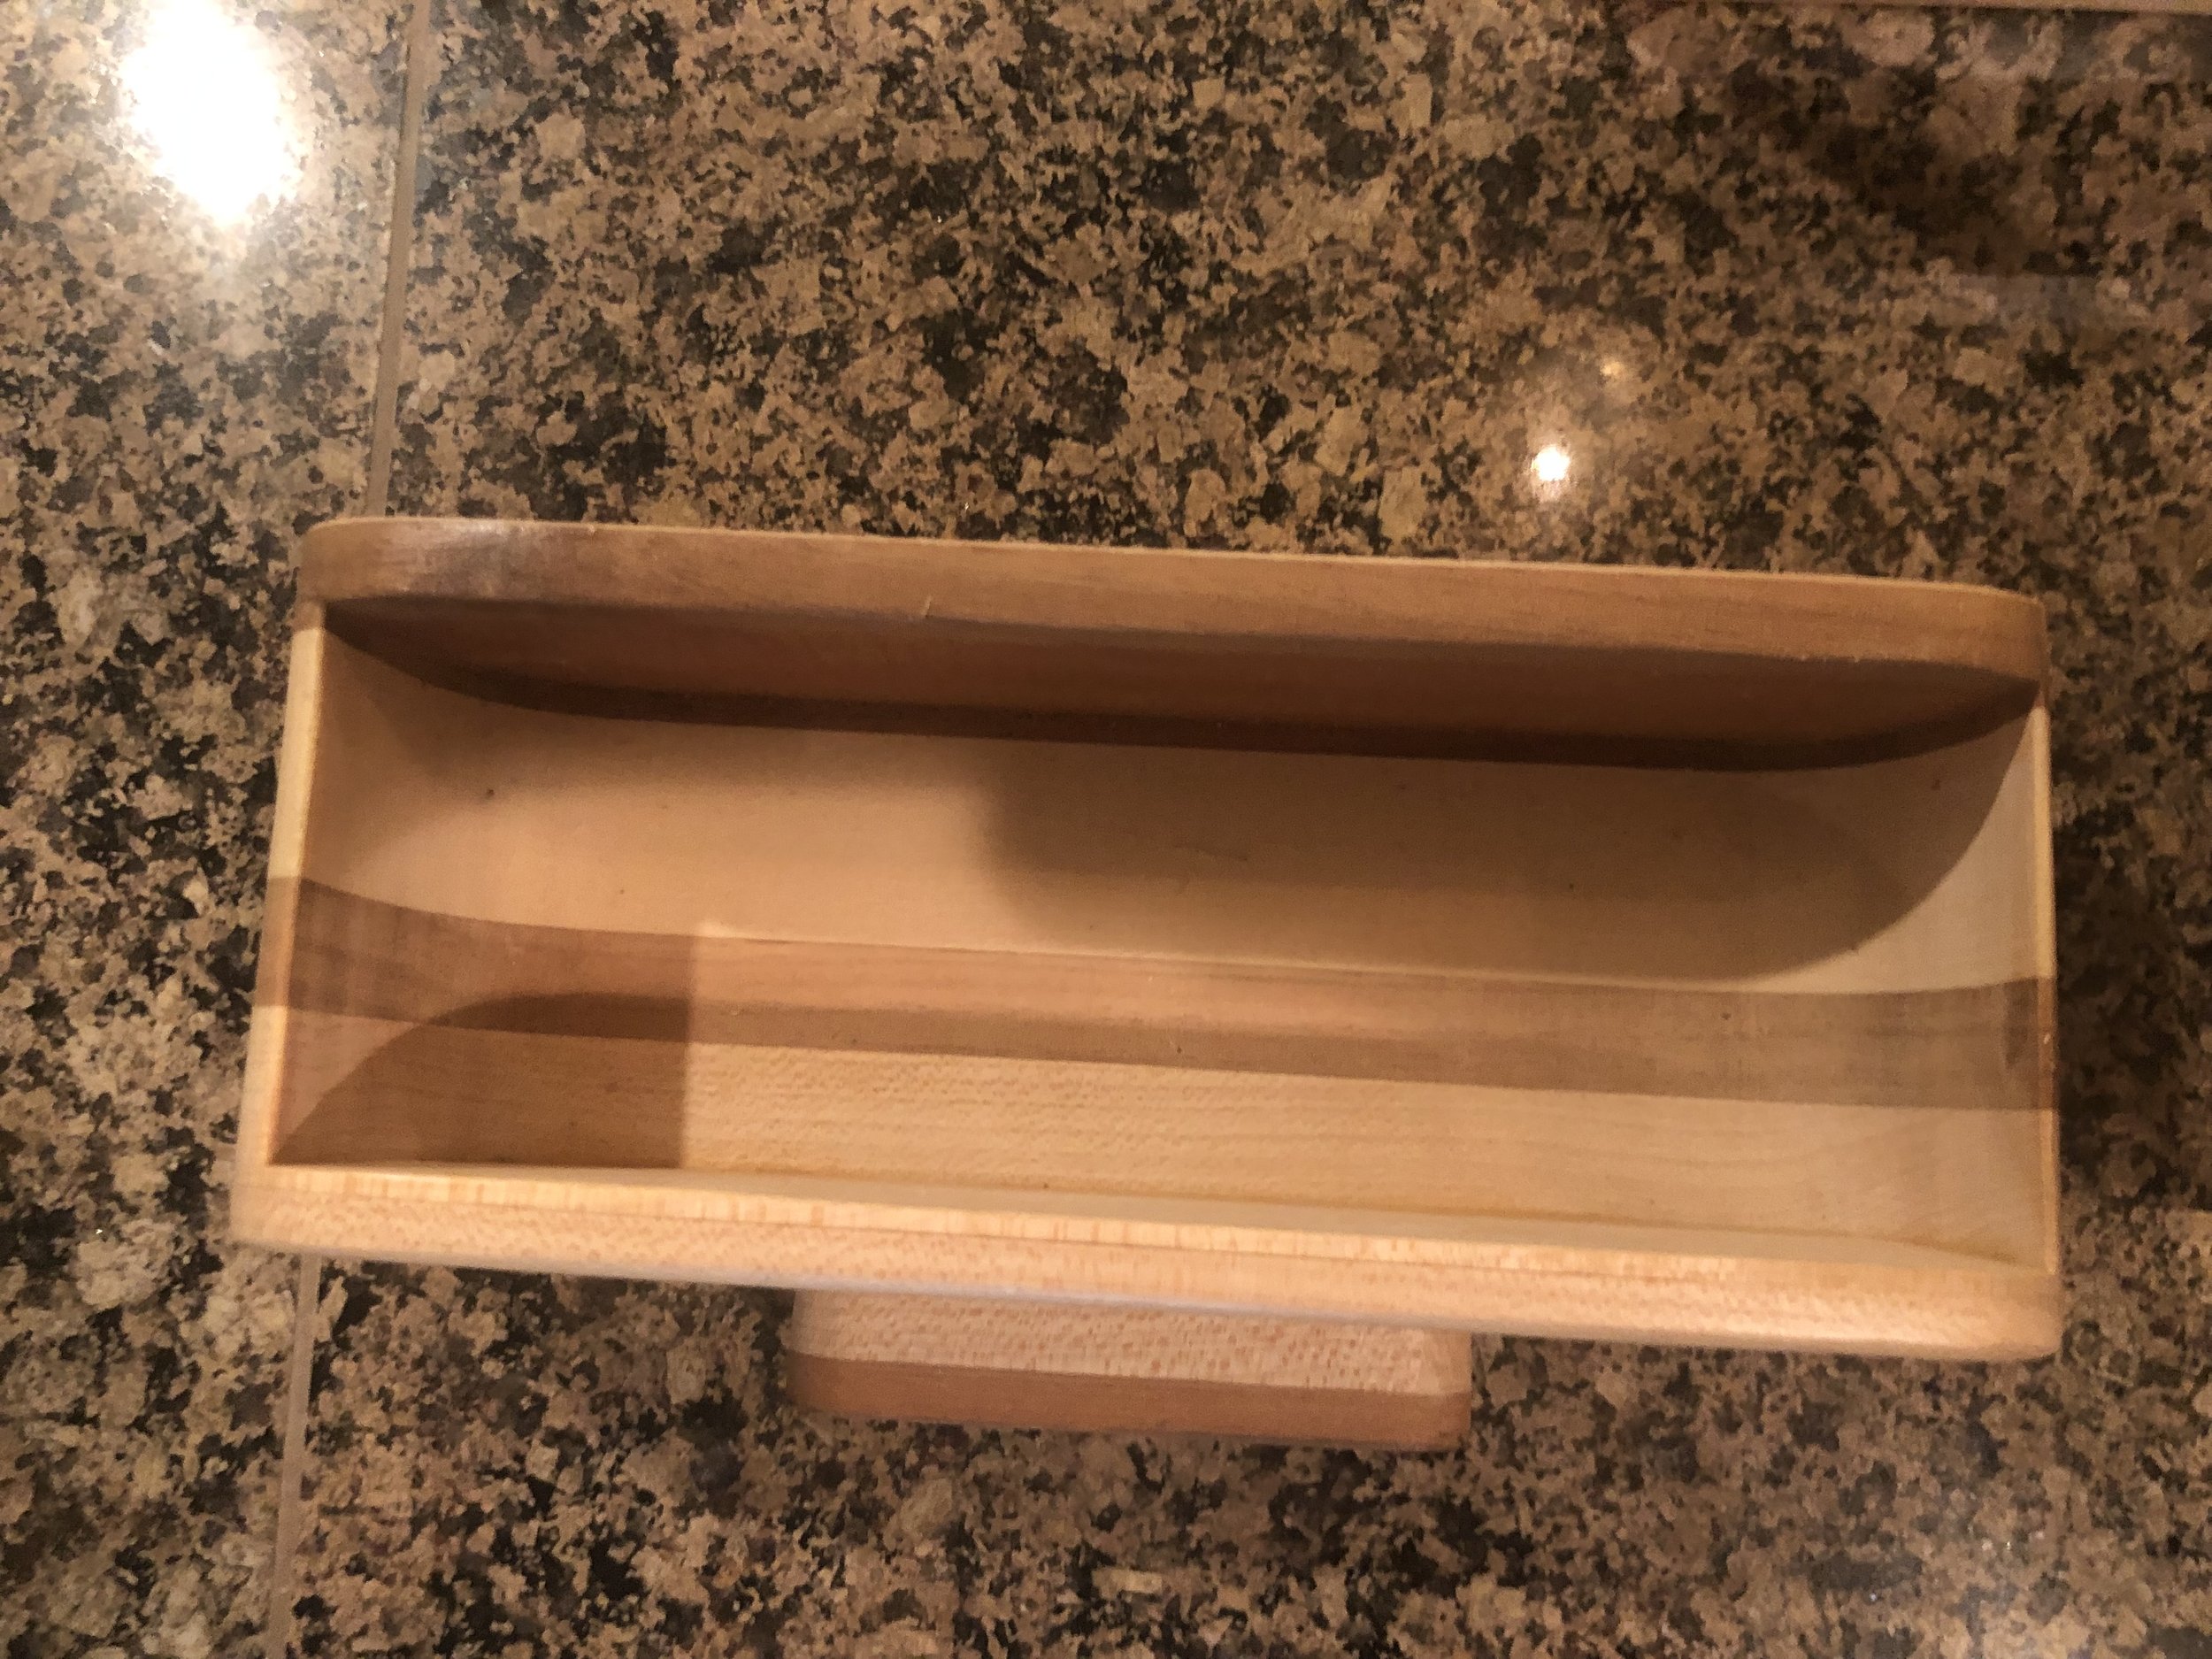
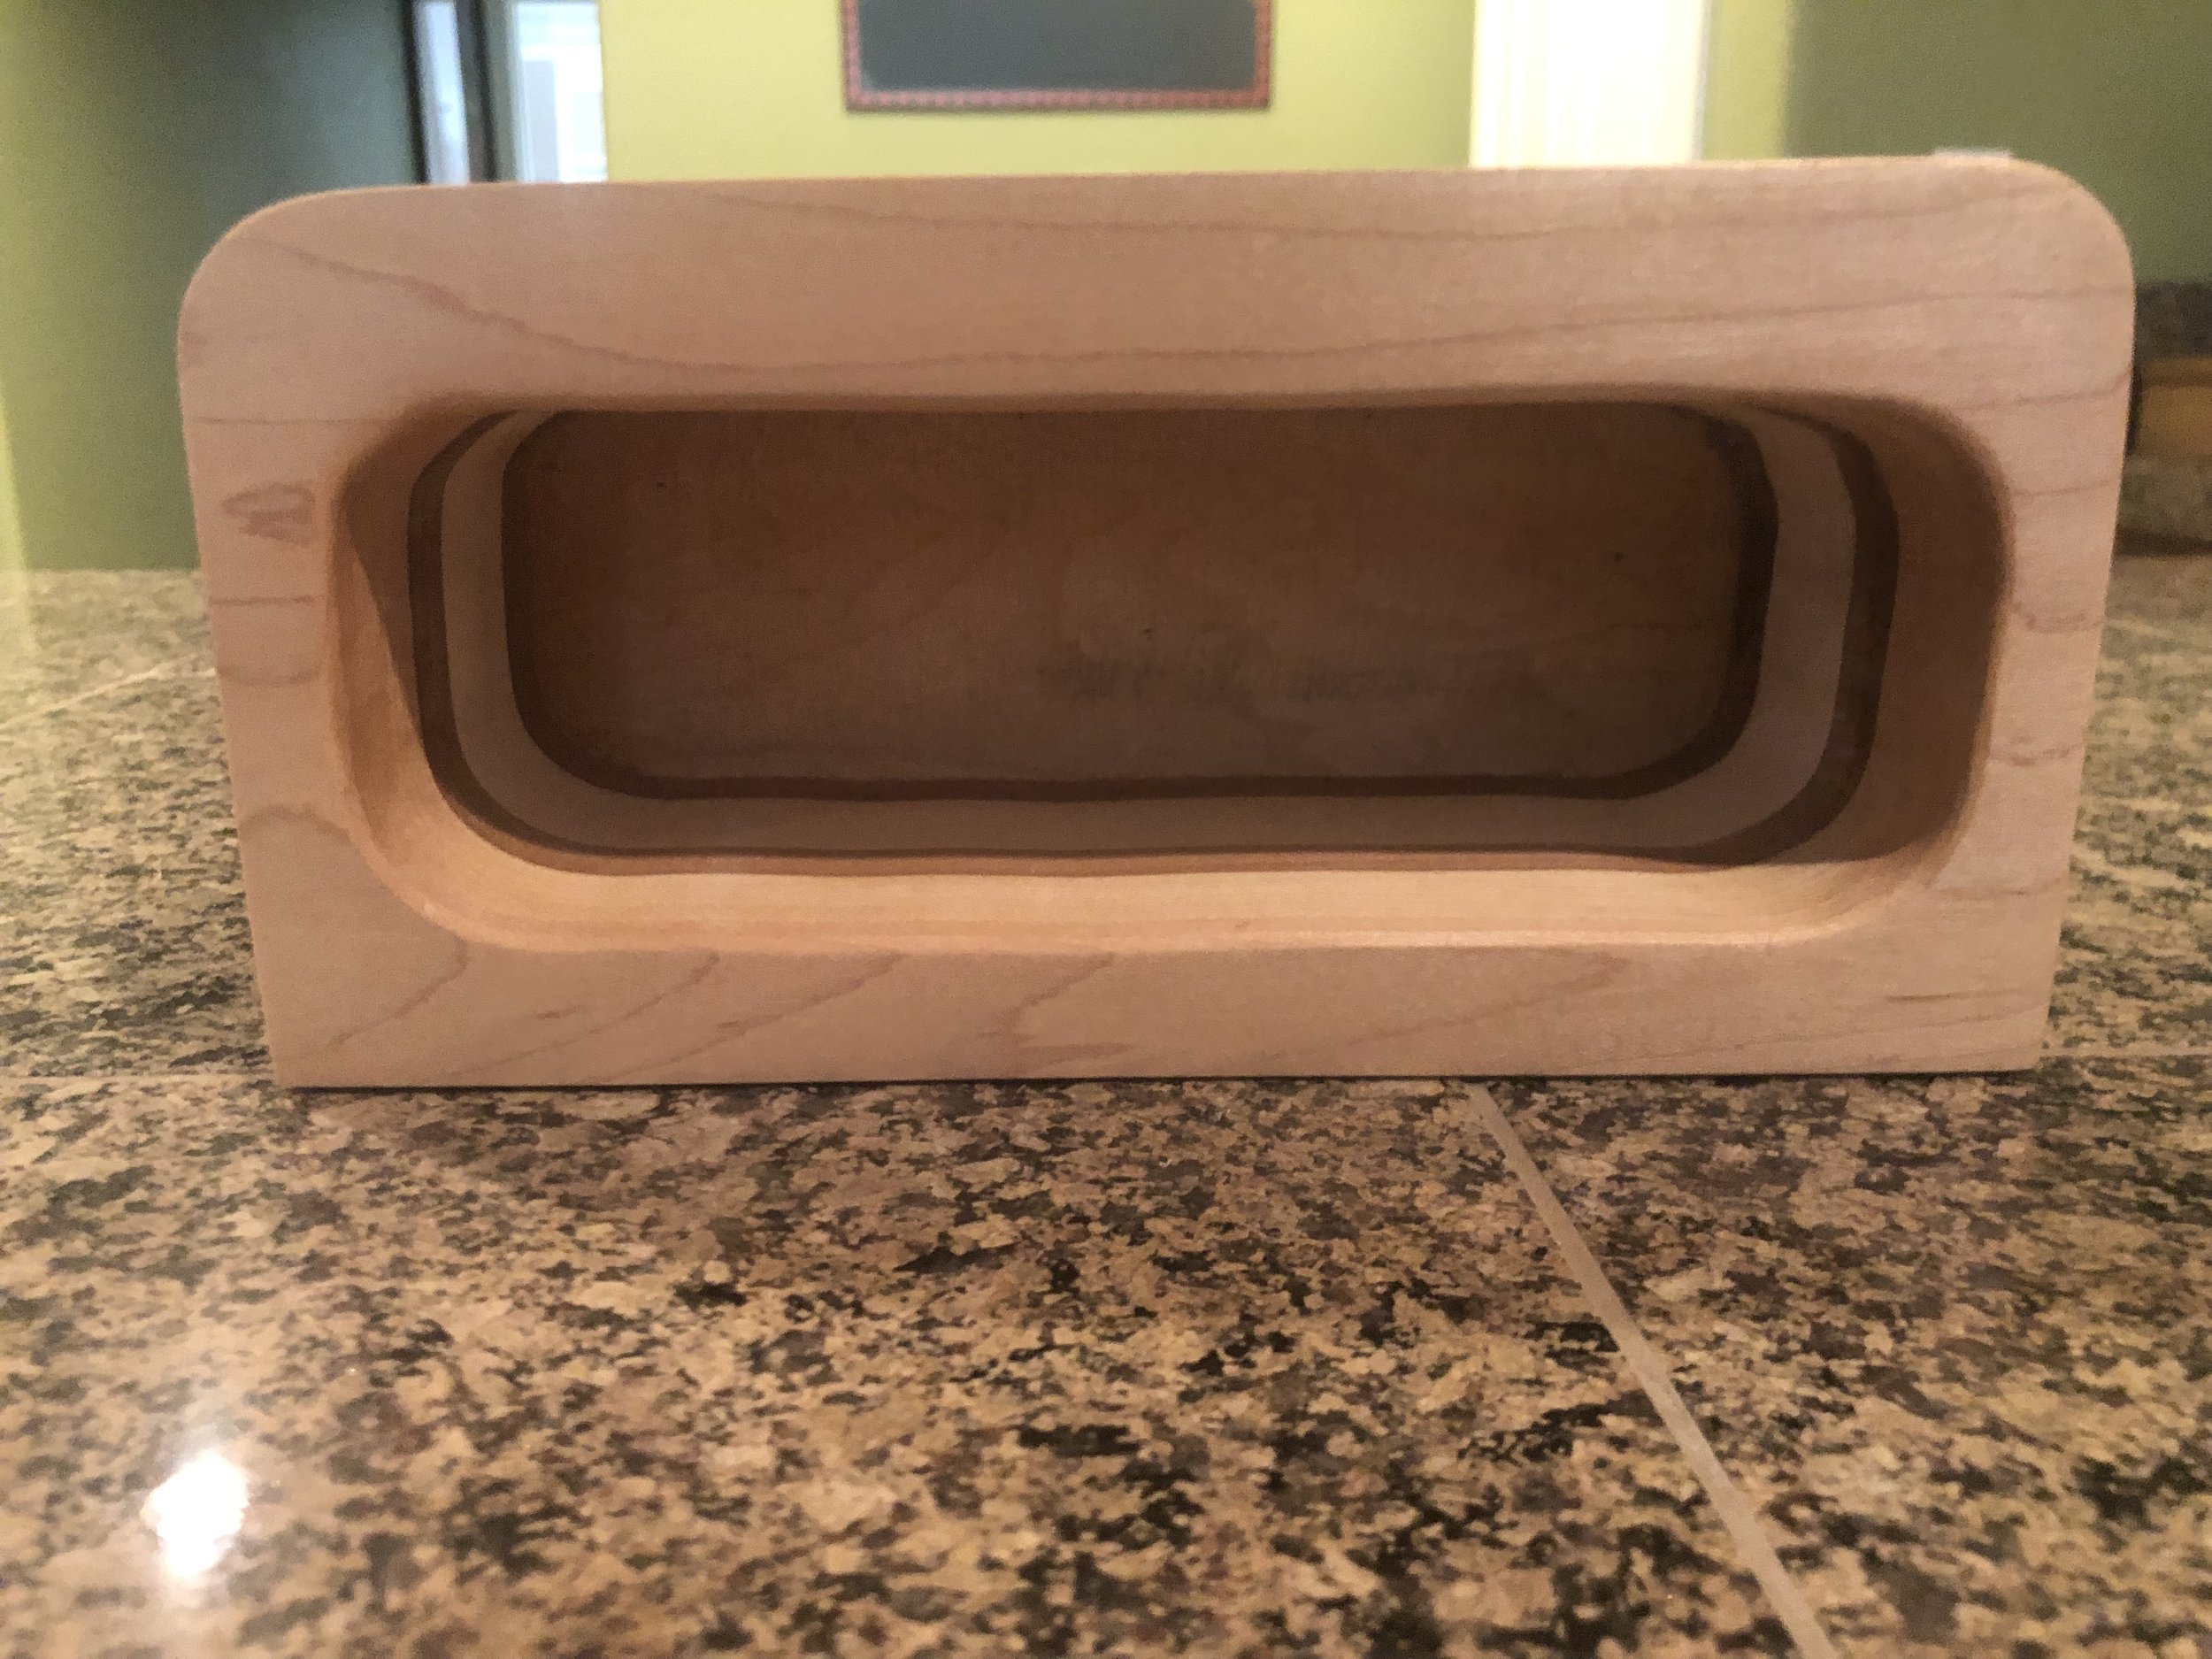
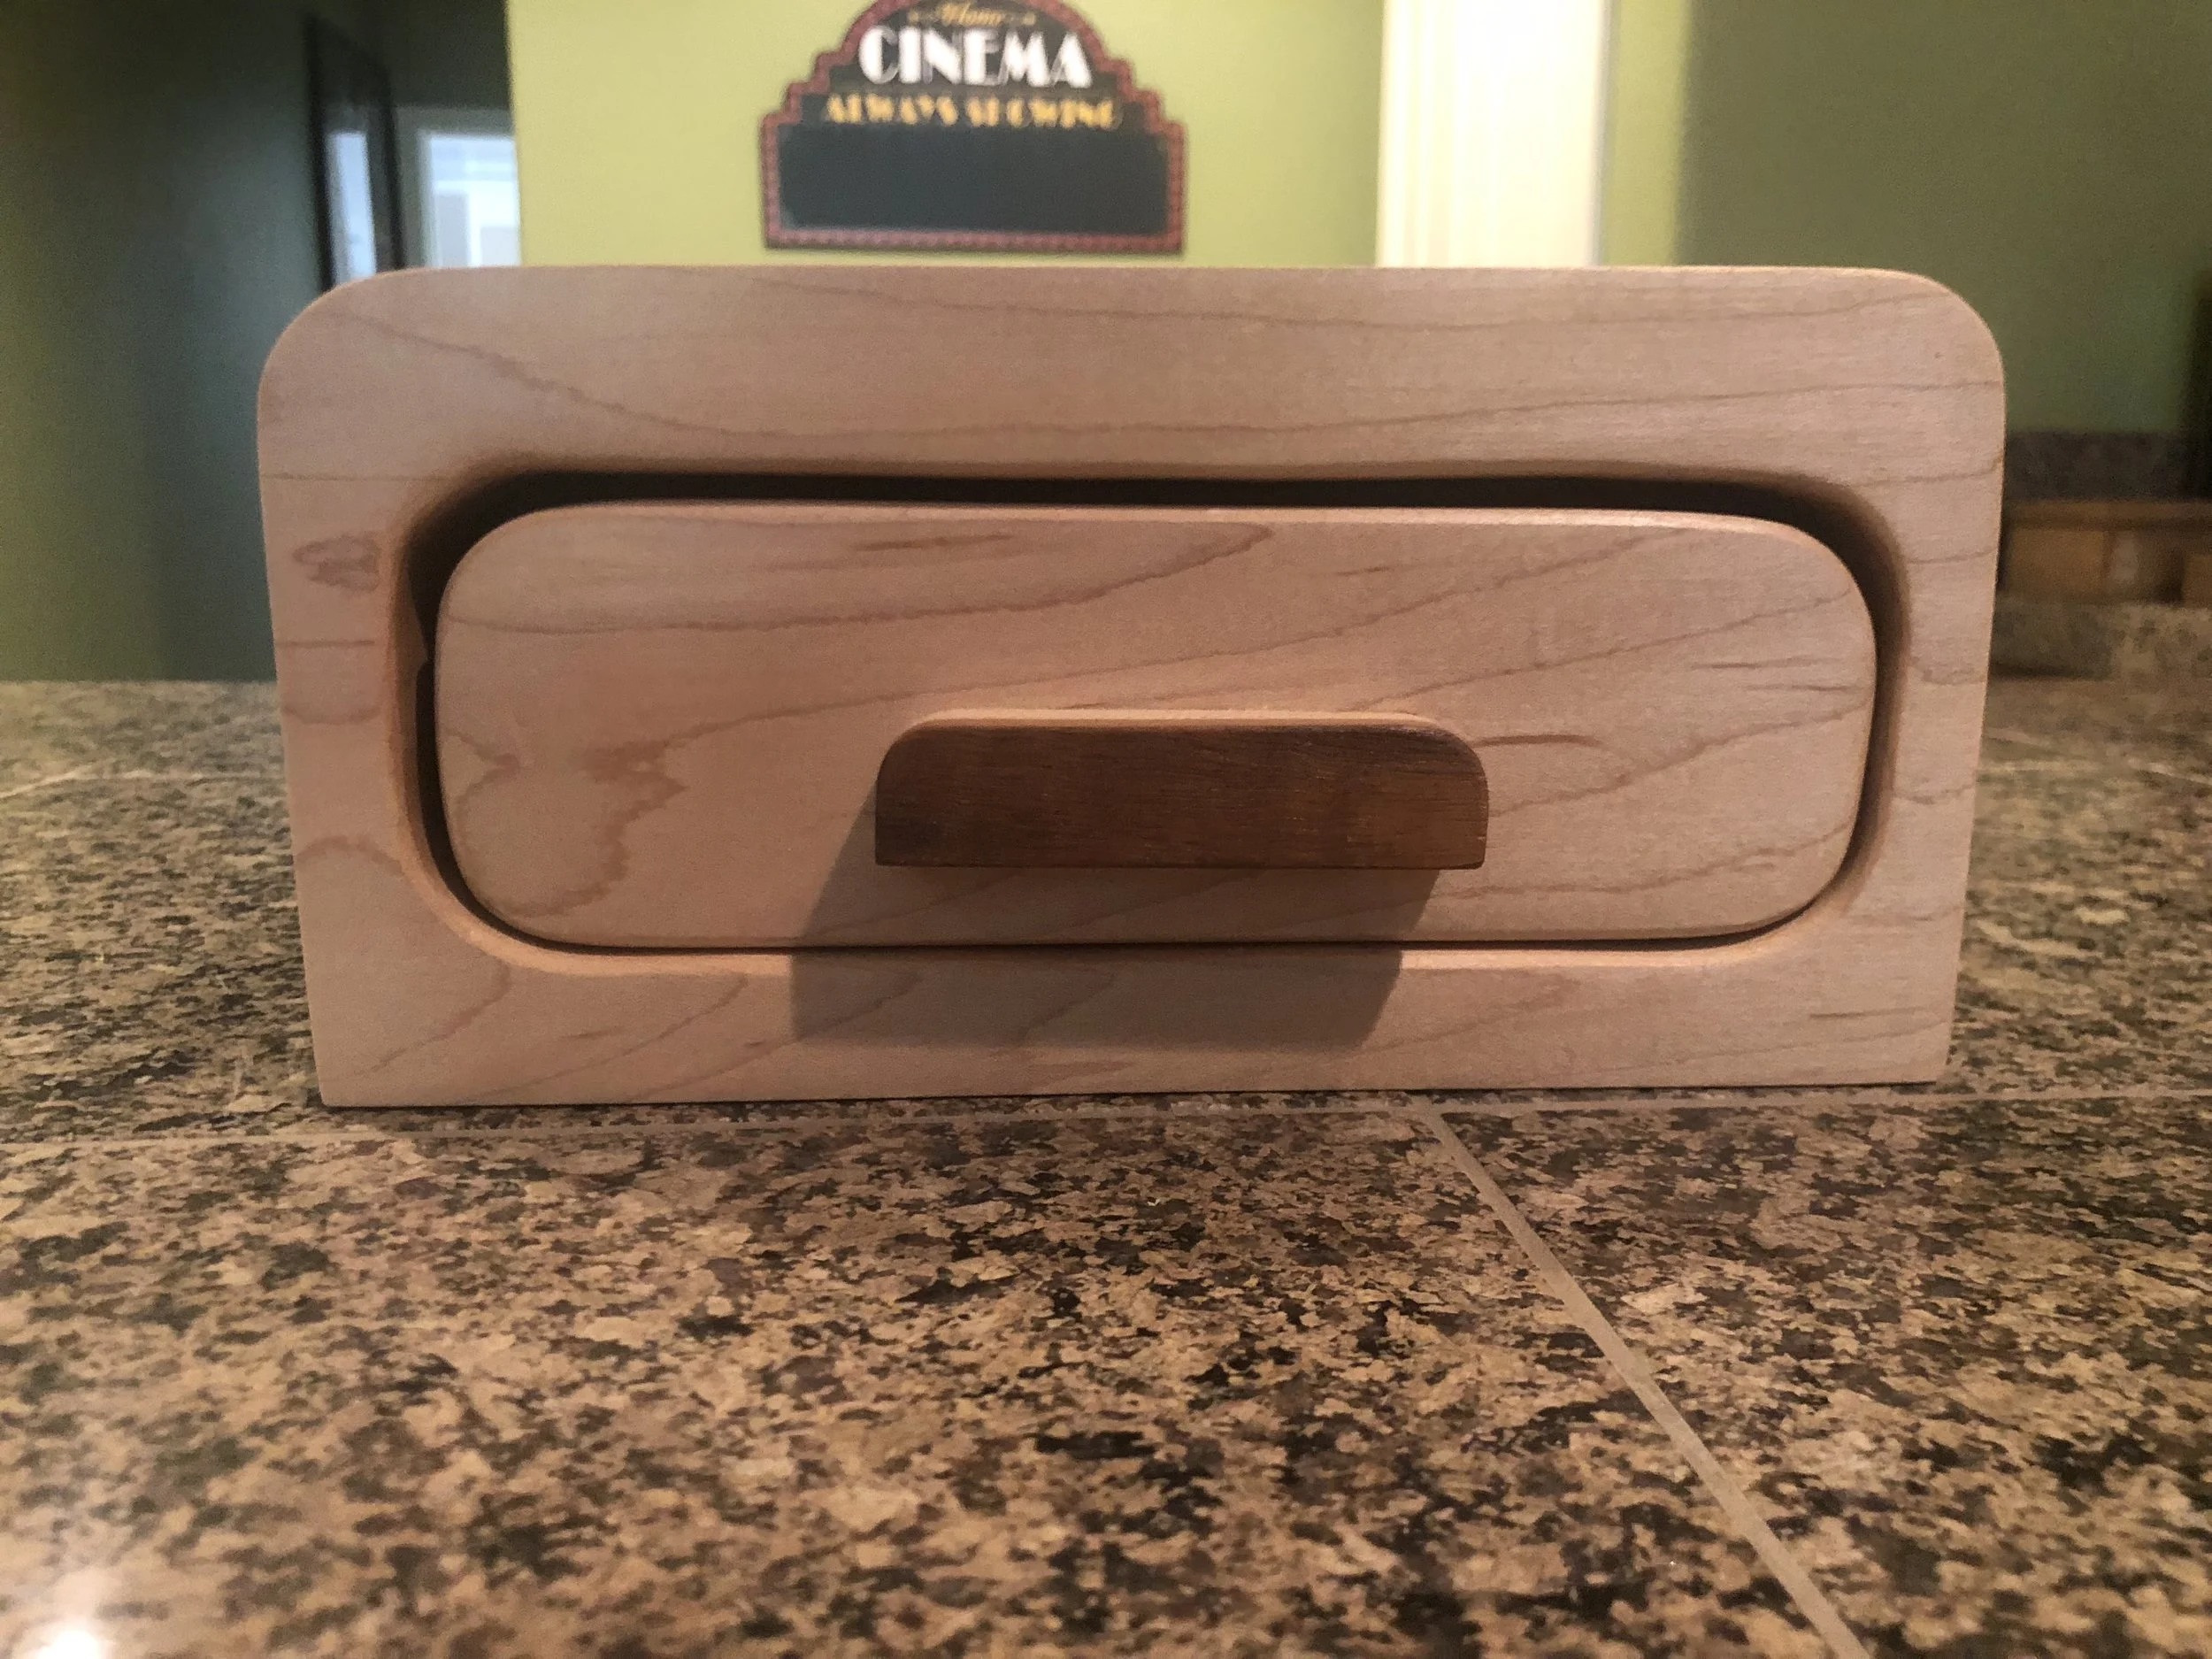
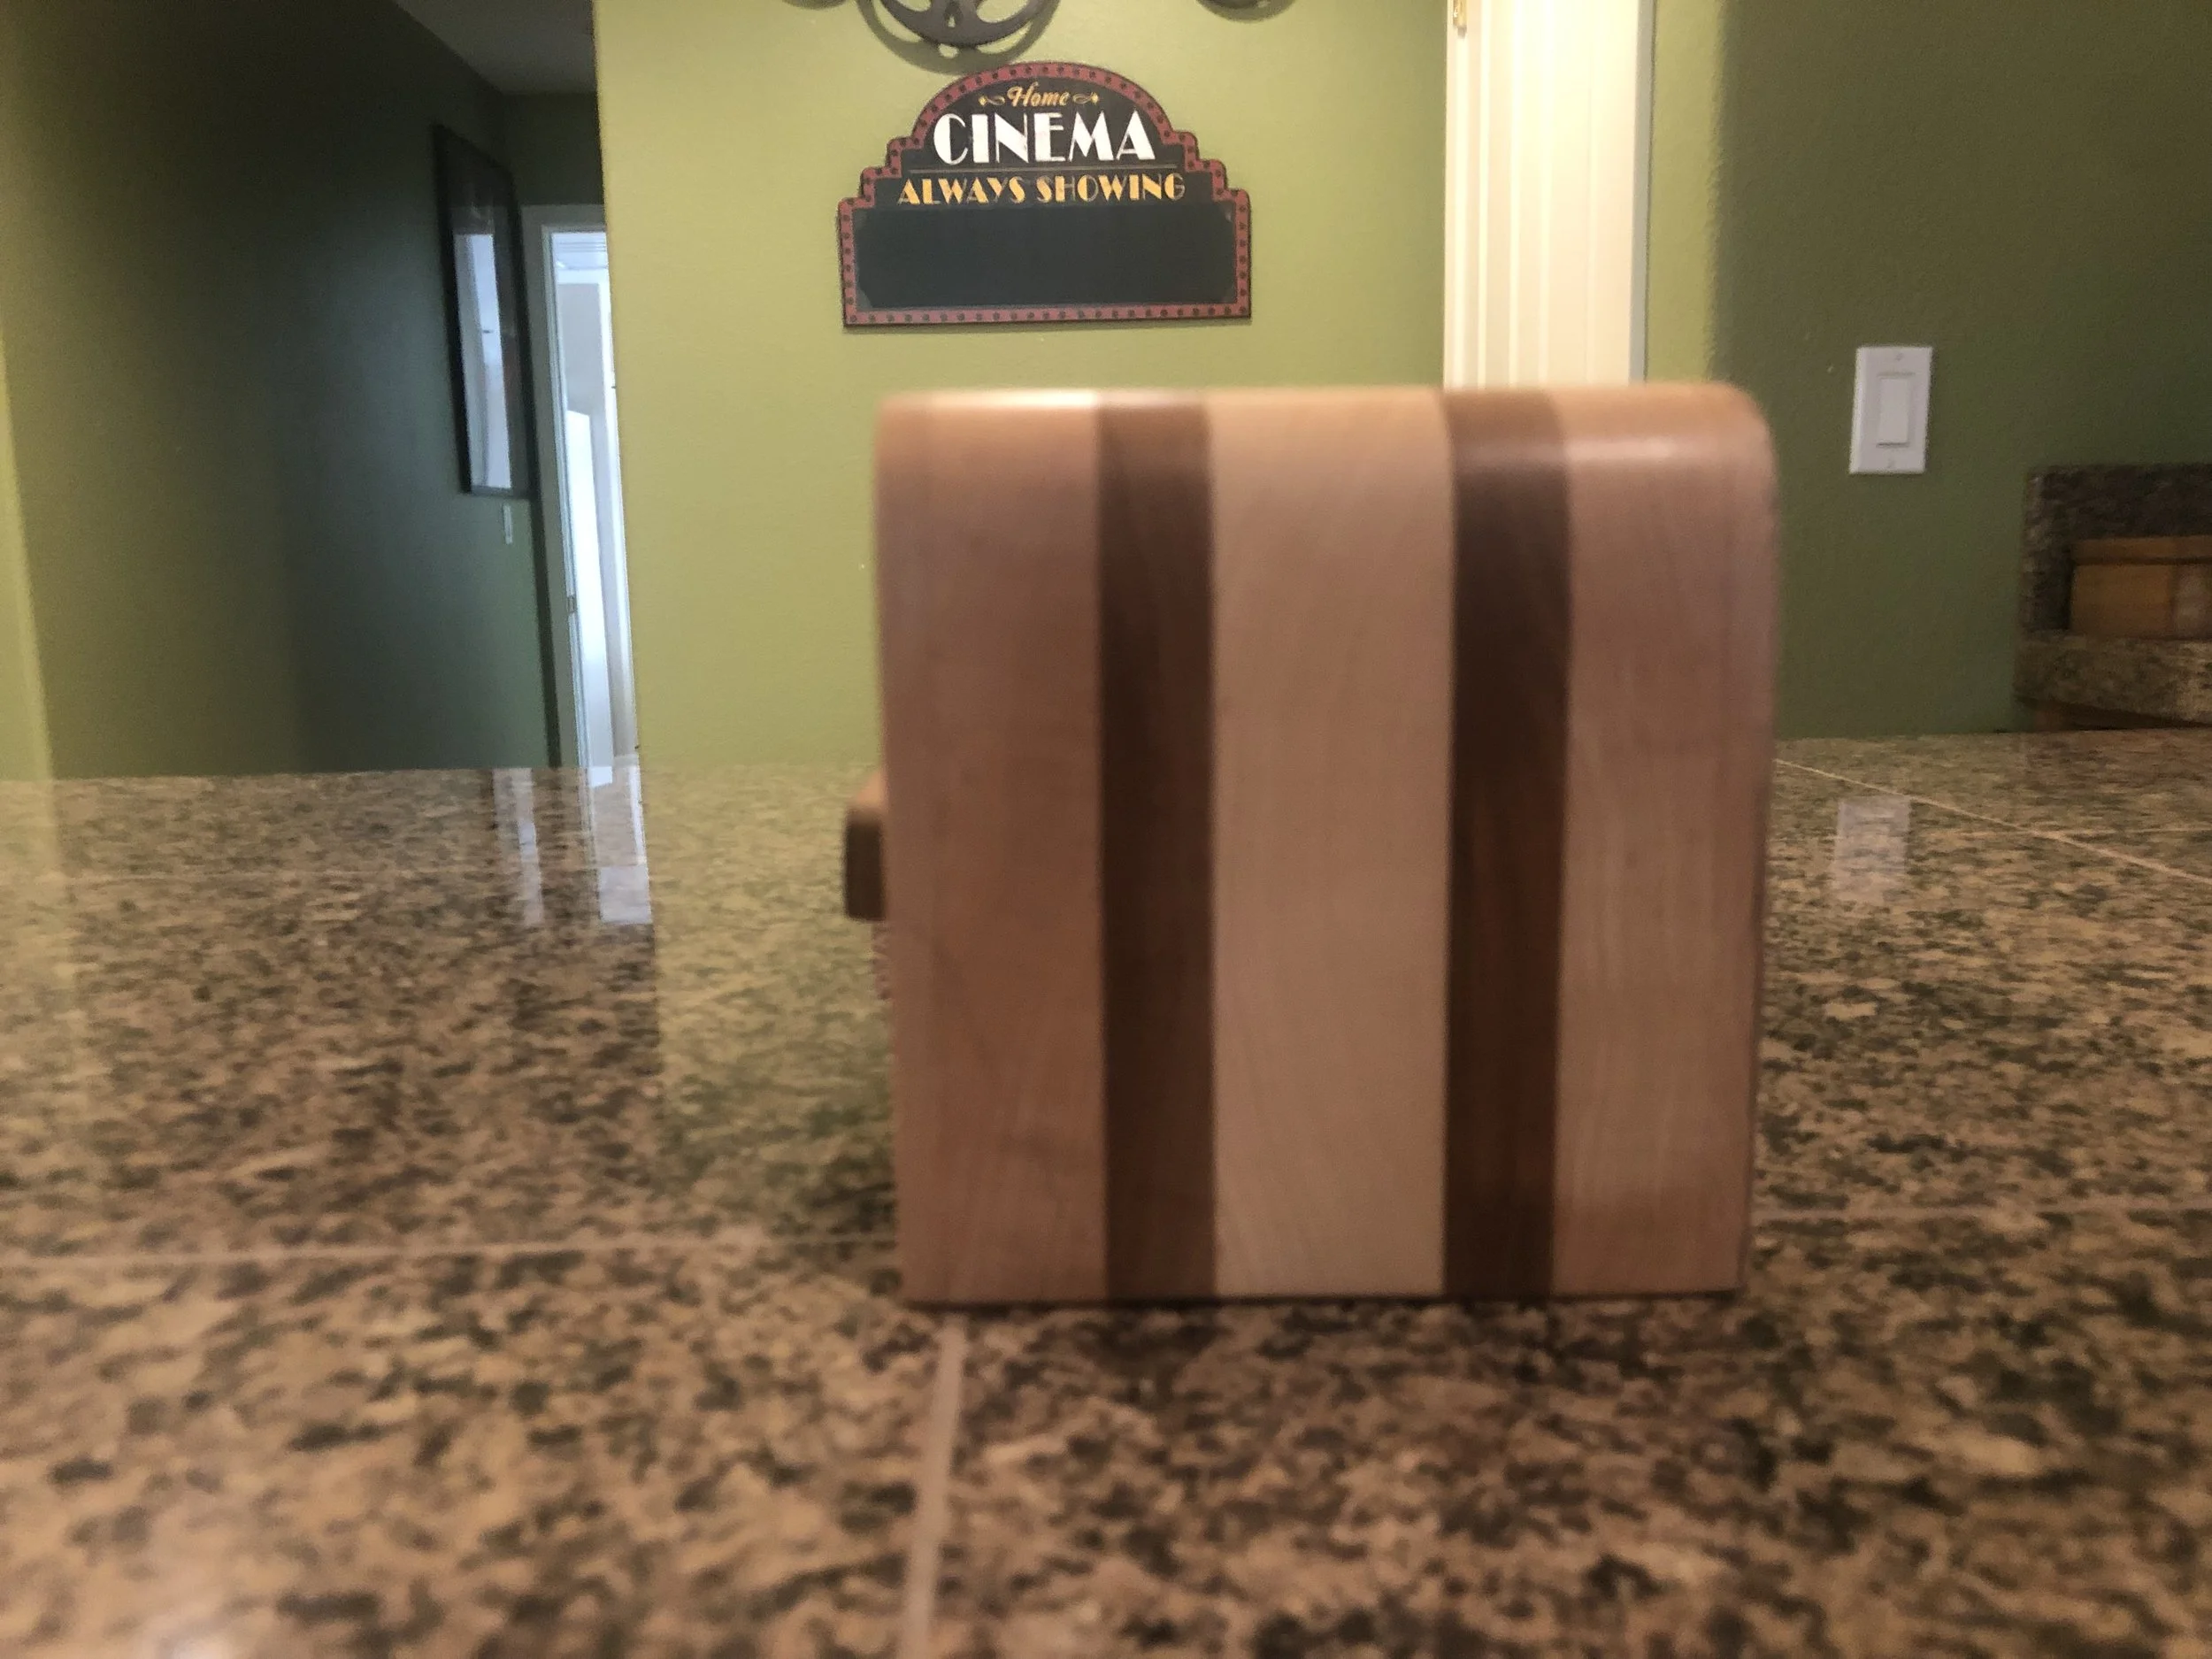
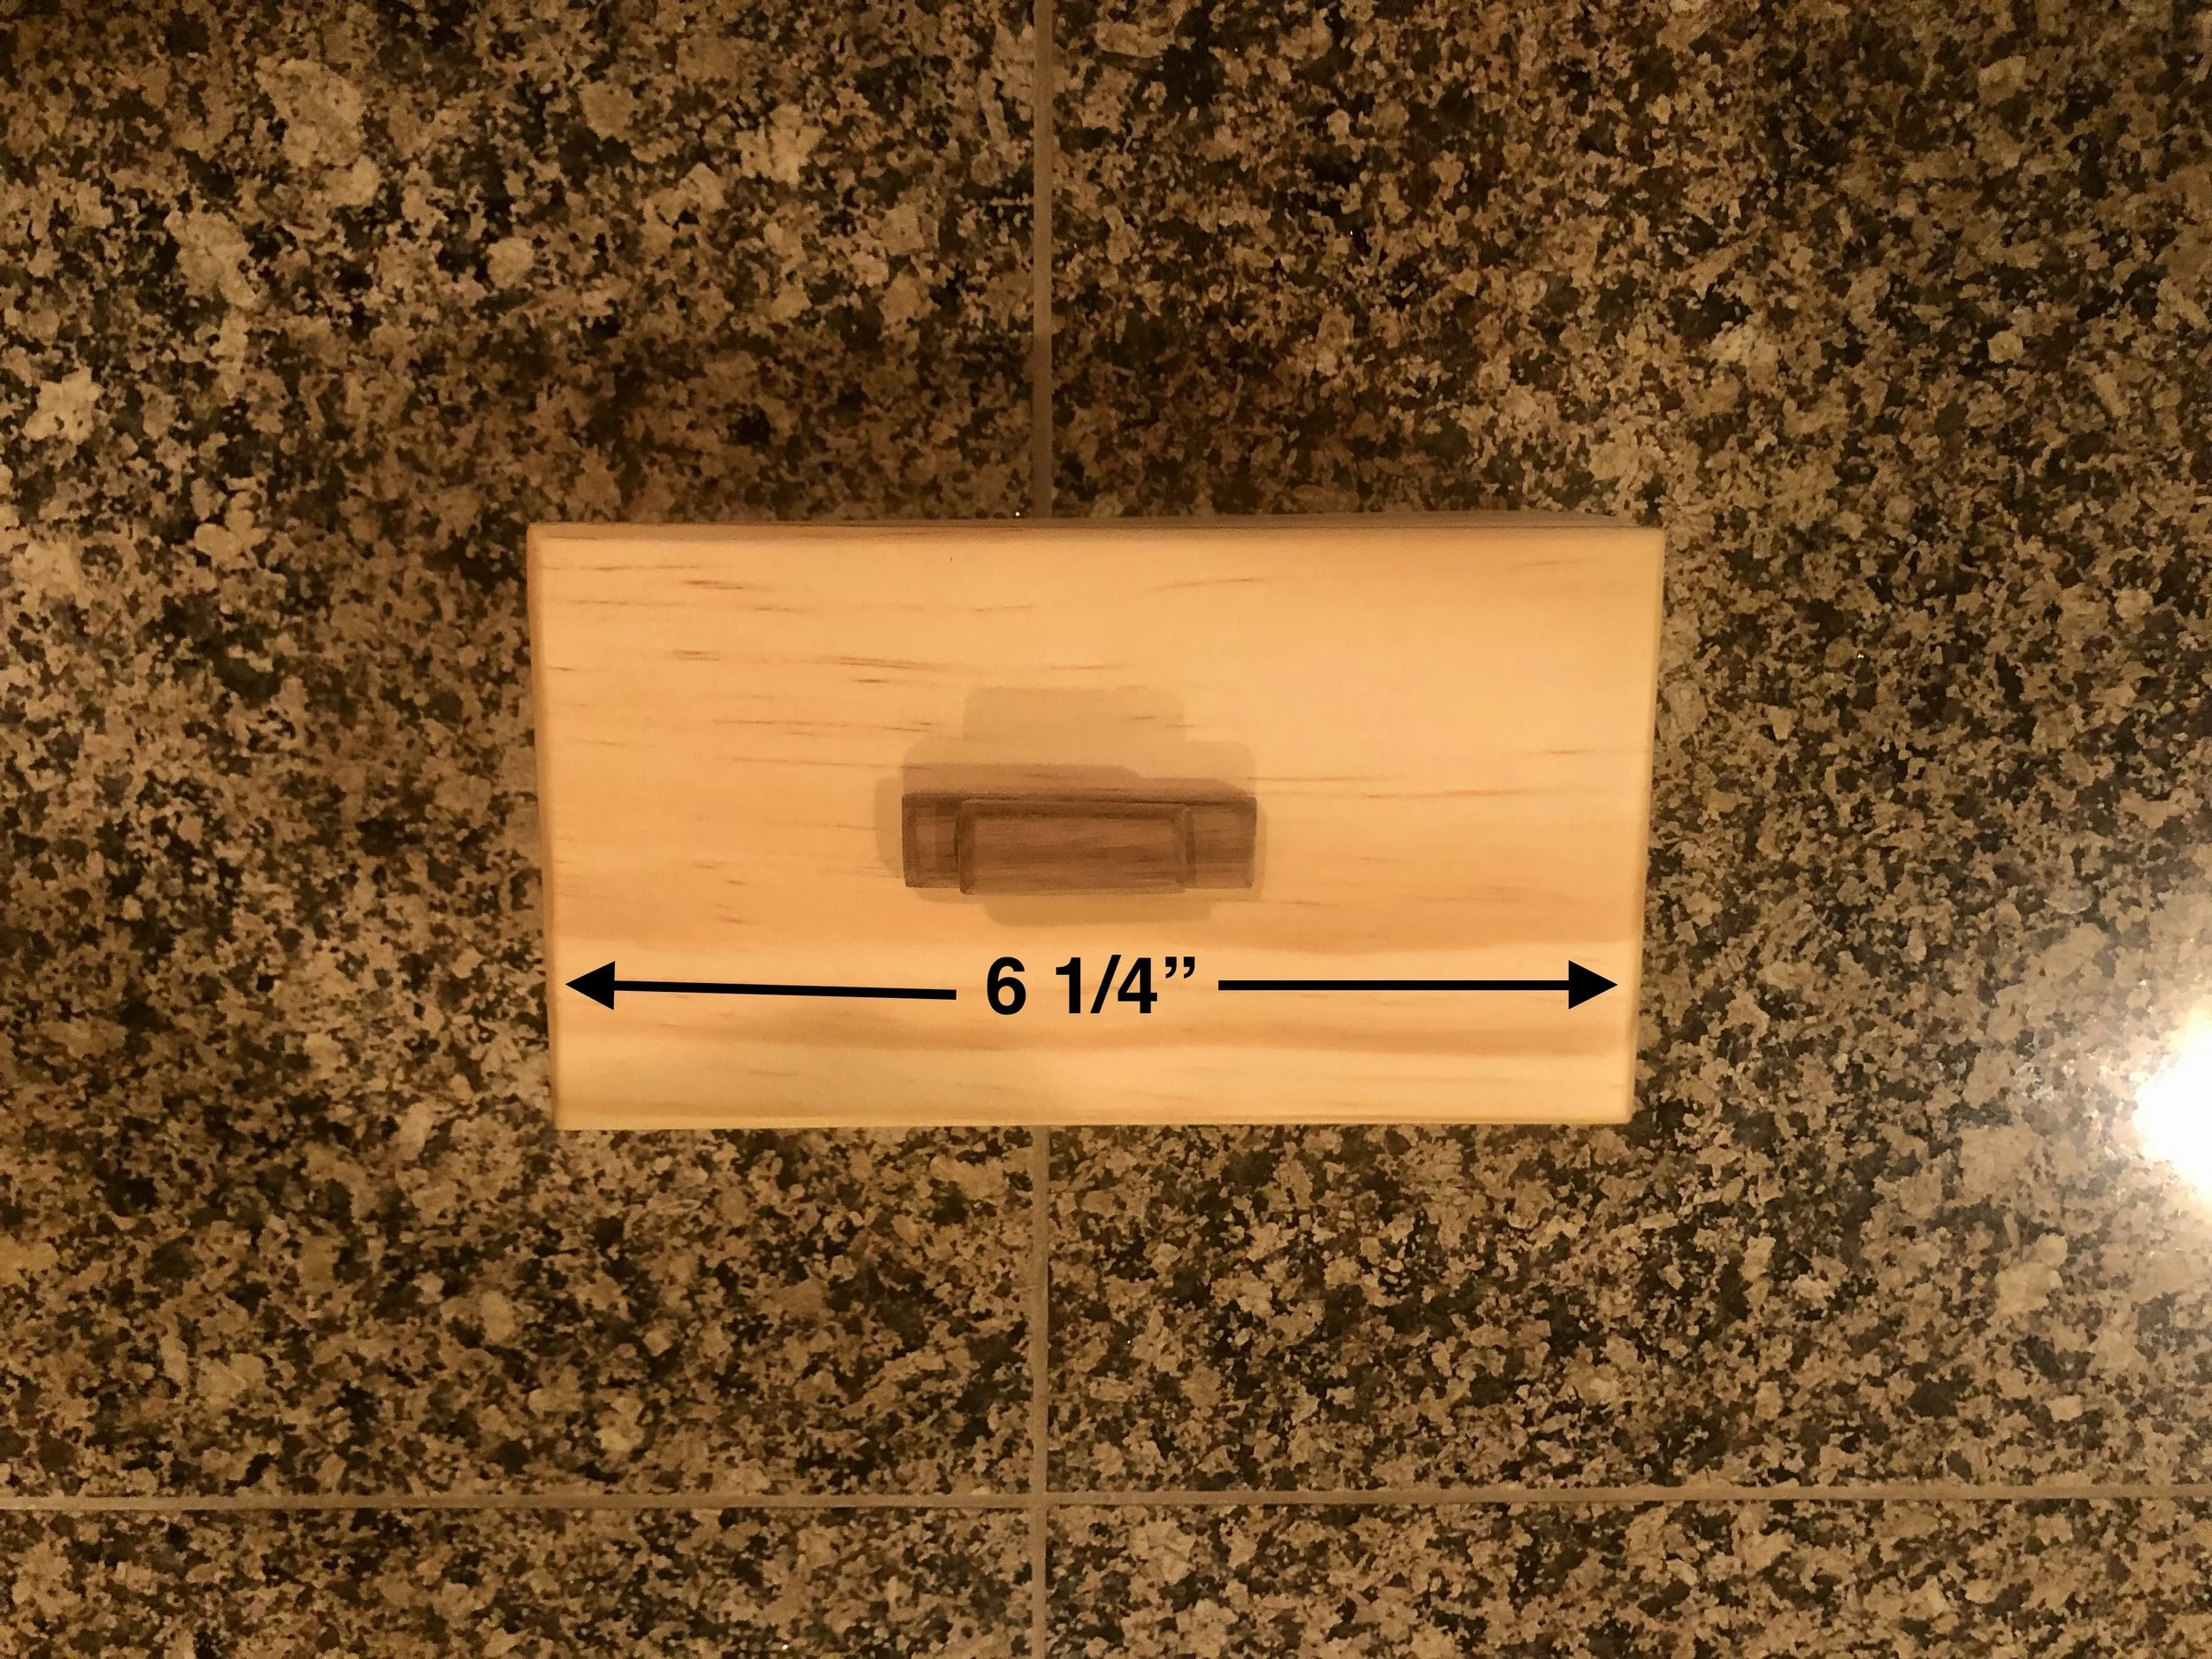
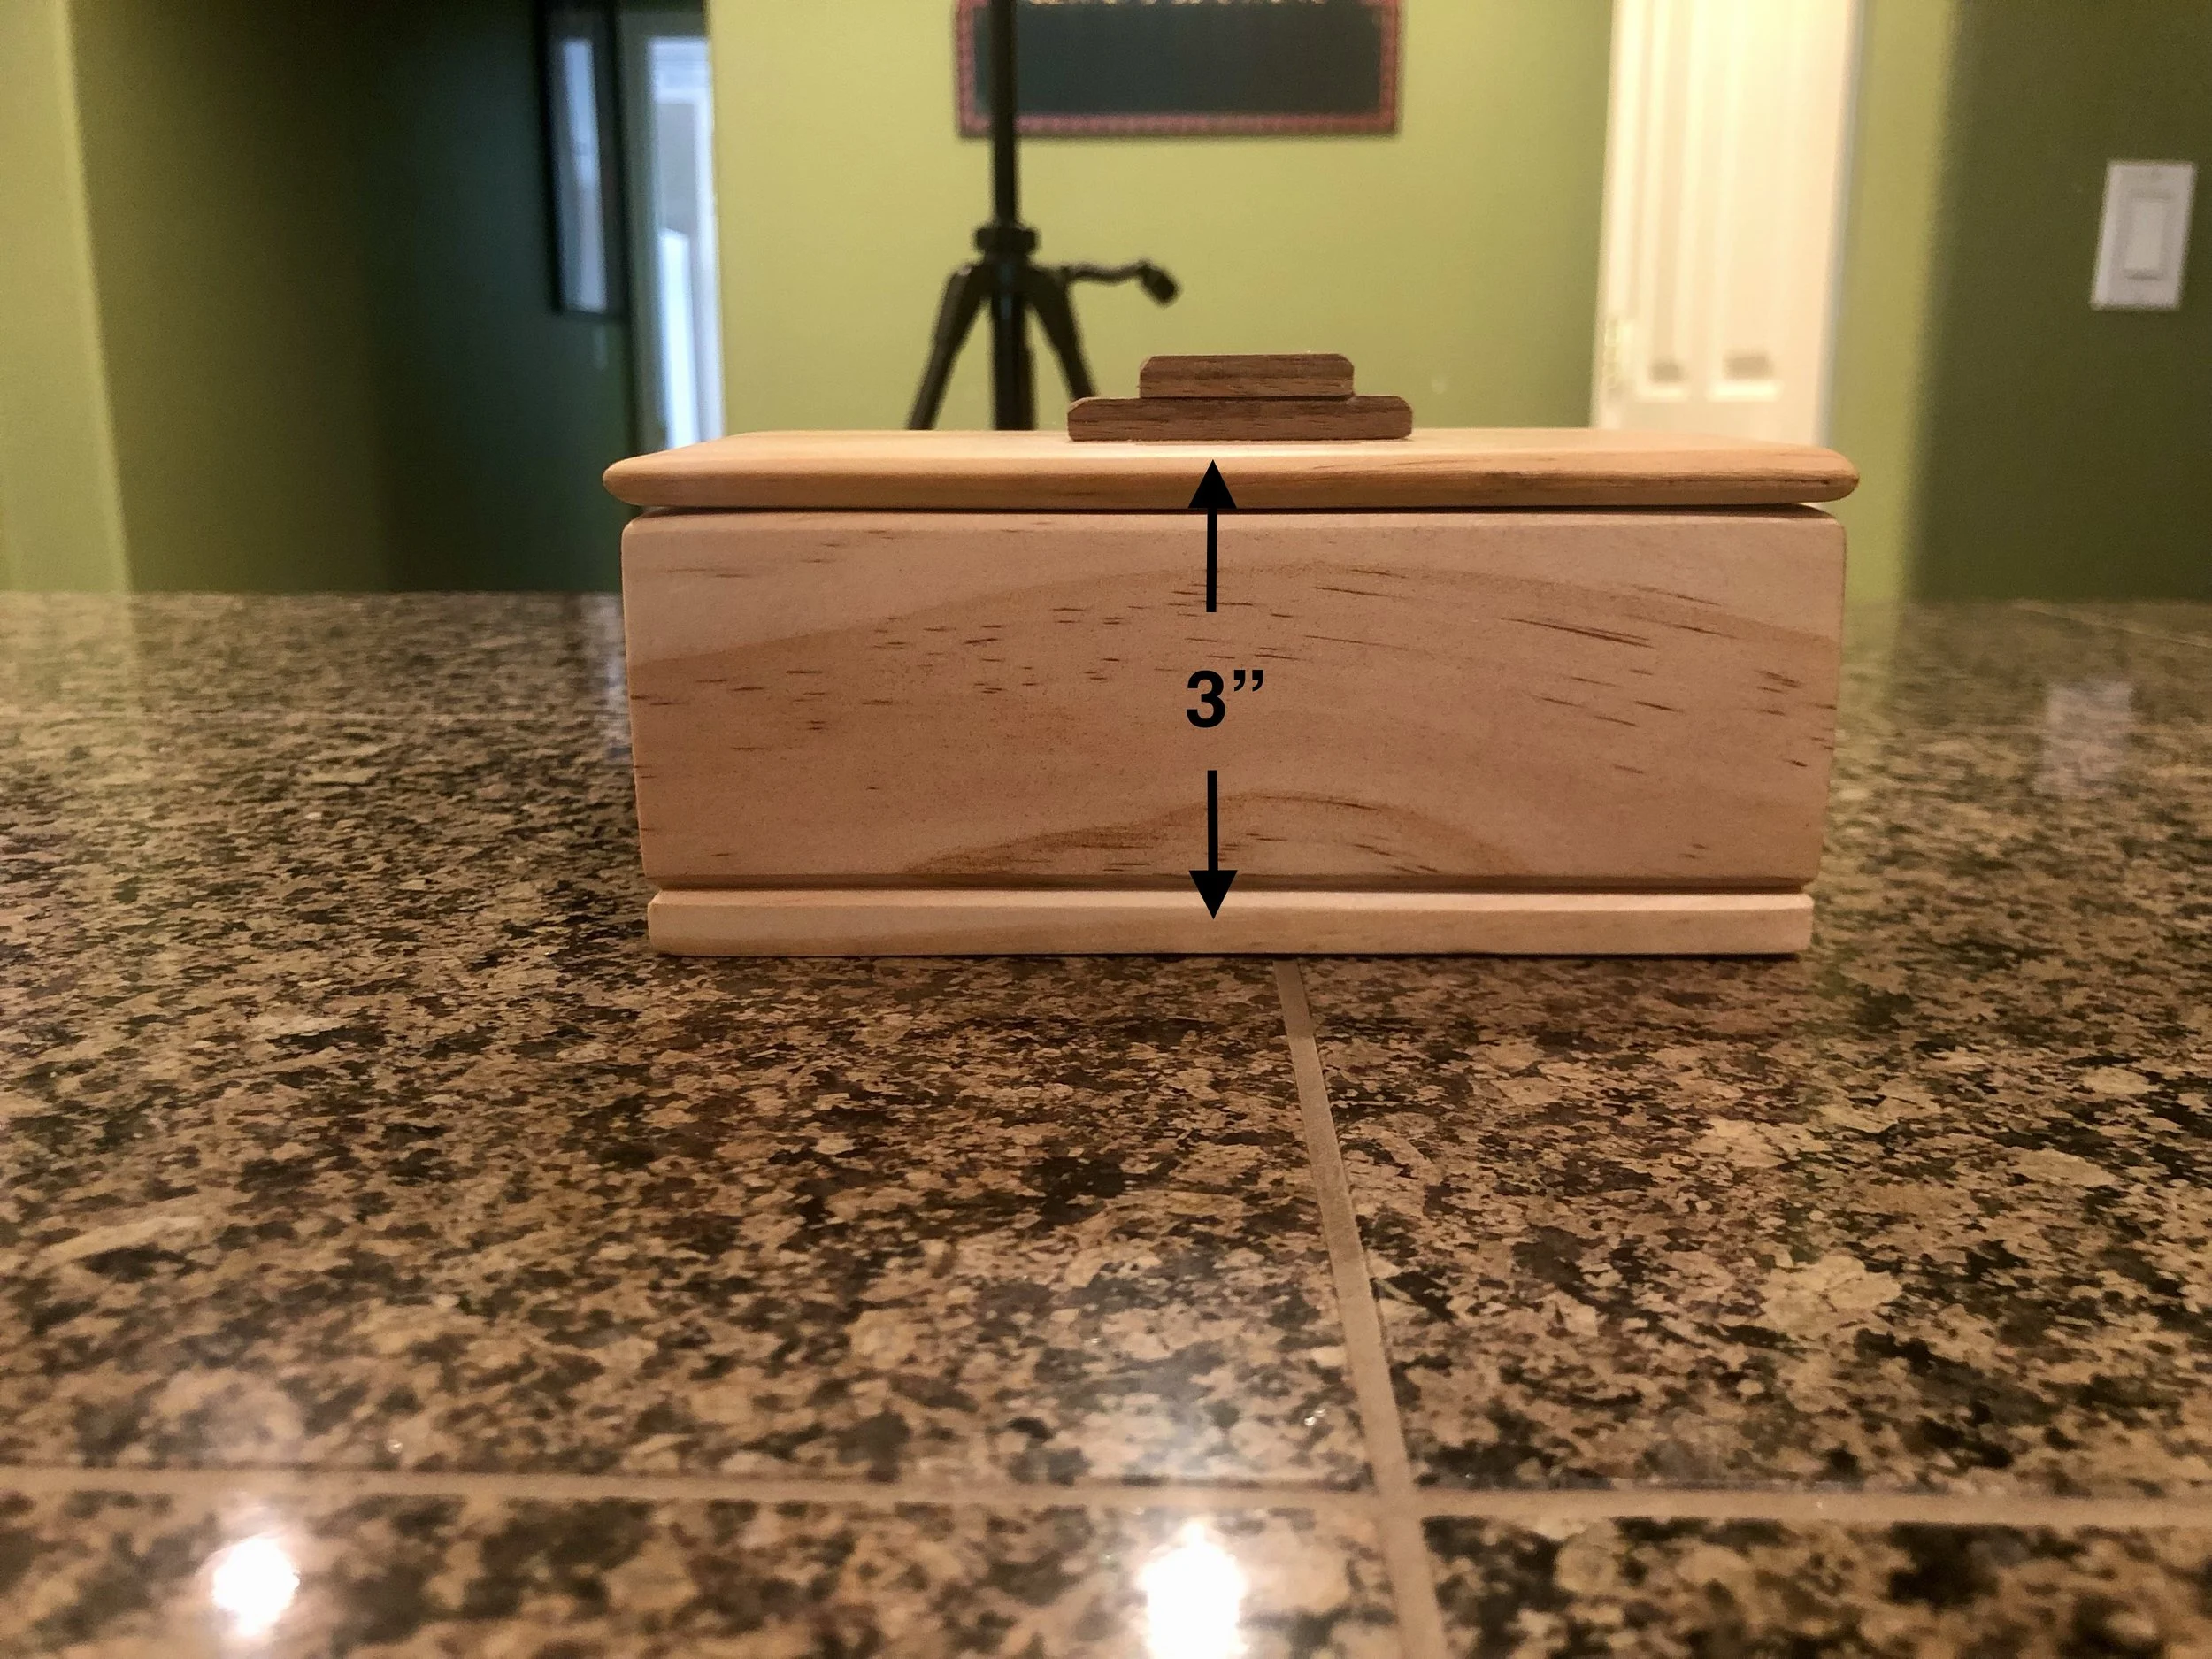
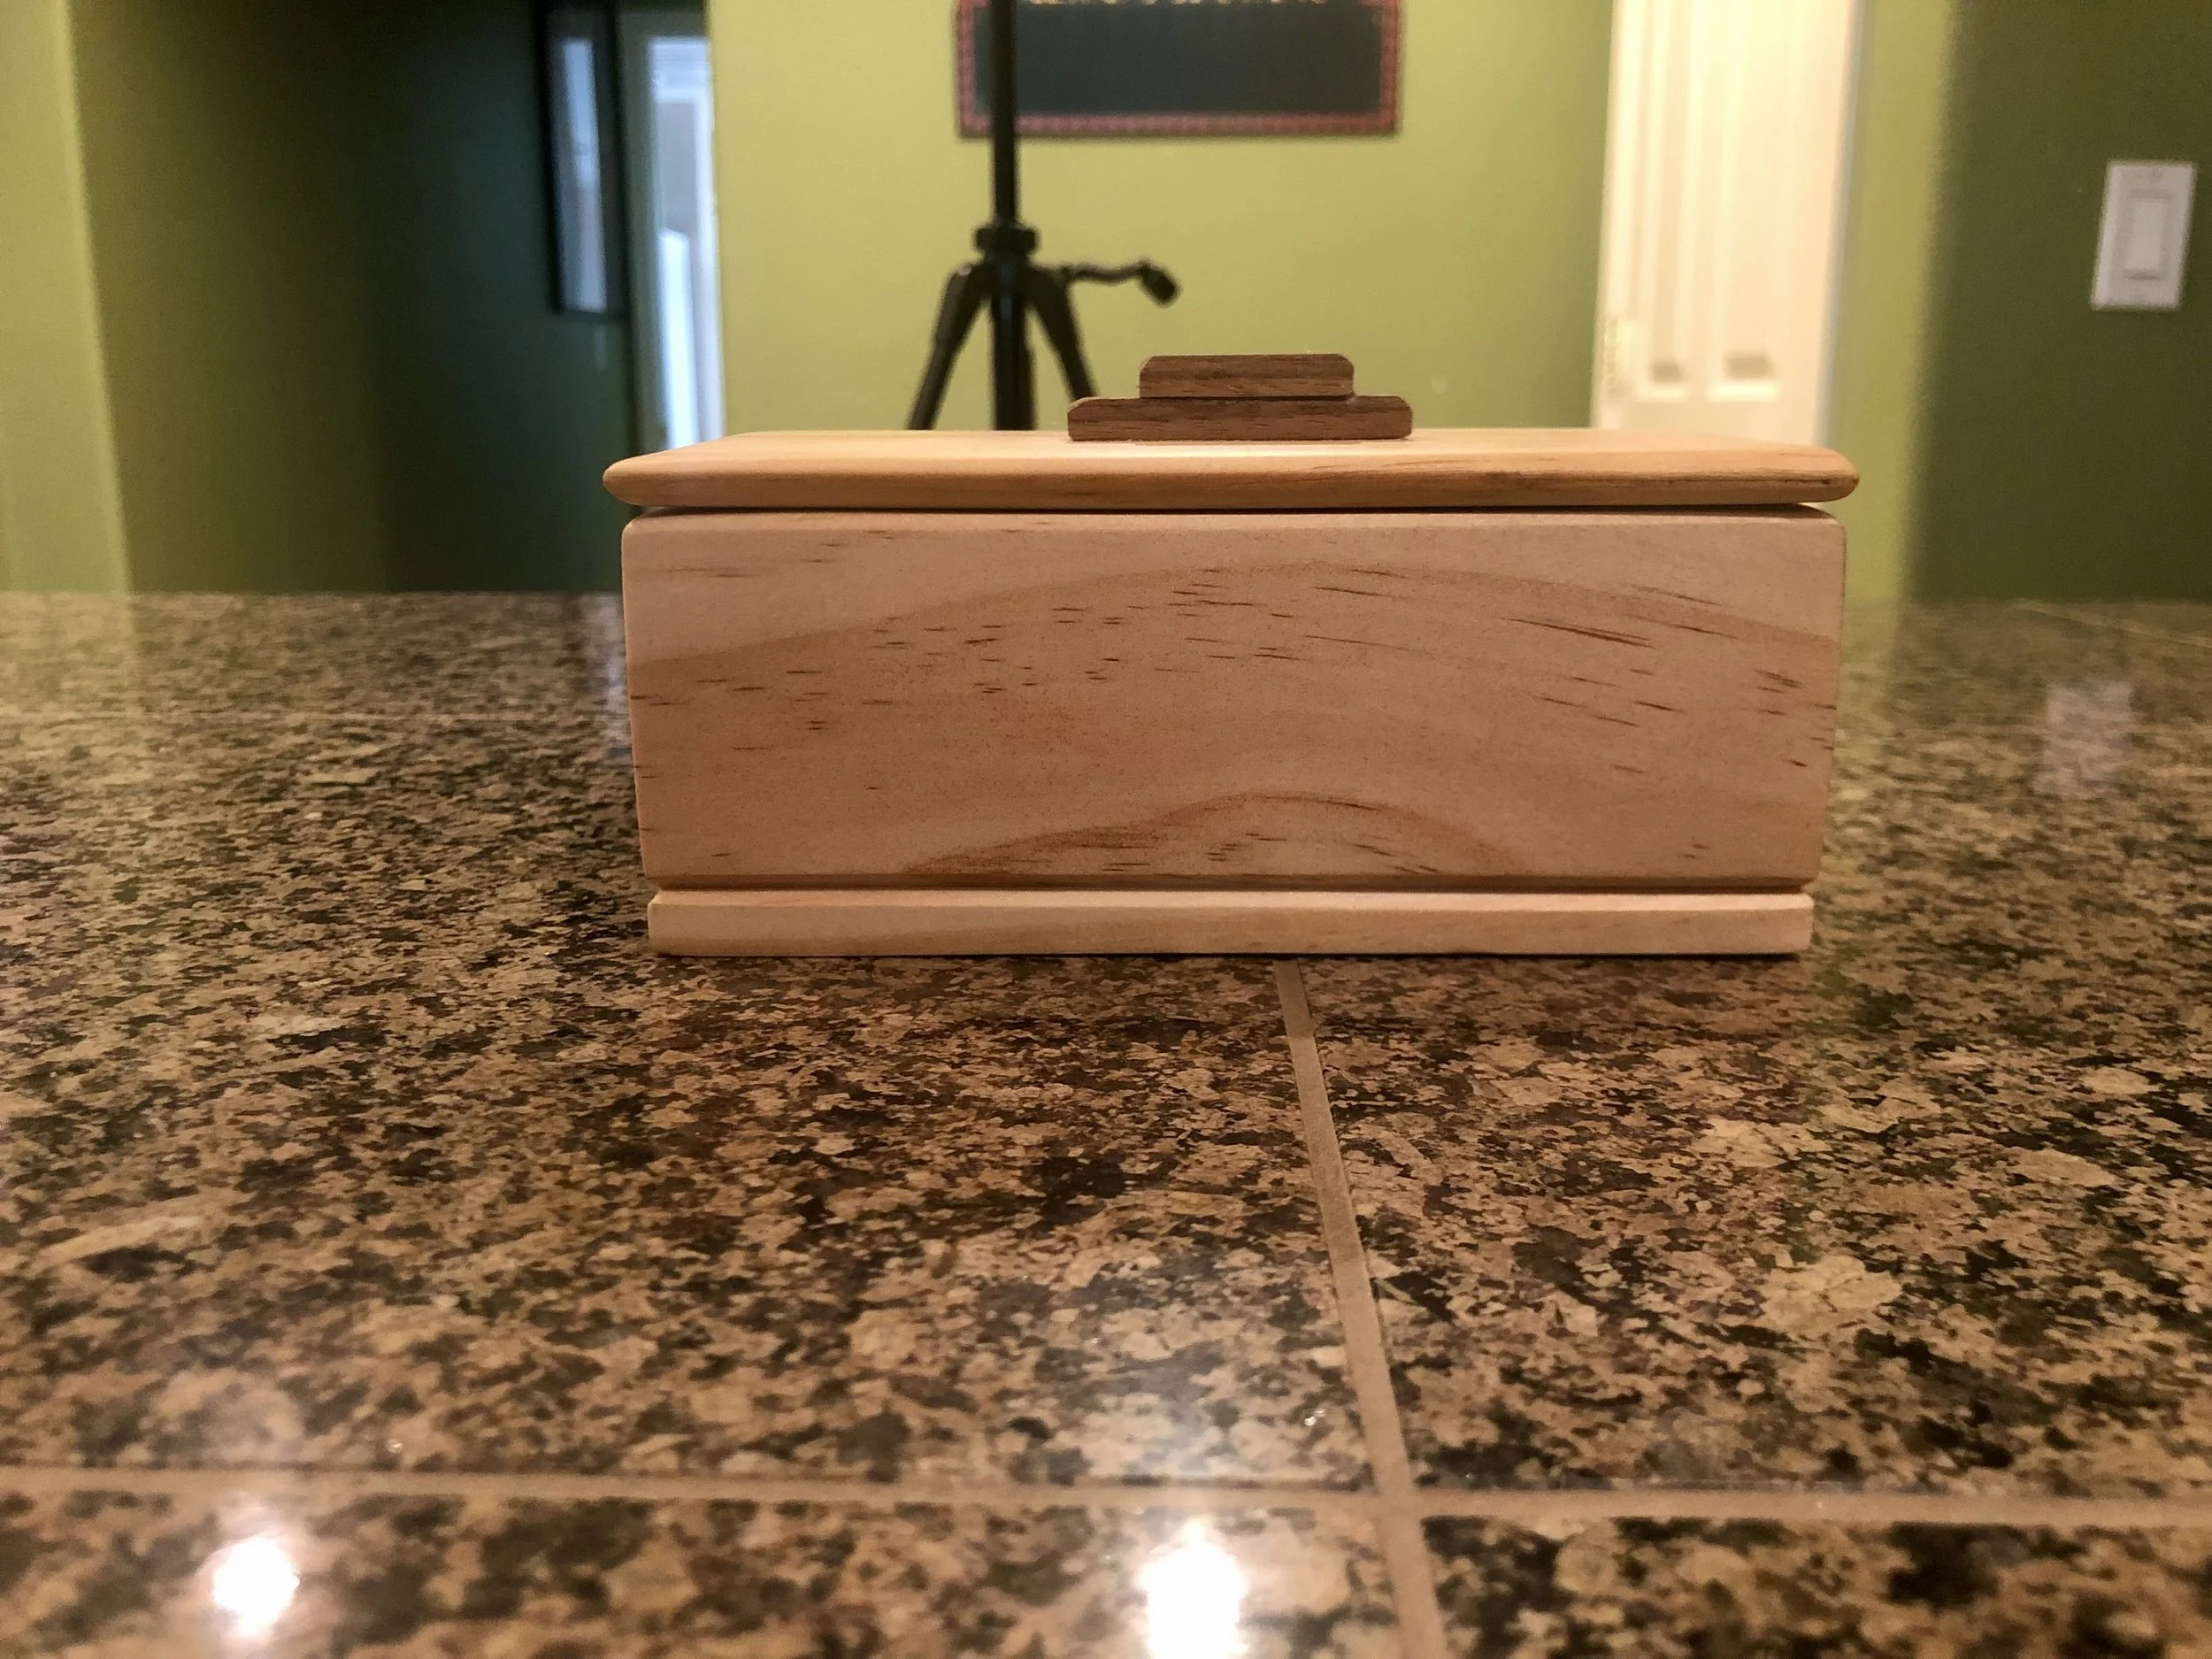
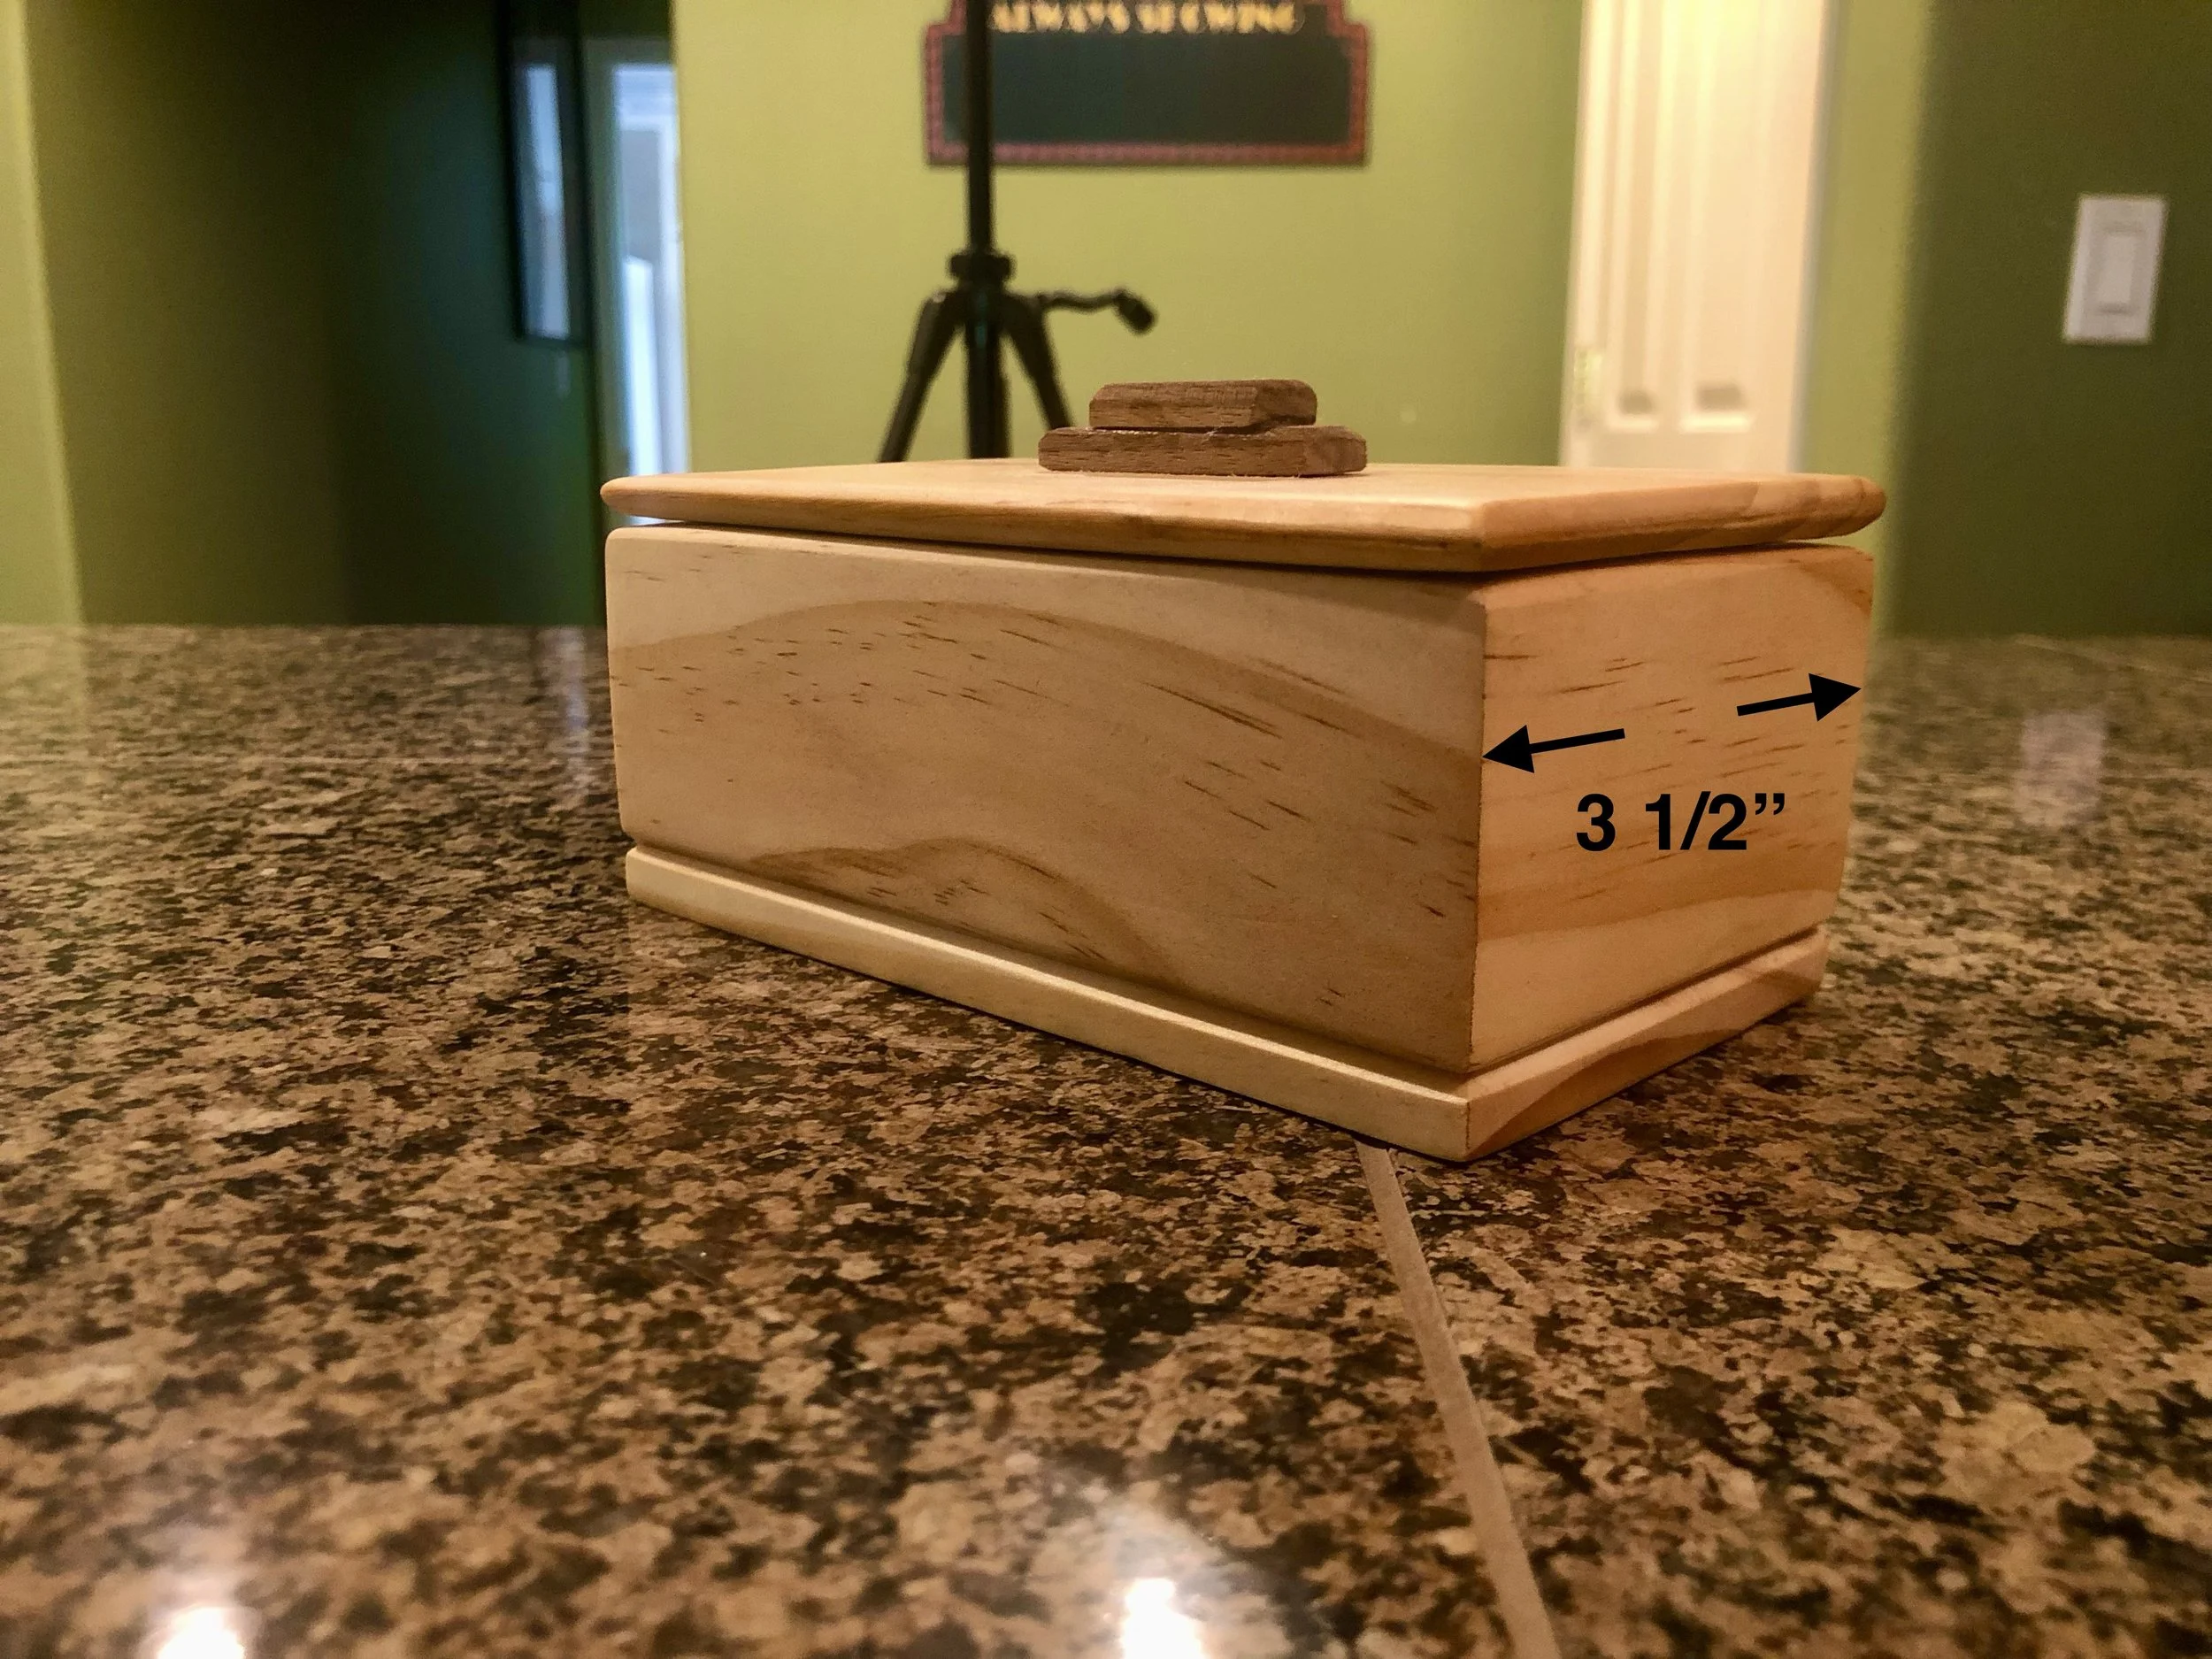
Large rectangular shaped bandsaw box made of pine and walnut.
9” Long x 4” Wide x 4” Tall 2.5 Lbs
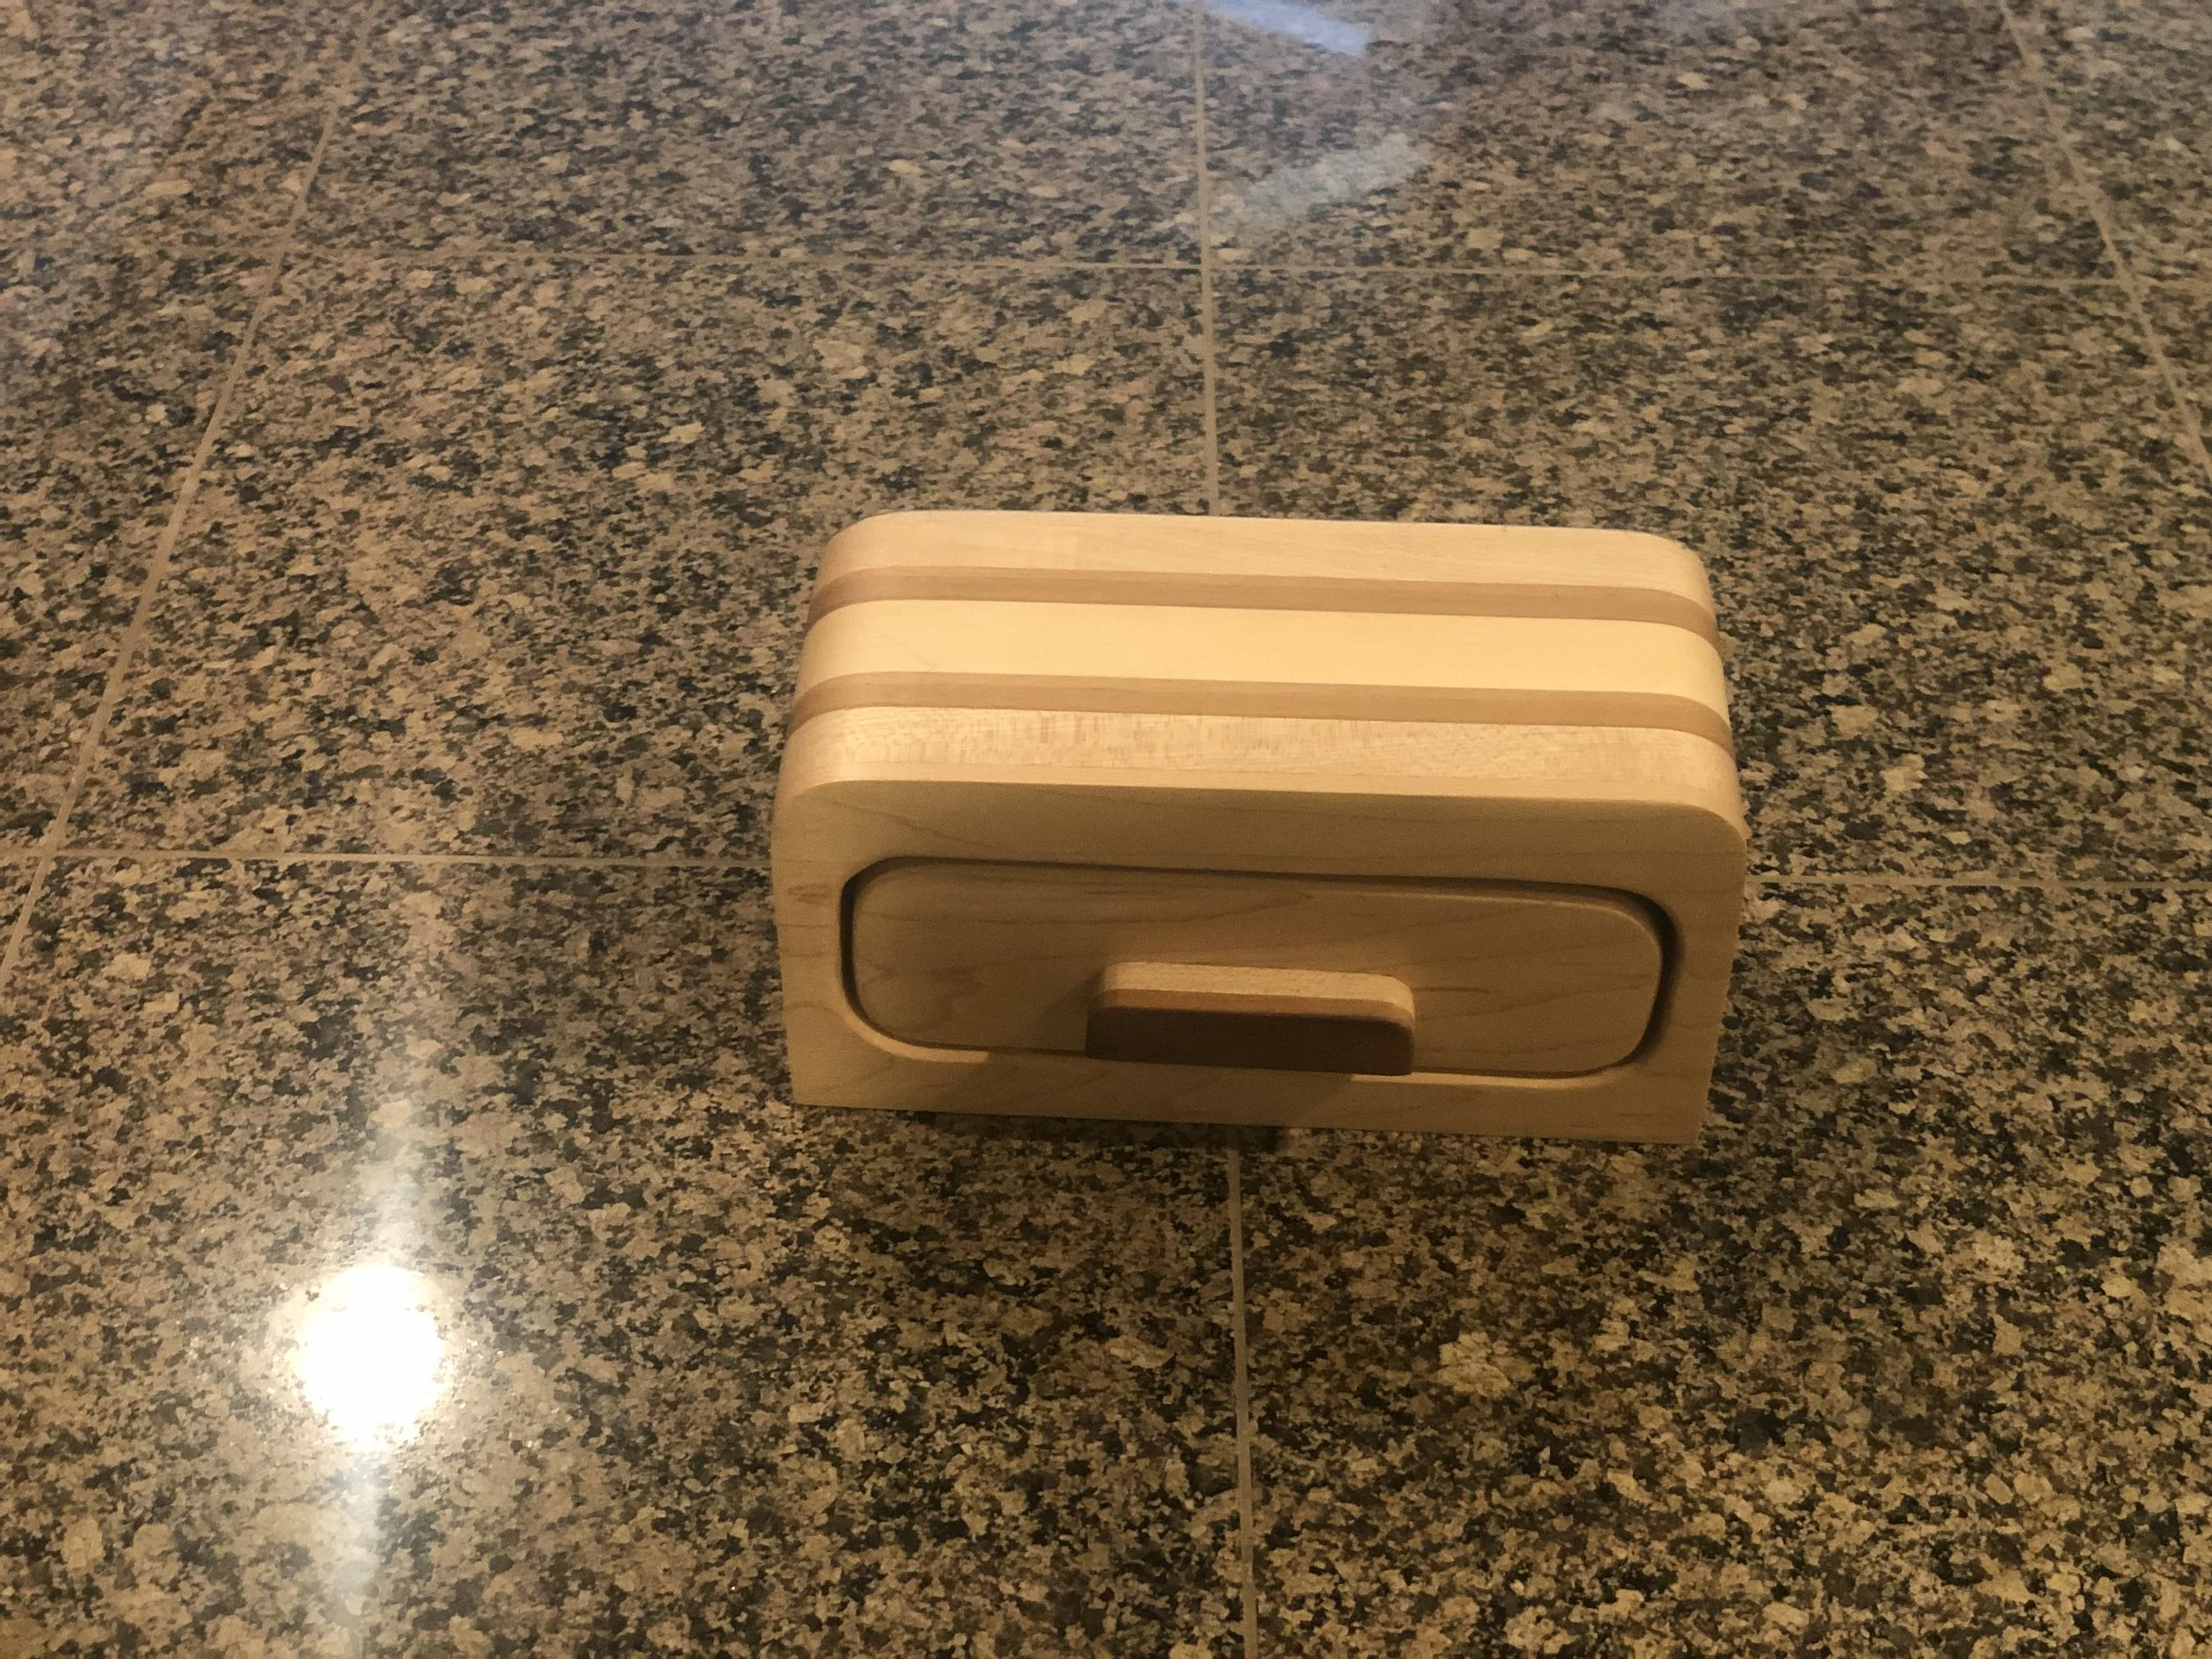
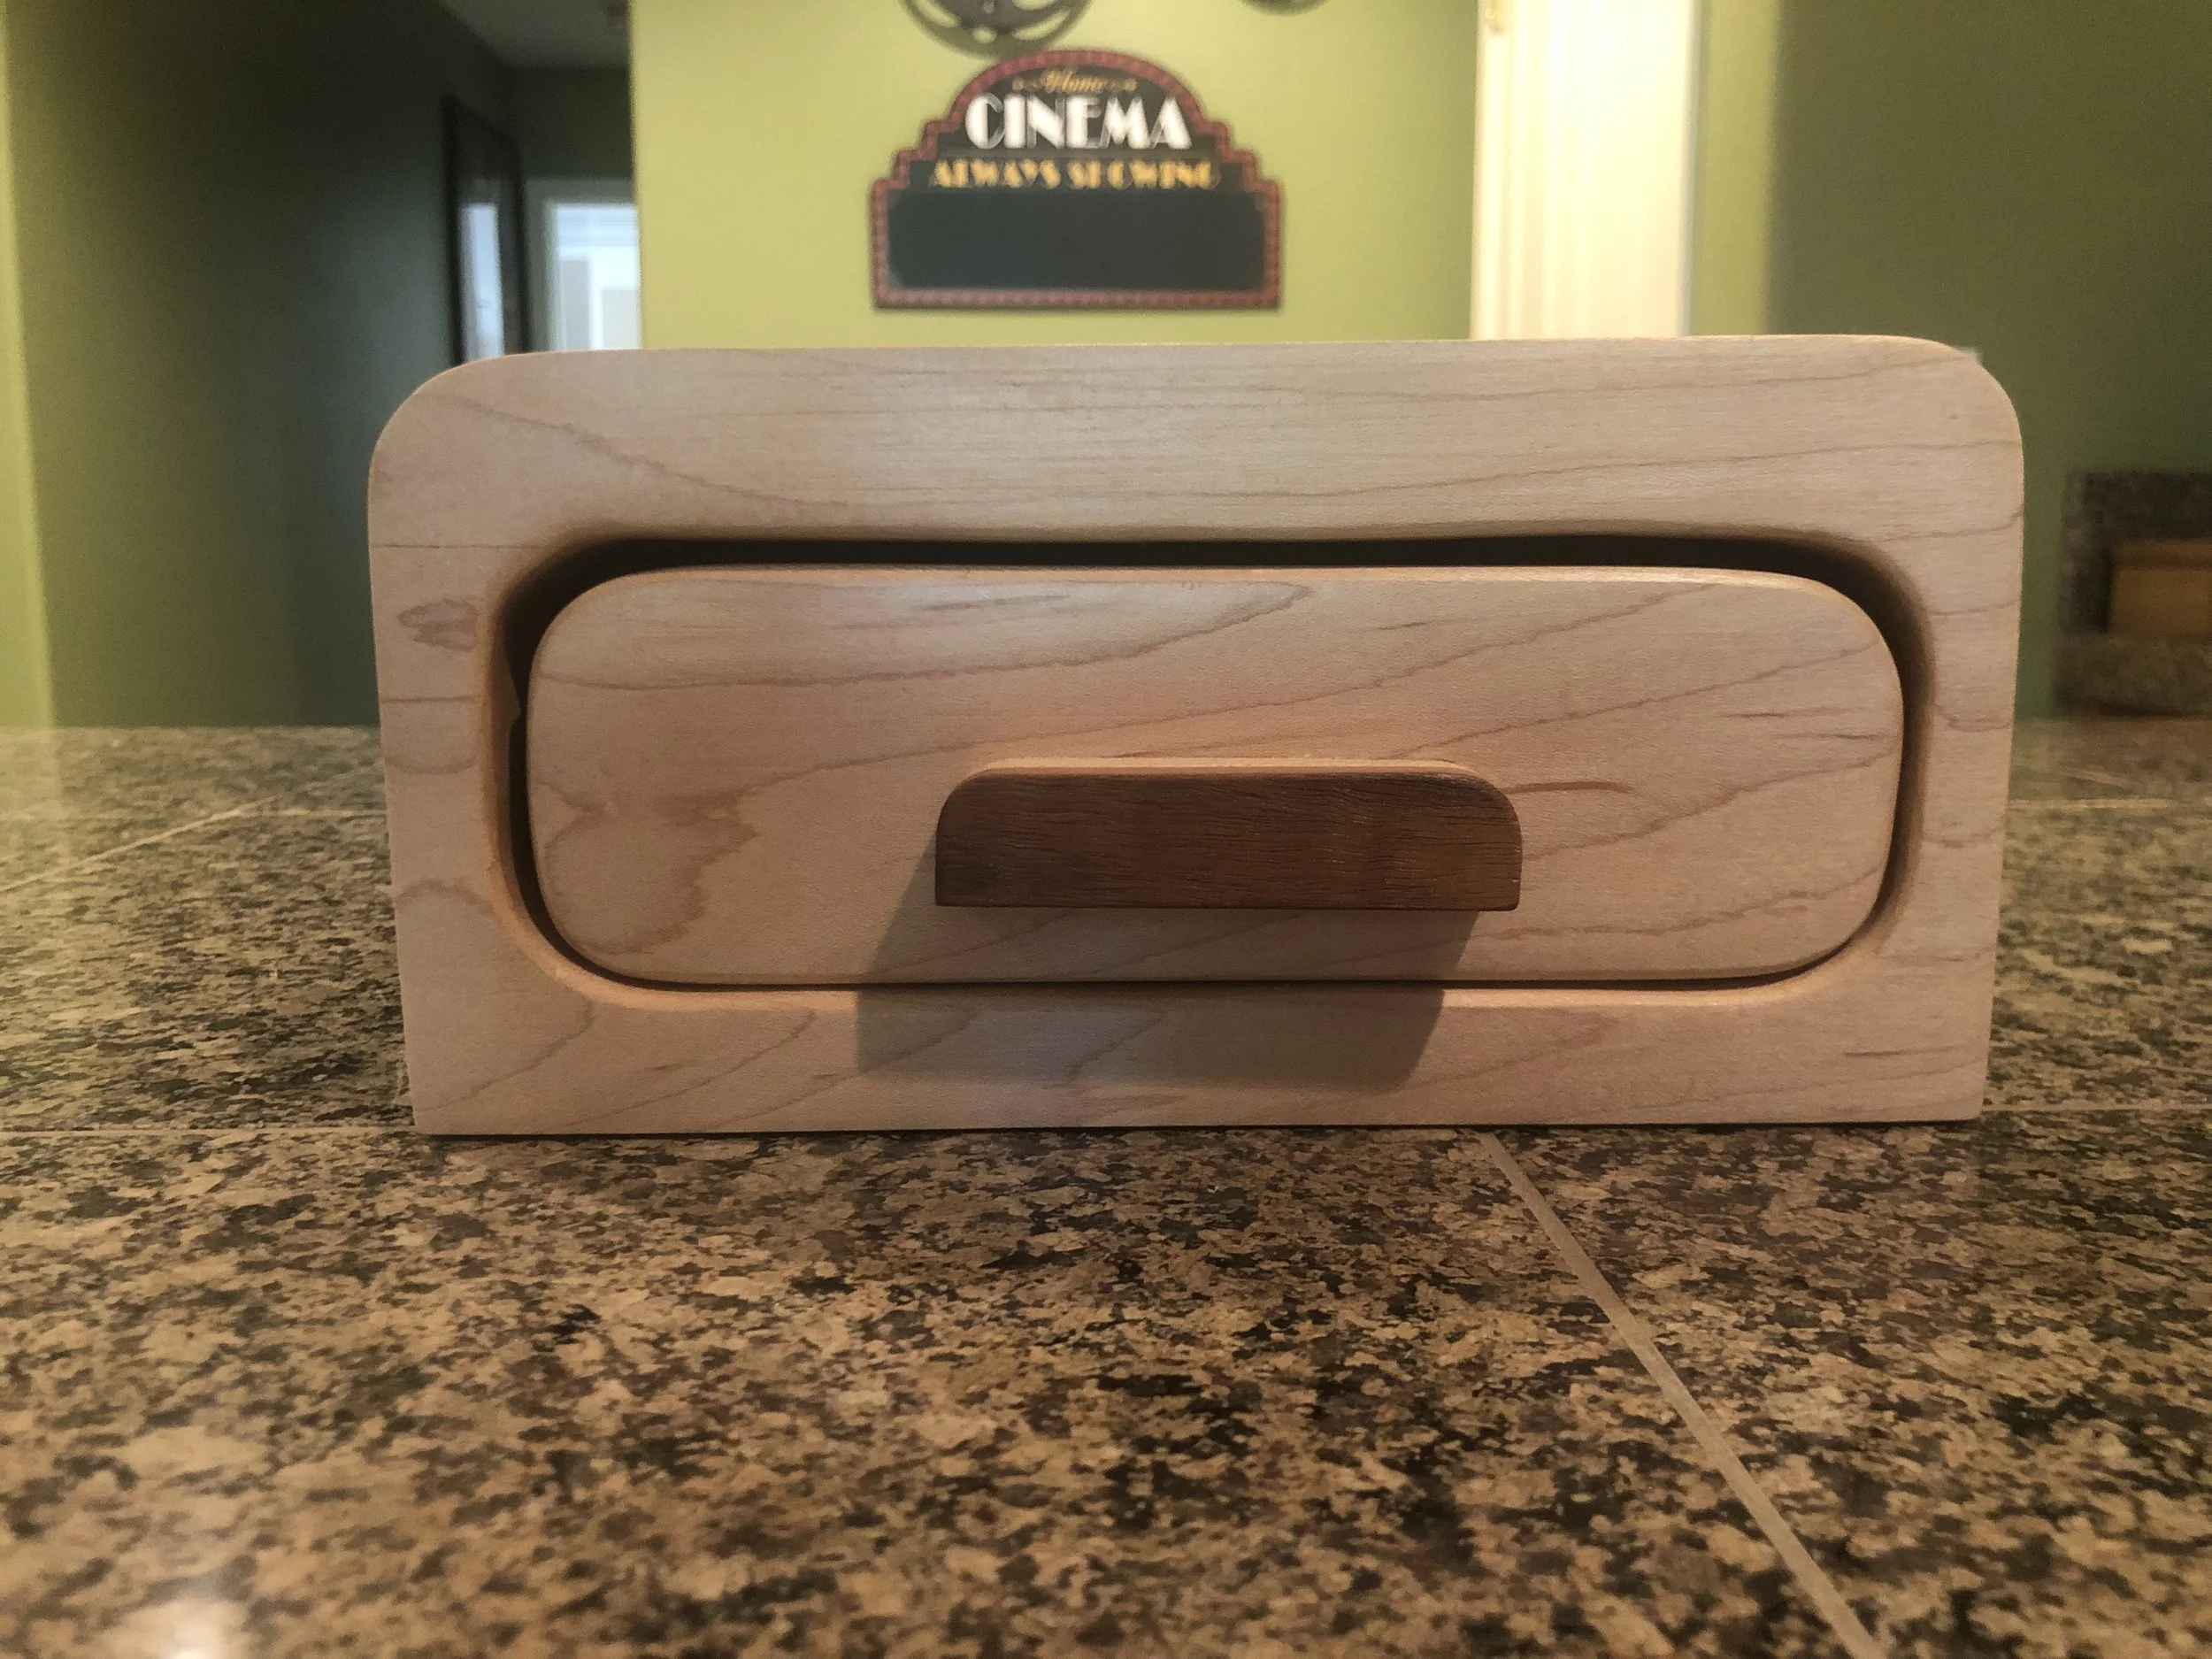
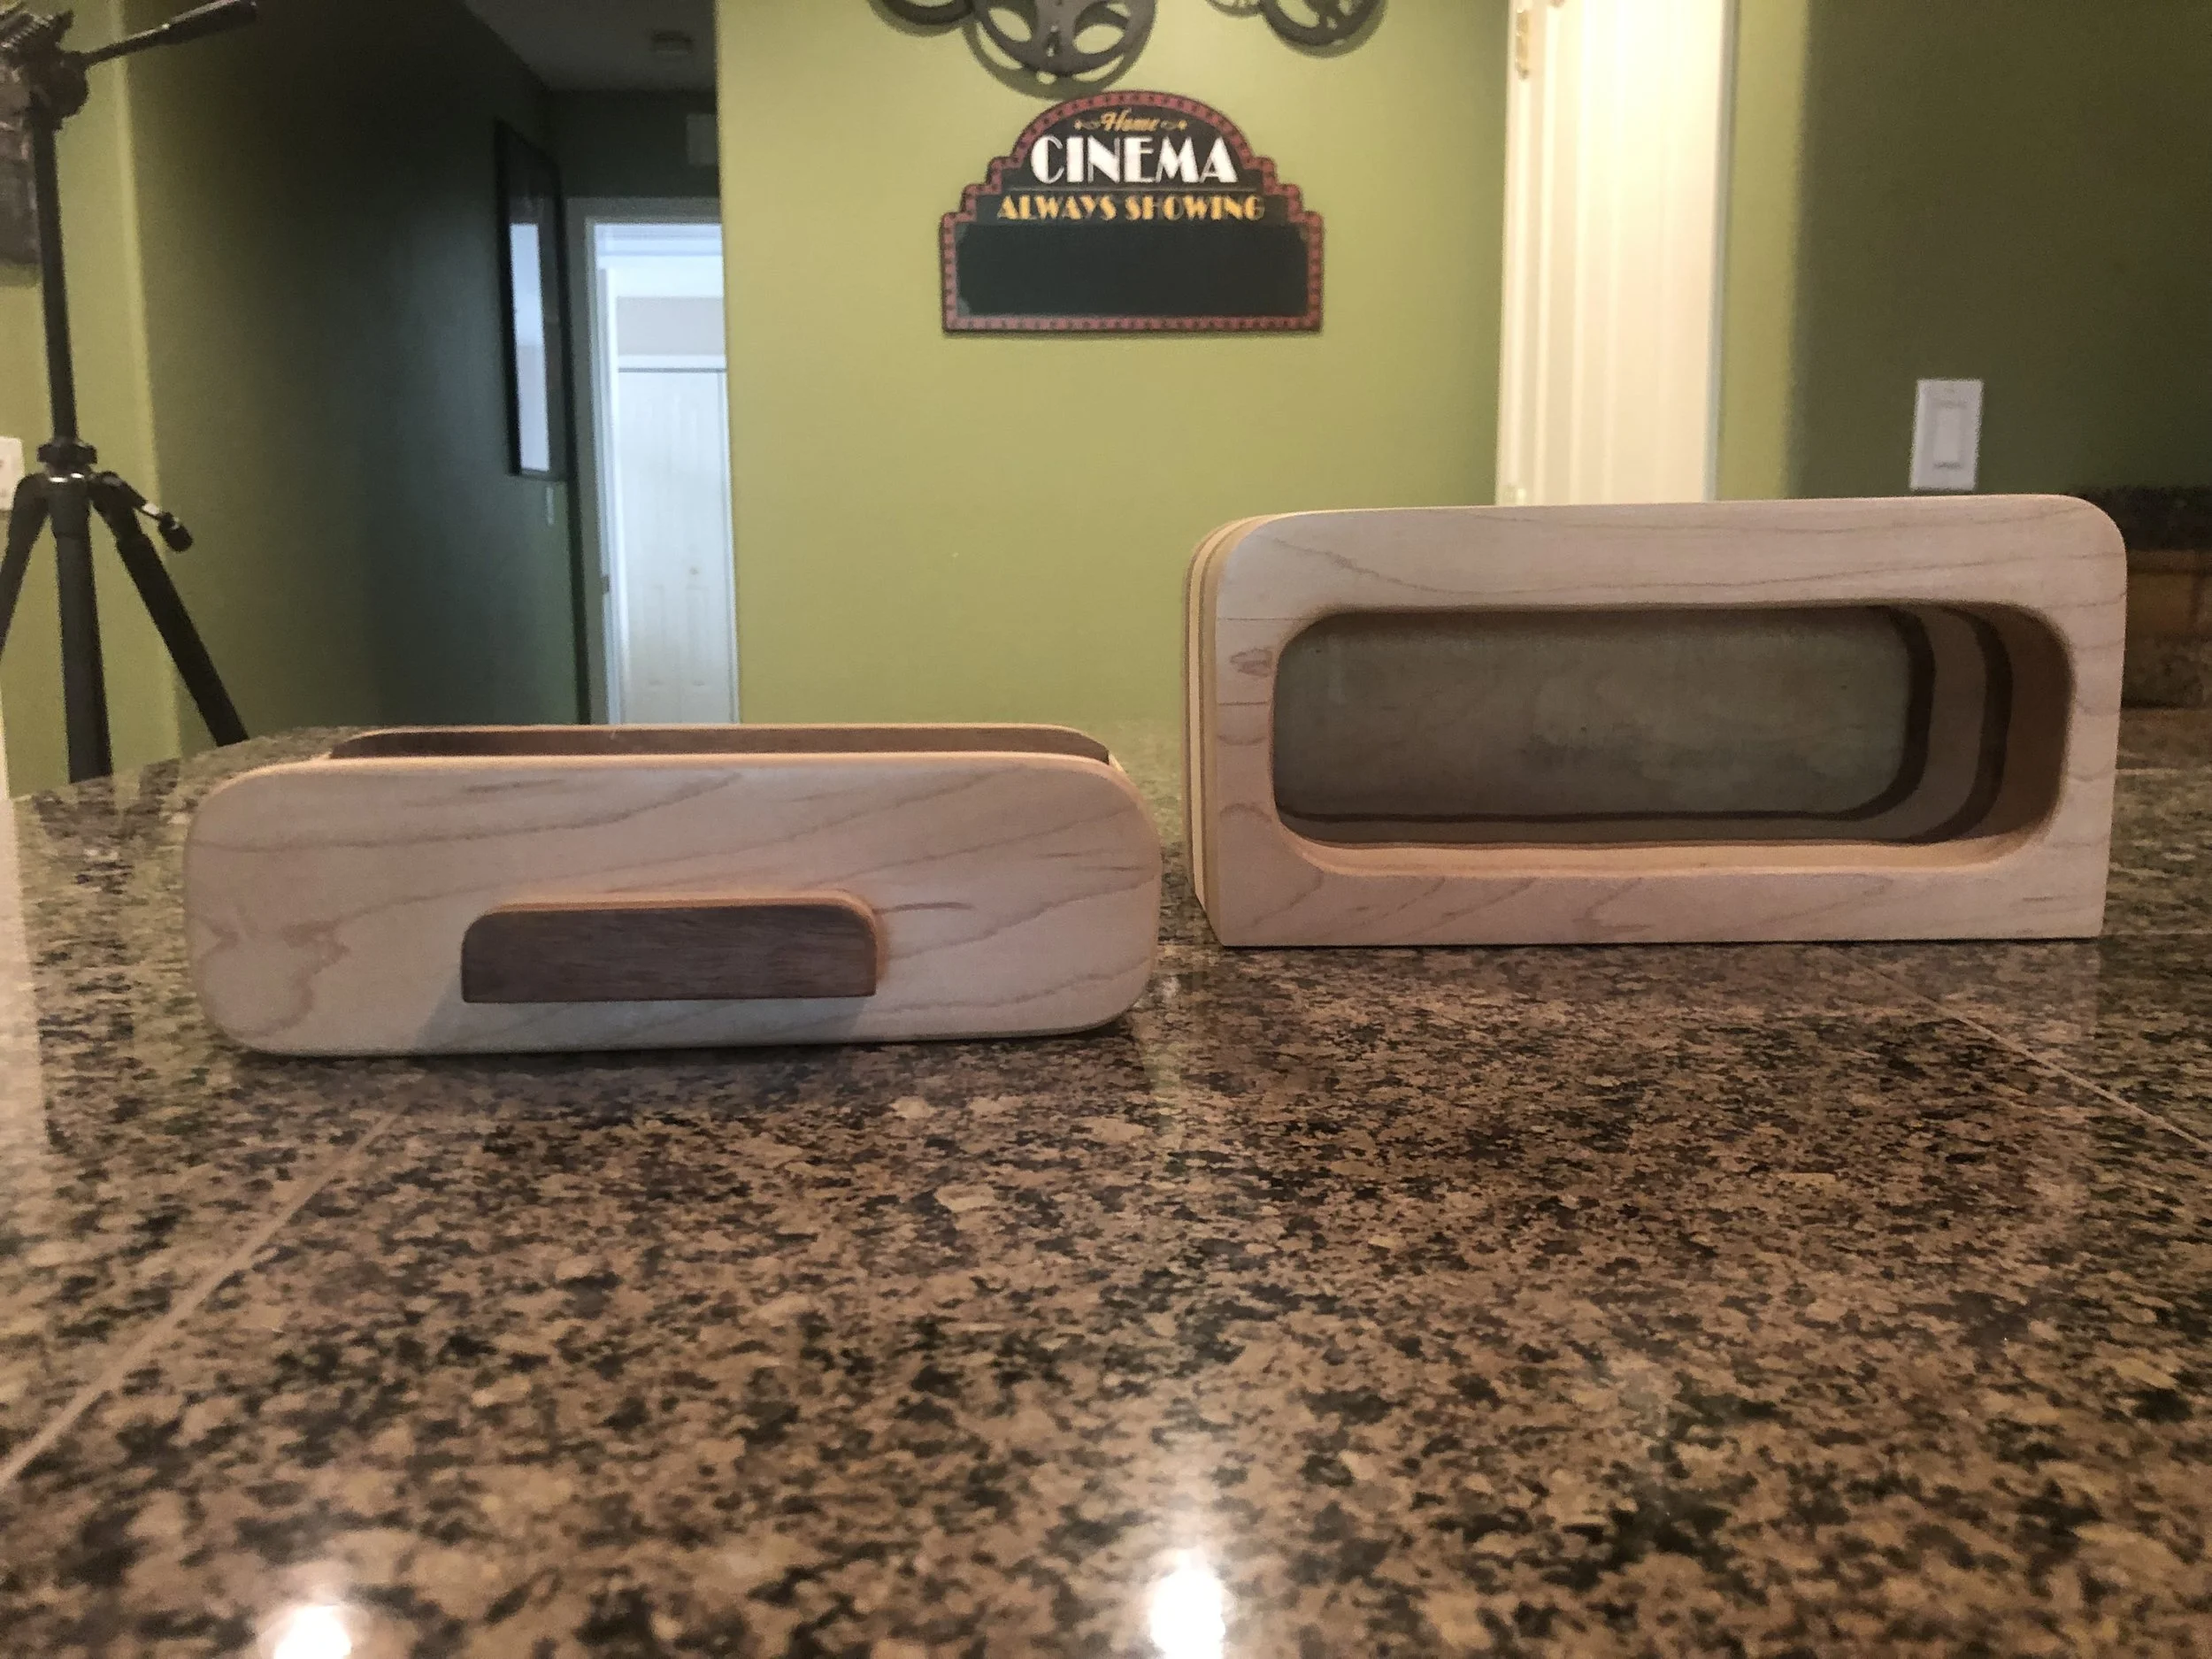
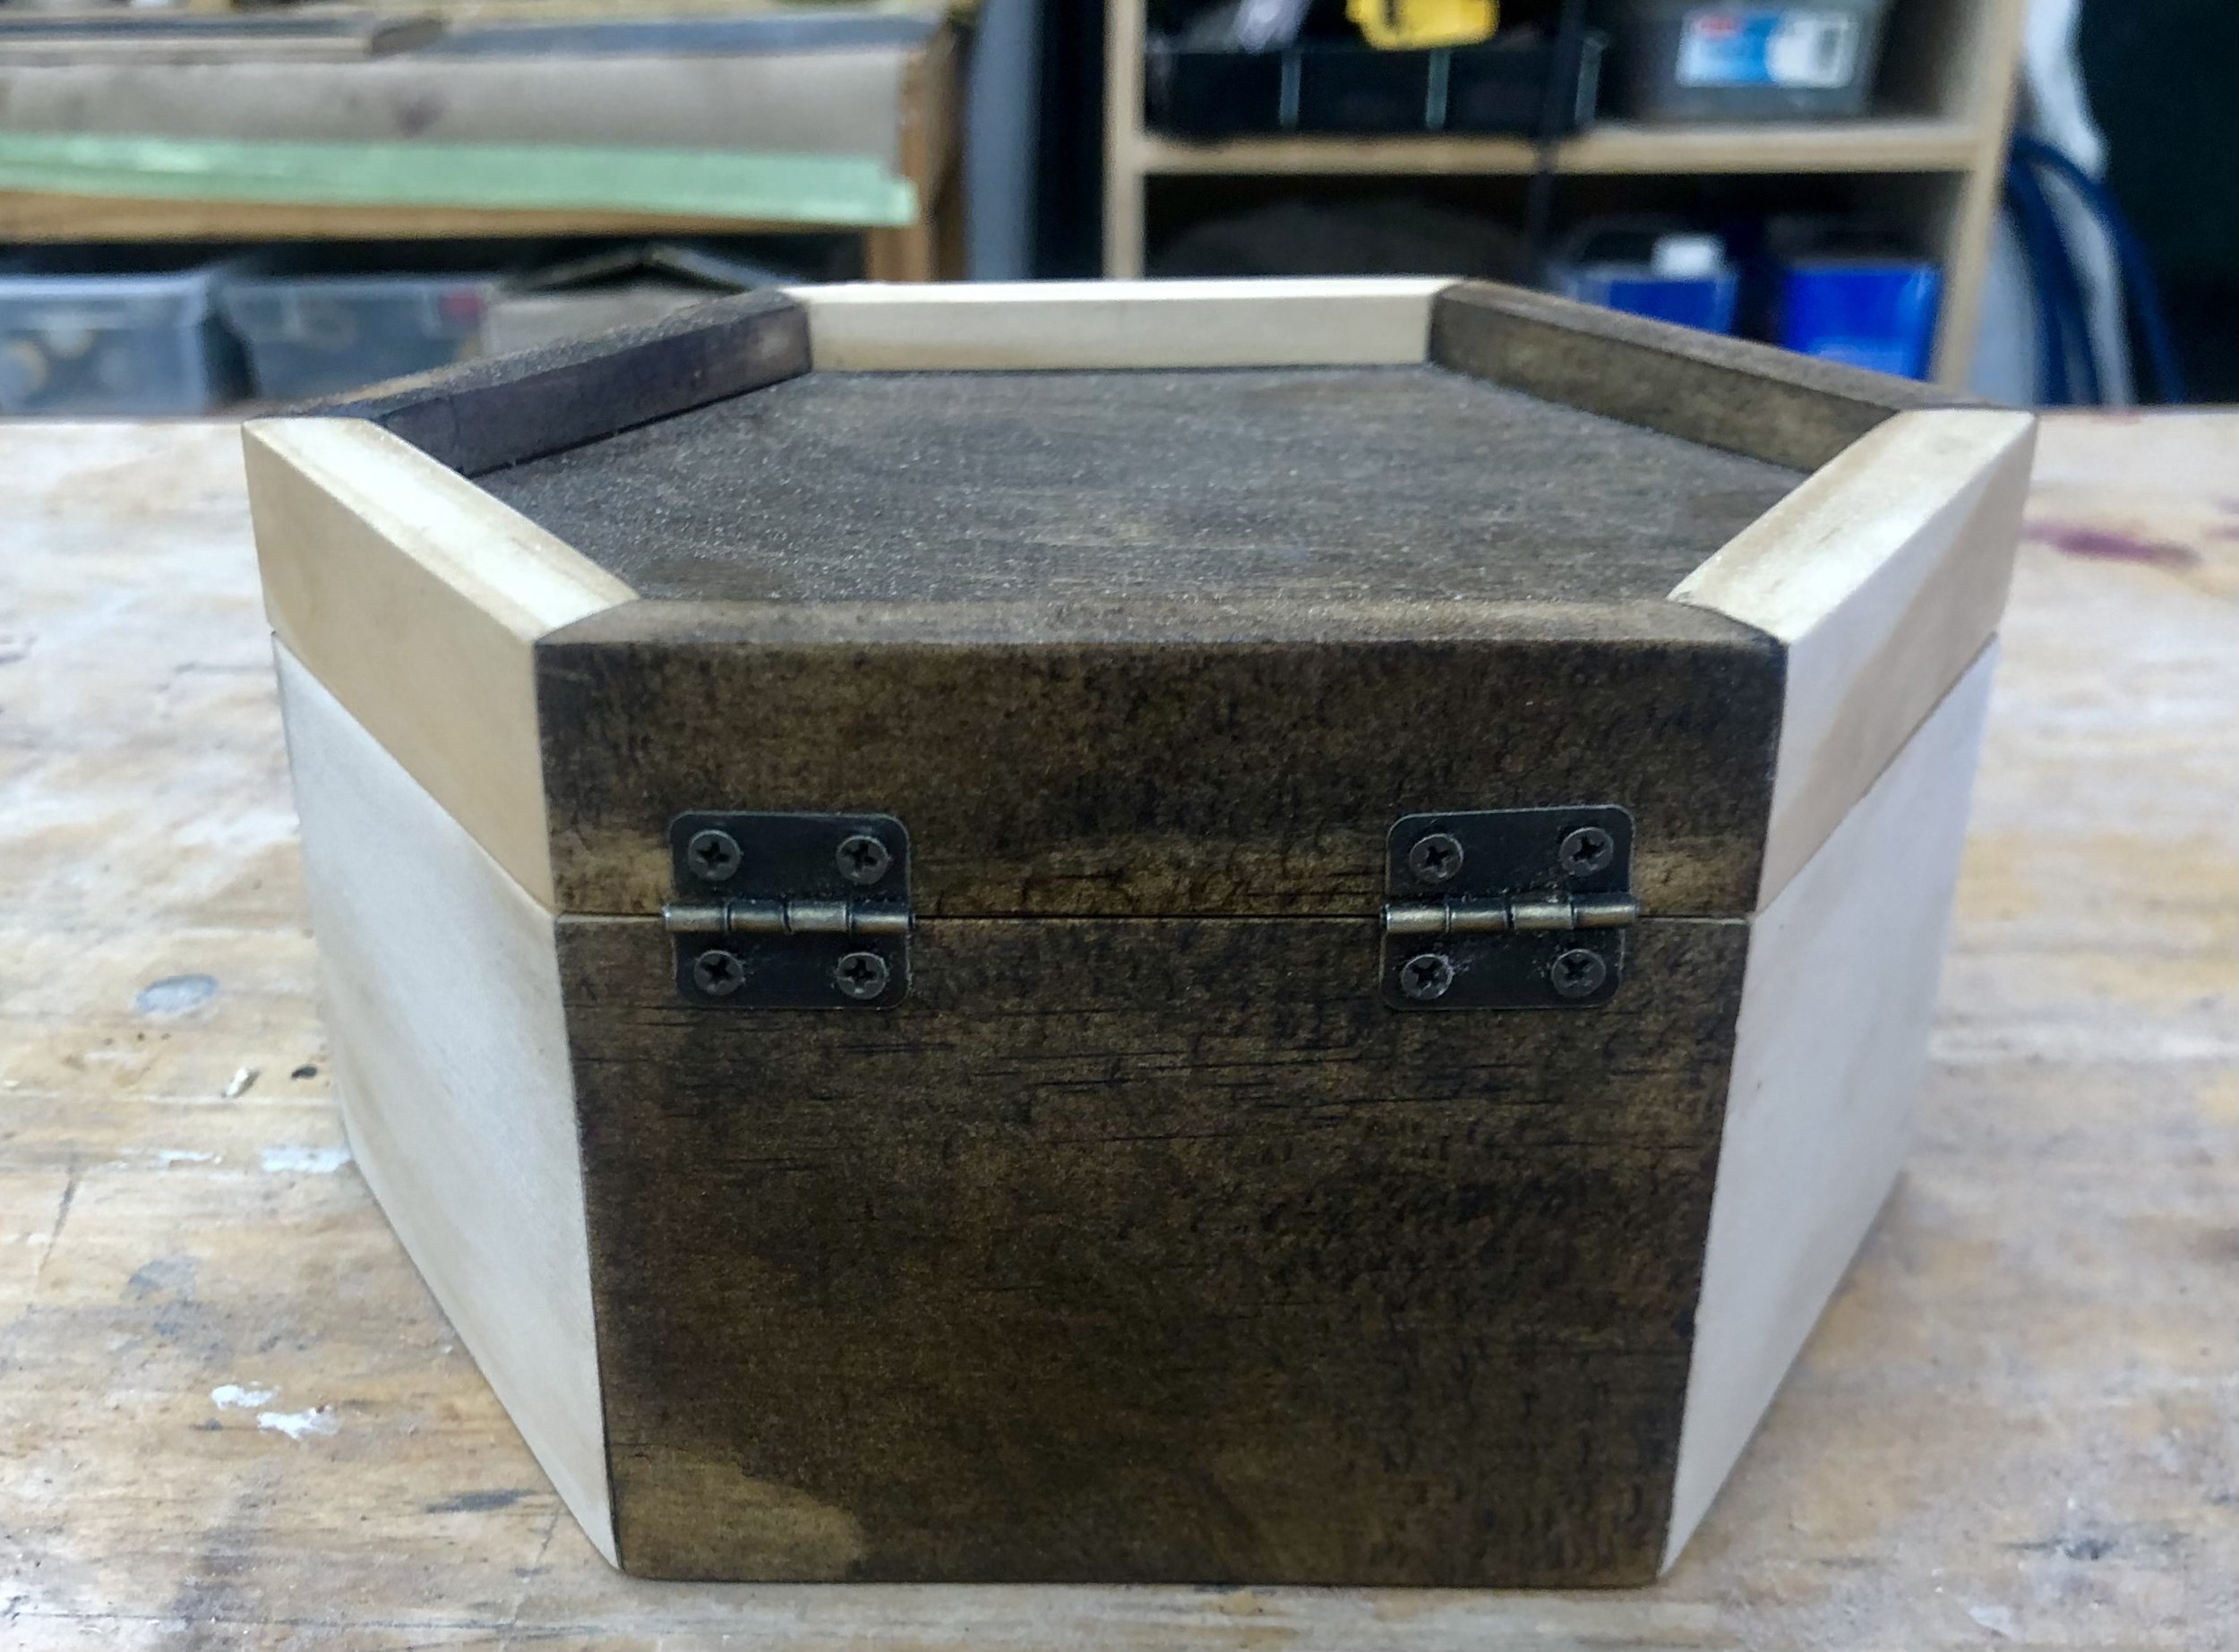
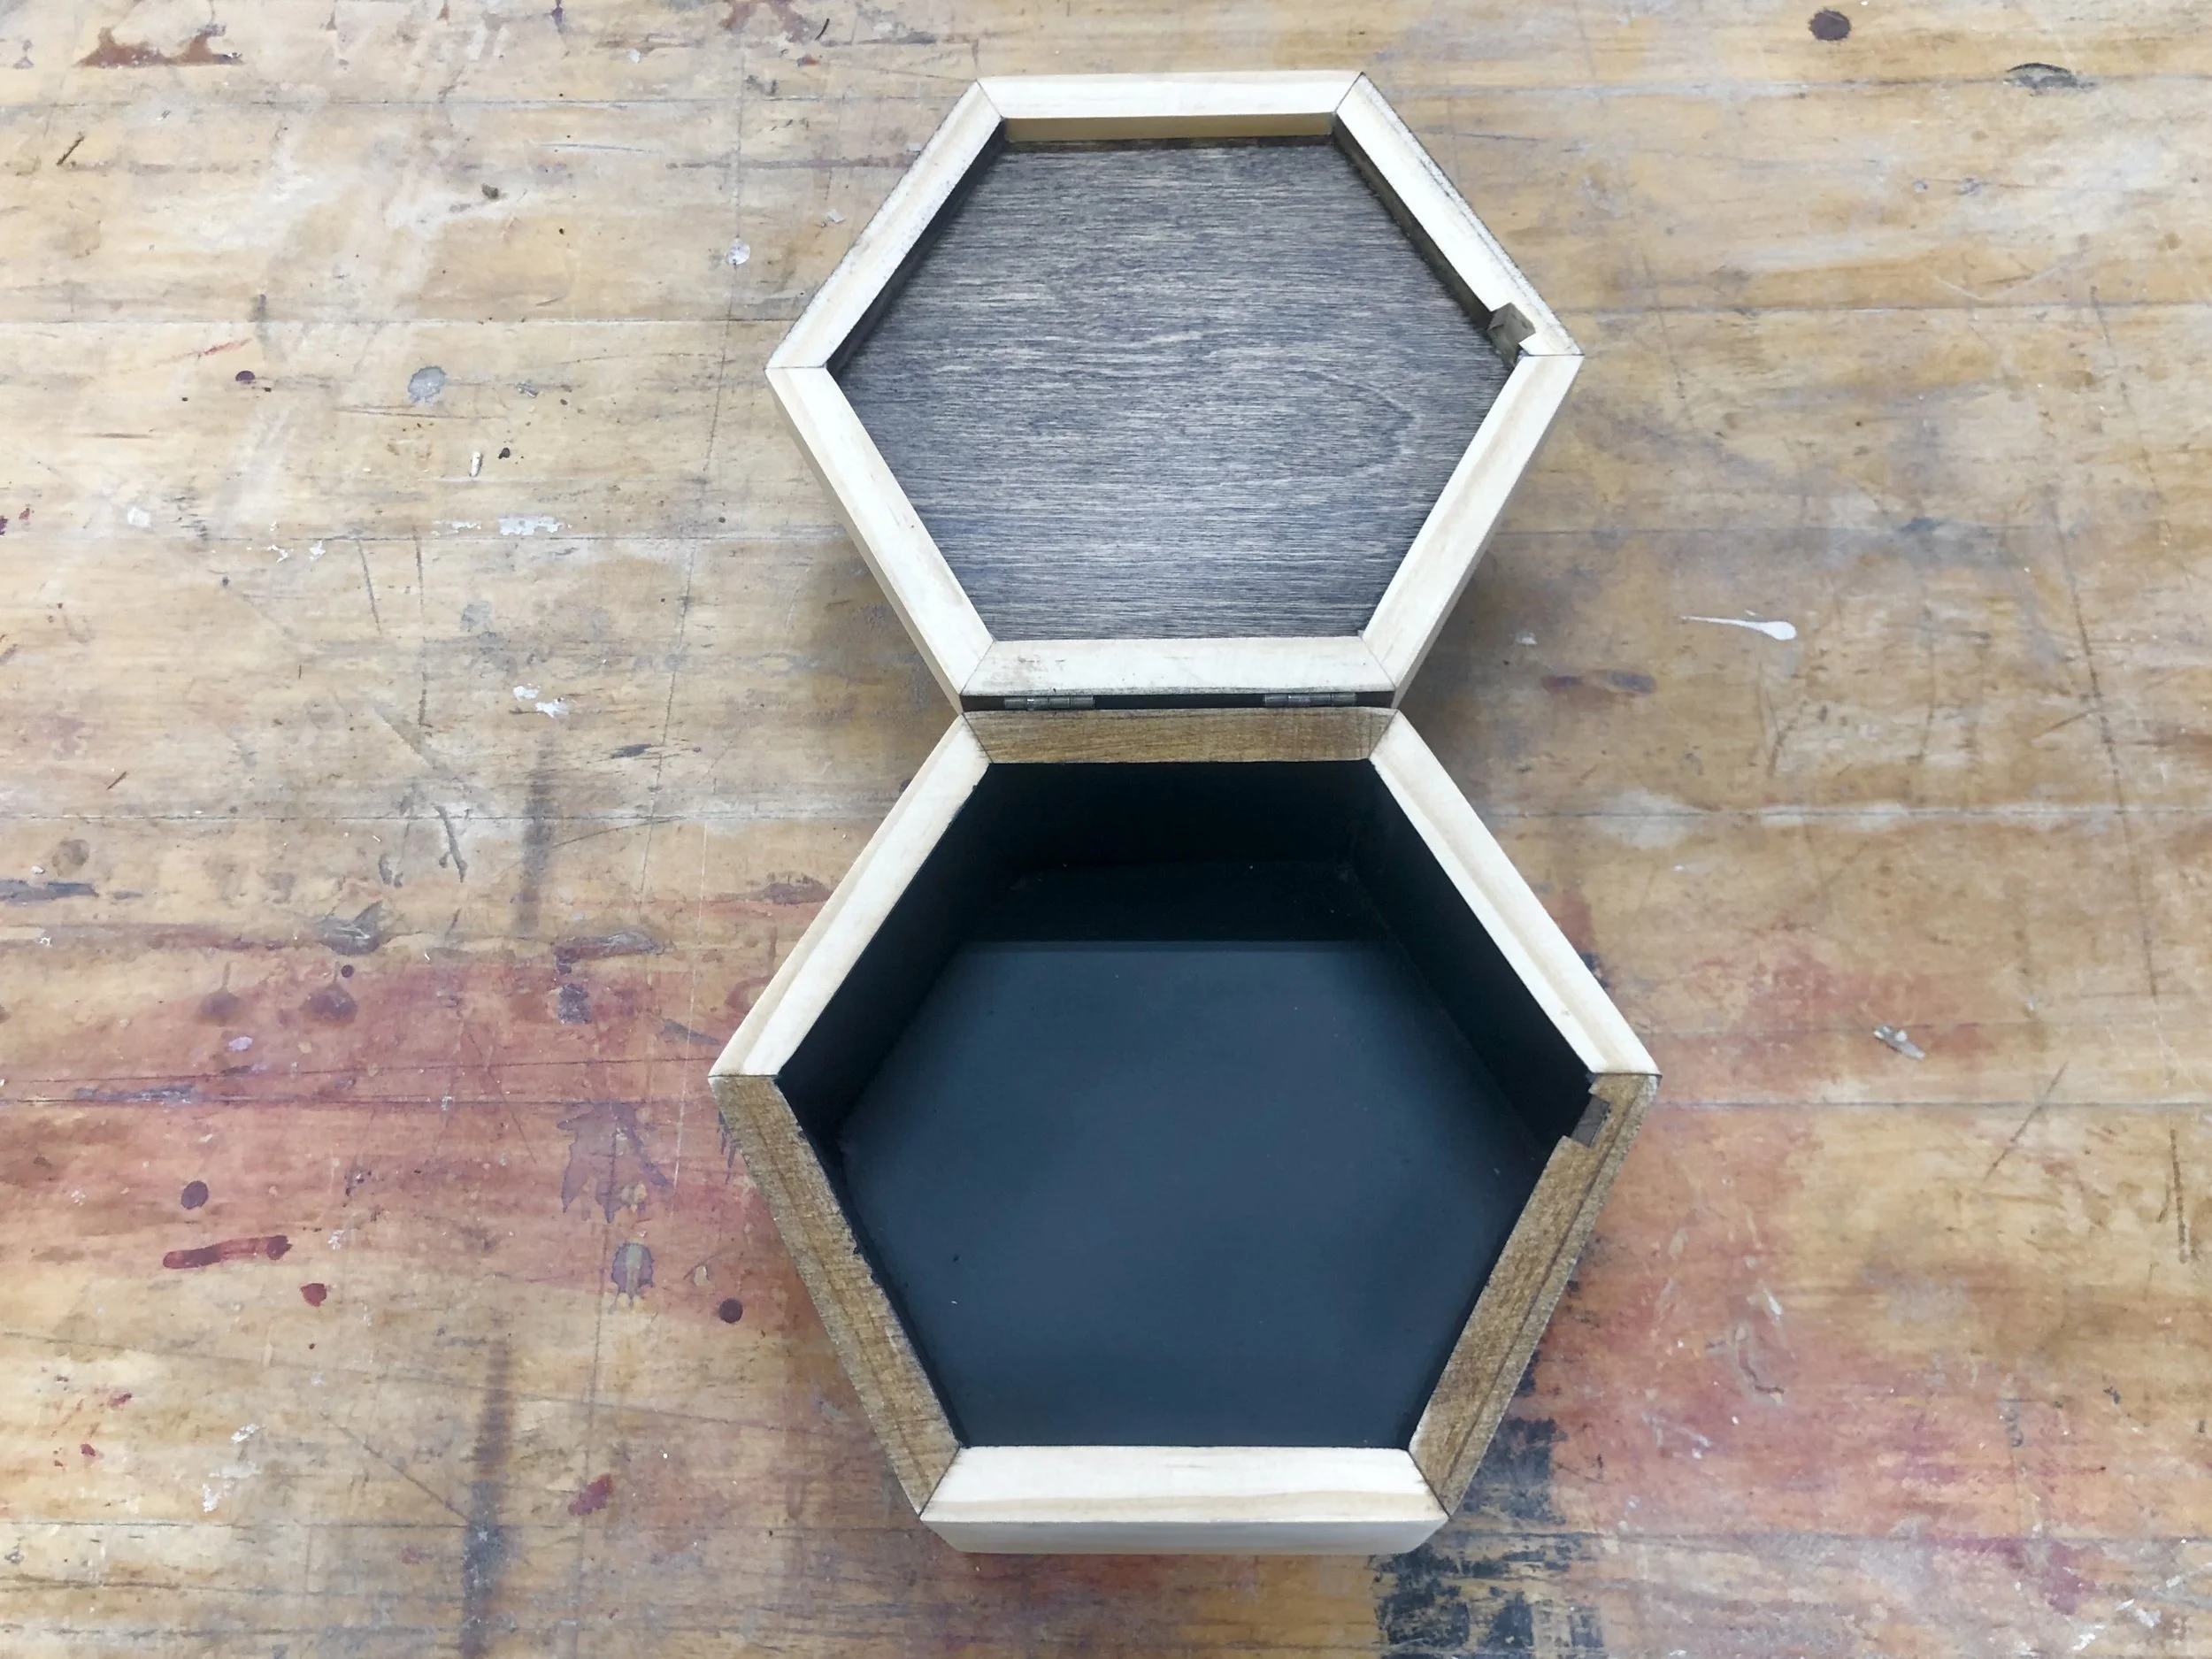
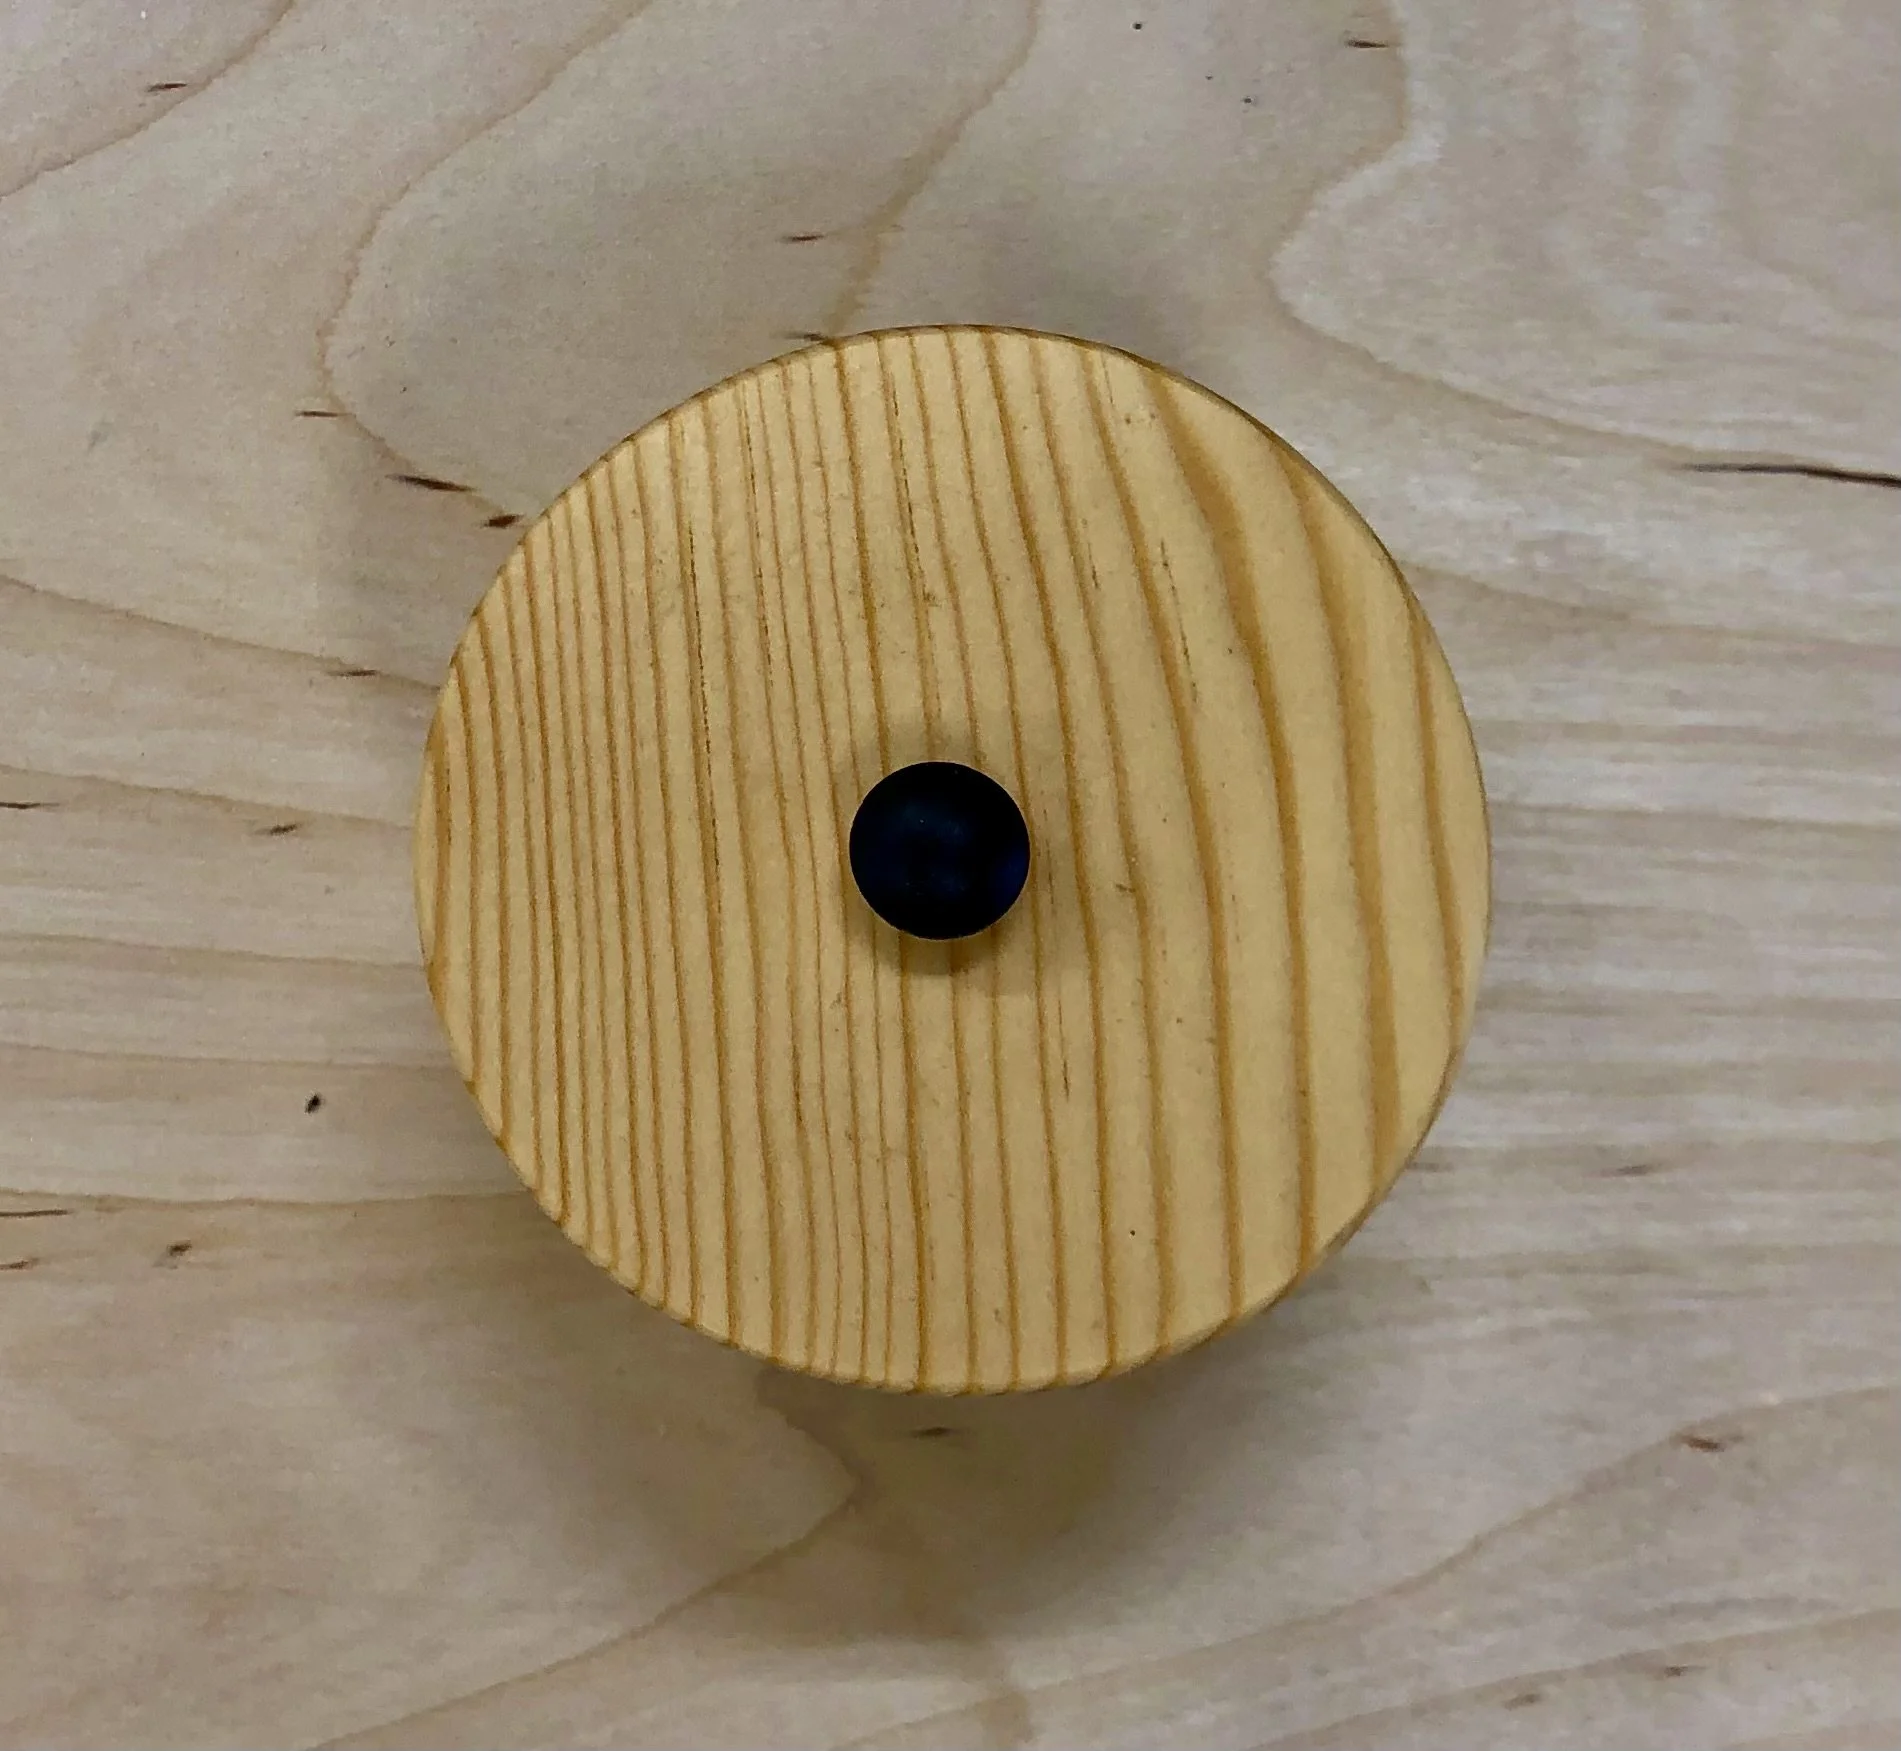
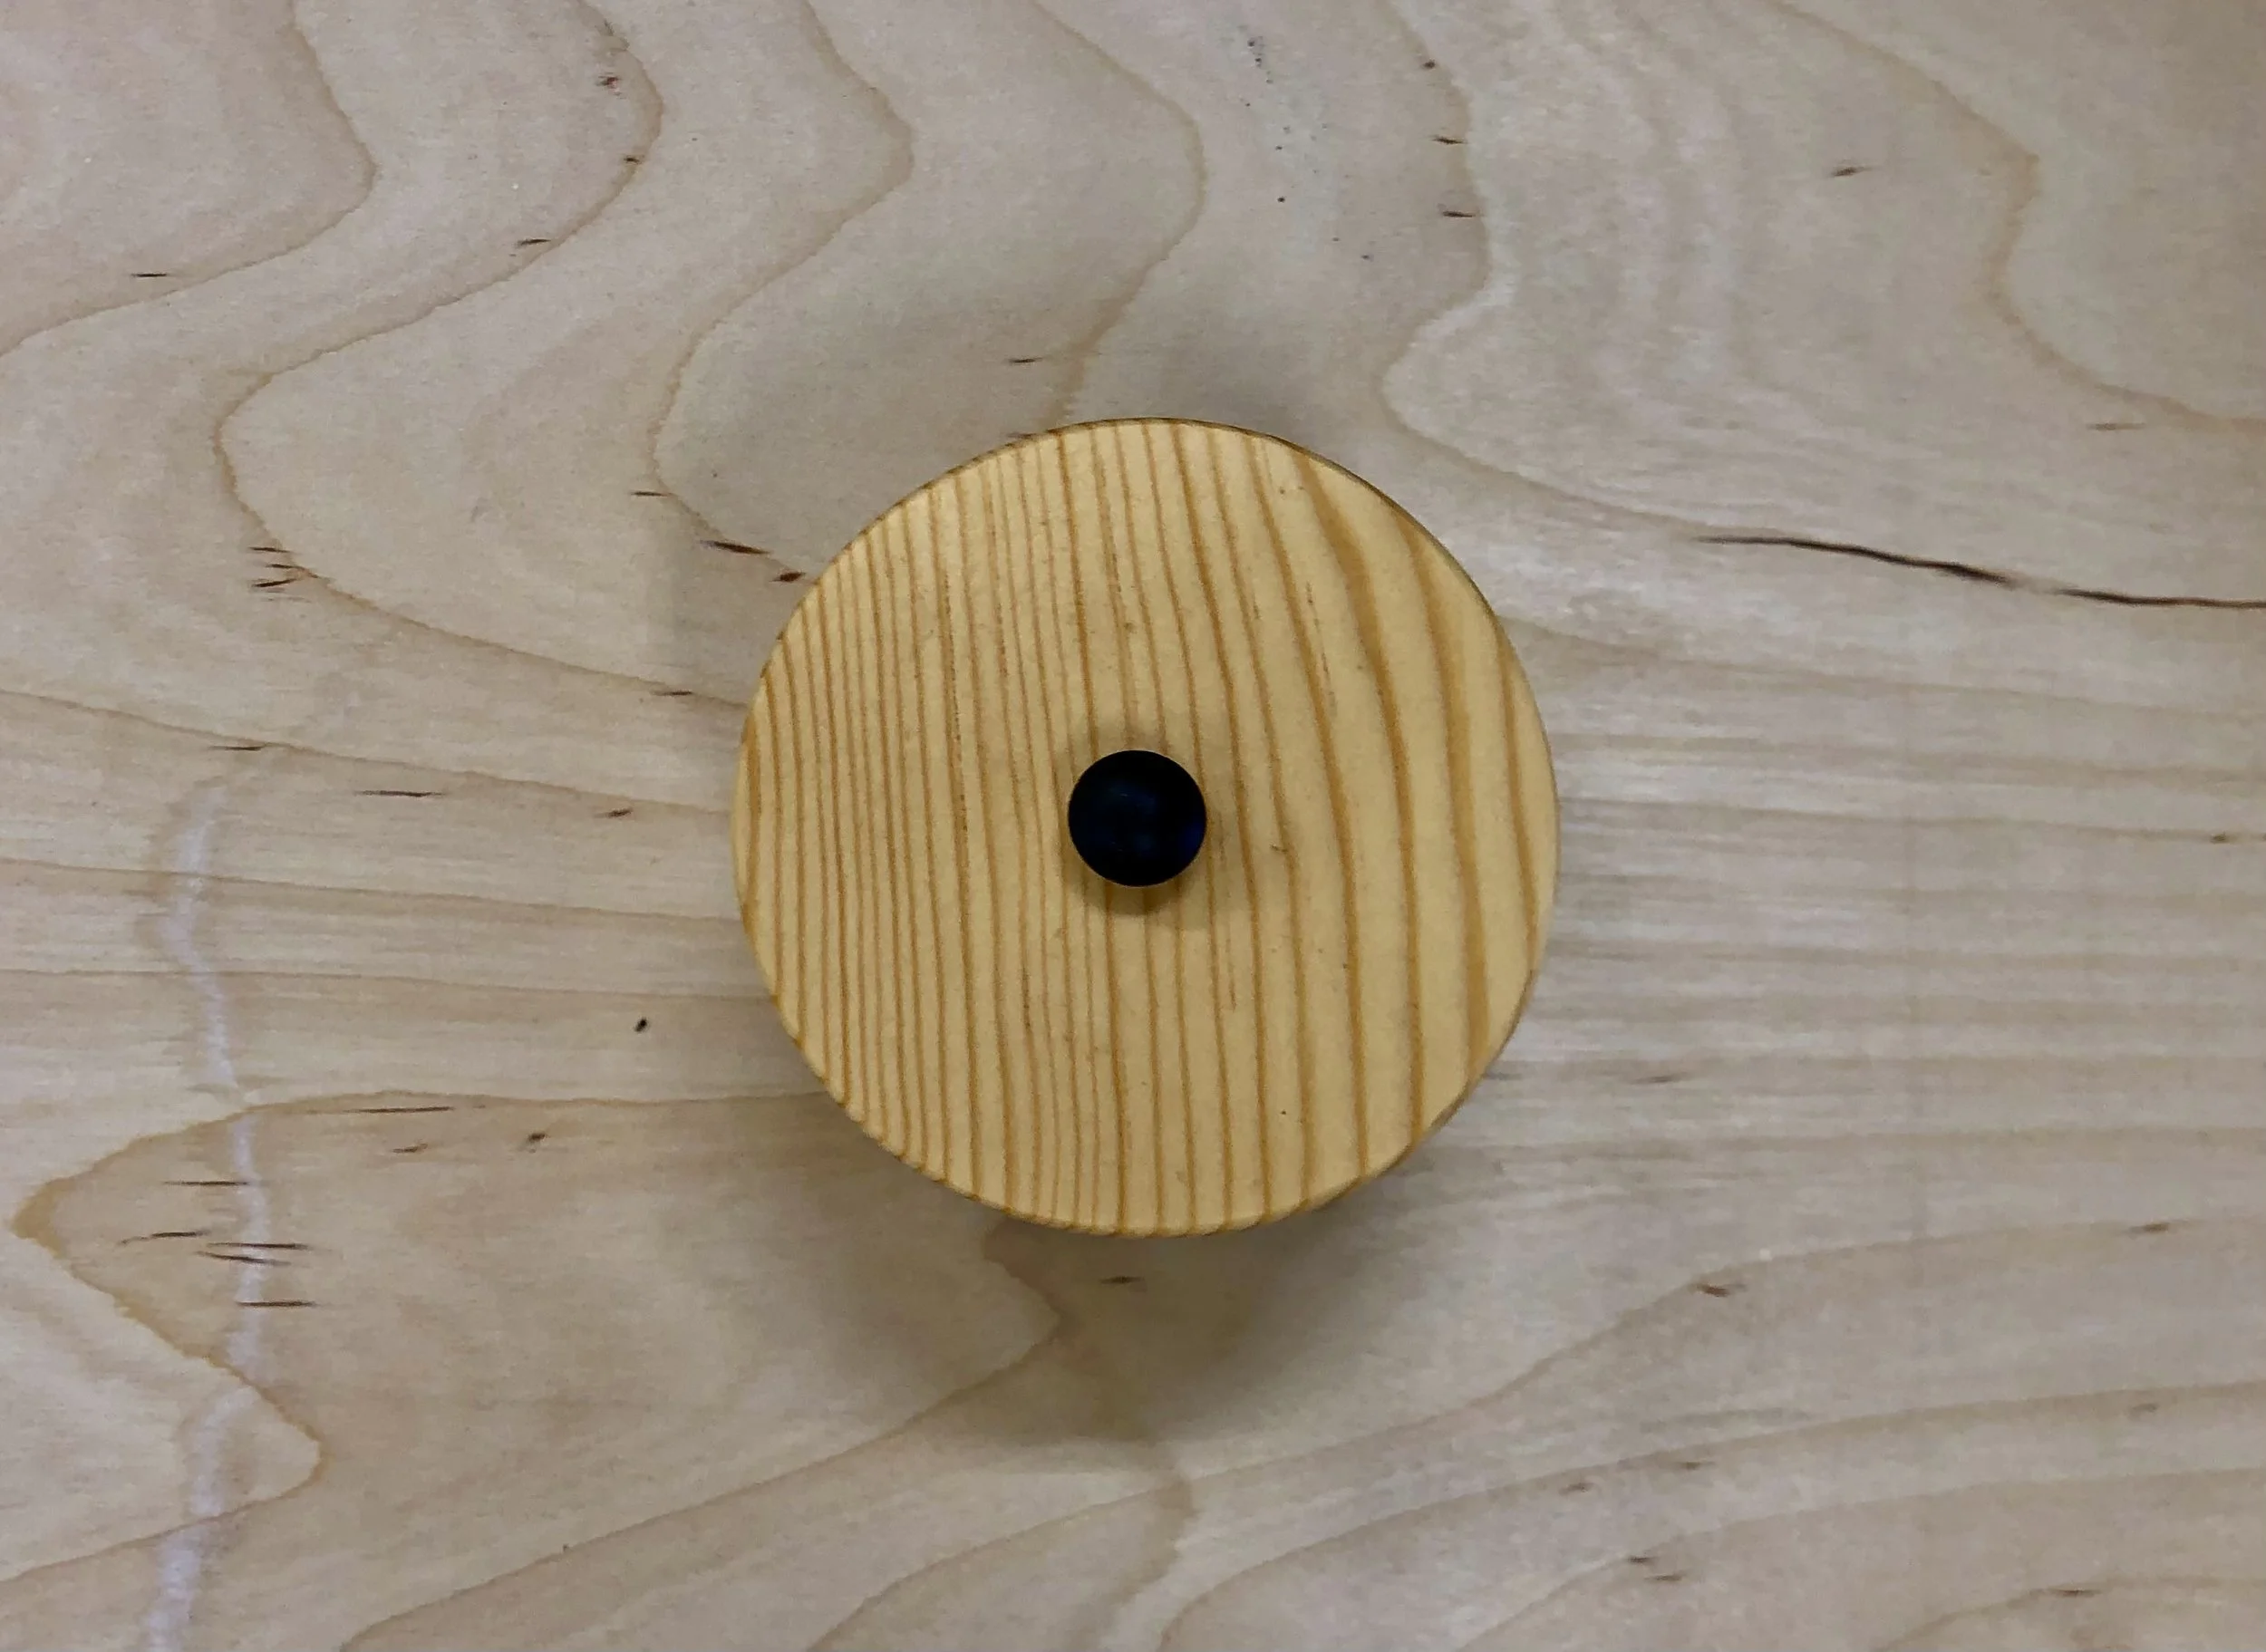
Amazon Delivery
I finally spent a few dollars on my woodworking projects.
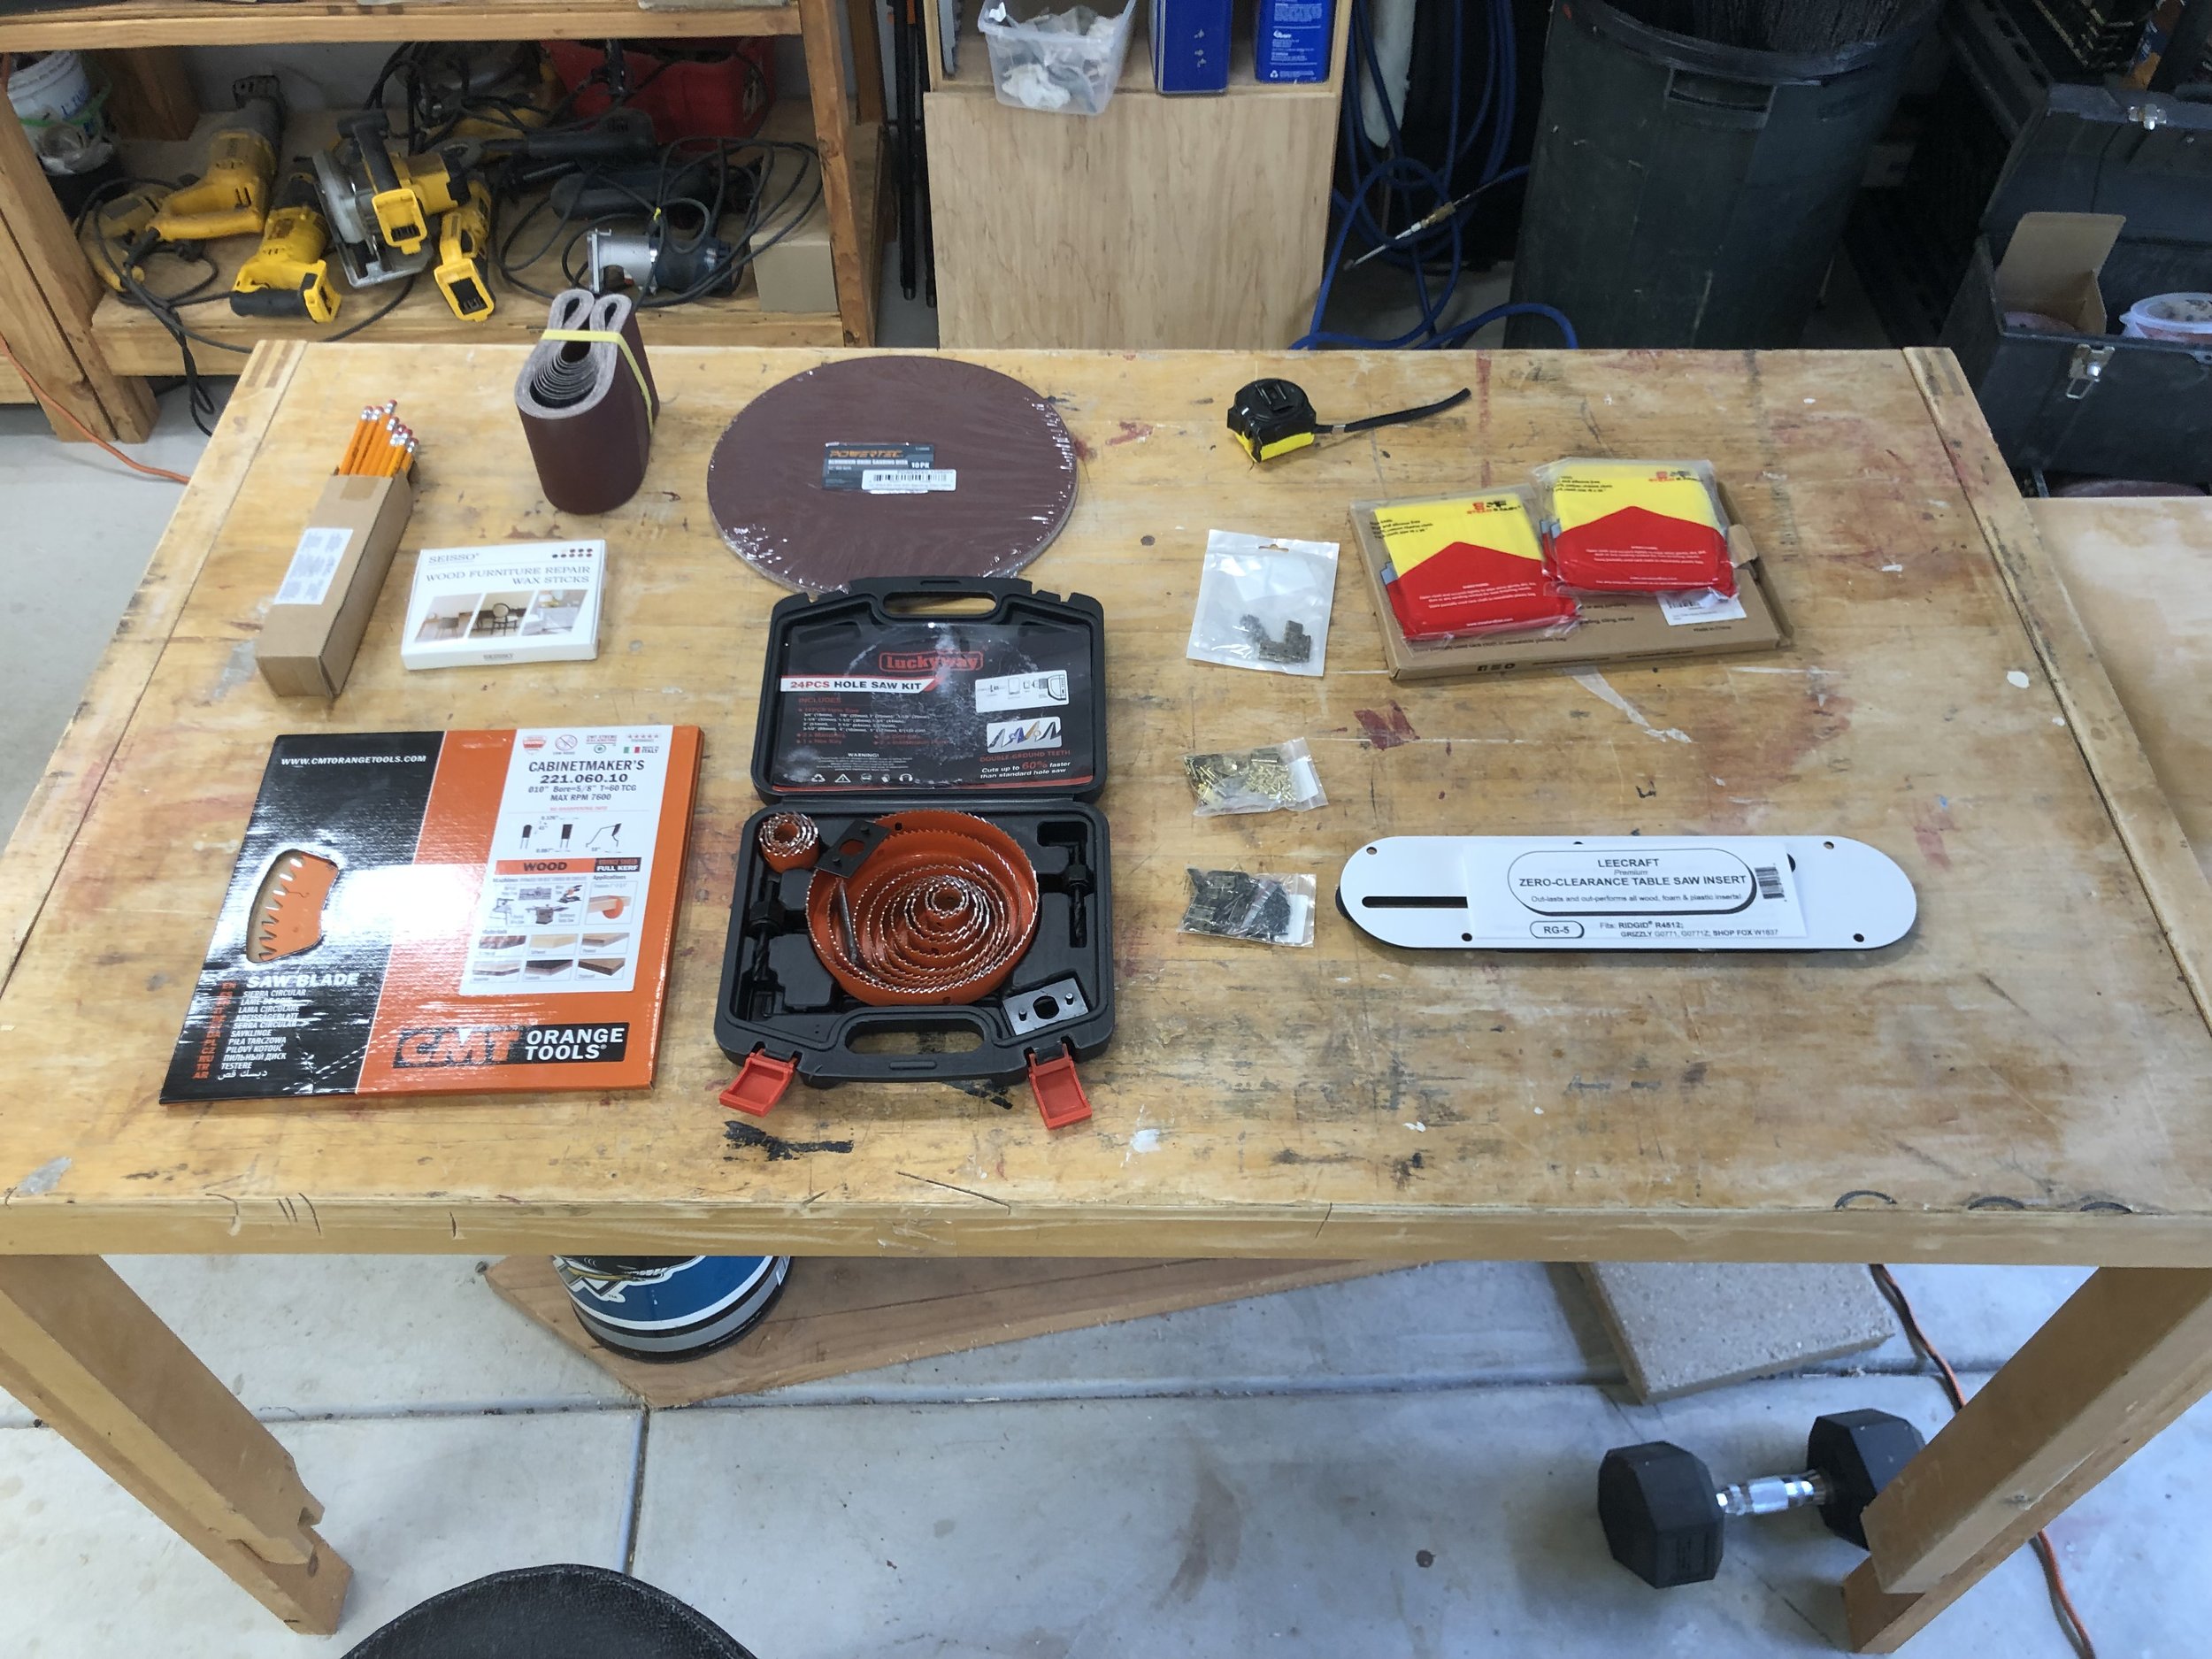
I got a variety of deliveries today, including a new zero-clearance throat plate for my Ridgid 4512 Table Saw and a new straight-tooth saw blade. Hopefully, they’ll help improve the quality of my cuts. I also received a new hole saw kit, and I’m planning to use it to make some round boxes.
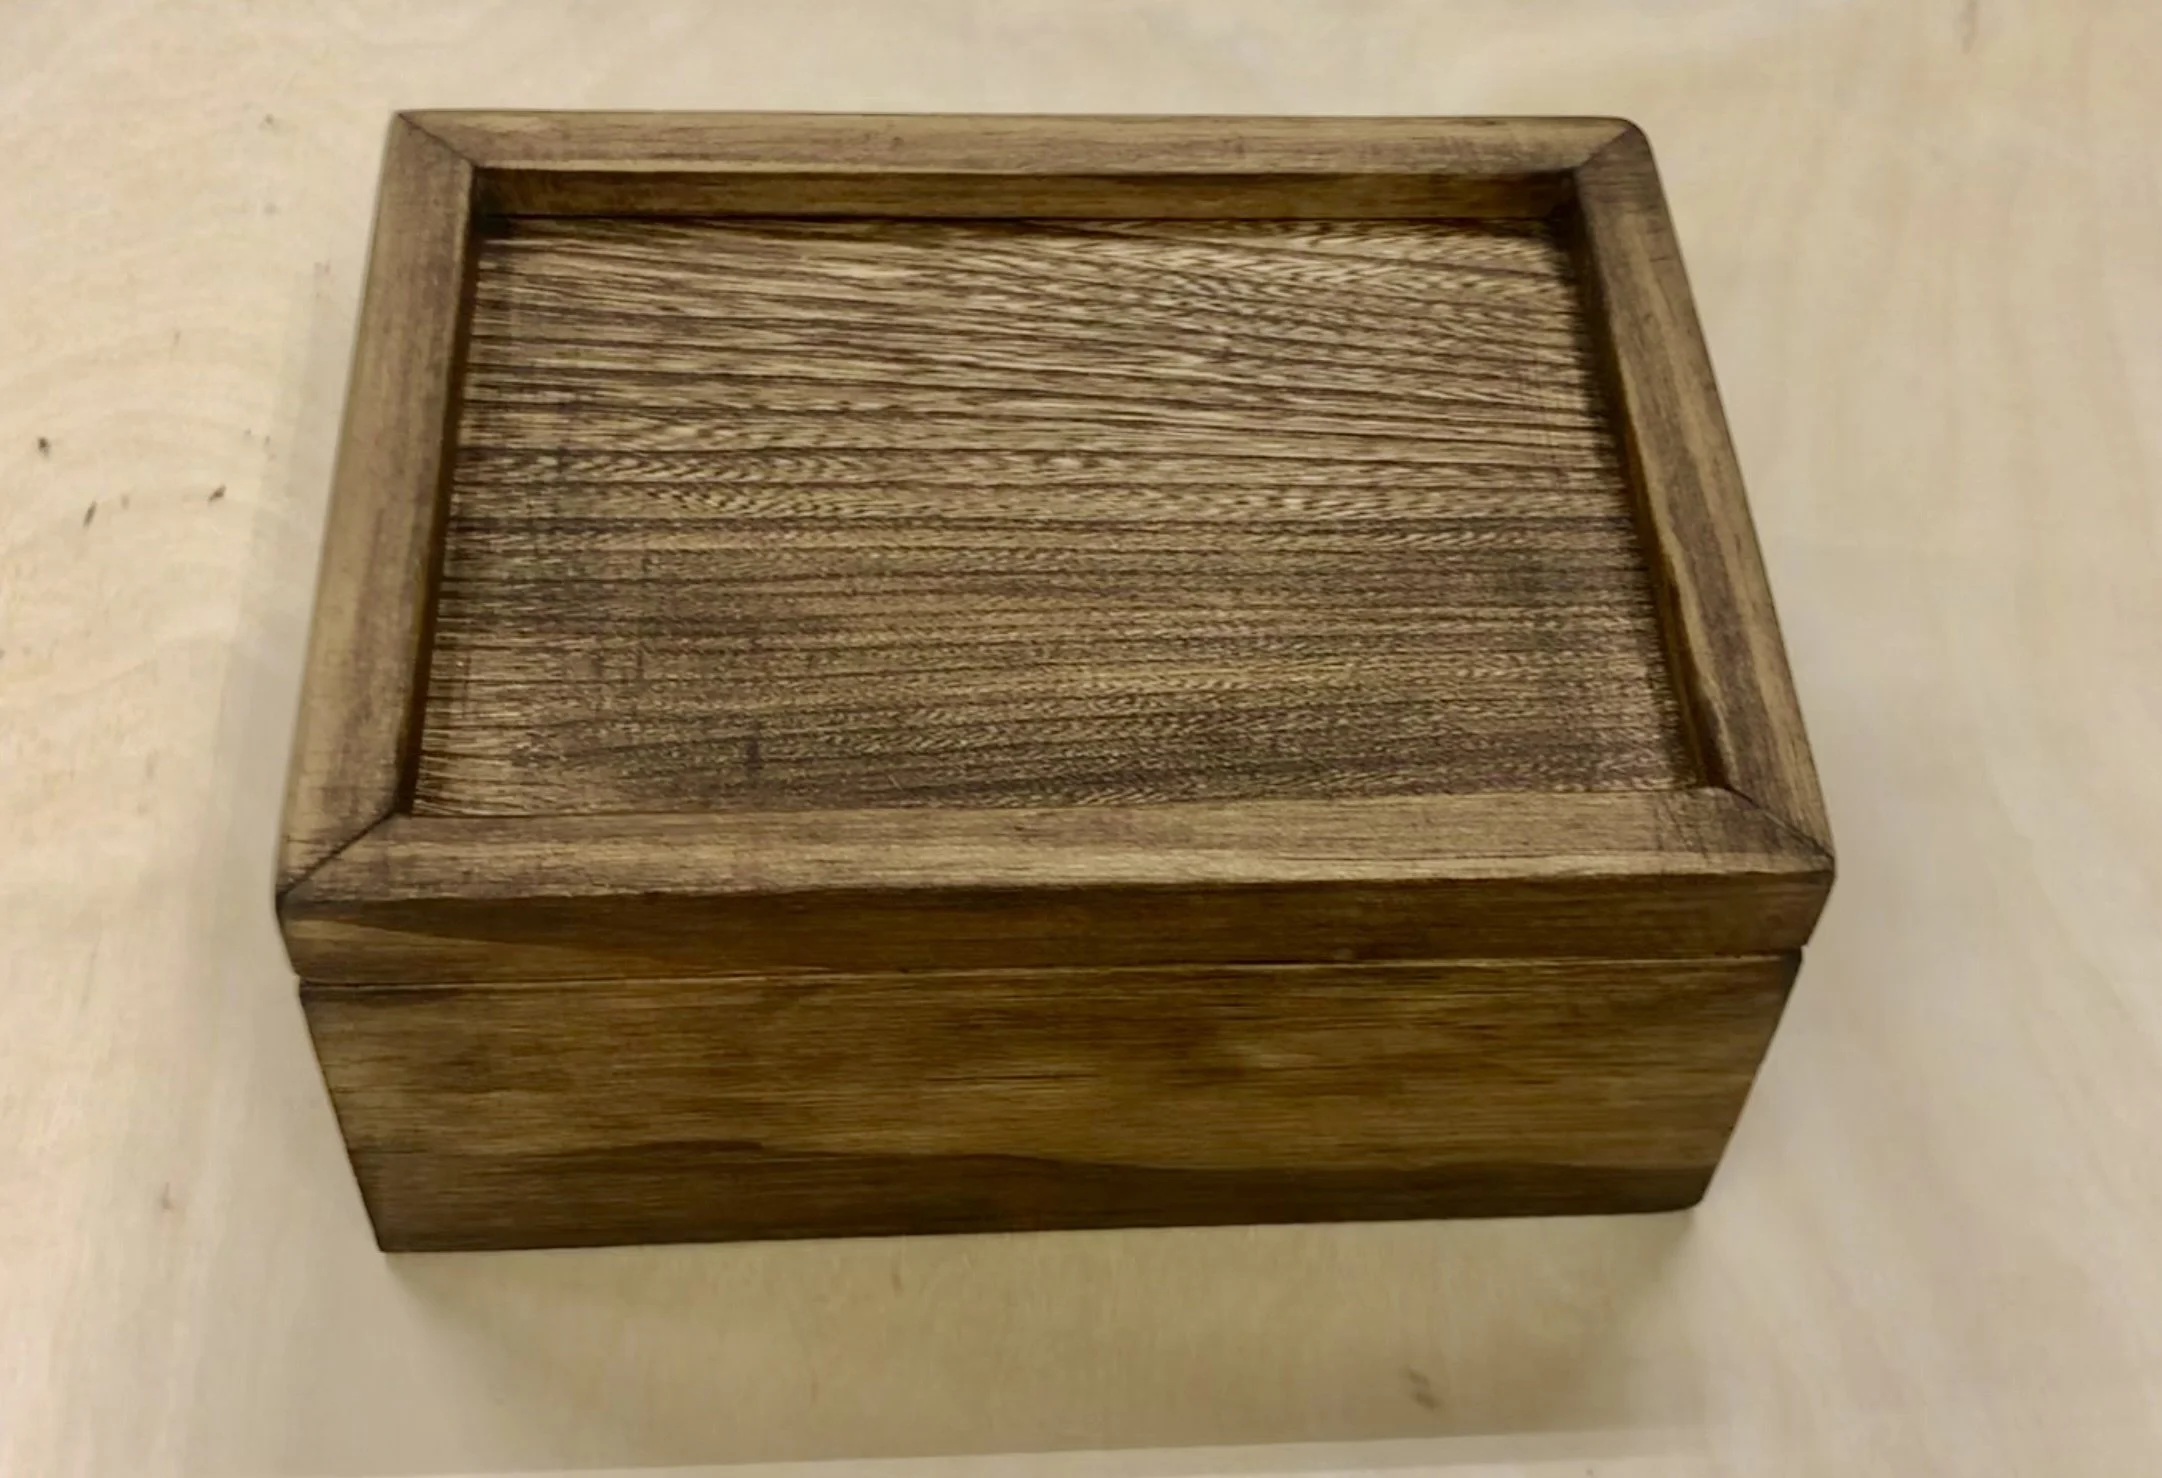
Blake’s Box
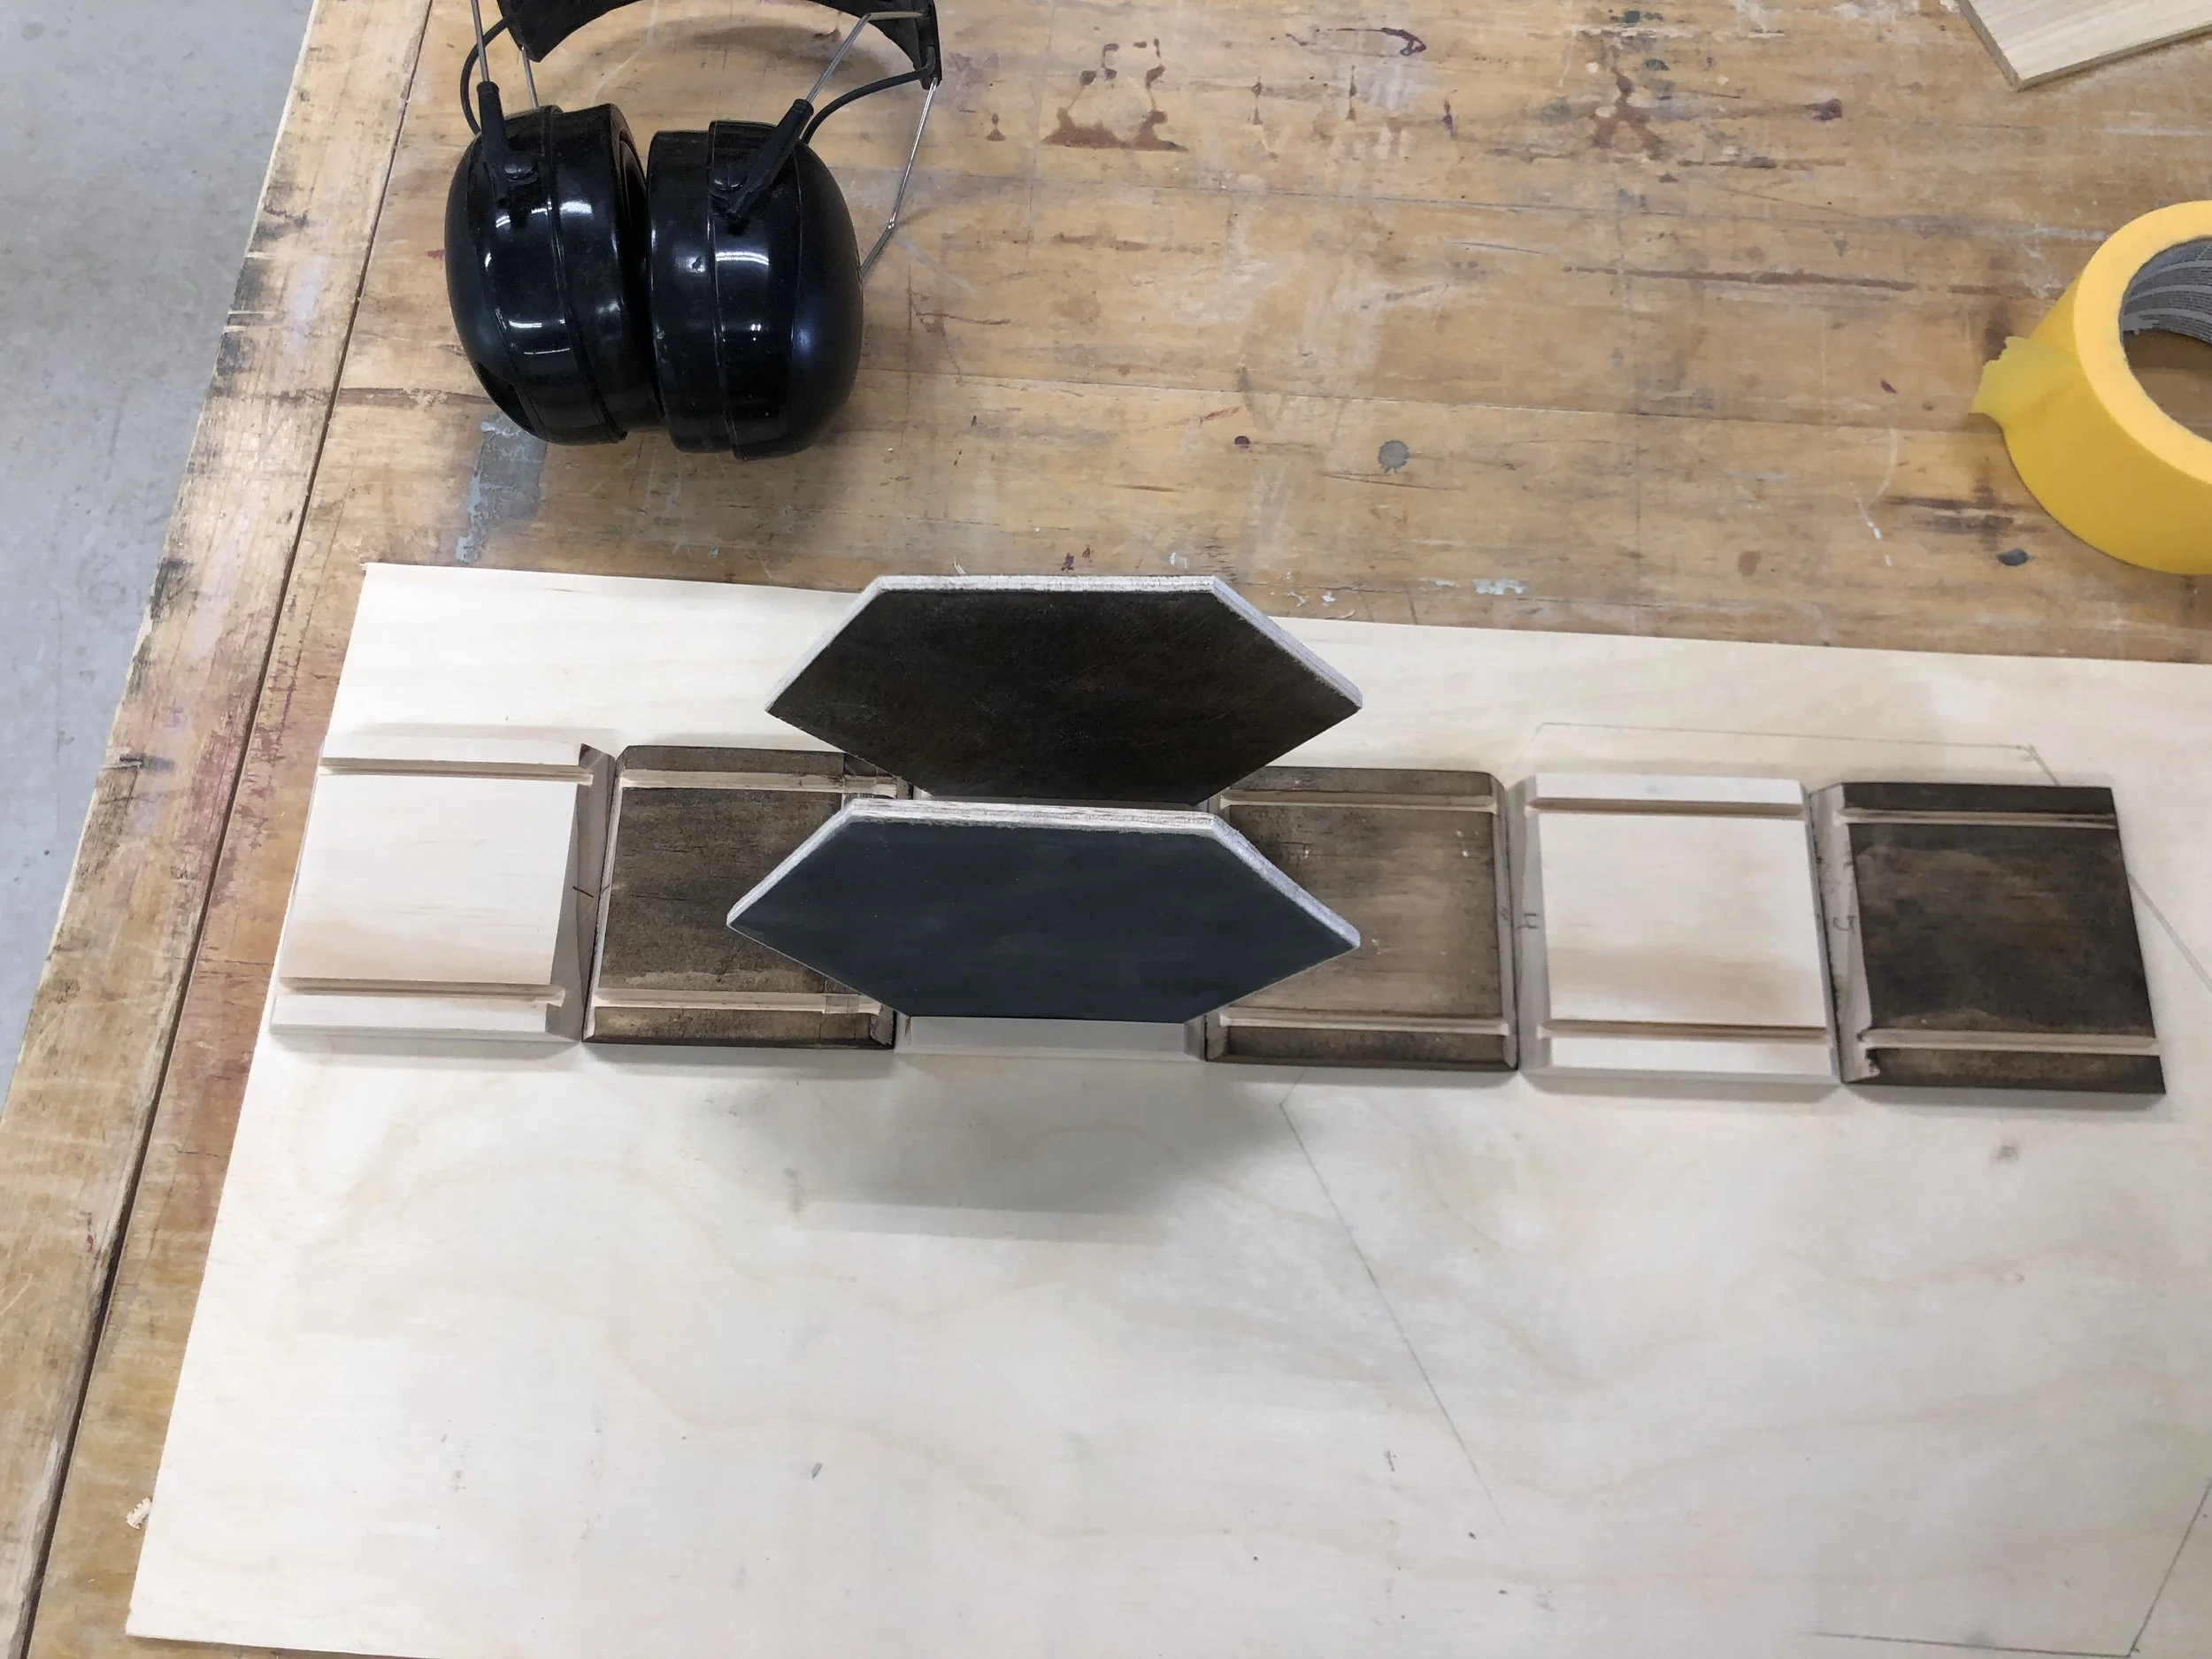
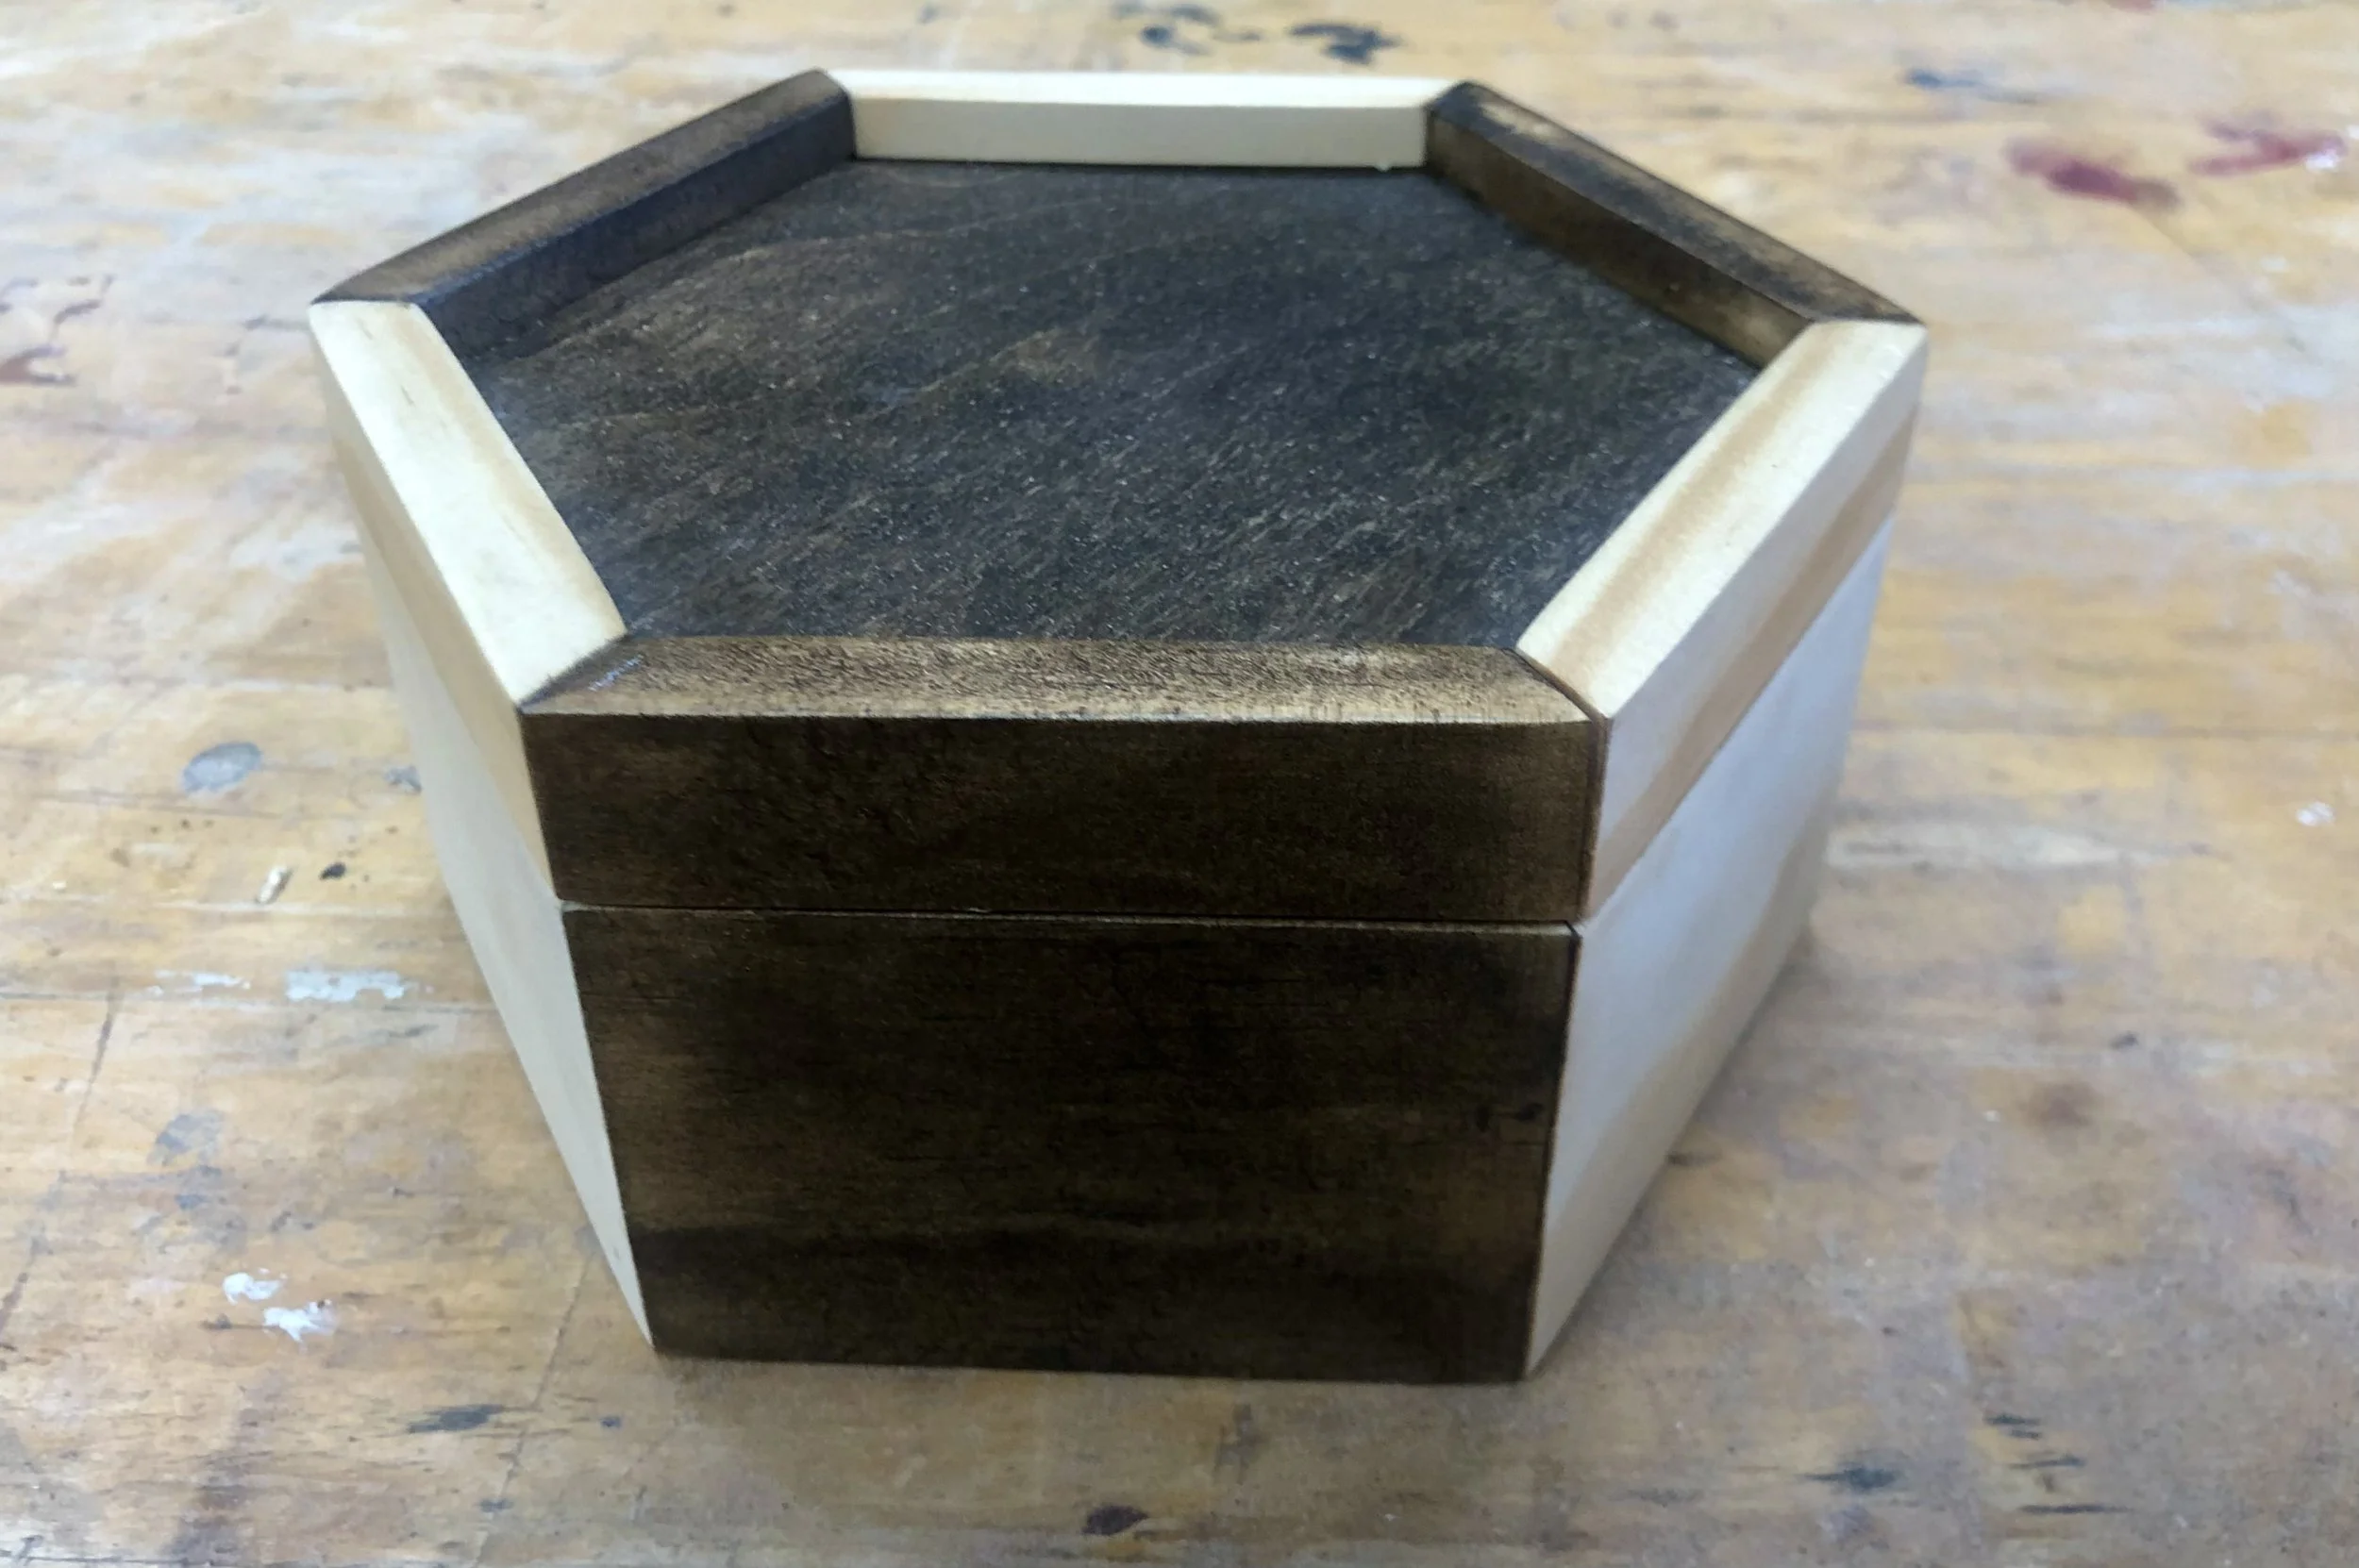
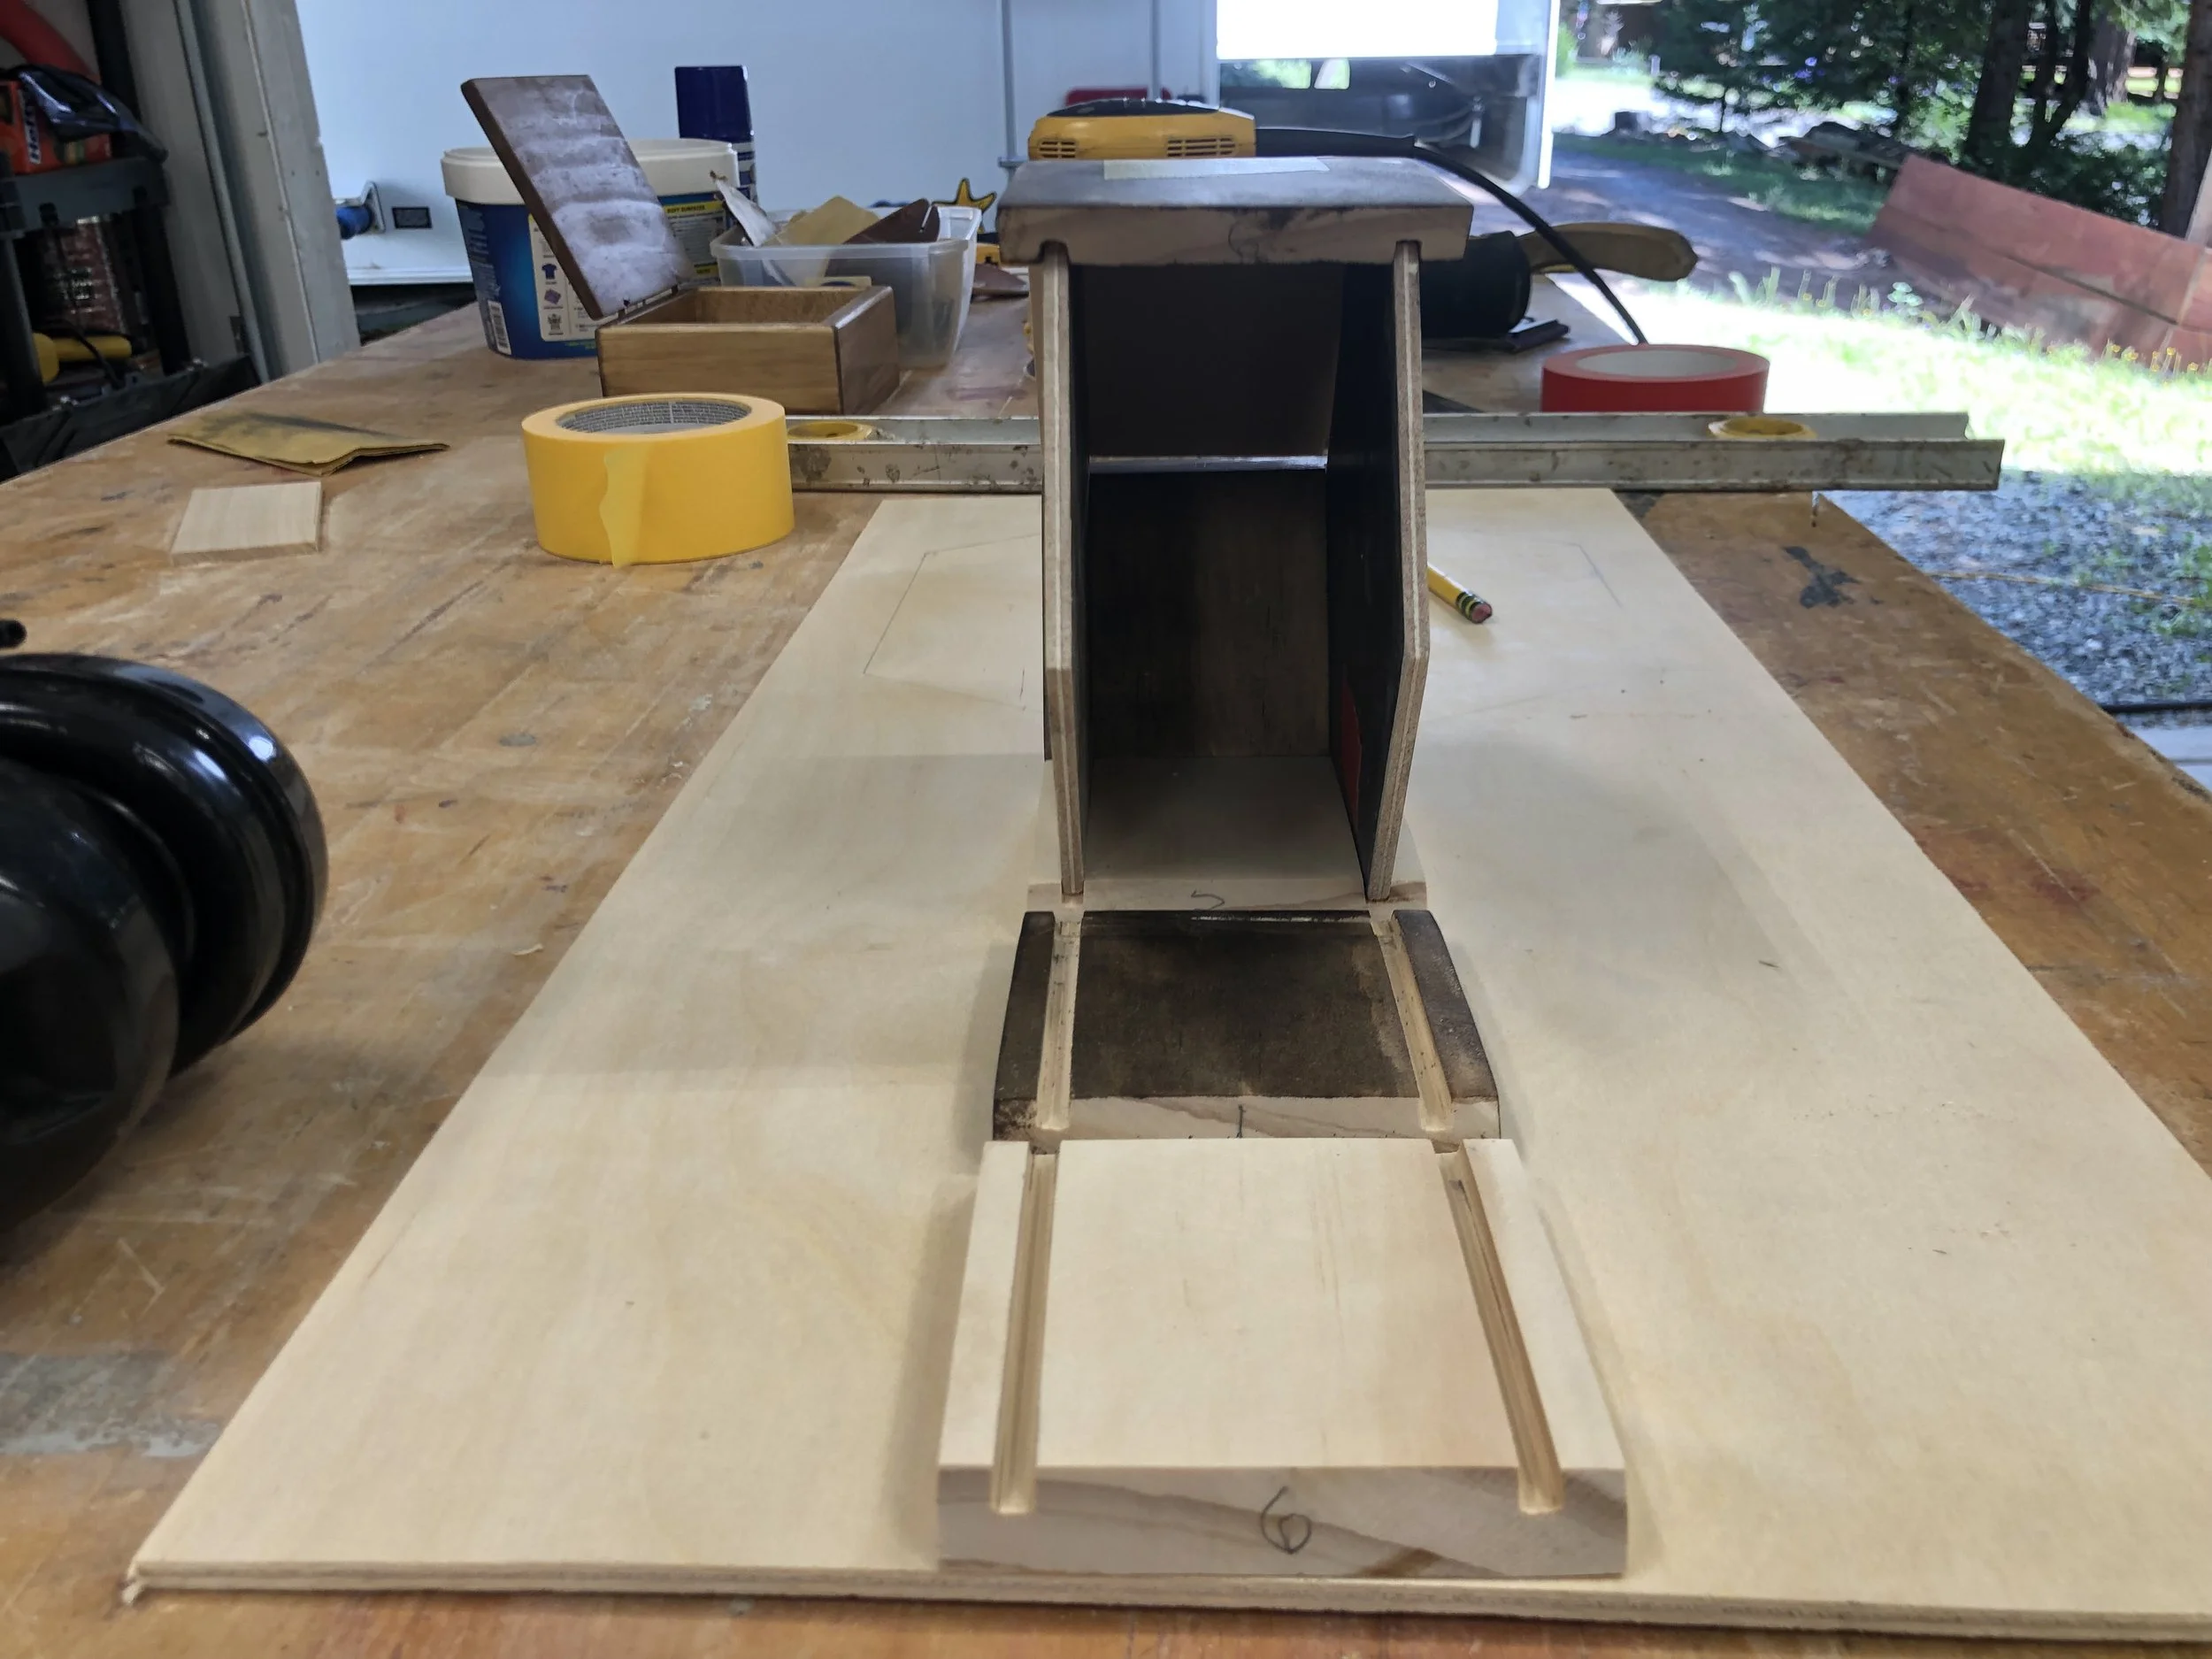
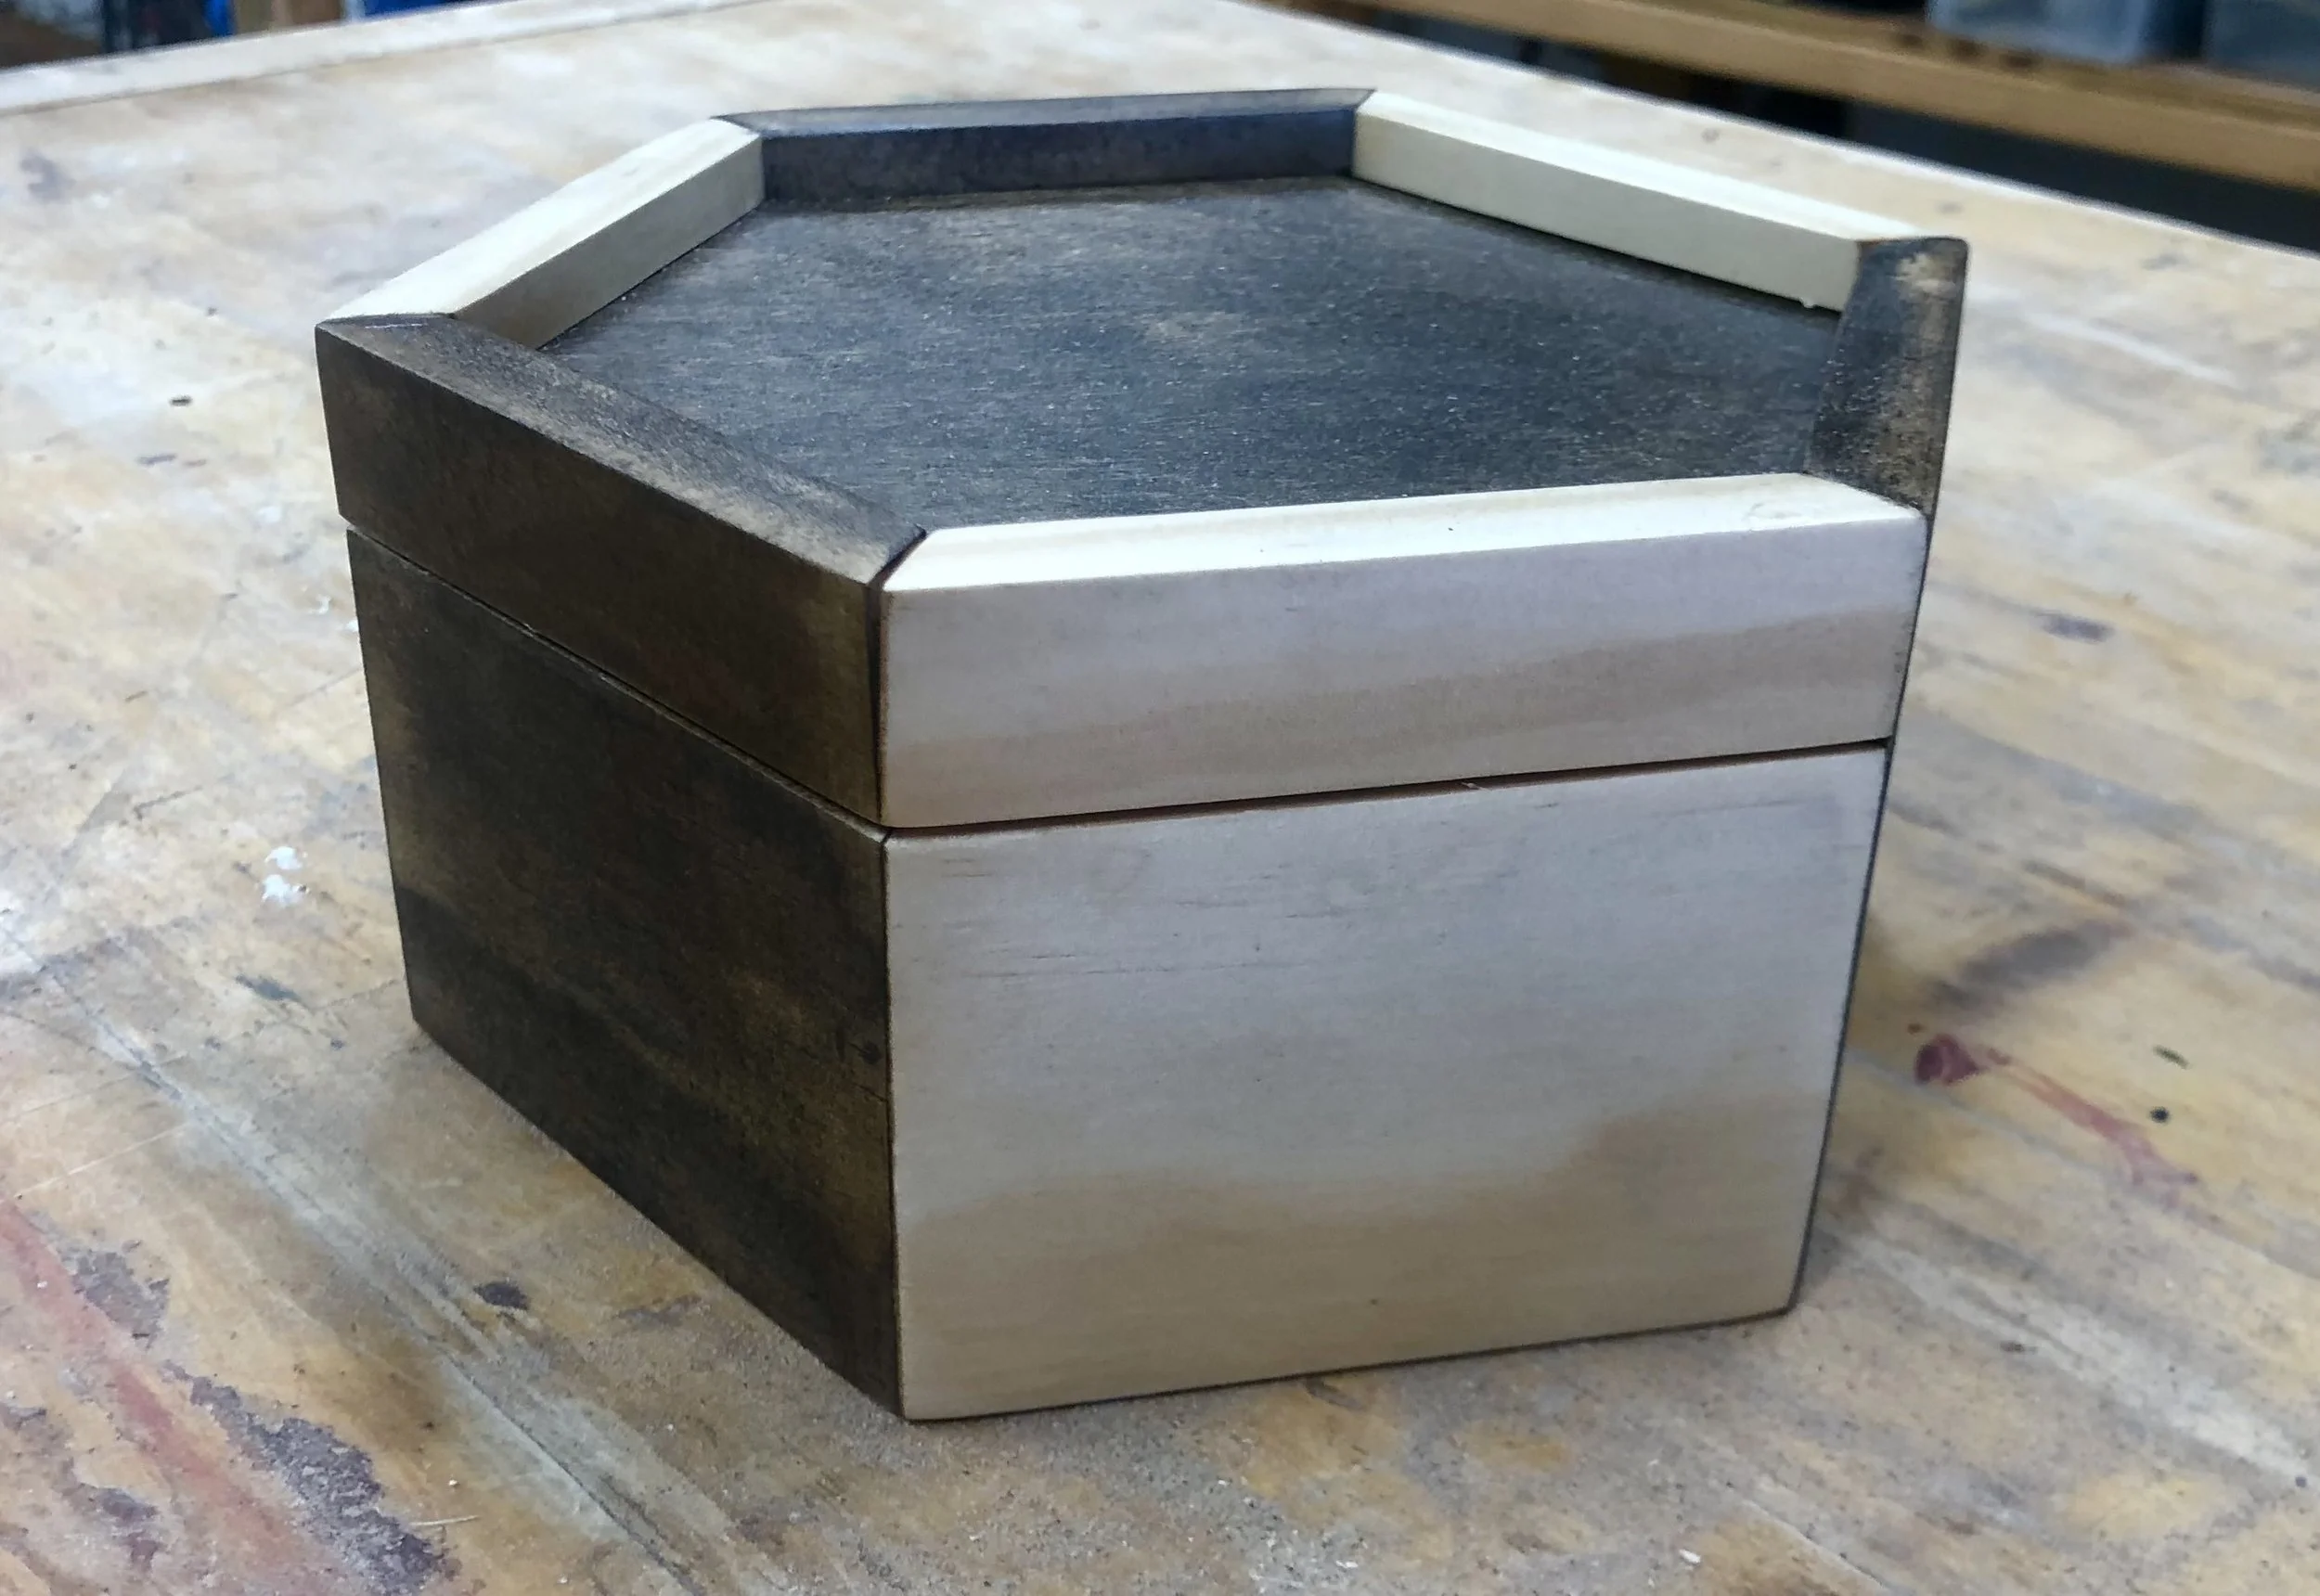
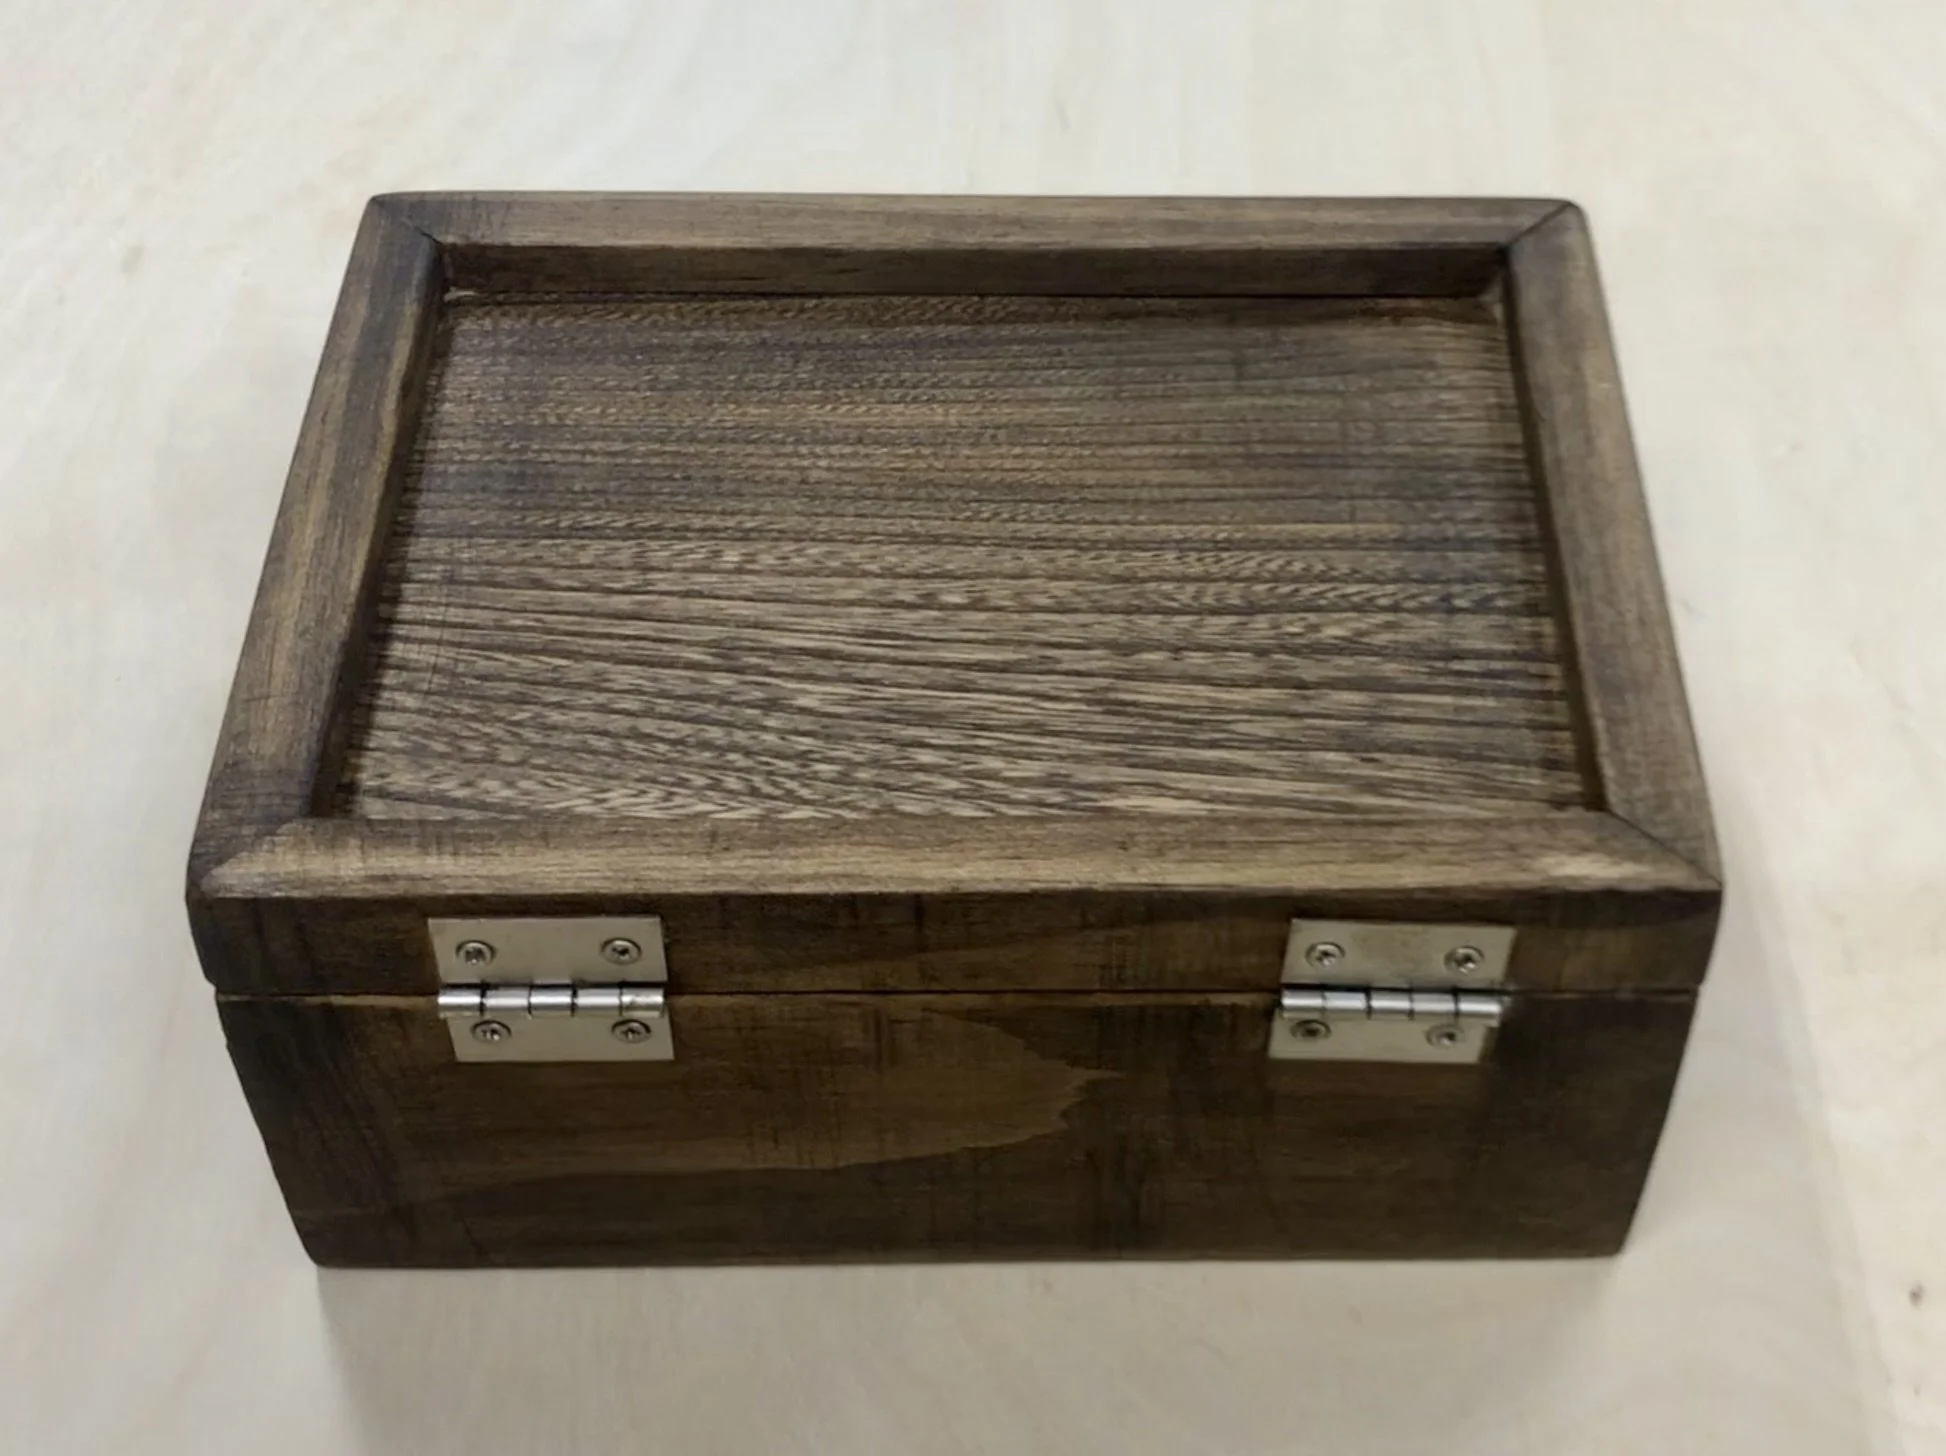
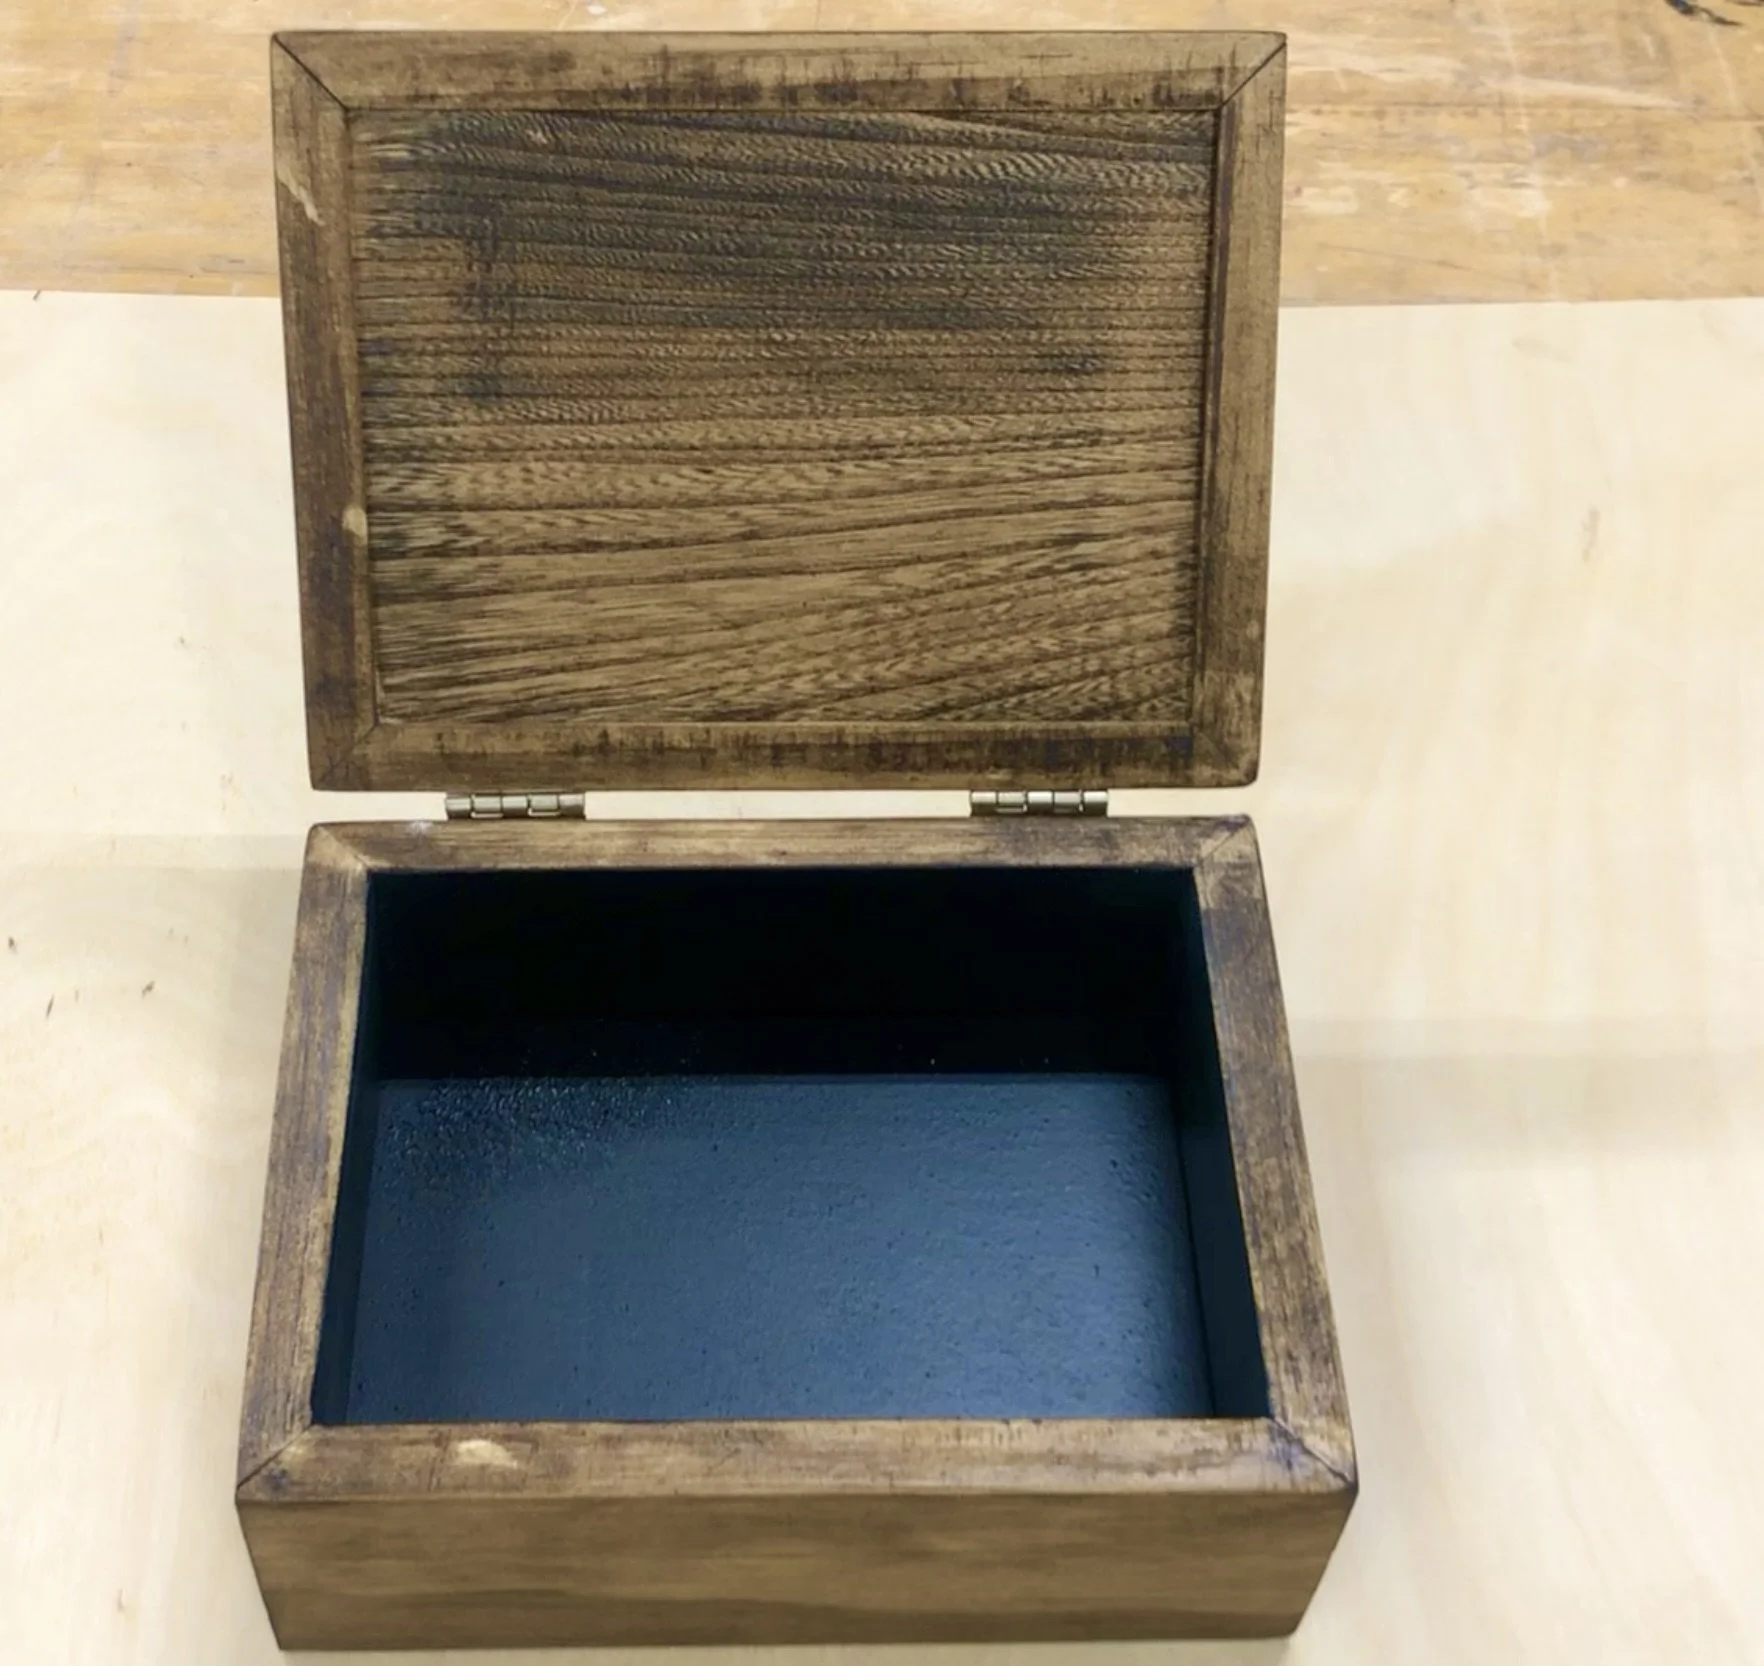
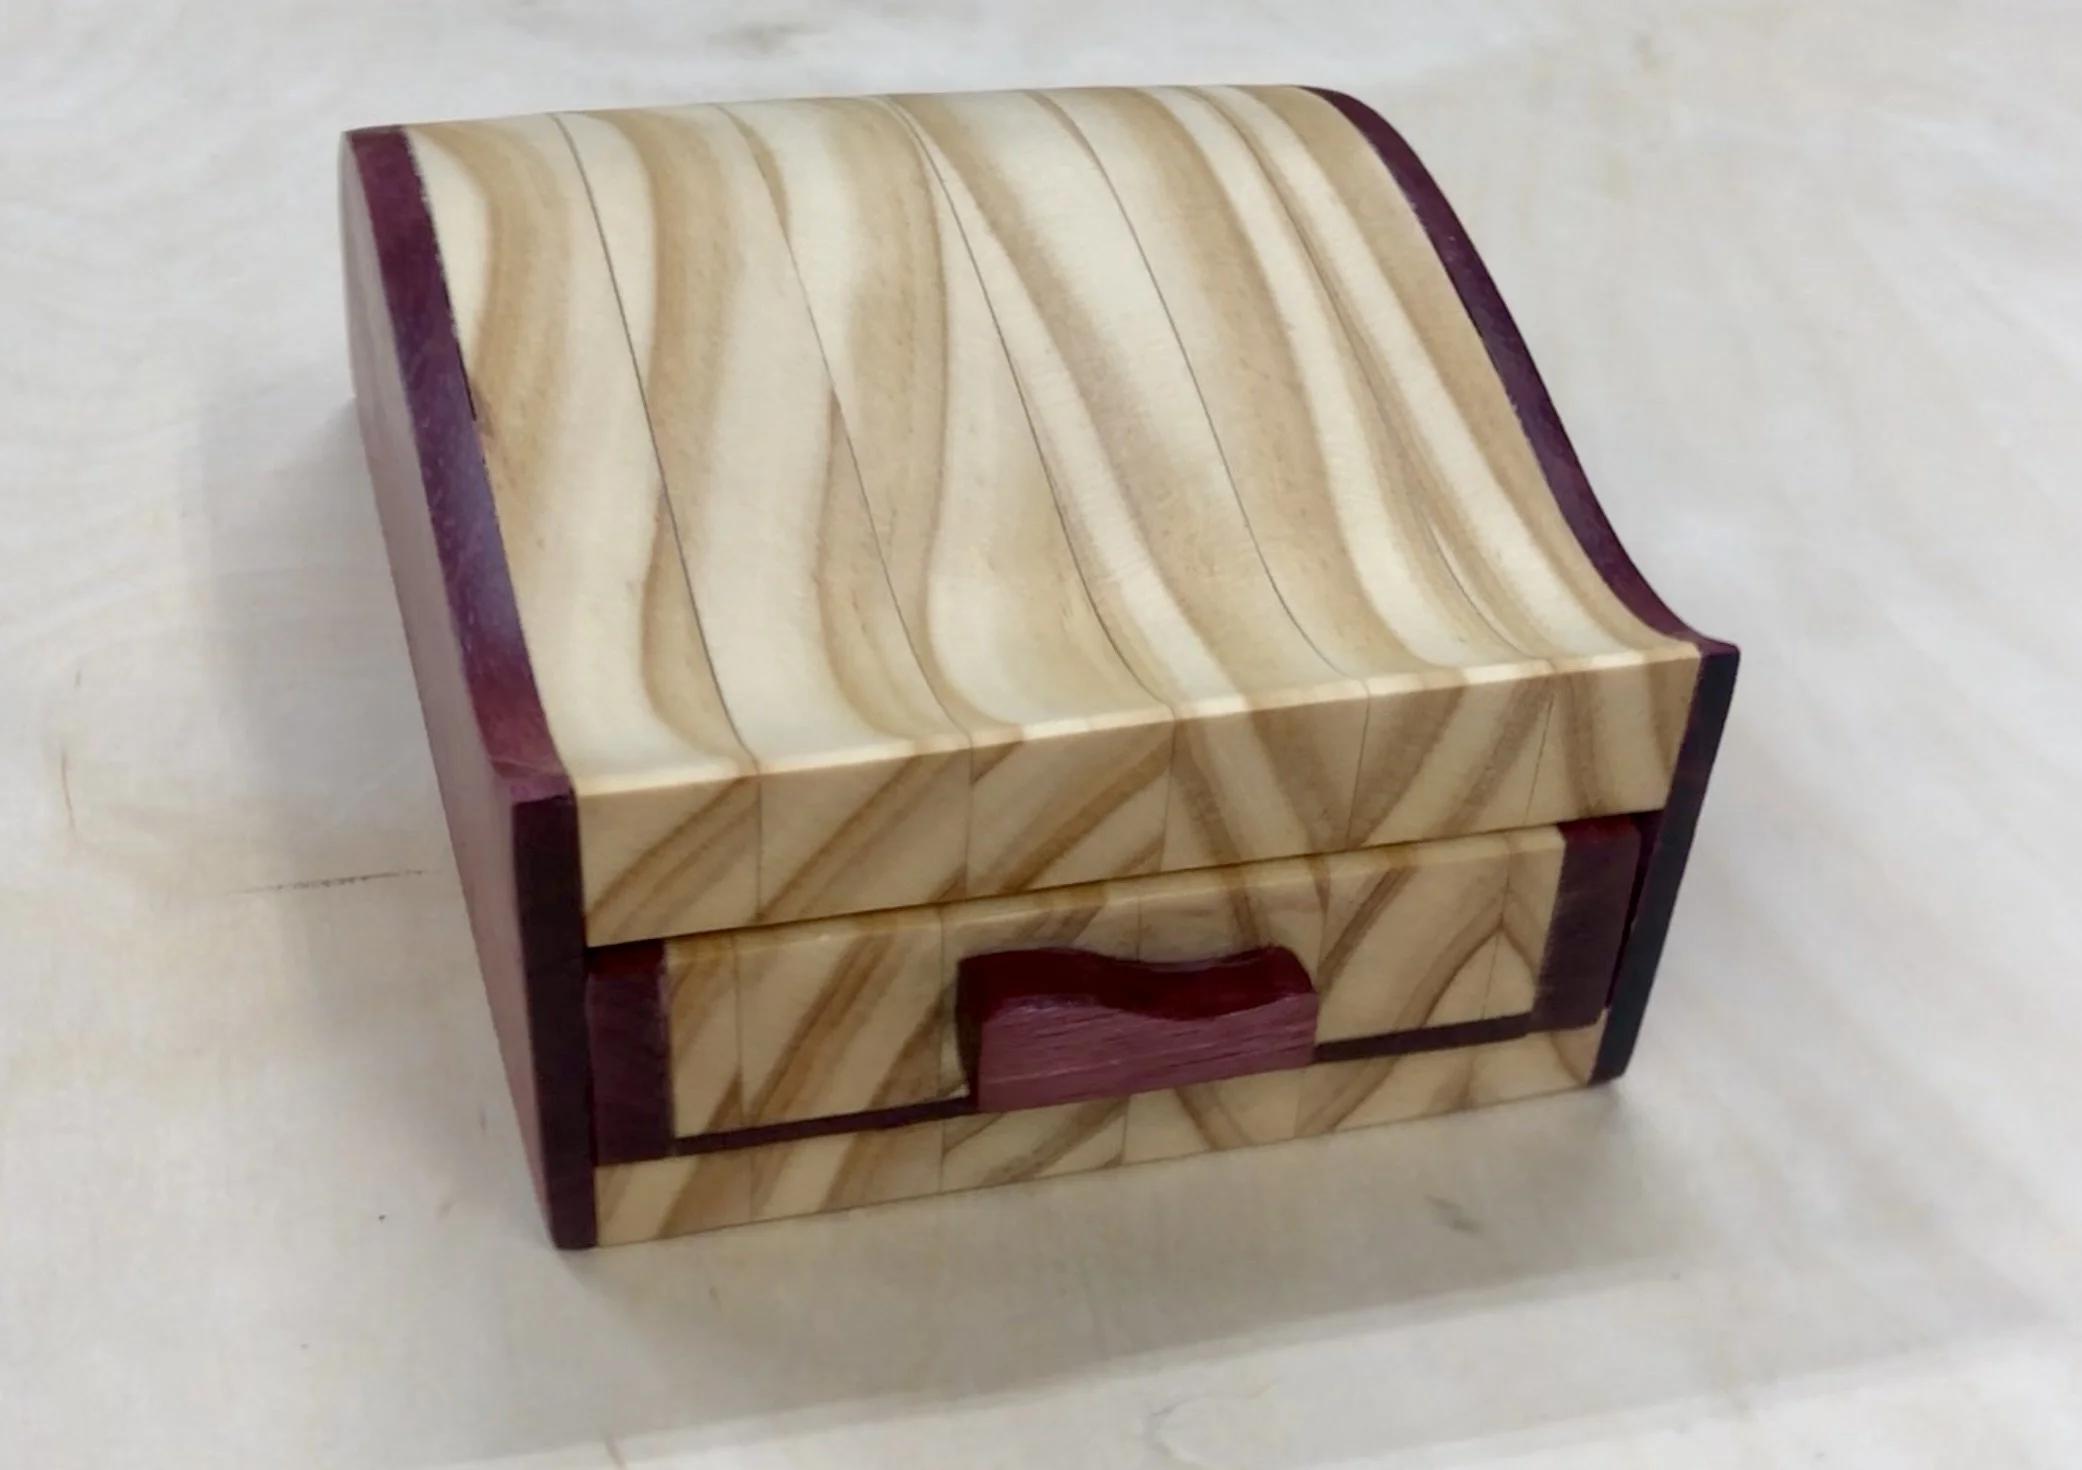
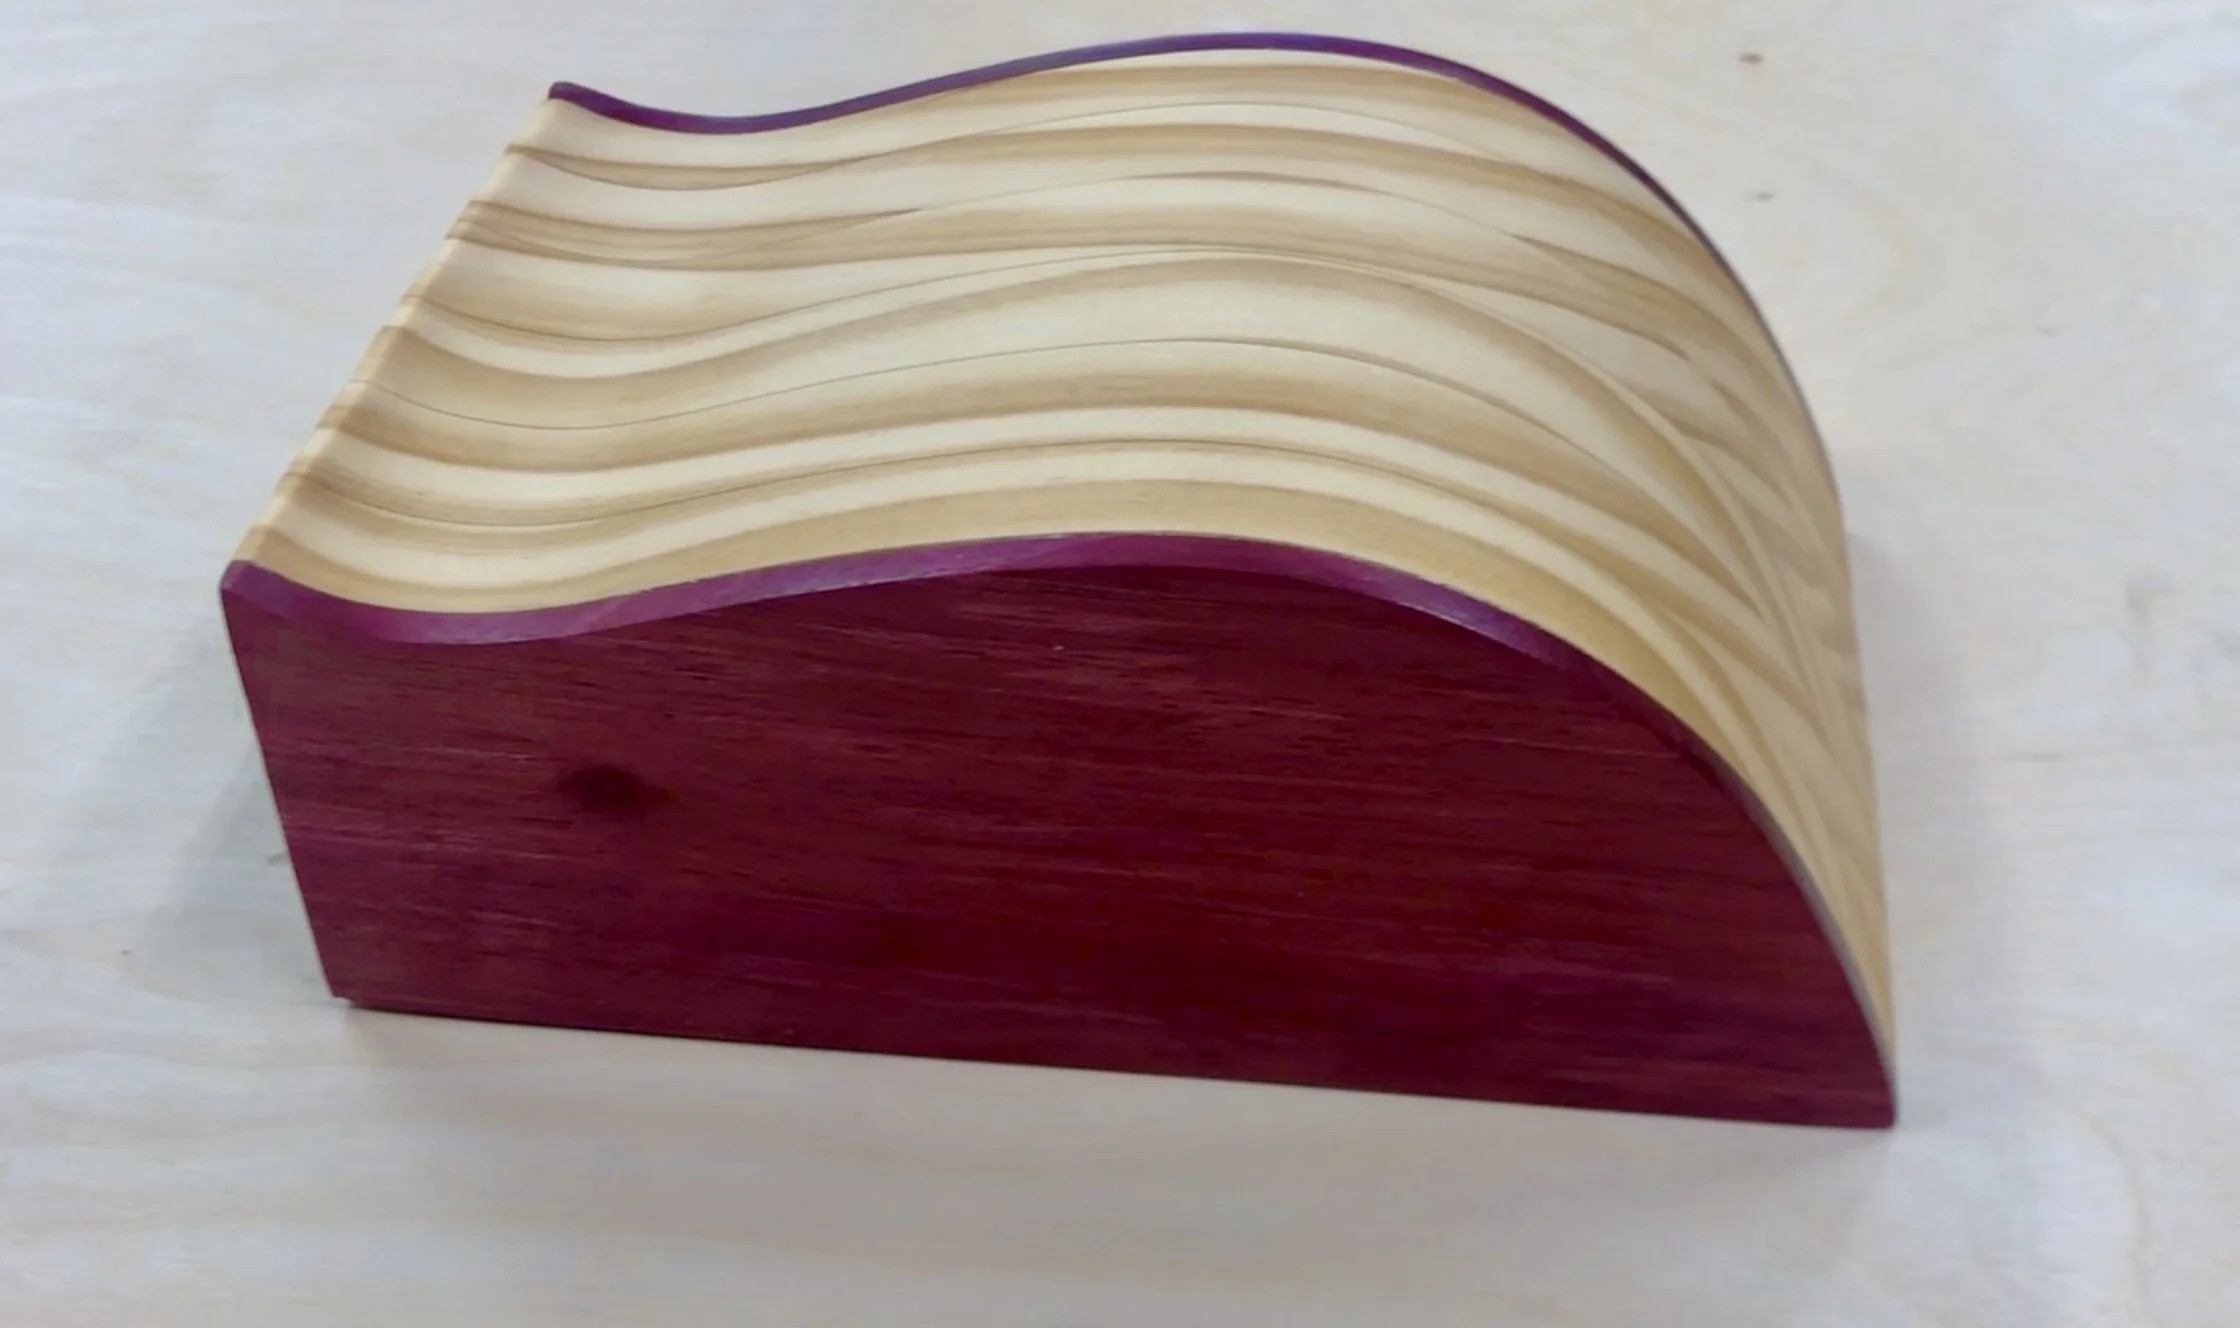
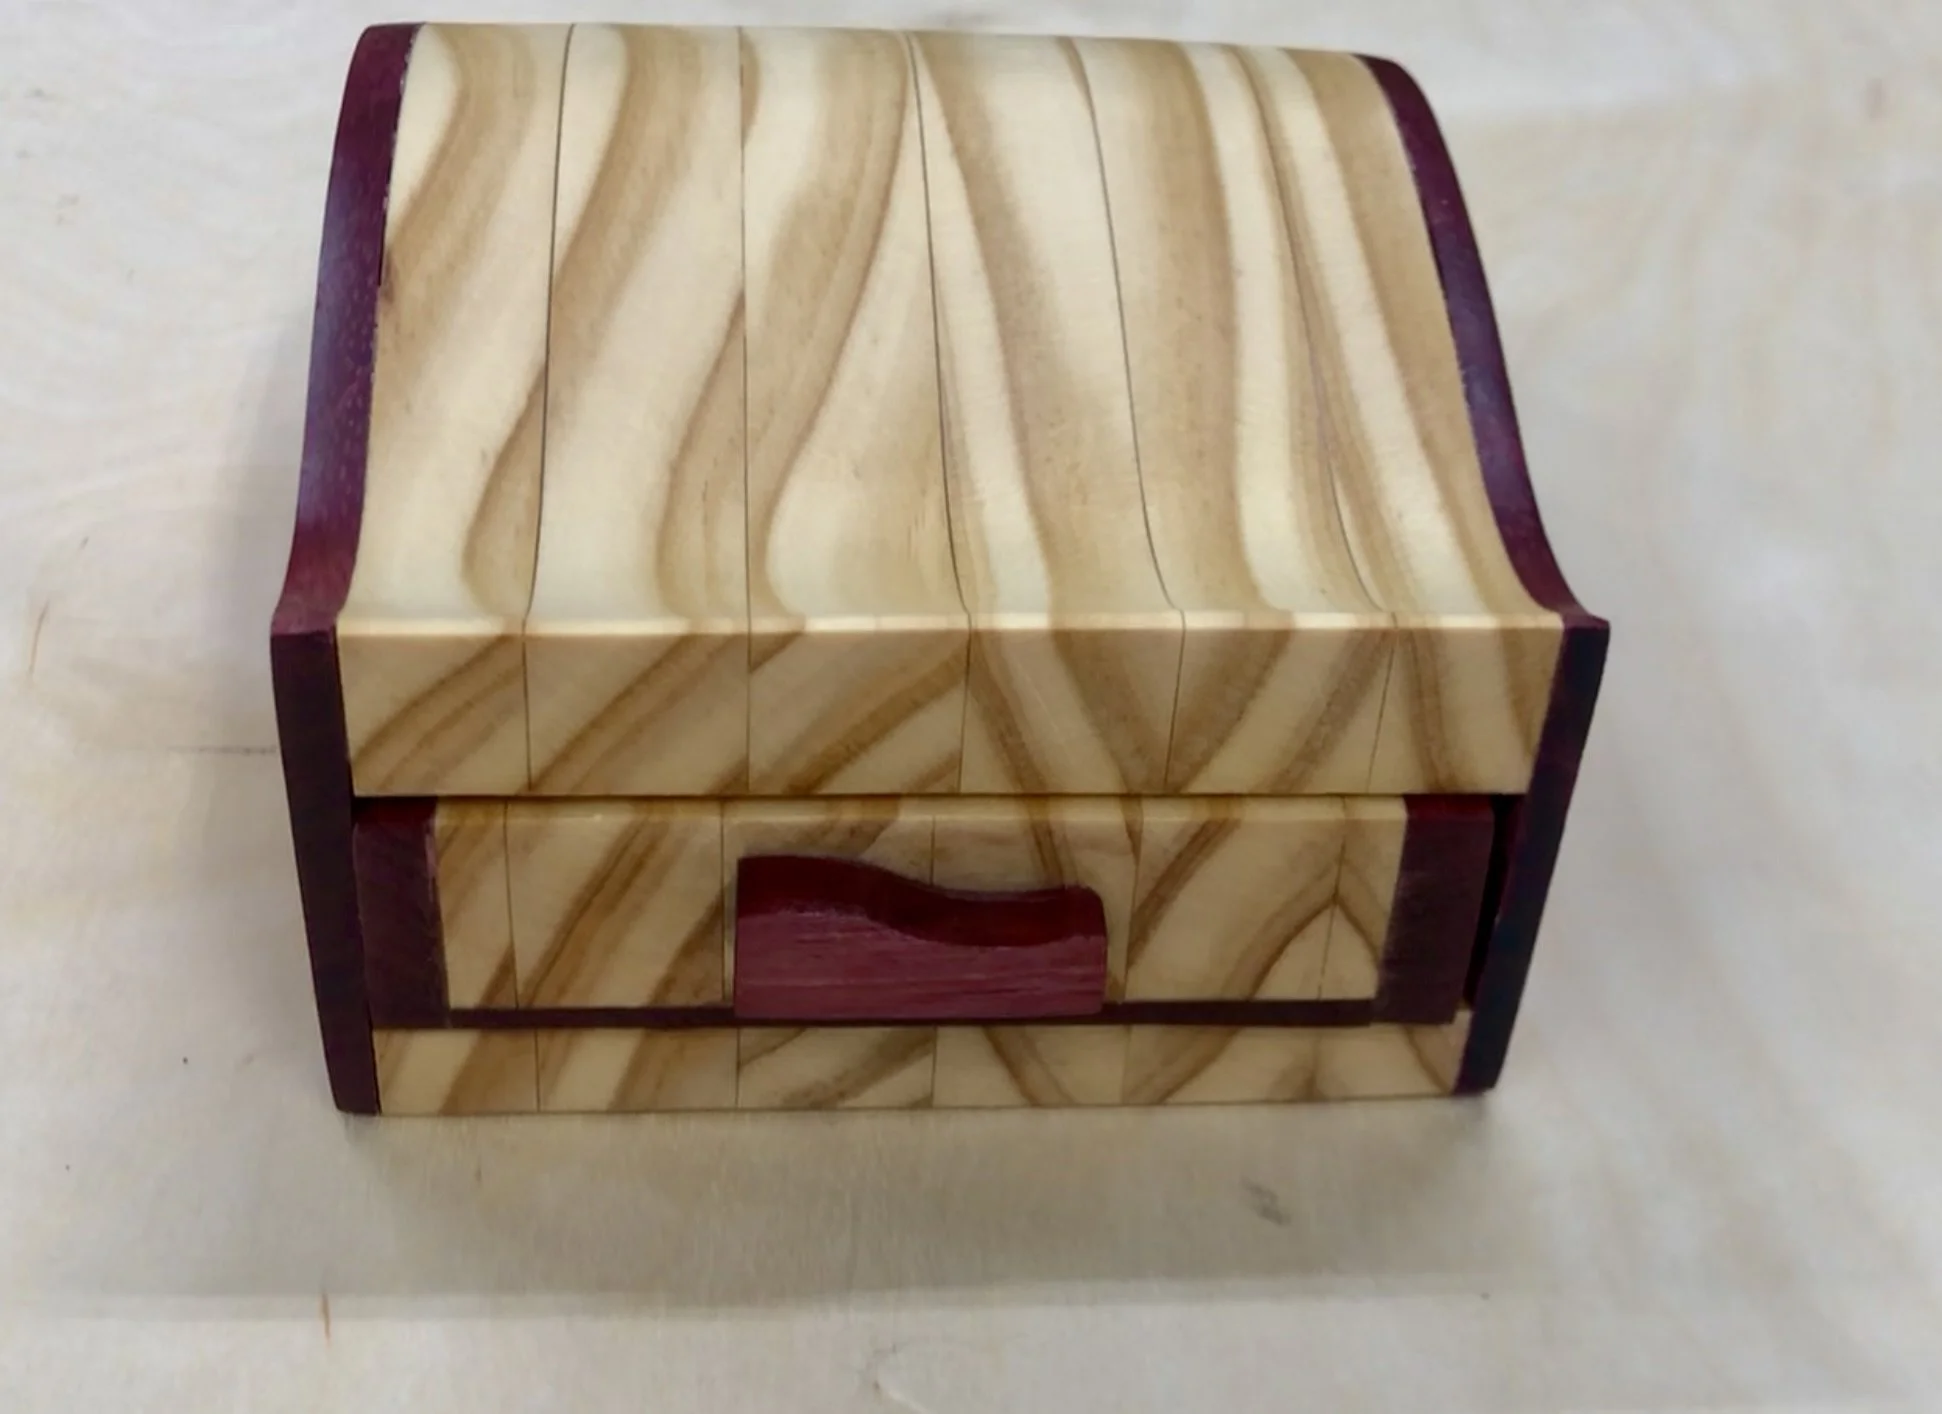
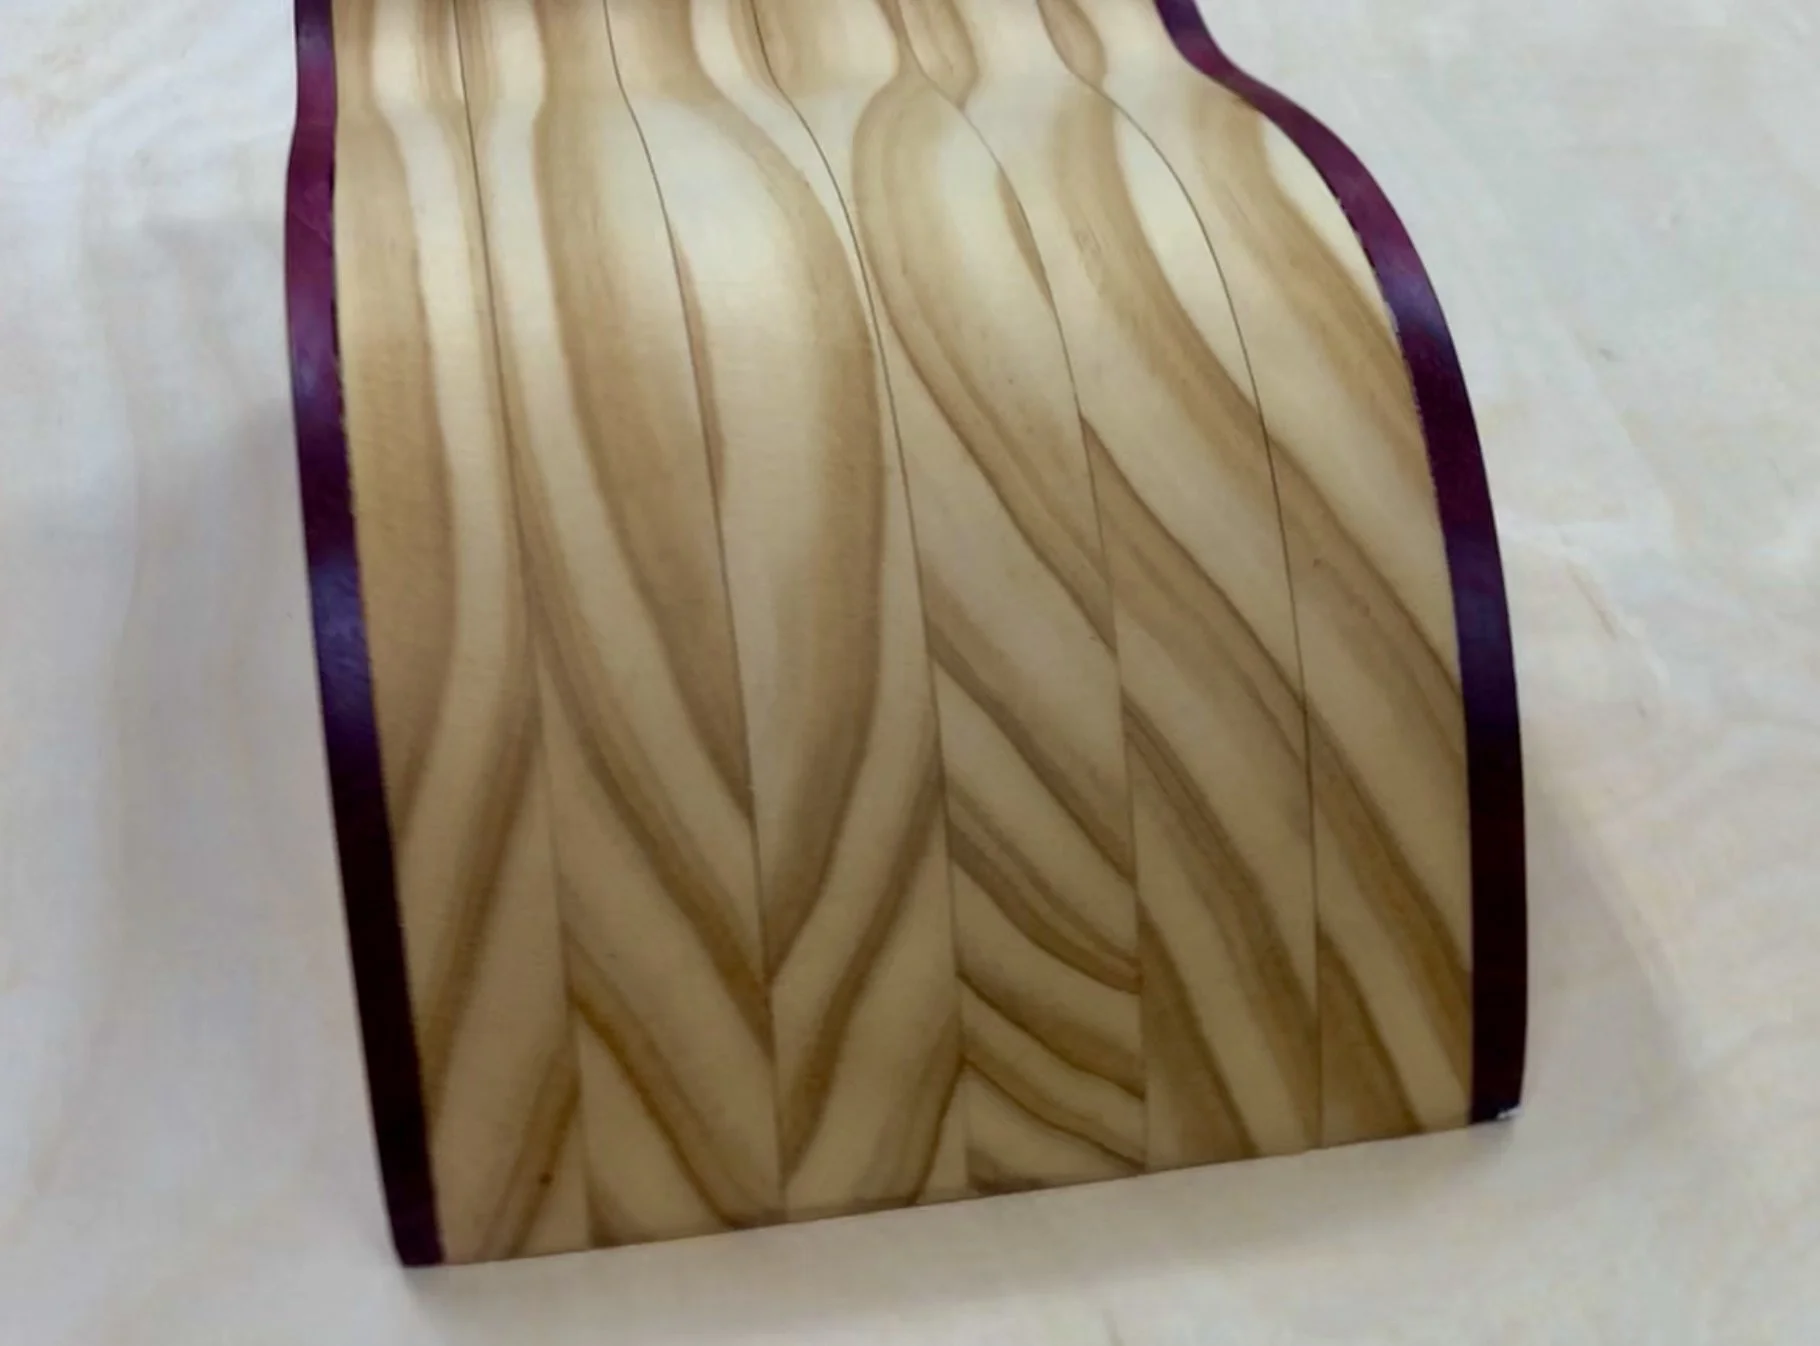
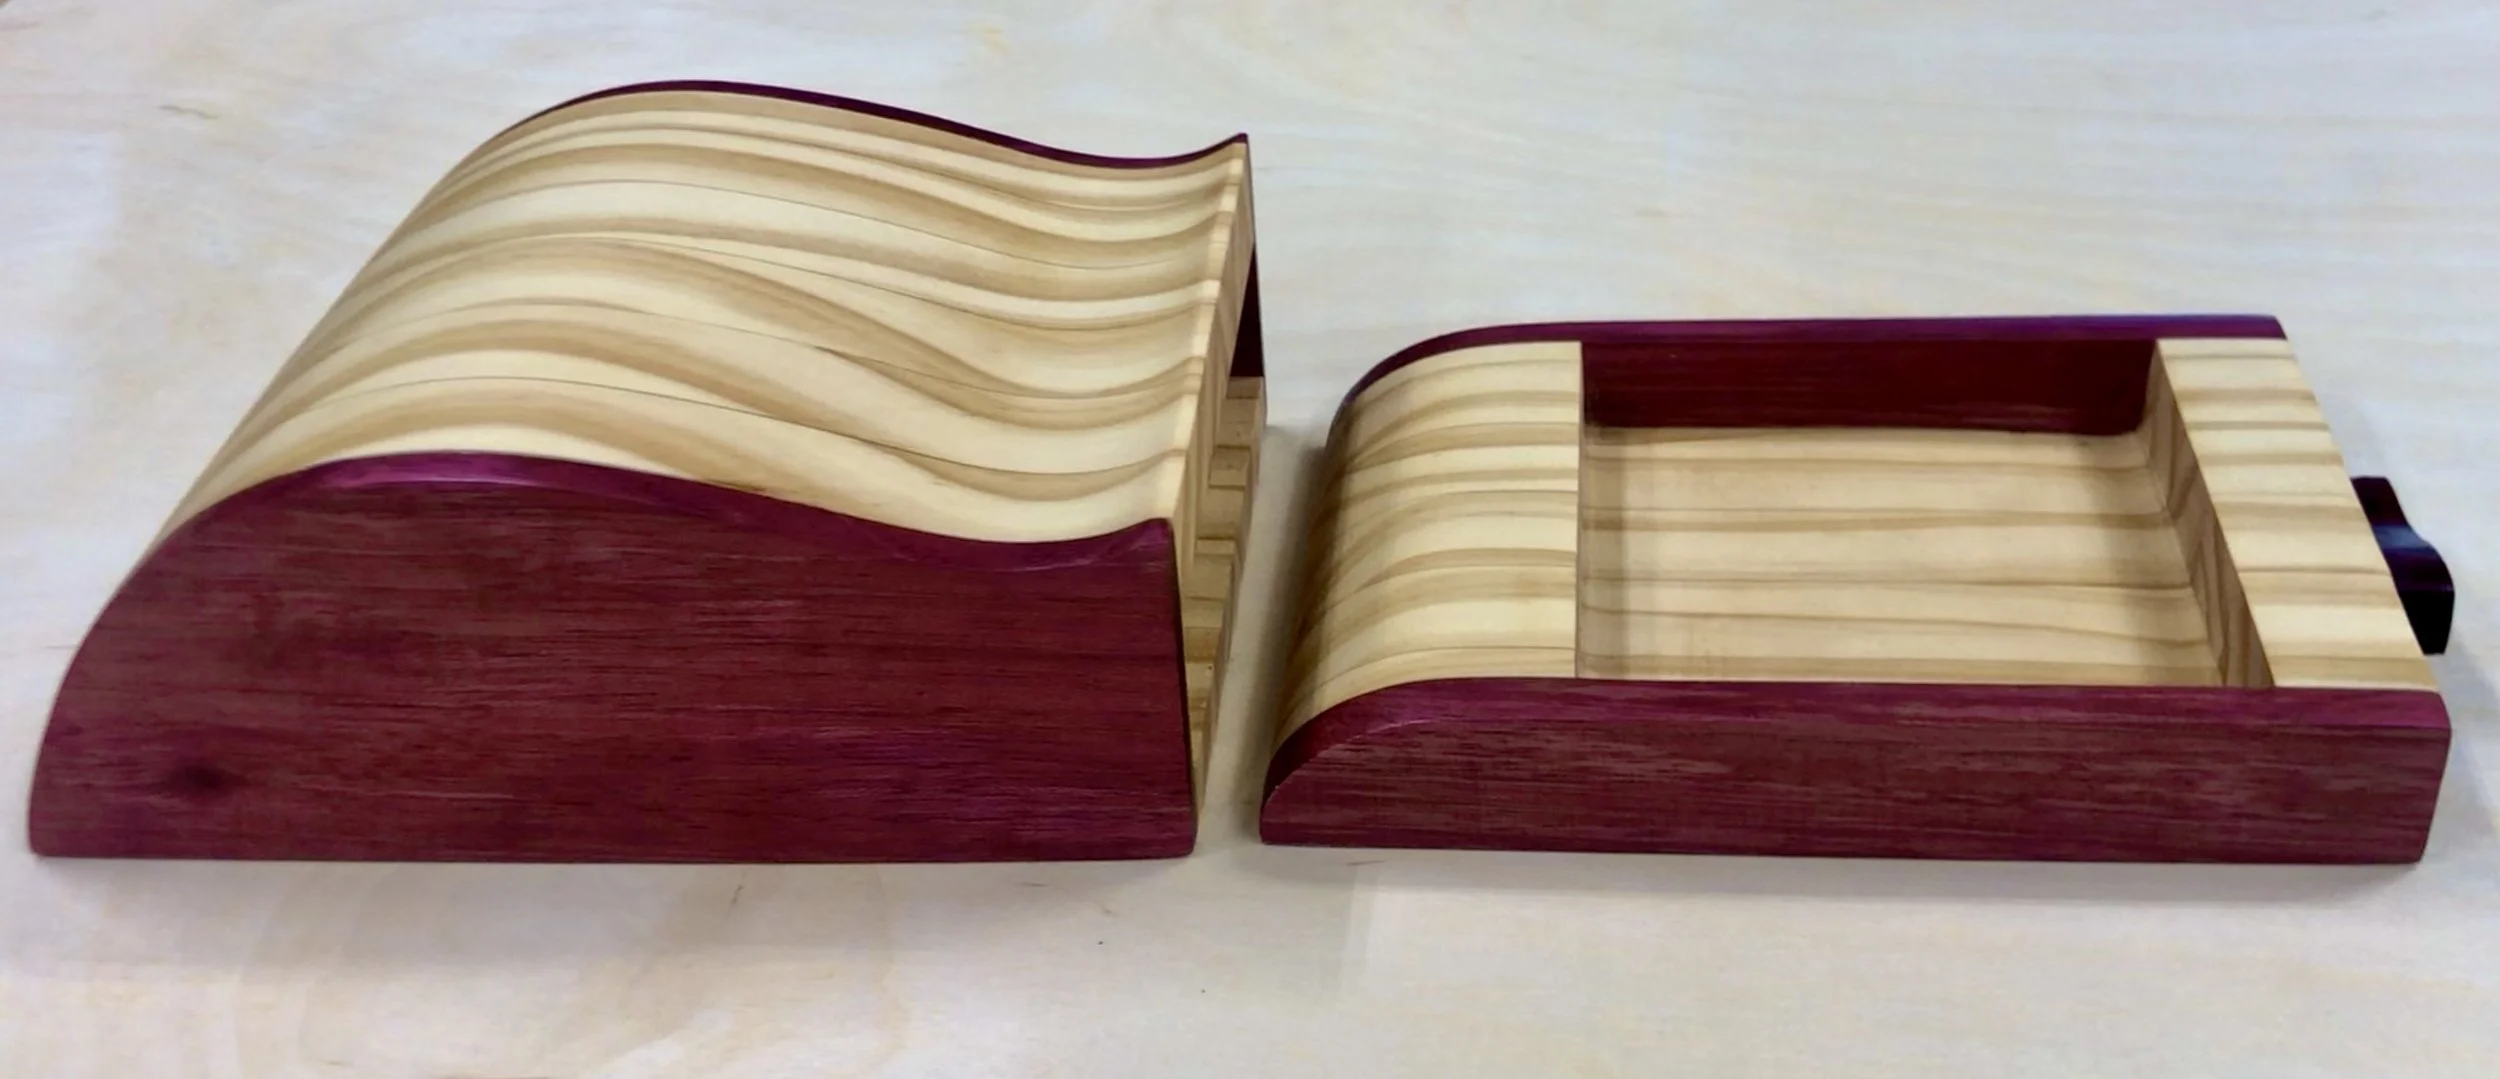
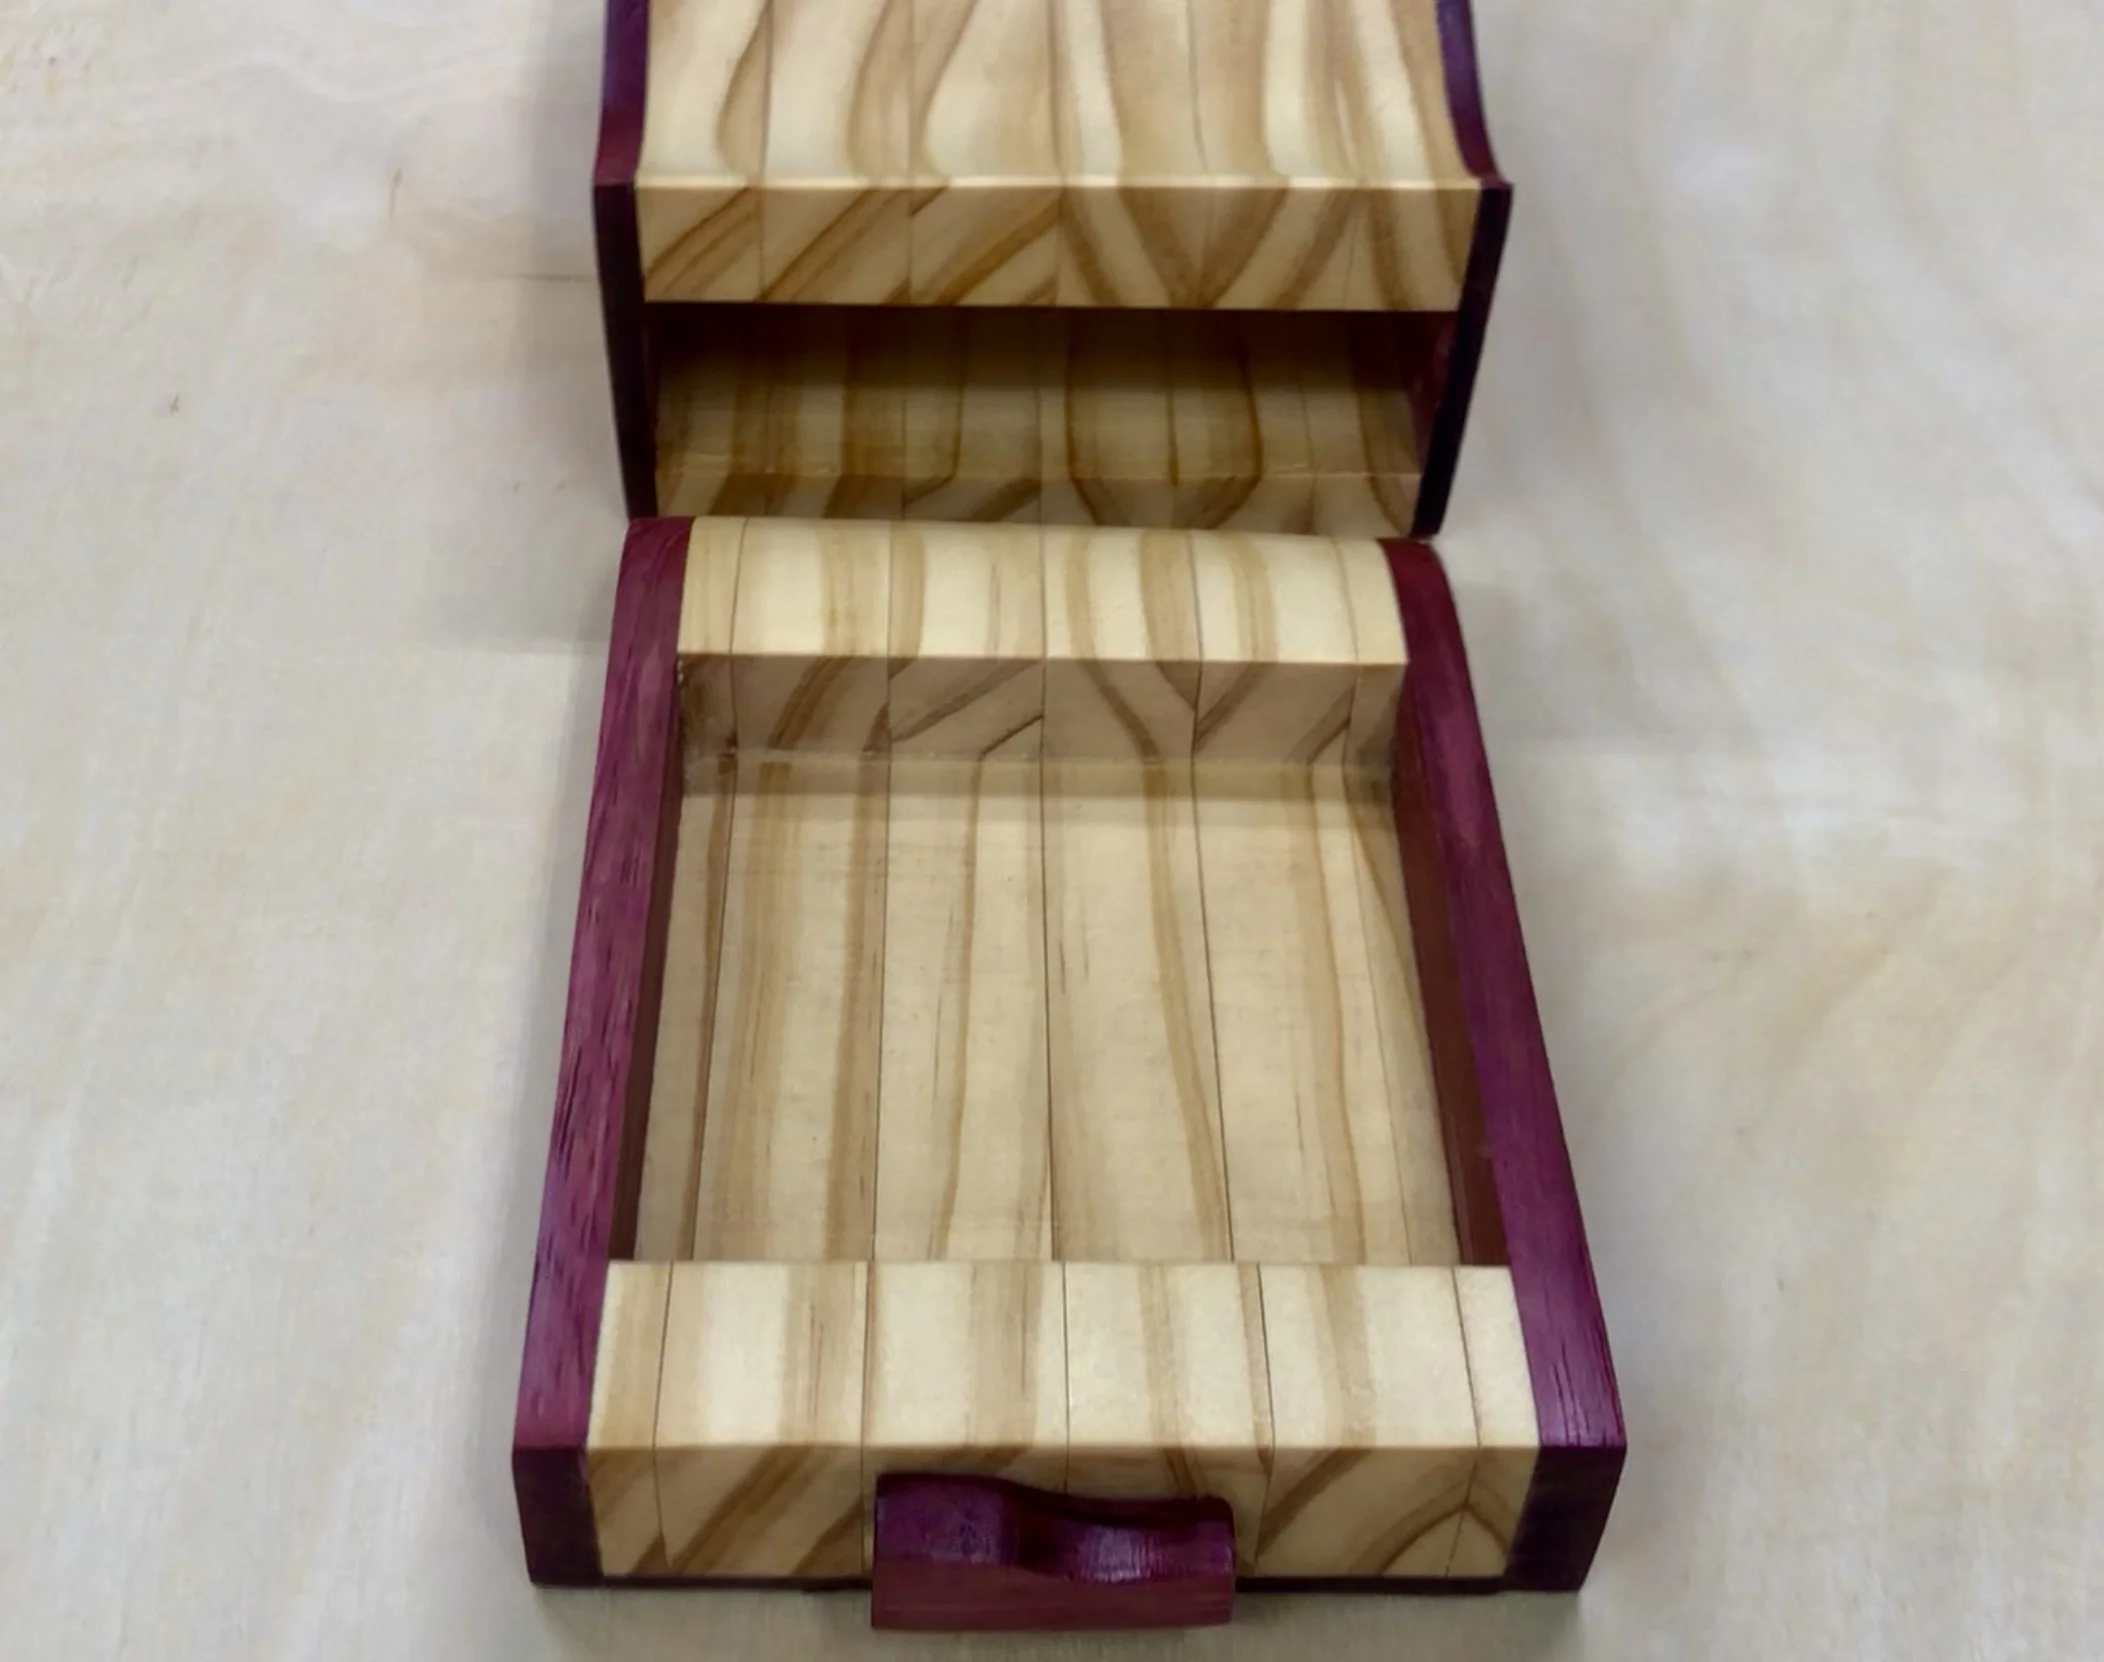
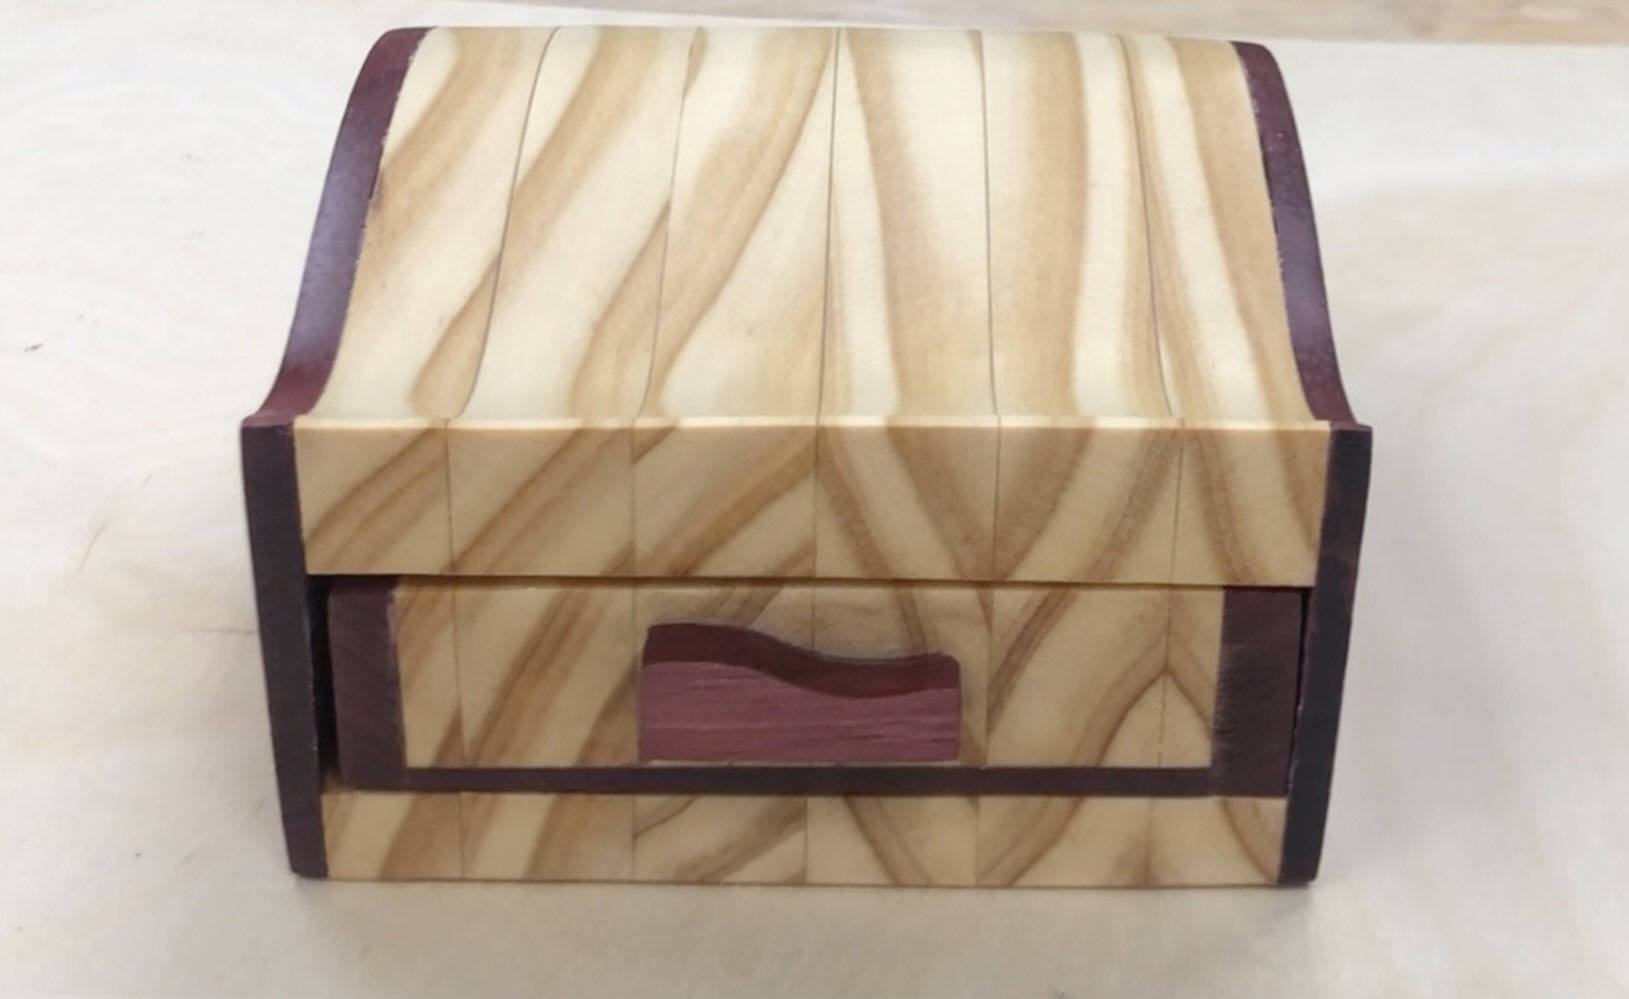
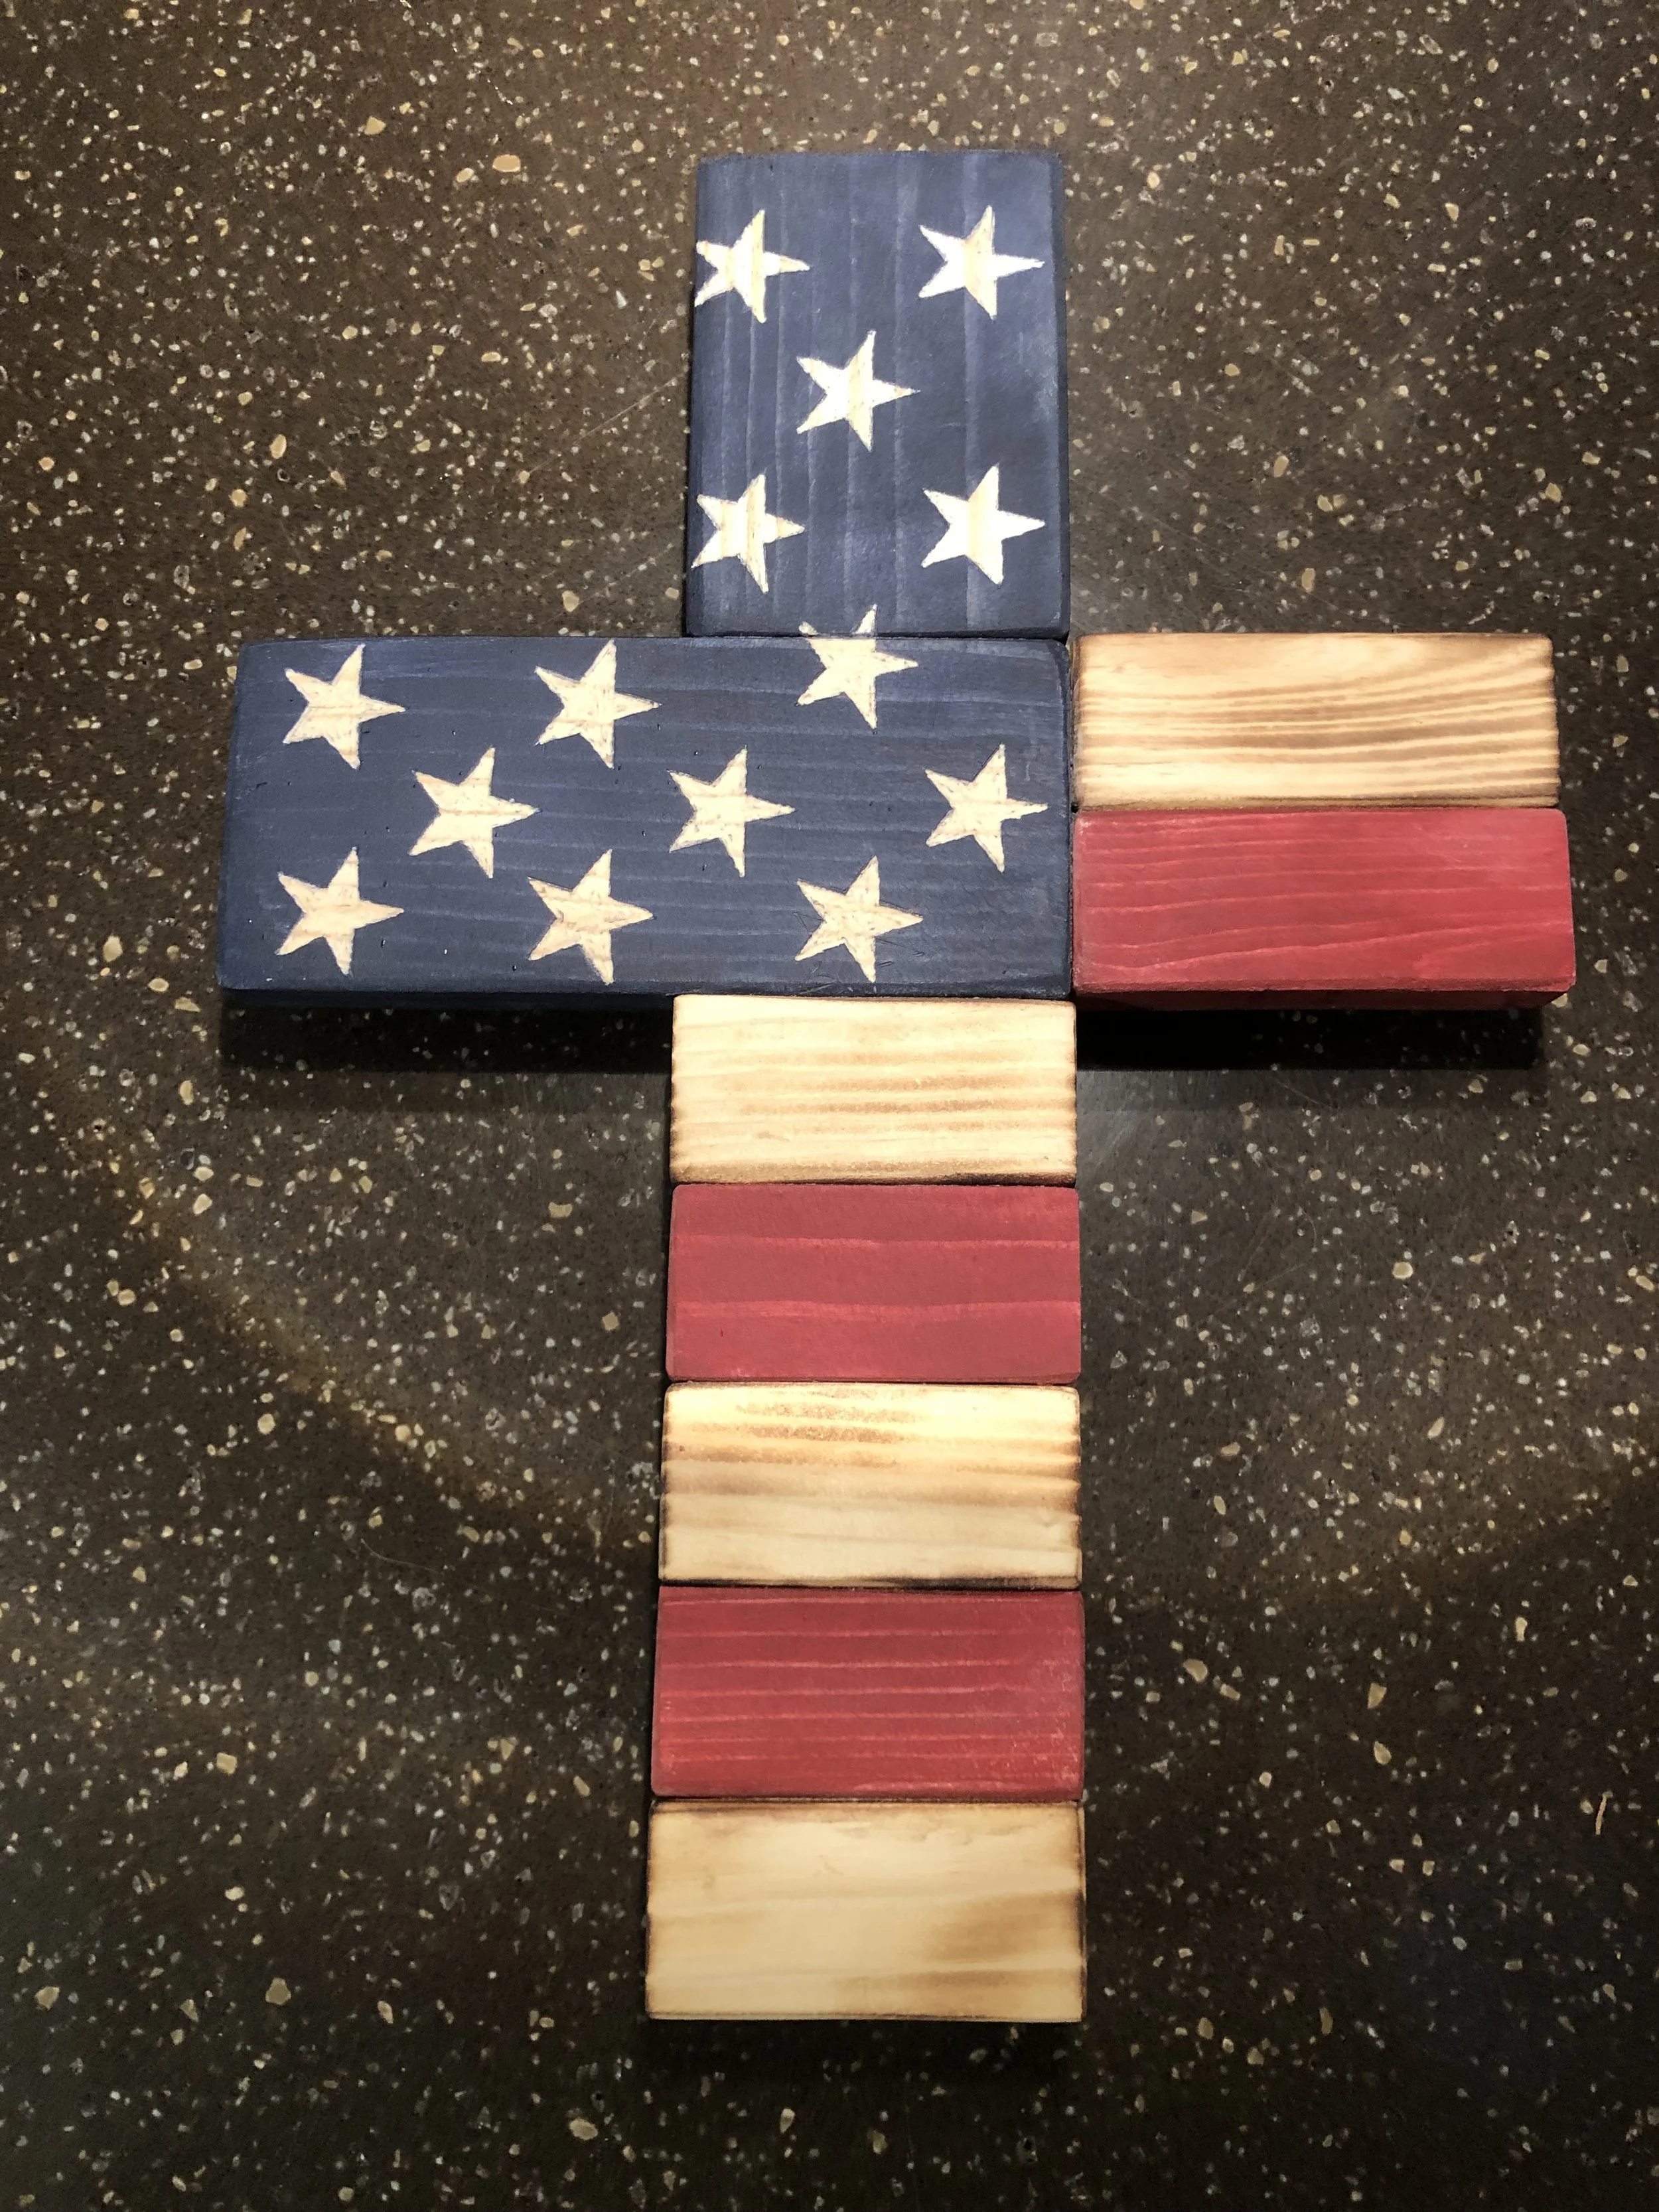
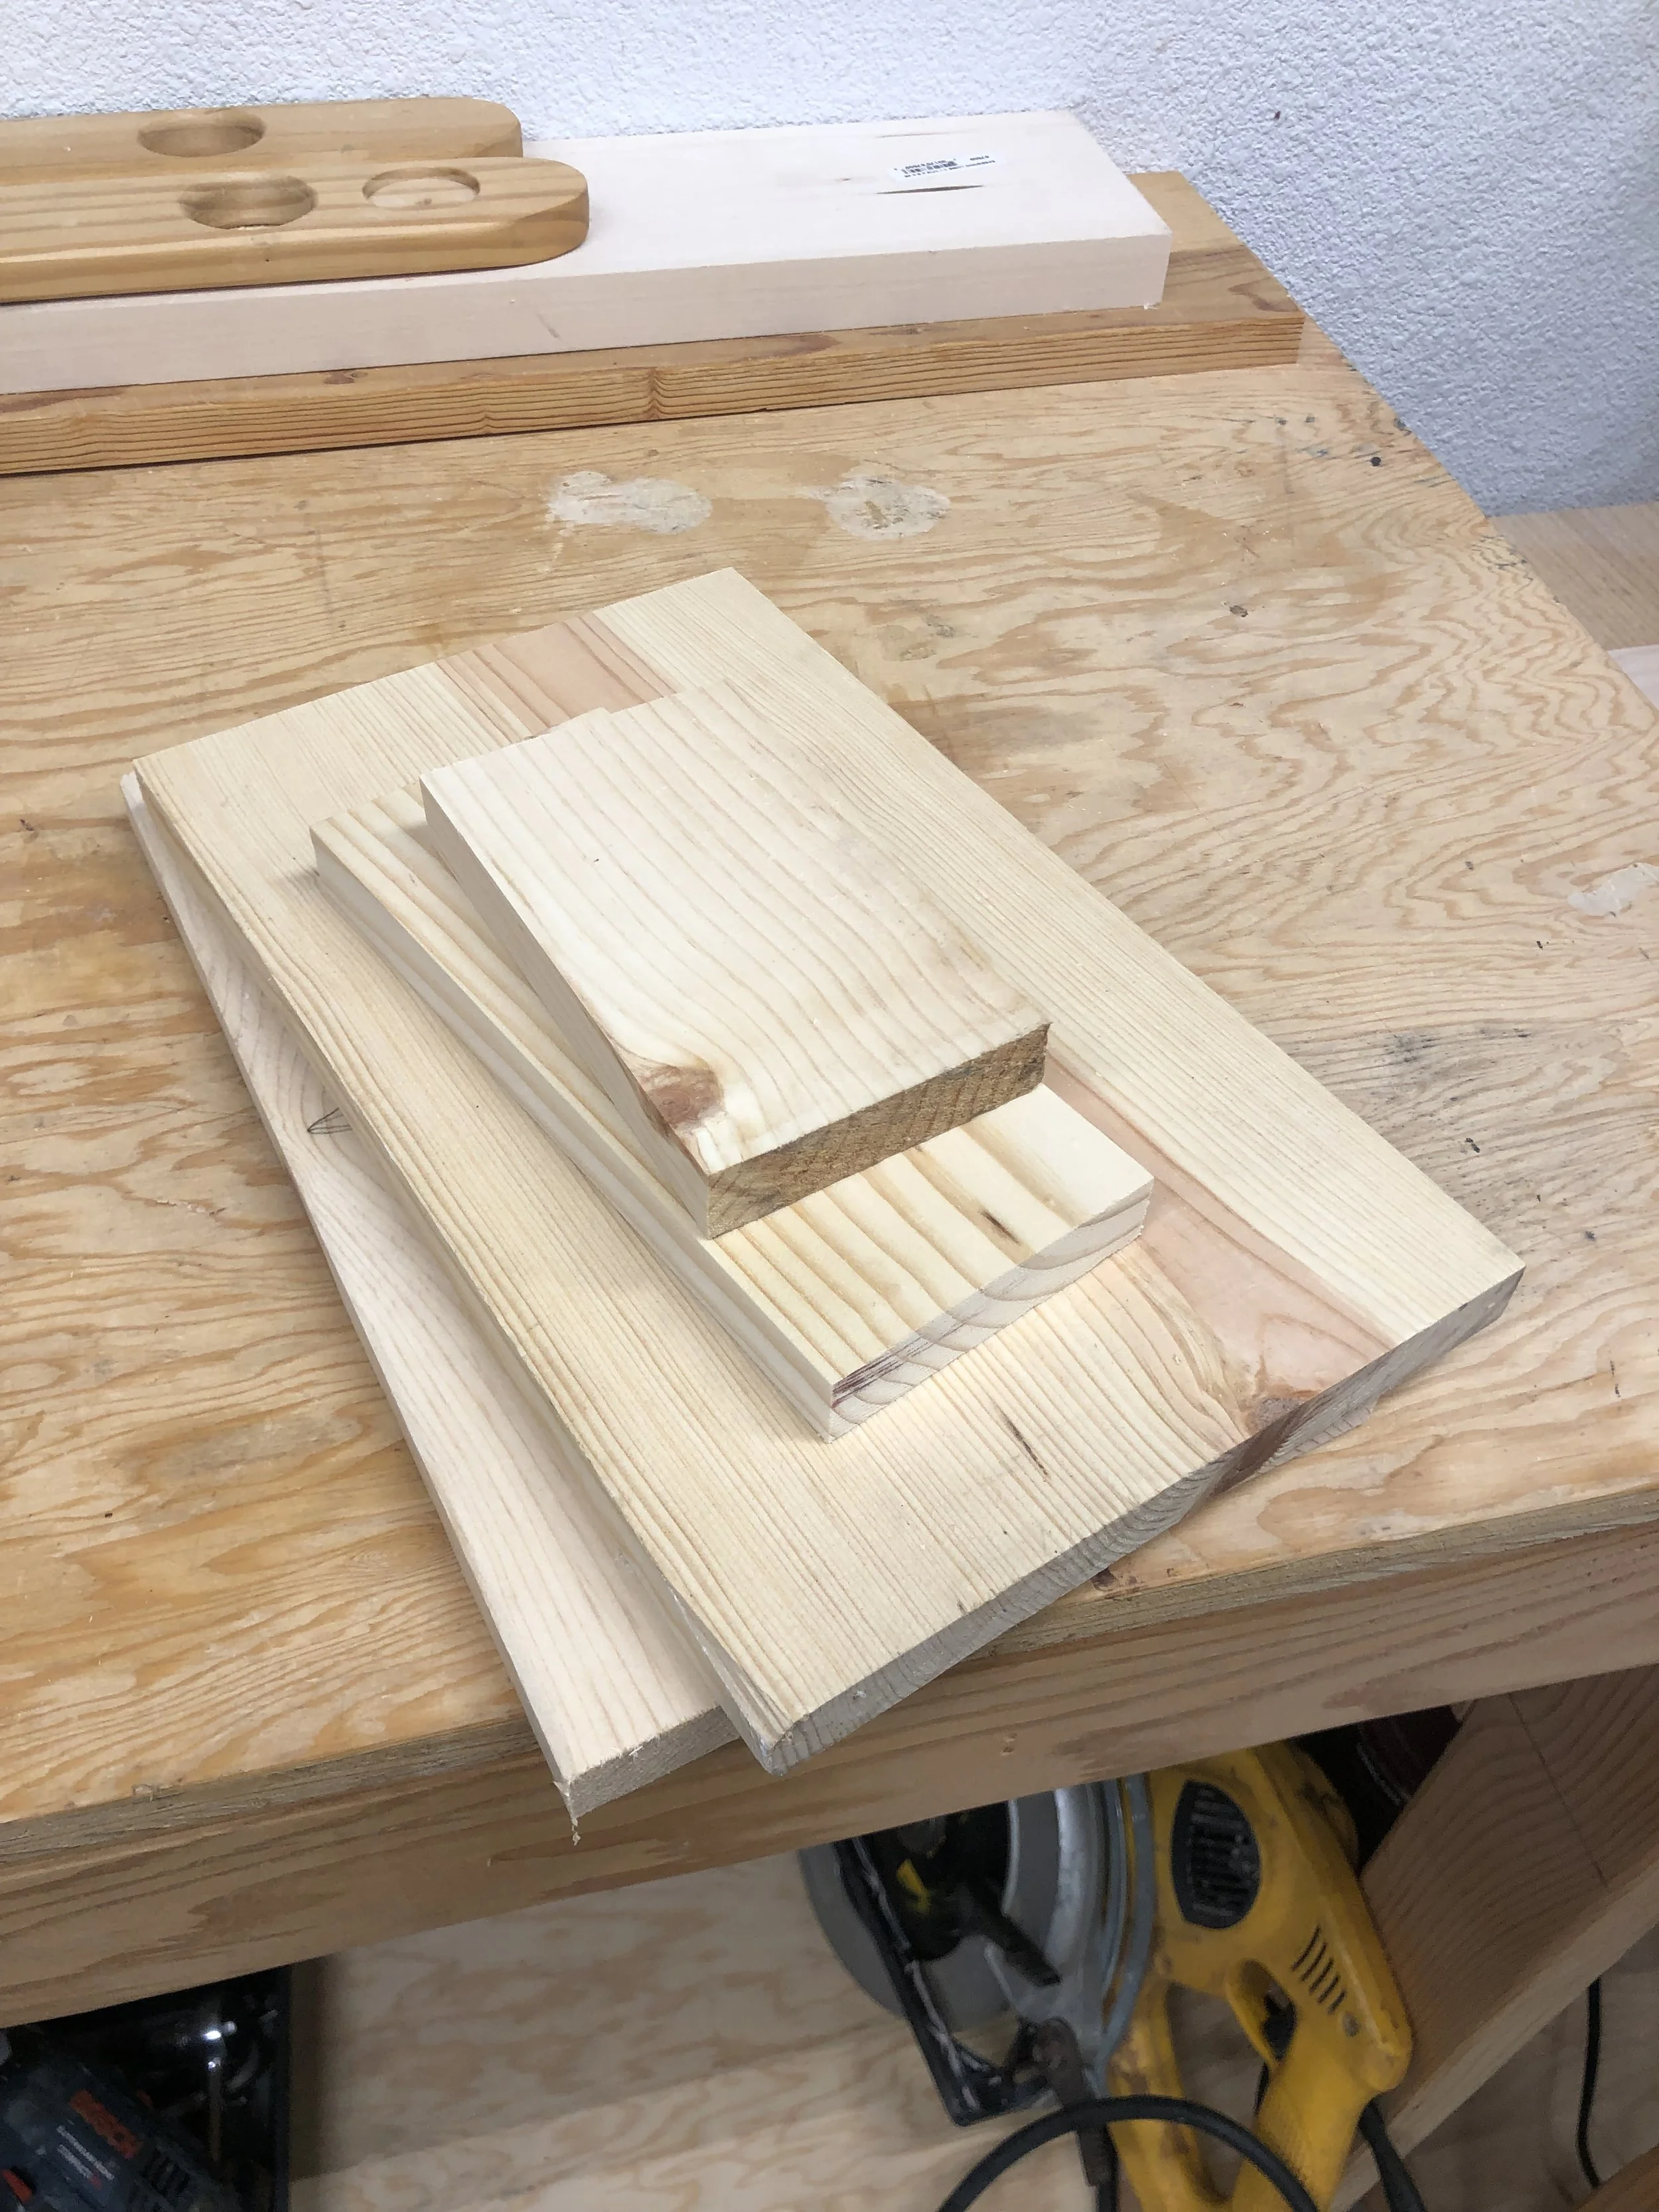
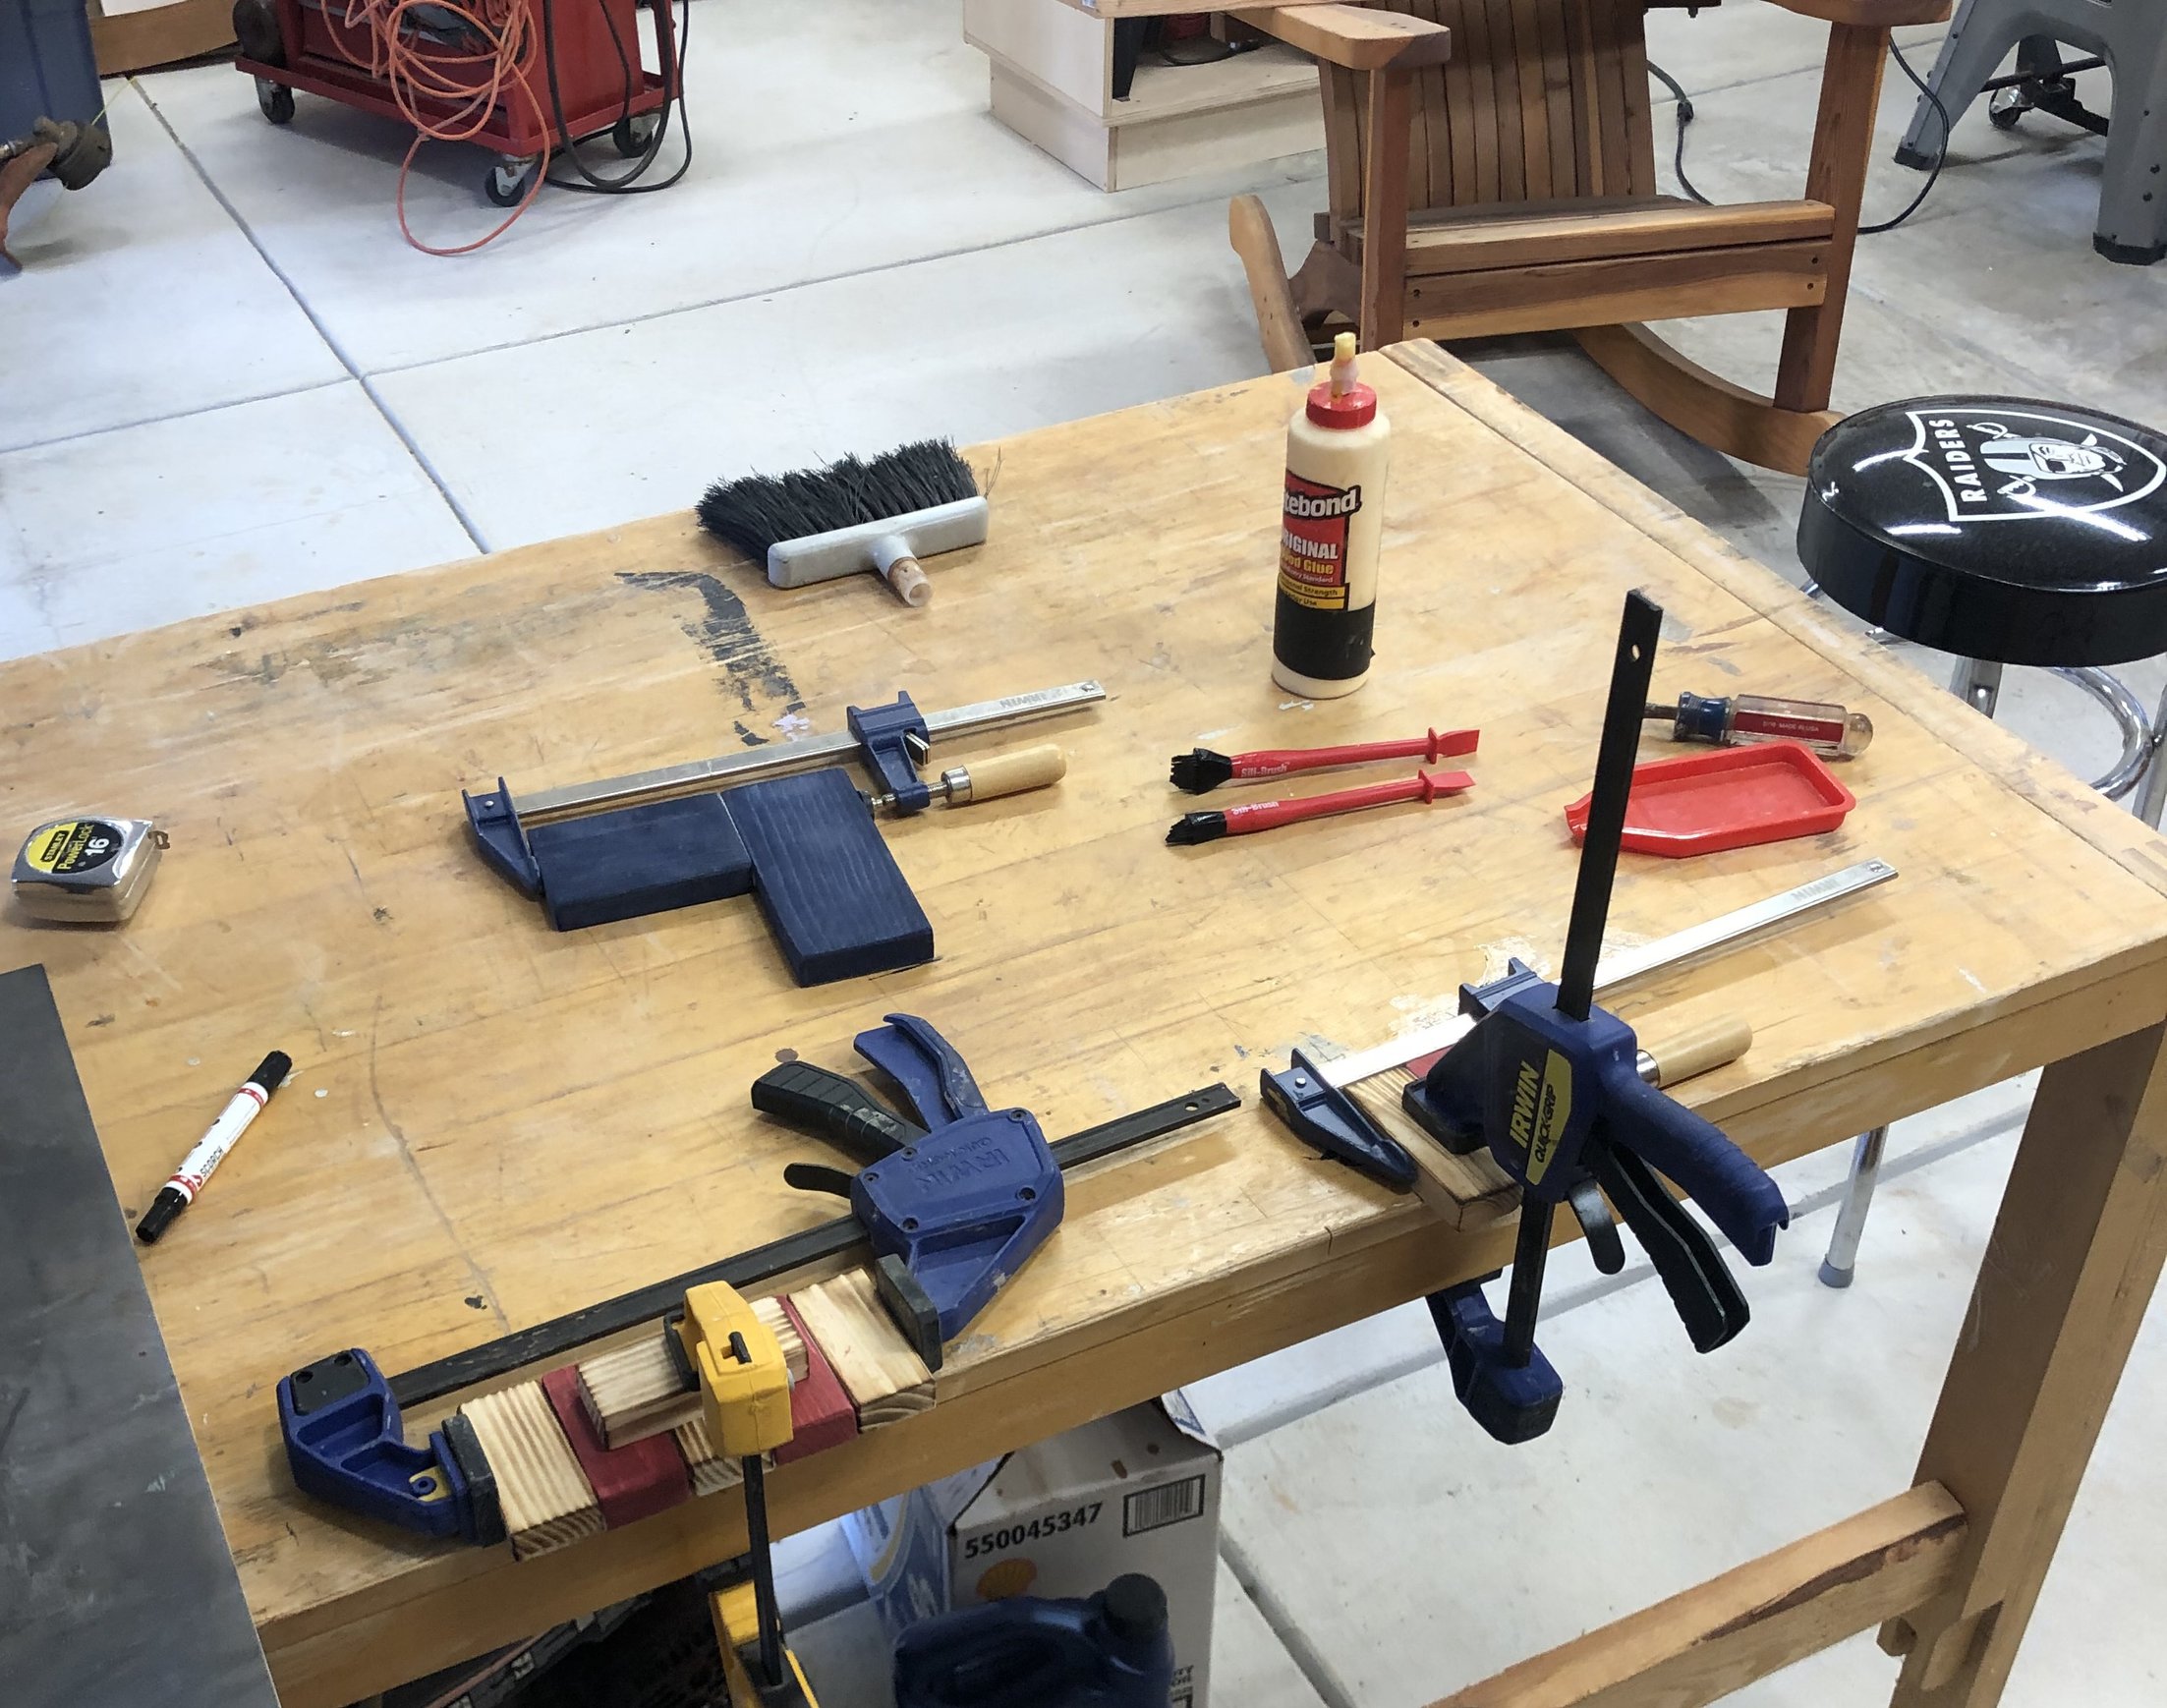
This was the first box I made using these techniques. I made it for my 4-year-old grandson, but as soon as I handed it to him, he accidentally dropped it. The box broke into several pieces, and he felt terrible, asking if I could fix it. After a few hours of work, here it is again.

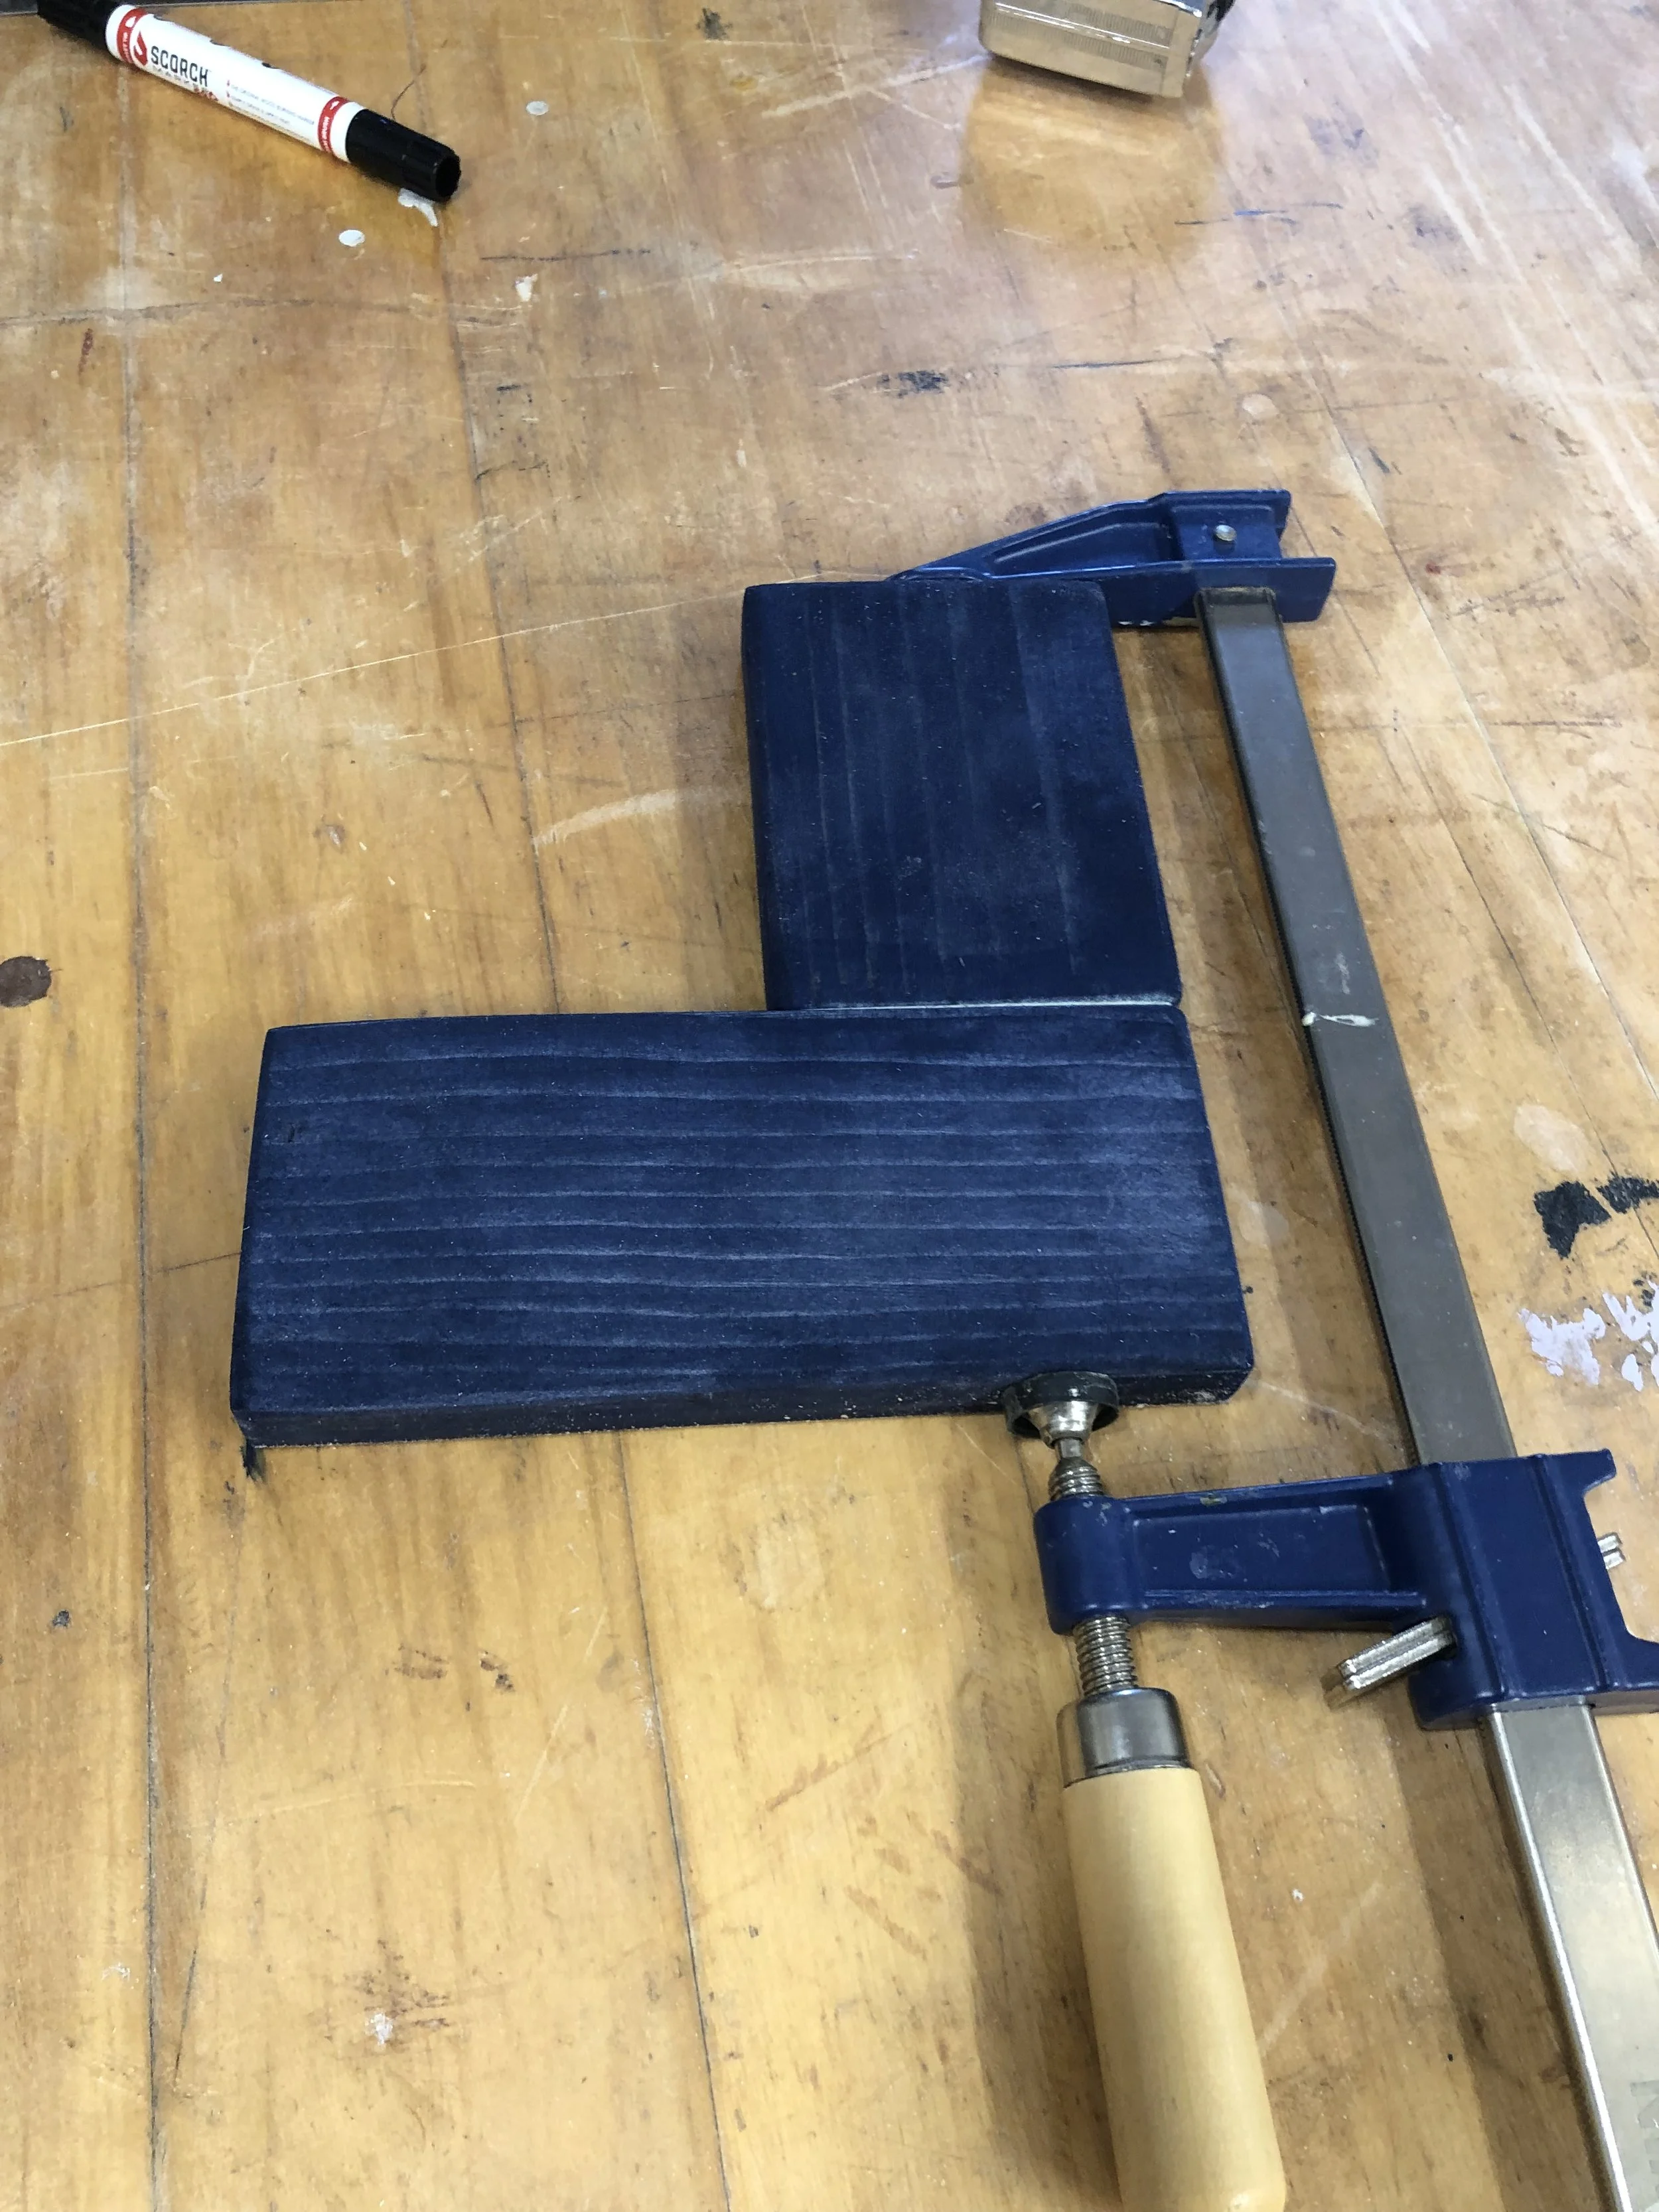
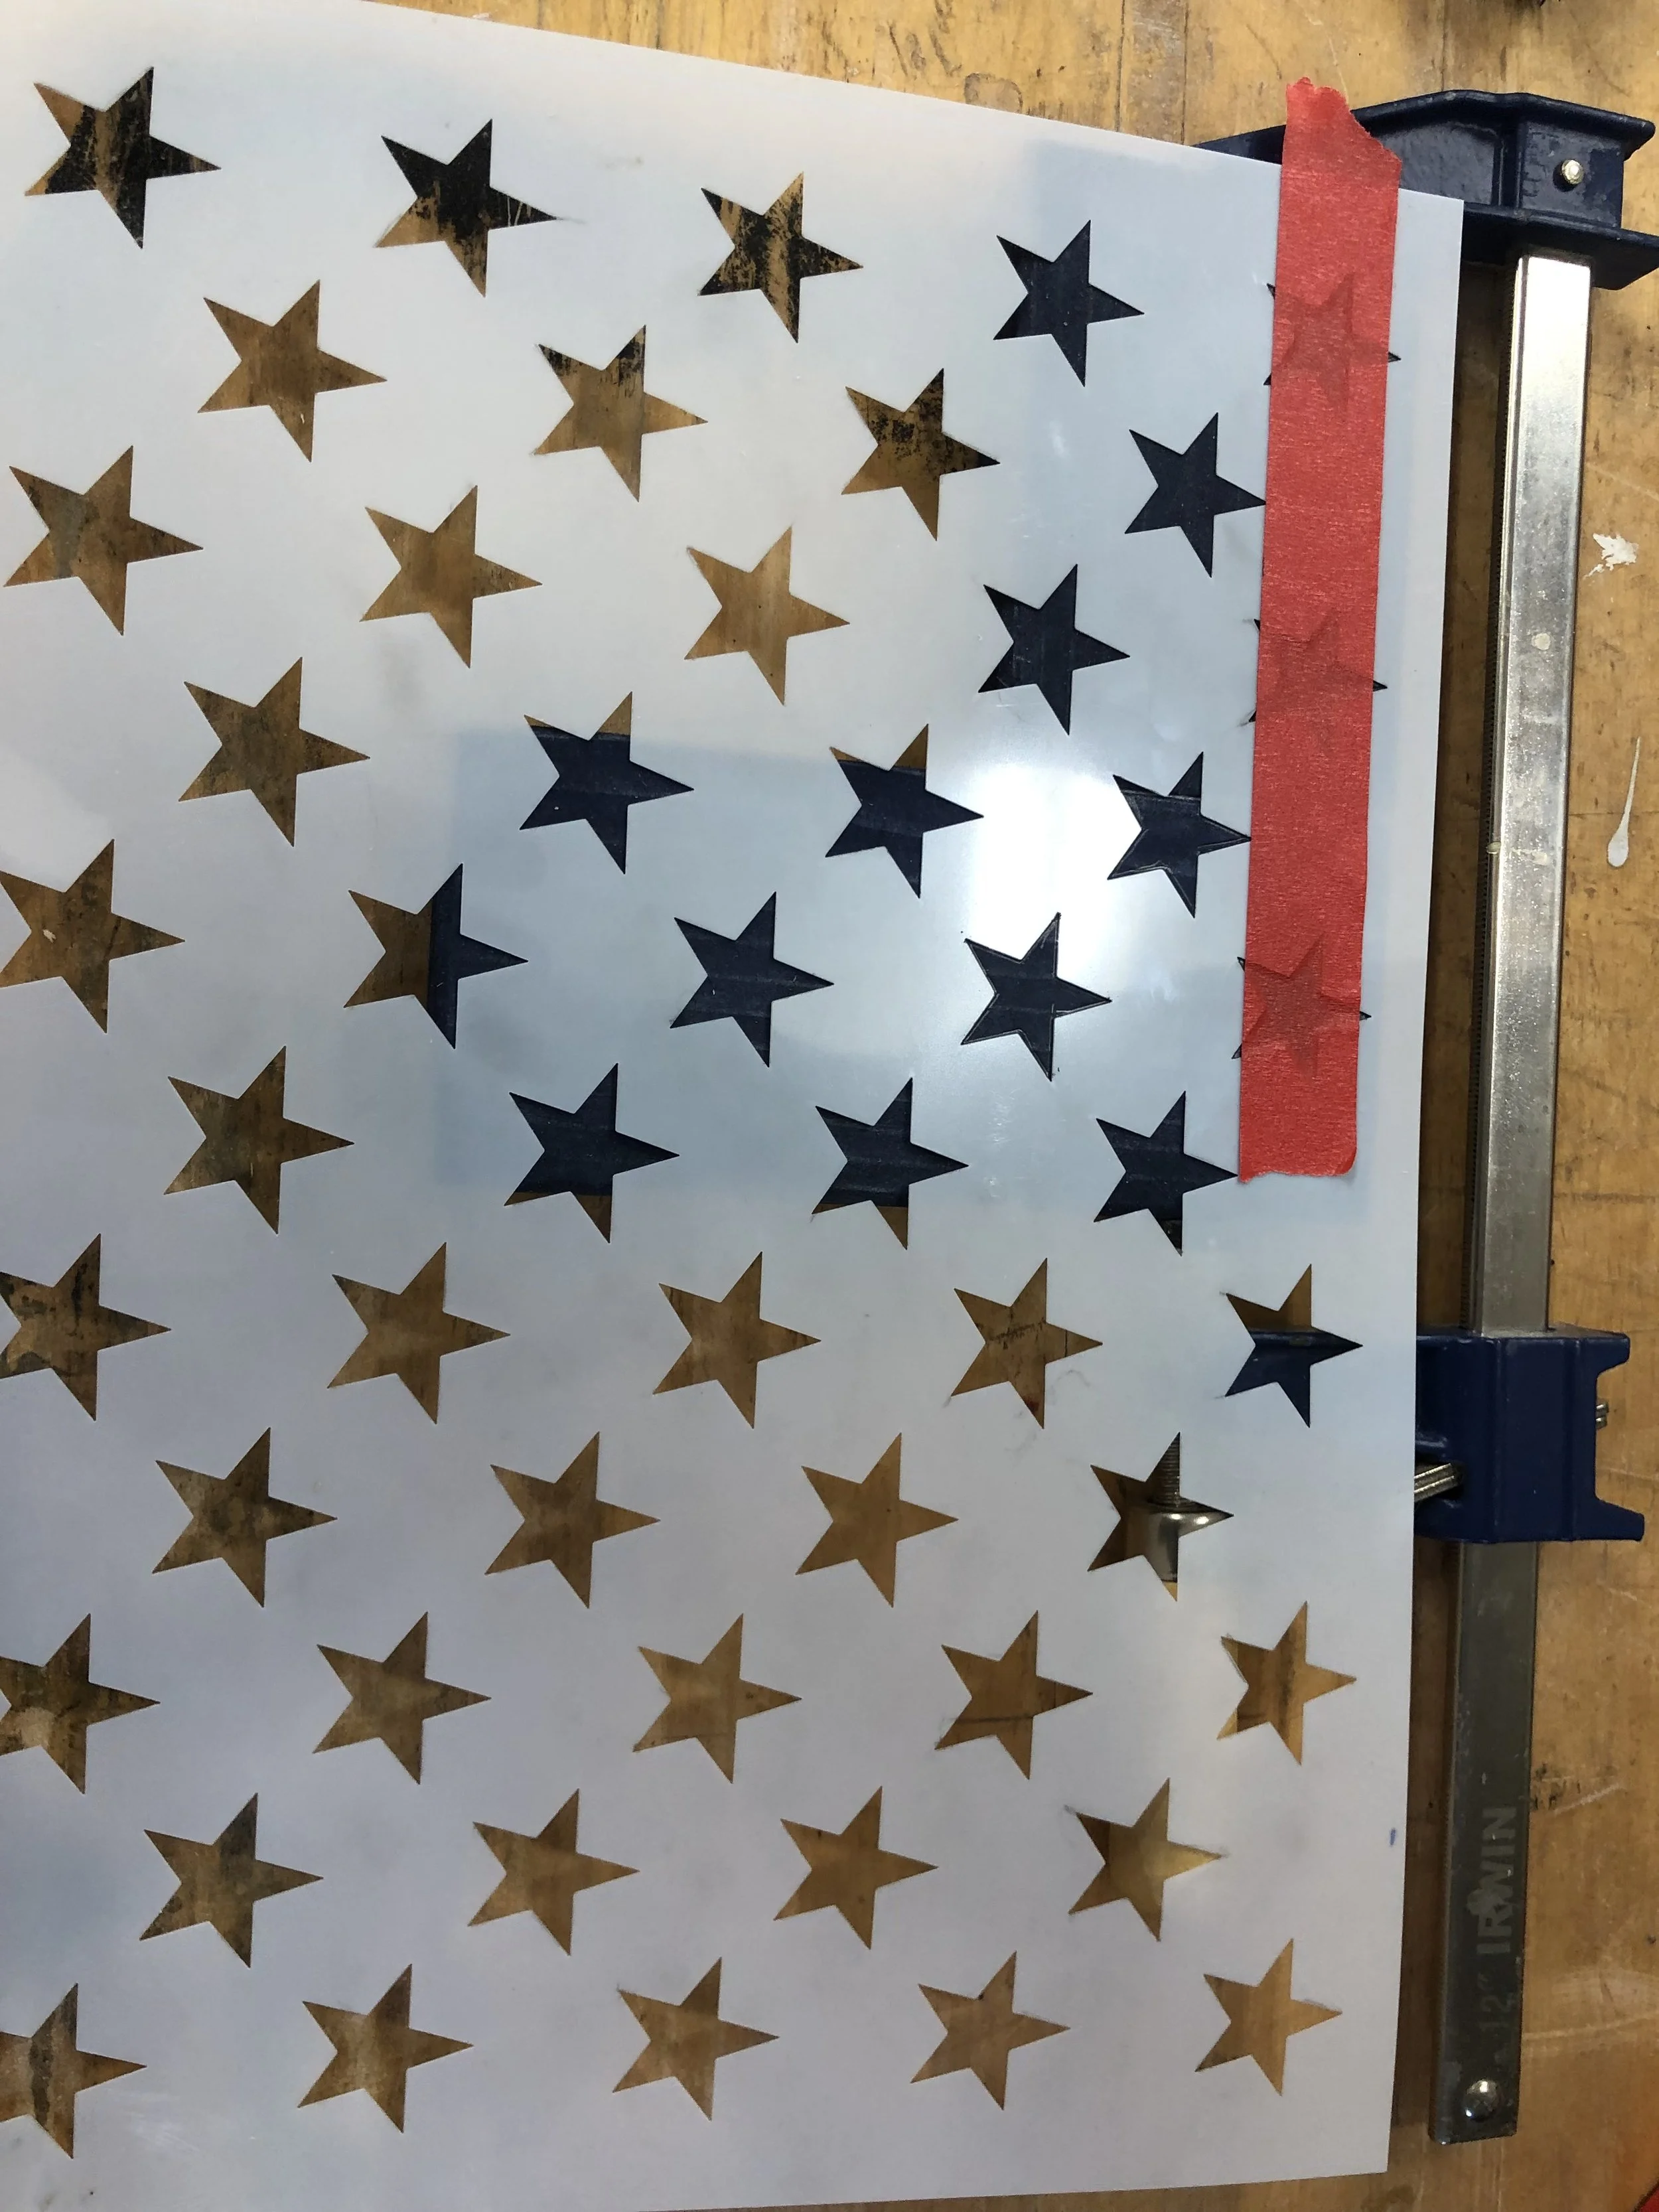
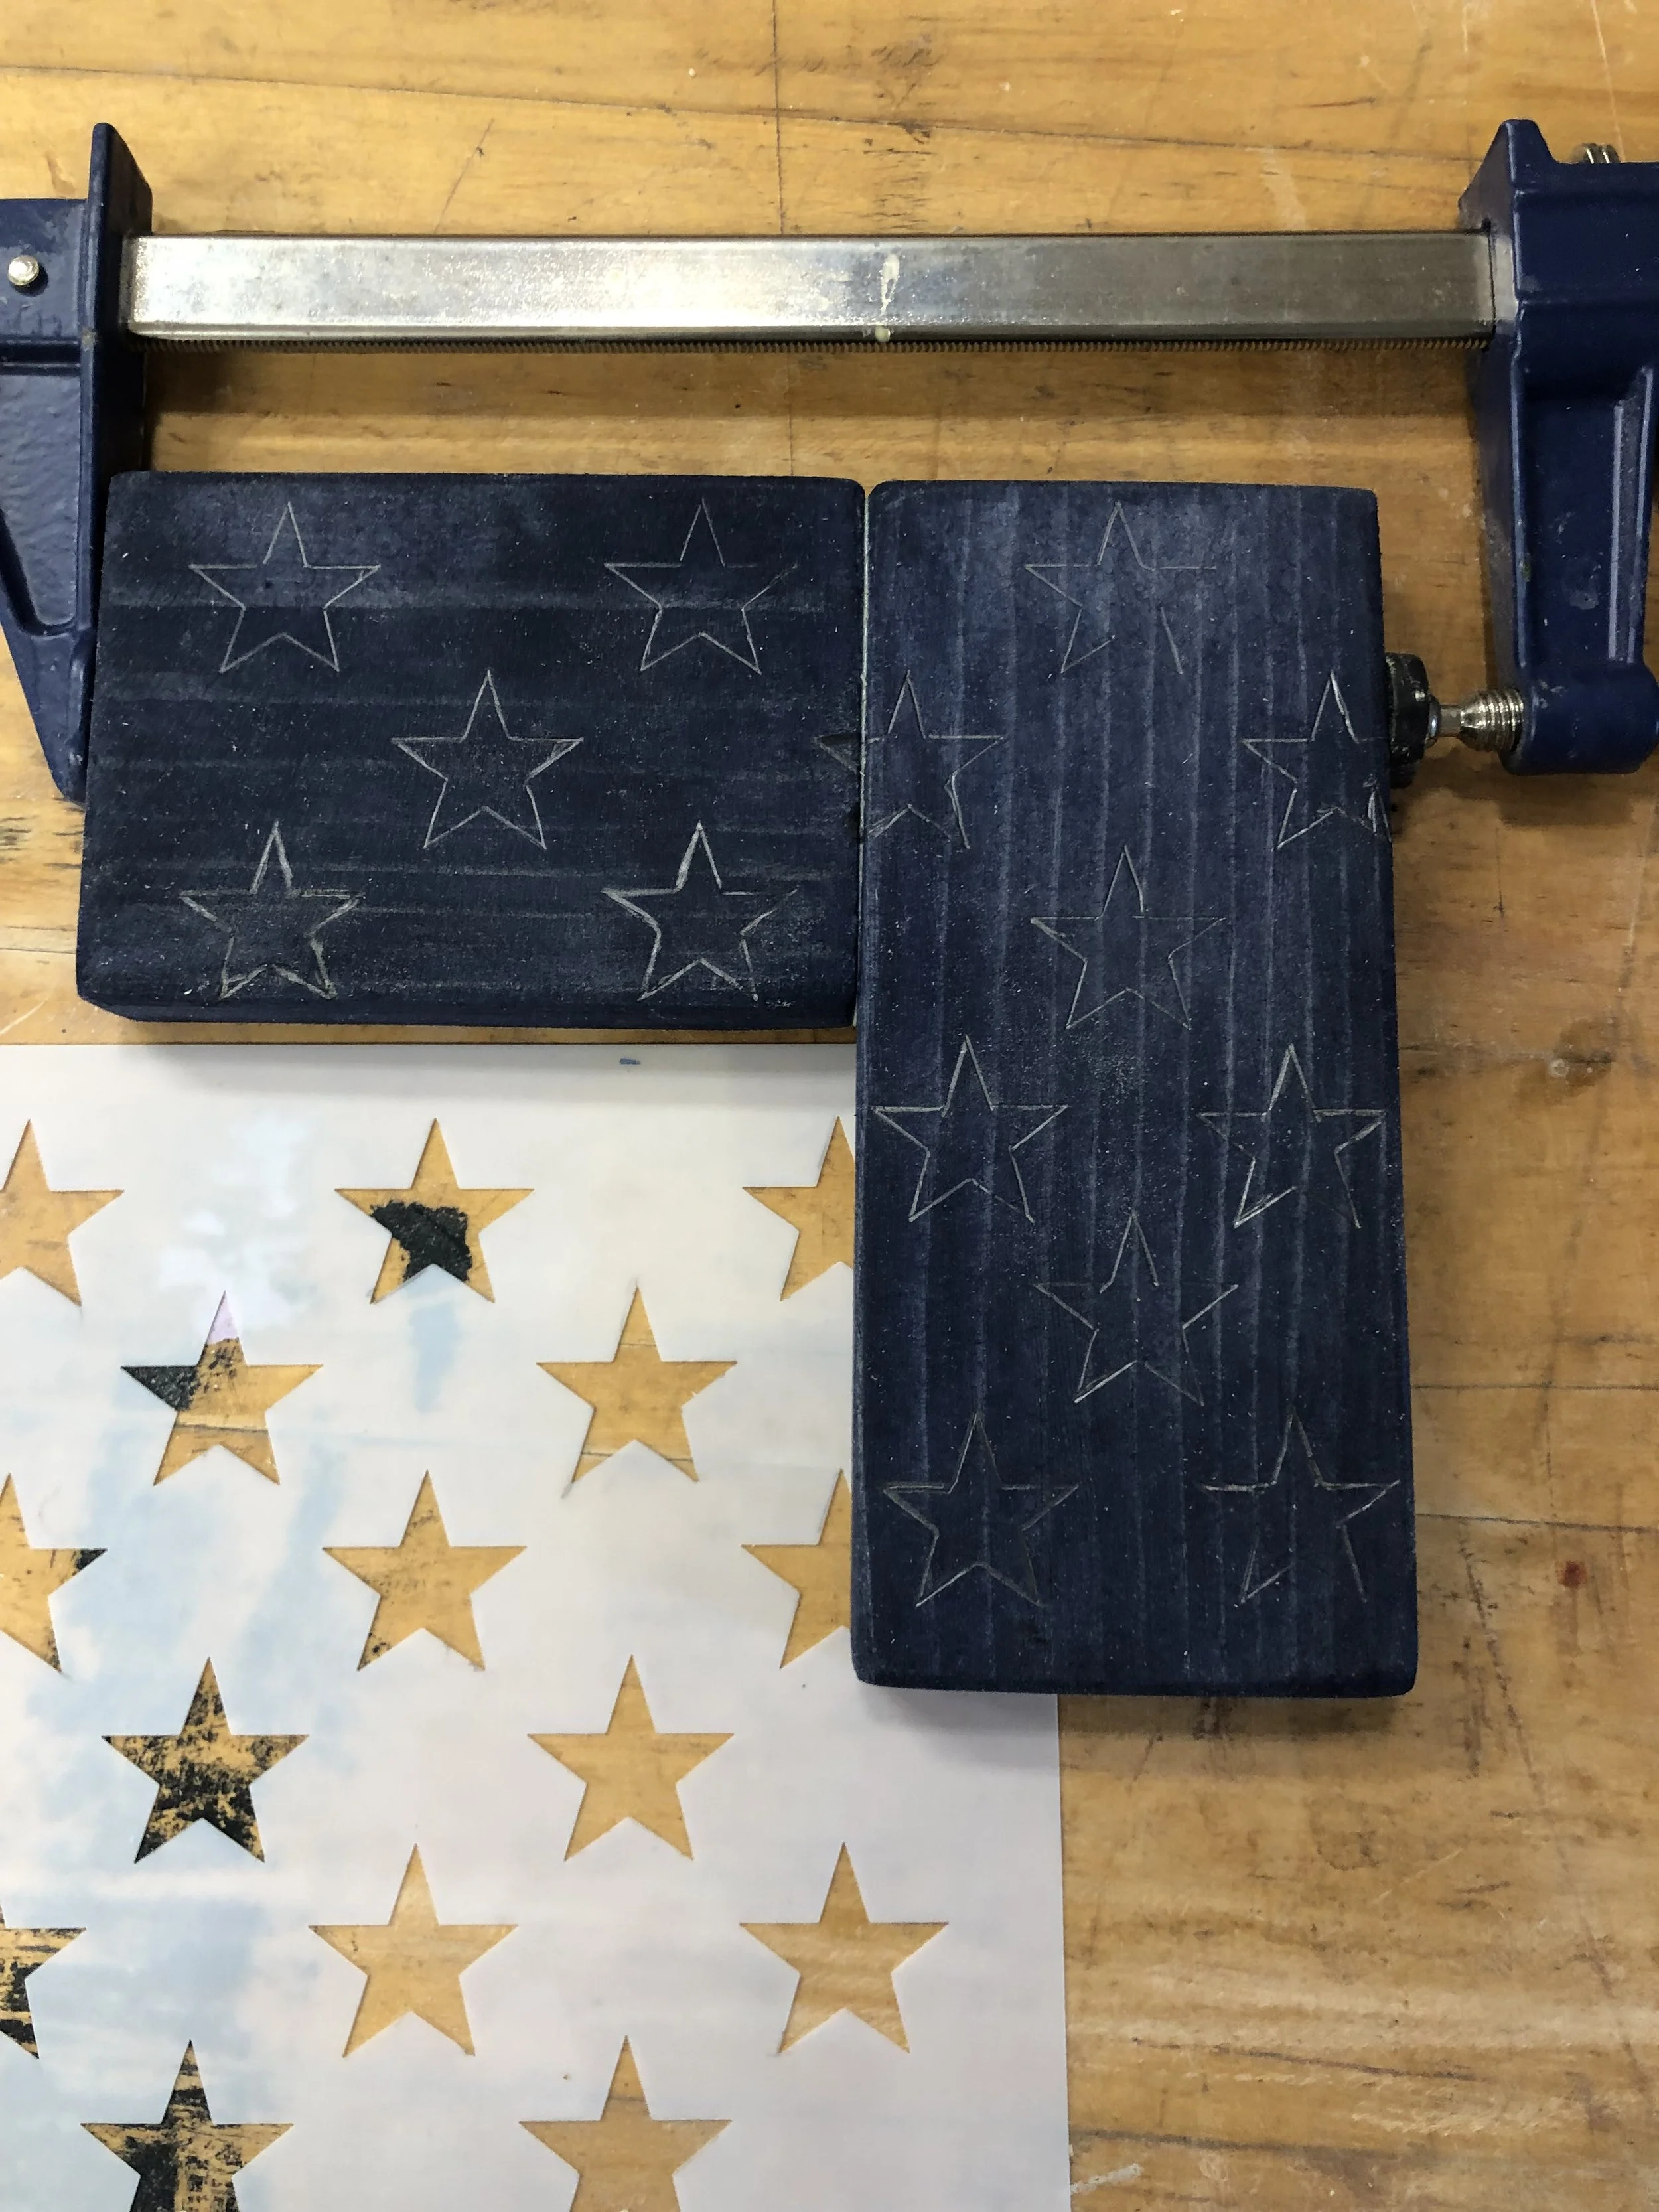

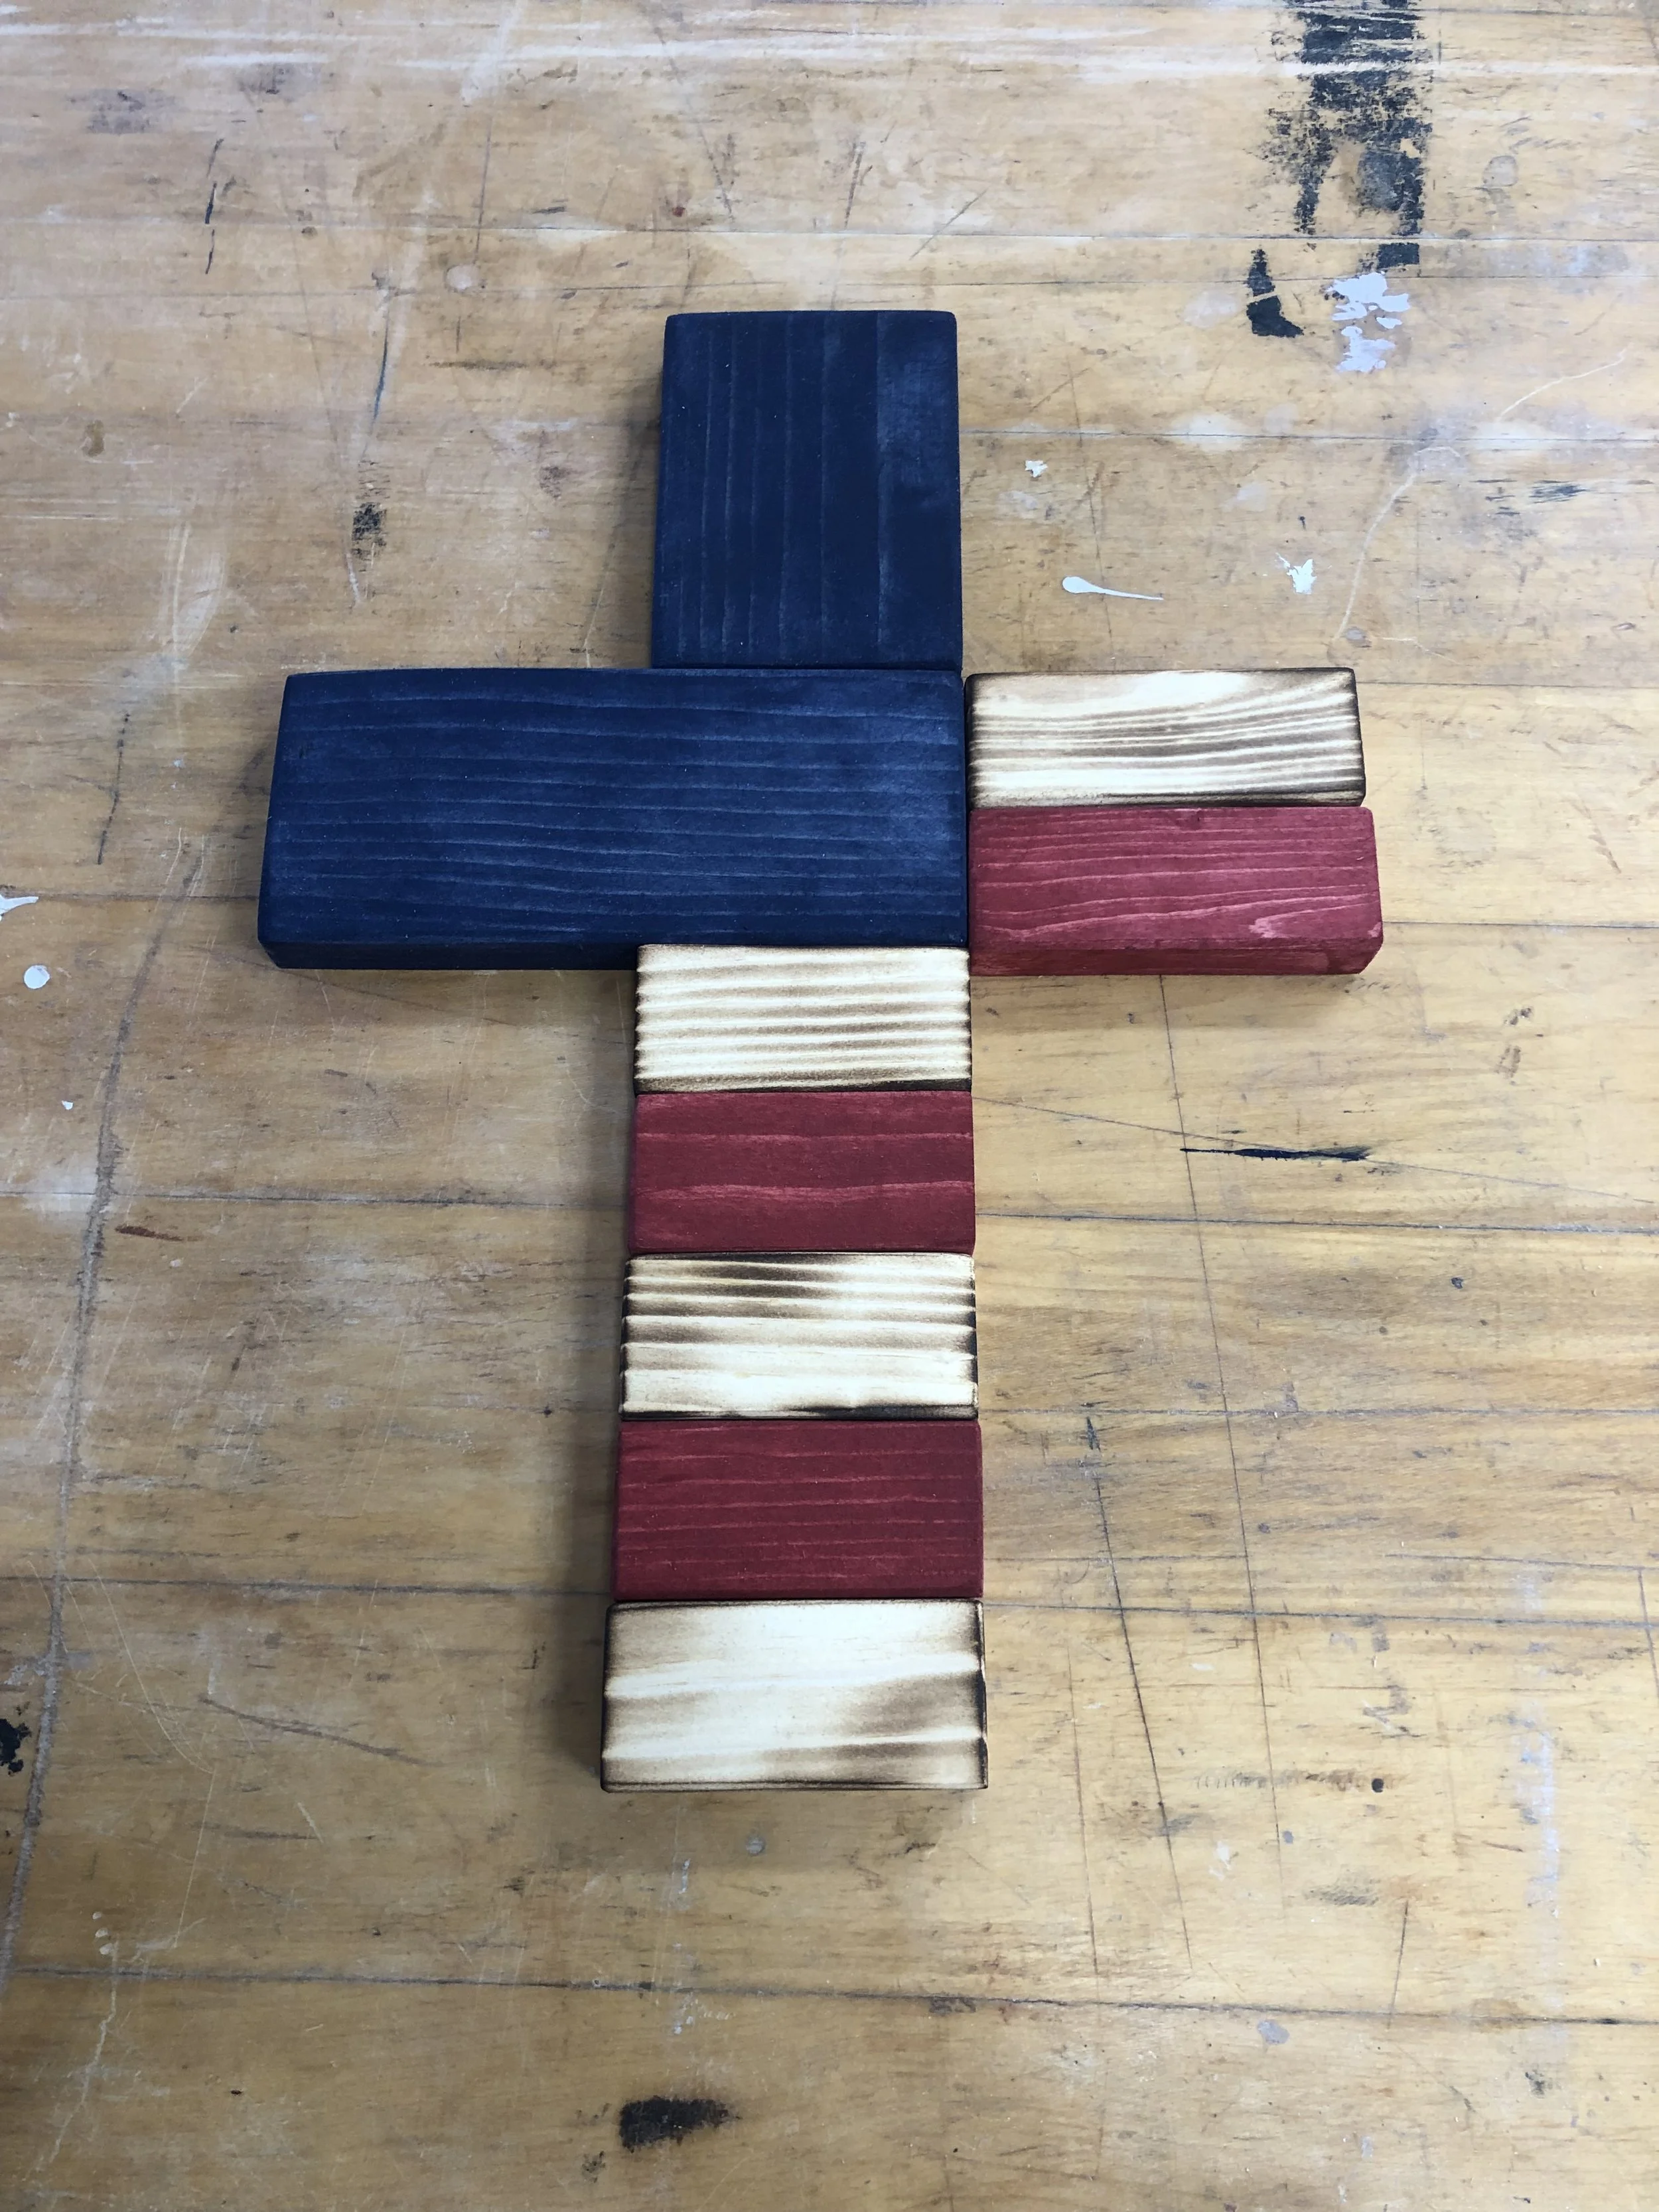
Draped Flag Dimensions
I have received several questions about the dimensions of building the draped American flag. I have a downloadable PDF with the dimensions all laid out. Also, I created a brief video explaining where to cut, along with the overall layout. The thing to remember about making a wooded draped American flag is that it does not have to be perfect. You will discover that you will change the design of your flag many times. These dimensions I have created are simply guidelines. Have fun with it, and you will enjoy building each flag.

Draped Flag Dimensions
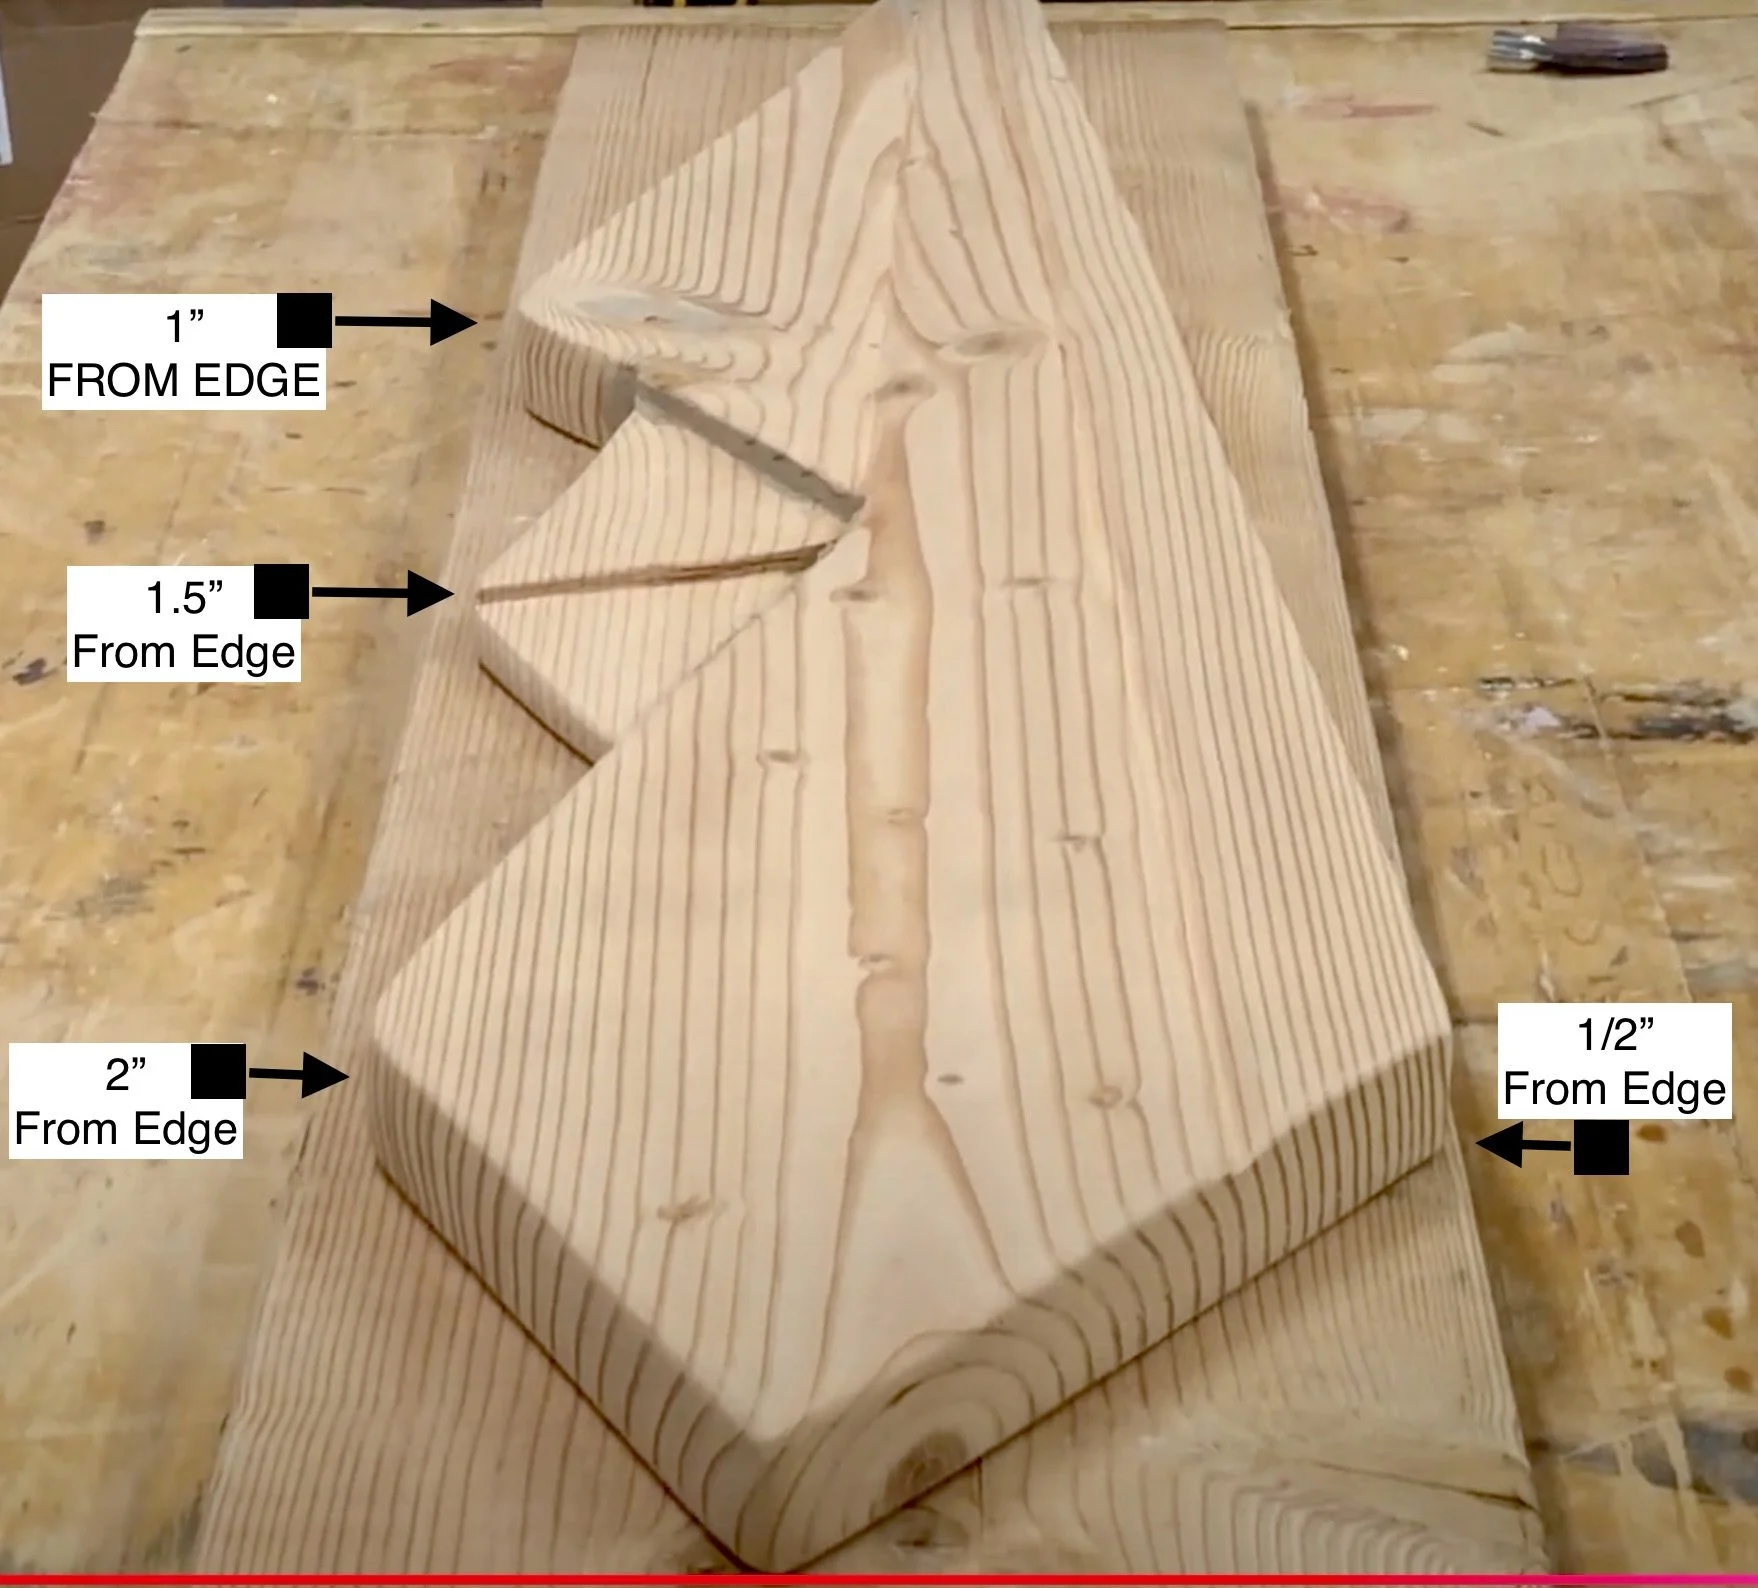
Measurements from edge of 2×12”
How do I measure for the draped flag? I created this quick video.
I have received several questions about the dimensions of building the draped American flag. I have a downloadable PDF with the dimensions all laid out. Also, I created a brief video explaining where to cut, along with the overall layout. The thing to remember about making a wooded draped American flag is that it does not have to be perfect. You will discover that you will change the design of your flag many times. These dimensions I have created are simply guidelines. Have fun with it, and you will enjoy building each flag.
Things I have learned after making over 20 Draped American flags:
1. The Light Blue Stain Layer (The "Depth Shortcut")
If you drench the wood in deep, heavy blue stain, the pigment sinks deep into the grain. To get back to clean, bright white wood for the stars, you are forced to dig a deep trench. By keeping the coat incredibly light, you only have to take off a fraction of a millimeter of wood to reveal the bright contrast underneath. Less digging means less fatigue and fewer chances for the tool to slip.
2. High-Detail Micro Bits
Using the smallest engraving or carving bit (like a Dremel #105 or a tiny diamond cone burr) is the secret to getting sharp, crisp 72-degree interior angles on a star. Large bits turn the sharp points of a star into rounded blobs. It takes patience, but you can't rush precision.
3. Lower Speeds = Total Control
Many people make the mistake of cranking a Dremel up to 30,000 RPMs for everything. On tiny, intricate cuts like star points, high speeds do two bad things:
The Bit "Walks": At ultra-high speeds, a tiny bit behaves like a wheel and will violently grab the wood grain and jump right out of your stencil line.
Friction Burns: High speeds friction-burn the wood, leaving ugly black charring inside your freshly carved stars.
Slowing it down gives the micro-flutes on the bit time to actually slice the wood fibers rather than just grinding and burning them.
Pro-Tip for the Shop: If you're freehanding with that tiny bit at a slower speed, pull the tool toward you like a pencil rather than pushing it away. You'll have double the hand stability.